Easter Bunny and Baby Chick See-Saw Paper Toy Card Craft

Children love crafts projects that make real working moving parts. This is an adorable Easter card that has real working parts with little work at all. This is an adorable, working see-saw with the Easter bunny on one side and a baby Easter chick on the other. The see-saw goes up and down with the use of a simple fastening clip. All you have to do is print, cut out, and then fasten the 2 parts together. You can make a tone of Easter cards in no time at all. Print the 2 items below.

Easter Bunny and Baby Chick See-Saw Paper Toy Card Craft

Step 1 – Print Out The See Saw Parts

Print Out the See Saw Base - Click on Image

[ad#ahc]

Print Out the Bunny and Chick on See Saw - Click on Image

Step 2

Now find the center of the see-saw  (the piece with the baby Easter chick and the Easter bunny). Then take a fastening clip and push it through the see-saw base and the blue see-saw piece and you have a working see-saw Easter card.

Technorati Tags: , , , , , , , , , , , , , , , , , , , , , ,

How to Make a Stand Up Easter Bunny Card for Young Children & Preschoolers

Easter is coming very soon so it is almost time to make your own homemade Easter greeting cards for friends and loved ones. This crafts project is to make a standing Easter Bunny stand-up card which even young kids will be able to draw for themselves. This is a fun, and attractive Easter Bunny craft for preschoolers, Kindergarteners, 1st graders, and other young children. Good luck and Happy Easter.

How to Make a Stand Up Easter Bunny Card for Young Children & Preschoolers

Step 1

Print This Easter Card Template Out

First, print the above paper template out.

Step 2

In the center of the card, lightly draw 3 lines, as seen above. Then lightly color in an oval up to the 2nd line, as seen above.

[ad#ahc]

Step 3

Draw a smaller oval up to the 3rd line, for the bunny rabbit’s head. Also draw ovals for feet.

Step 4

Coat is put over this with a darker crayon. Also draw rectangle-like shapes for arms. Draw the bunny rabbit ears by drawing the shape that you see above.

Step 5

If you want to draw an Easter basket, then lightly draw a rectangle with 2 lines cutting the rectangle into 4 parts. Then this will make it easier to make the basket shape….which can easily be drawn by drawing a small line at the bottom and a long line at the top, then connecting them together with diagonal lines.

Step 6

To draw the eggs, draw ovals (the blue parts can be erased). To draw the flower, draw a circle in the middle with a bunch of half circles drawn all around it.

Example Easter Bunny Rabbit Stand up Card

Above is an example of what your Easter Bunny Card can look like. Notice that the tabs are bent back on dotted lines to make the card stand.

A Second Example Easter Bunny Rabbit Stand up Card

Be creative and make up your own Easter cards. The card above has a bunch of ovals for Easter Eggs.

Technorati Tags: , , , , , , , , , , , , , , , , , , , ,

How to Make Pop Up Easter Bunny Rabbit Cards Crafts Idea and Coloring Printable

Easter is coming up and I have an Easter Bunny Pop Up Card craft for kids, teens, or adults to try. You have the choice of printing out the cards or you can follow the measurements and directions below without printing. Either way, this is a fun, and attractive Easter craft to work through. Good luck and Happy Easter.

How to Make Pop Up Easter Bunny Rabbit Cards Crafts Idea and Coloring Printable

You have 2 options…either print out the Easter pop-up card already drawn out (at the bottom of this page) OR read the directions that are directly below. These directions give measurements for you to make this pop-up card. There are also bunny rabbits below for you to trace, print and cut out, or try to draw. This would work best on card stock, but can be completed on construction paper or any other type of paper.

[ad#ahc]

Below are some Bunny Rabbits to either print out, trace, or attempt to draw to put on your card.

Above are some bunny rabbit images that you can print out, cut out, color in, and then paste on to your Easter card. OR, you can try to draw or trace these bunnies onto a piece of paper. OR if you want to learn how to draw bunny rabbits by yourself – here are many bunny rabbit drawing tutorials.

If you would prefer to print out Easter Cards, and color them in? It isn’t necessary, but this will work out if you can print this card out on card stock….otherwise, just print it out on paper. Below are 2 different Easter cards that you can print out. Most of the directions still apply….such as folding the card in half. Cut out the part of the bunny rabbit that is above the half line. Now you can stand the card up…and the bunny rabbit should stand up above the card and look pretty cool.

PRINT THE GREETING CARDS OUT BELOW

Click on This Image to Print it Out Full Size

Technorati Tags: , , , , , , , , , , , , , , , , , , ,

Easter Bunny – Peter Cottontail Rabbit Paper Stand Up Dolls Craft for Kids

Peter Rabbit is a fictional character in various children’s stories by Beatrix Potter. He is a well-known, loved character that usually comes out in schools around the country during Spring and Easter-time. Below you will find 2 pages to print out of Peter Rabbit story characters and items such as a picnic basket, umbrella, etc. These are all paper-folding dolls that you can play with like toys for Easter time or after you have heard this great story. Have a great time.

Click Here for PDF File to Print Out Peter Rabbit Coloring Pages / and Play Stand Up Toys / Dolls

OR

Click on the 2 Pictures Below and Print Them Out Instead

[ad#ahc]

Technorati Tags: , , , , , , , , , , , , , , , , , ,

Make Mom a Plastic straw necklace for Mother’s Day Gift Idea

Mother’s Day is coming up soon so it is time to start thinking about making your Mom a gift. How about trying to make this pretty necklace for mother that can be made out of simple plastic straws. All you need is some yarn and some straws and some love for your Mom. The simple instructions follow.

Make Mom a Plastic straw necklace for Mother’s Day Gift Idea

Craft materials required:

Plastic straws

Yarn

Scissors

Step 1

Cut out a straw about 5 inches long and fold it in the centre as shown.

Step 2

Tie the straw with yarn as shown, leaving lengths of yarn on both sides.

[ad#ahc]

Step 3

Slit the ends of the straws, and spreat the slits as shown.

Step 4

Cut out small beads from straw as shown.

Step 5

String the beads from both ends to make it as long as you like. Tie the ends as shown. Give it to your Mom.


Check out our video on how to make this Plastic Straw Necklace

Technorati Tags: , , , , , , , , , , , , ,

Make a Mothers Day Foam Chef Doll Gift for Moms Who Like to Cook

Does your Mom cook the best food? Does she love hanging out in the kitchen to cook you the best food? Don’t you think that your Mom is the world’s greatest chef? Show her what you think of her by making this chef doll out of foam for a Mother’s Day present. The simple step by step instructions are given below.

Make a Mothers Day Foam Chef Doll Gift for Moms Who Like to Cook

Craft materials required:

Sponge, or a rectangle piece of foam.

Ribbon

Black Yarn

Glue

Tape

White and red paper

Markers

Scissors

Step 1

Tie a piece of ribbon arouund the foam tightly as shown below.

[ad#ahc]

Step 2

Take about 20 pieces of yarn about 16 incles long.

Step 3

Tie the yarn in two places as shown below.

Step 4

Draw and colour two eyes and cut them out.

Step 5

Glue the hair on top of the head and the eyes on the face as shown below. Also cut out a red piece of paper for the mouth.

Step 6

Make an apron as shown below for the bottom half

Step 7

Glue it on the doll. Write the words ” World’s greatest chef- Mom” on it.

Step 8

Tale a piece of paper long enough to go around the head.

Step 9

Roll it to form a cylinder.

Step 10

Fix it on the head as shown below.The doll is ready. Give it to your Mom on Mother’s day to thank her for all the lovely meals she makes.

Technorati Tags: , , , , , , , , , , , ,

Make Spring Princess or Fairy Flowers Crown Craft for Girls

Want to pretend to be a Spring flower princess or fairy?   Here are easy instructions to make yourself this beautiful crown that is made up of paper flowers.  The simple steps to make this craft are given below.

Make Spring Princess or Fairy Flowers Crown Craft for Girls

Craft materials required:

Thick chart paper

Coloured paper- different colors.

Green crepe paper

Glue

Scissors

Step 1

Cut a strip of chart paper about 4 inches wide and long enough to go around your head

.

Step 2

Glue the ends together to form a crown.

Step 3

Cut out grass shapes out of crepe paper as shown.

Step 4

Cut out flowers in different shapes and colors.

[ad#ahc]

Step 5

Cut out leaves of different shapes.

Step 6

Cut out small circles for the centres of the flowers.

Step 7

Glue the grass on the crown.

Glue the flowers and the circles in the centres of the flowers.

Step 8

Glue leaves between the flowers.

Your crown is completed. Put it on your head, and pretend to be a Spring Queen.

Technorati Tags: , , , , , , , , , , ,

Make Easter Counting Game Craft Activities for Preschoolers & Young Kids

Make Easter Counting Game for Easter or Spring : Preschoolers Craft

Here’s a fun game to learn counting this Easter. This craft can also be done as a group activity, every child makes one basket and in the end the kids can play a game of putting the right number of Easter bunnies  in each basket.

Craft materials required:

Thick colored paper

Broad ribbon

Scissors

glue

tape

markers

Ruler

Small bunny shaped erasers or candy

Colored tape

Step 1

Cut out strips of paper about 4 in wide and 9 in long

[ad#ahc]

Step 2:

Roll it around and glue the ends together to form cylinders.

Step 3

Trace the outline of the circle formed on a piece of paper of the same colour.

Step 4

Remove the cylinder and add tabs to the design as shown below.

Step 5

Cut it out and fold the tabs as shown below.

Step 6

Place the cylinder over this piece so that the tabs are on the inside. Tape the tabs to the inside walls of the basket.

Step 7

Take a long piece of tape and stick it along the bottom as shown.

Step 8

Fold the tape over the edge to make the basket strong.

Step 9

Cut a piece of ribbon and tape it to the insides of the basket as shown.

Step 10

Stick some colored tape along the bottom of the basket as shown.

Step 11

Write a number on each basket. The game is to put the right number of objects- Easter bunnies, miniature eggs or candy into the baskets.

Technorati Tags: , , , , , , , , , , ,

Make Spring Handprints Lambs for Easter or Spring : Preschoolers and Kids Craft

hand-lamb-finished

Make Spring Handprints Lambs for Easter or Spring : Preschoolers and Kids Craft

One thing that I have always loved as a parent is handprints.  There have been days where I have winced at having to wash them from the walls, partly because they are there and partly because I am taking them off, but I always seem to lovingly place my own hand over top of them as though I might remember them through touch.  It has been this way ever since my children were babies.  The first thing I did was count all the little fingers on their small hands and since that day I have continued to count them over and over again.  Of course, I need to do it discreetly now so I’m not “bothering” my children.

Since I am so in love with little handprints, I enjoy doing crafts where I can capture my children’s handprints once again for posterity reason. This craft, handprint lamb, is a great way to capture a handprint but it also adds a touch of spring to your crafts and gives your child a new way to use his hands.

hand-lamb-supplies

Gather all the materials you need:

  • Brown, White or Black Construction Paper (Or if you want to create a colorful lamb, use any brightly colored construction paper.)
  • Black Marker
  • Cotton Balls
  • Your Child’s Hand
  • White Glue

[ad#ahc]

Step 1

hand-lamb-hand

1.  Have your child place his hand on the construction paper and either help him or have him trace it out onto the paper.

Step 2

hand-lamb-cutout

2.  Cut out the handprint.  For older children, this is an excellent activity to build up their cutting skills.

Step 3

3.  Flip the hand over so the fingers are facing down.  The fingers are the legs of the lamb and the thumb is the head so make sure that the hand is spread out when you do trace it.

Step 4

hand-lamb-glue

4.  Cover the palm of the hand, and part of the legs with white glue.

Step 5

hand-lamb-spread-cotton

5.  Pull the cotton ball so it becomes billowy, like soft wool or a fluffy cloud.

Step 6

hand-lamb-cotton-ball

6.  Place it onto the white glue so it covers the lamb’s “body.” Make sure to leave the legs and head uncovered.

Step 7

hand-lamb-feet

7.  Draw little feet onto the bottom of the fingers with the black marker.

Step 8

hand-lamb-finished

8.  Draw a face onto the head (the thumb) of your lamb with the black marker.

Once your lamb is finished, you can either hang it up as is, or you can paste it to a sheet of construction paper and then add green for grass, white construction paper (or cotton balls) for clouds and anything else that you would like to decorate it with.

Technorati Tags: , , , , , , , , , ,

Easter Bunny Rabbit Treat Cups Crafts Activity Ideas for Kids

bunny-cups-x3

Easter Bunny Rabbit Treat Cups Crafts Activity Ideas for Kids

Every once in a while, I come up with this wonderful little idea that I just need to do as a craft and I enjoy sharing it.  While I would love to say that this little craft is one that I thought up myself, I can’t.  In actuality, I discovered this little craft only this week when my four year old came home from his kindergarten class.  He happily hopped up to me and showed me this cute little bunny that his class had made for Easter and I was so delighted by the end result that I just had to share it with many other parents and crafters out there.

I would like to say a big thank you to his kindergarten teacher before I do start on the craft itself.  I would also like to mention that this craft is great for children of all ages.  At home, I did this craft with a 4 year old and an 8 year old and both were delighted with both the process and the end product.  It is very easy to do and can make a beautiful little gift or grab bag for the Easter season.

Bunny Rabbit Cups: How to Make these Delightful Little Bunny Cups with only a Few Supplies

bunny-cup-supplies

Gather all the materials you need:

  • Markers (I used red, purple and black but you can use anything you want)
  • White Glue
  • Cotton Balls
  • Styrofoam Cup
  • Easter Grass (I used green but feel free to use any color)
  • Construction Paper, white and pink
  • Stapler
  • Scissors

bunny-cup-eyes

[ad#ahc]

1.  Take a Styrofoam cup and carefully draw the eyes of the bunny around the mid-range of the cup.  You can use any shape you want so don’t feel the need to use my cup design.  Also, allow your child to draw the face she wants or simply let her scribble on it if she would like.  For my cup, I used black for the outline and purple for the iris.

bunny-cup-nose

2.  Next, draw the nose slightly under the eyes and in the middle of the “face.”  I used red for my nose.

bunny-cup-mouth

3.  Finally draw the mouth and teeth (if your bunny has teeth) and add any other embellishments to the face.  My oldest drew drool coming out of the mouth (see center cup in top picture).  Once the face is drawn, set it aside to work on the ears.

bunny-cup-whie-ears

4.  Draw out a set of bunny ears on the white construction paper.  These should be fairly large but still manage to fit inside the cup.

bunny-cup-pink-ears

5.  Repeat the process on the pink construction paper but make these ears slightly smaller since they will be the inside of the bunny ears.  When I was creating this craft with my kids, they didn’t want the white ears so if you find your children don’t either, just let them create on their own terms.  There is no need for every bunny cup to look the same.

bunny-cup-scissors

6.  Cut out the ears.

bunny-cup-glued

7.  Glue the pink bunny ears into the center of the white bunny ears.  Make sure the bottoms of the ears match up when glueing.

bunny-cup-staple

8.  Once the ears are glued together, secure them to the inside of the cup with the stapler.  You will want to put them on the side that is furthest from the face so the staples are on the back of the bunny and not in the middle of his forehead.

bunny-cup-fold-ear

9.  This is optional, but if you want the folded ear finished look, crease one of the ears about a quarter of the way down.

bunny-cup-tail

10.  Take a small cotton ball and glue it into place below the staples on the back of the cup.

bunny-cup-finished

11.  Fill the cup with Easter grass and add a few eggs.

And that is all it takes to create one very cute little Easter Bunny cup.

Technorati Tags: , , , , , , , , , , , , , ,

Easter Napkin Rings Crafts Table Decoration Ideas for Boys and Girls

napkin-ring-main

Easter Napkin Rings Crafts Table Decoration Ideas for Boys and Girls

Children’s art may not always have a place on your Easter table, but these simple felt napkin rings in pretty spring colors will complement your decor perfectly.

napkin-ring-what-you-need

Crafts Materials That You Will Need:

Three colors of felt

Scissors

Scrap paper

Pencil

Step 1

[ad#ahc]

napkin-ring-step-one

1. First, draw a template similar to the one shown on your scrap paper. You’ll need flowers in two sizes – one about 2-3 inches and one about 4-5 inches. Also draw a long bone shape about 3/4 the length of a regular 8″ x 11″ piece of paper.

Step 2

napkin-ring-step-two

2. Cut out the template, then pieces on the appropriate colors of felt. I used pink, purple and white because I had them on hand. But for the bone piece, if you use green the finished product will look more like a flower.

Step 3

napkin-ring-step-three

3. Cut the pieces out of felt.

Step 4

napkin-ring-step-four

4. Cut 1″ slits into both flower pieces.

Step 5

napkin-ring-step-five

5. Slip the larger and then the smaller flower pieces onto the bone piece.

Step 6

napkin-ring-finished-product

6. Slip the other end of the bone piece through the slits and trim petals as needed.

Slip onto a napkin and decorate your table! These would also make great favors for your guests to take home with them!

Technorati Tags: , , , , , , , , , , ,

Drawing and Making Cute Animals Out of Hearts for Valentine’s Day

It is a lot of fun to draw cute and cuddly creatures out of any shape, but since Valentine’s Day is coming up, why not try to draw animals, bugs, and flowers from hearts. You can even cut shapes out of construction paper, crafts foam, and other crafts materials to make Valentine’s Day Cards out of the following Heart-Animal Shapes.

Drawing and Making Cute Animals Out of Hearts for Valentine’s Day

Below find some ideas for adorable animals, bugs, creatures, flowers, leaves and other items that you can make with a heart shape. Go to this tutorial for How to Draw Hearts if you don’t know how to.

[ad#ahc]

HERE ARE EVEN MORE VALENTINES DAY CRAFTS ACTIVITIES FOR CHILDREN

Technorati Tags: , , , , , , , , , , ,


Peeping Groundhogs Craft Activity for Groundhog day

Make this cute craft which shows the groundhog peeping out of his burrow as you celebrate ground hog day. The groundhog pops out of his burrow when you slide the Popsicle stick upwards, and it goes into hiding when you pull the stick down. The simple steps to make this craft follow.

Here are More Groundhogs Day Crafts

Craft Materials Required:

Thick white paper

Thick brown paper

green paper

scissors

glue

one Popsicle stick

markers and crayons

Step 1

Take a piece of white paper, of the size you want. Make sure it is longer than your Popsicle stick.

[ad#ahc]

Step 2

Take another piece of paper, about 1/3 of its length, but of the same width , as shown.

Step 3

On the brown paper, draw out the face of a ground hog as shown.

Step 4

Glue the face on to the top of the Popsicle stick.

Step 5

Glue a strip of brown paper below the groundhog as shown.

Step 6

Glue the second paper on top of the first paper as shown. leave space in the center for the groundhog on the Popsicle stick. The groundhog should be able to easily slide up and down.

Step 7

Cut out grass shapes in green and glue them on the picture.

Step 8

Decorate the rest of the picture with crayons

Here are More Groundhogs Day Crafts

[tags]groundhog day, groundhogs day, crafts for groundhogs day, groundhog day crafts, groundhog day activities, crafts for kids, activities for kids, arts and crafts, groundhogs, woodchucks, crafts for preschoolers[tags]

George Washington’s Camp Paper Folding Crafts Model Craft for Kids to Make for President’s Day

George Washington’s Camp Paper Folding Crafts Model for Kids to Make for President’s Day

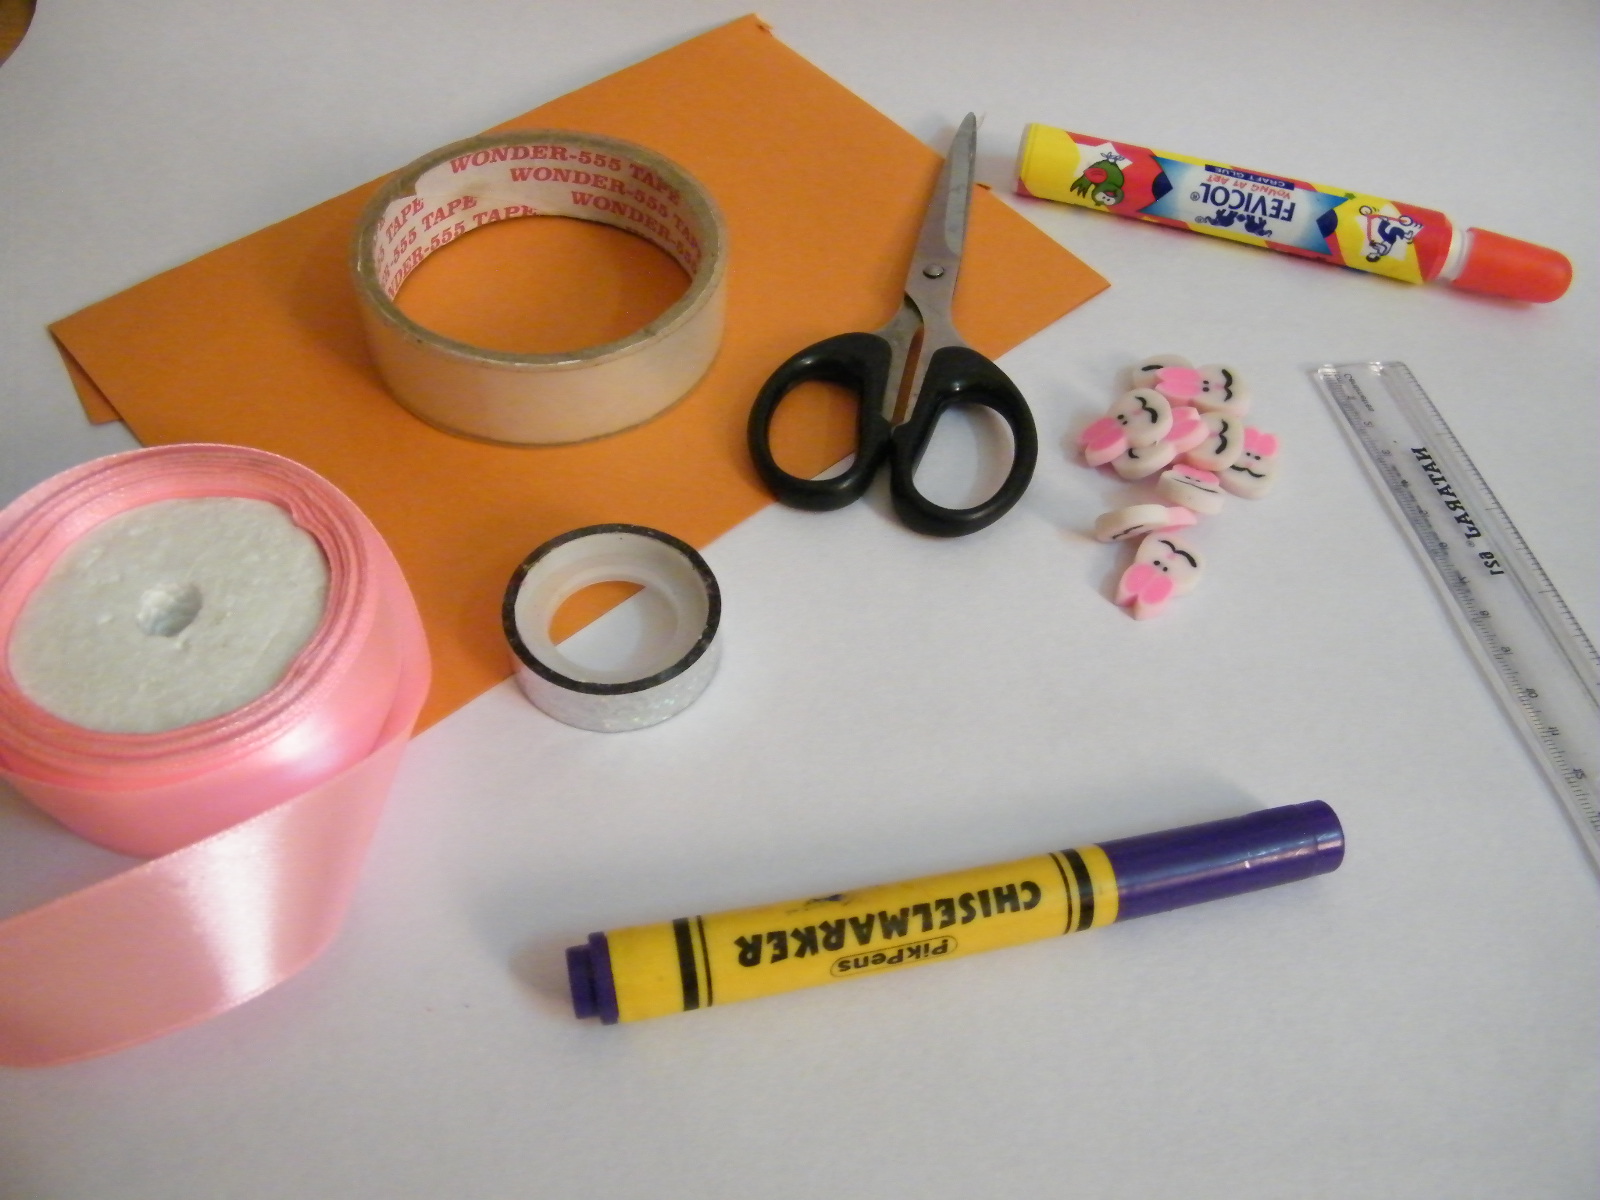
Presidents Day is coming up on February 15th this year (2010) and I am posting a great project for teachers to do with their classrooms full of students. This is a great group project to celebrate George Washington’s birthday. This project includes paper folding and cutting and the use of clay. See below for the instructions to make George Washington’s camp. Use this to teach the kids about the Revolutionary War and General George Washington who later became America’s first president.

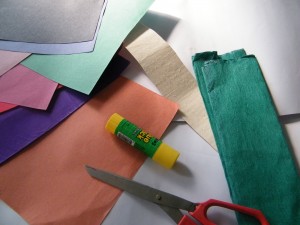
Make the Soldier’s Tents from Washington’s Camp

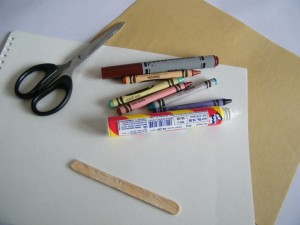
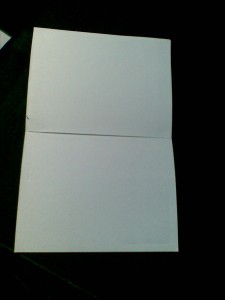
Below is the paper folding instructions to make the tent. Get a 4 inch square piece of paper (or cut 4 inches by 4 inches out of a larger piece of paper)

[ad#ahc]

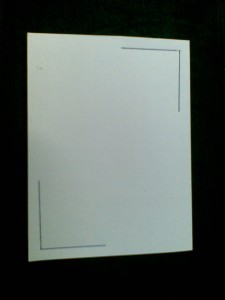
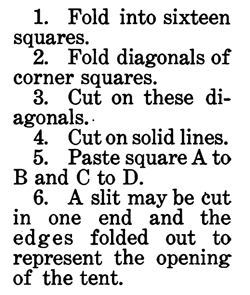
(1) Fold into 16 squares

(2) Fold diagonals of the corner squares.

(3) Cut on these diagonal lines.

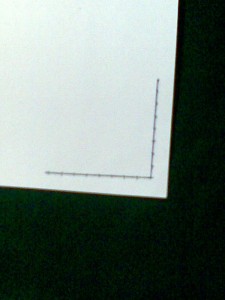
(4) Now cut on the solid lines.

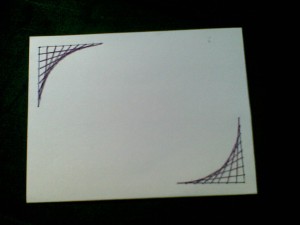
(5) Paste square A to square B.

(6) Paste square C to square D.

(7) A slit may be cut in one end and the edges folded out to represent the opening of the tent.

Fold several tents …at least 5 of 6.

Make a Canon for Washington’s Camp

(1) Make the cannon by forming 2 thin circular pieces of clay.

(2) Join these 2 circular pieces of clay with a toothpick.

(3) Make the cannon’s stock with clay and place it between the 2 wheels that you just made.

(4) Make cannon with clay and place on top of the stock that you formed in step #3.

(5) Let clay dry.

Make a Drum and Drum Sticks for Washington’s Camp

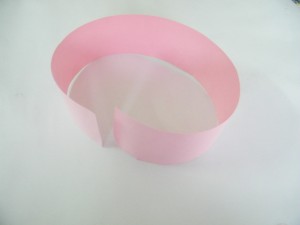
Below is the paper folding instructions to make the drum. 

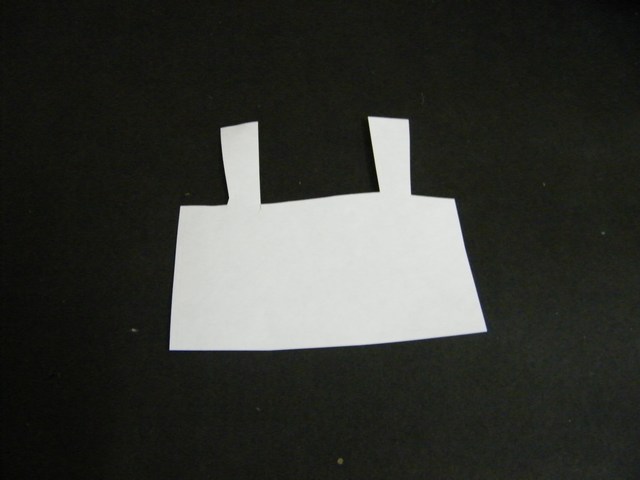
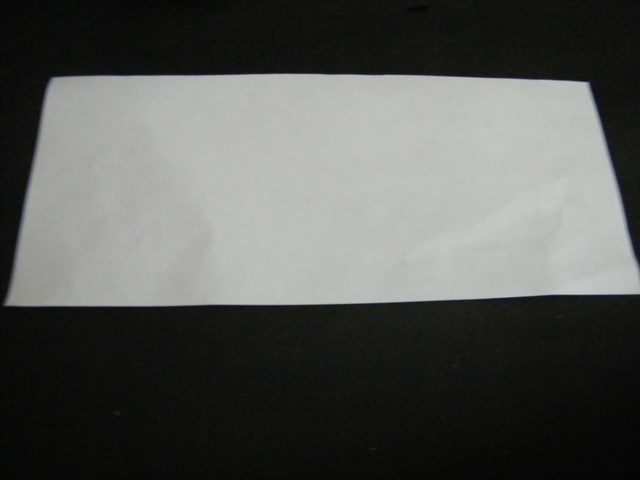
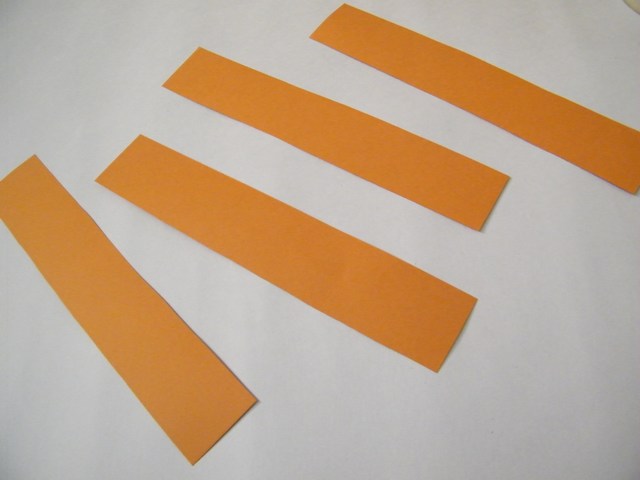
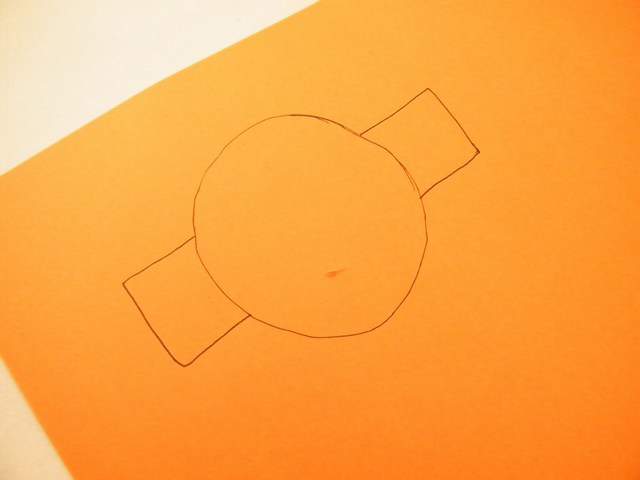
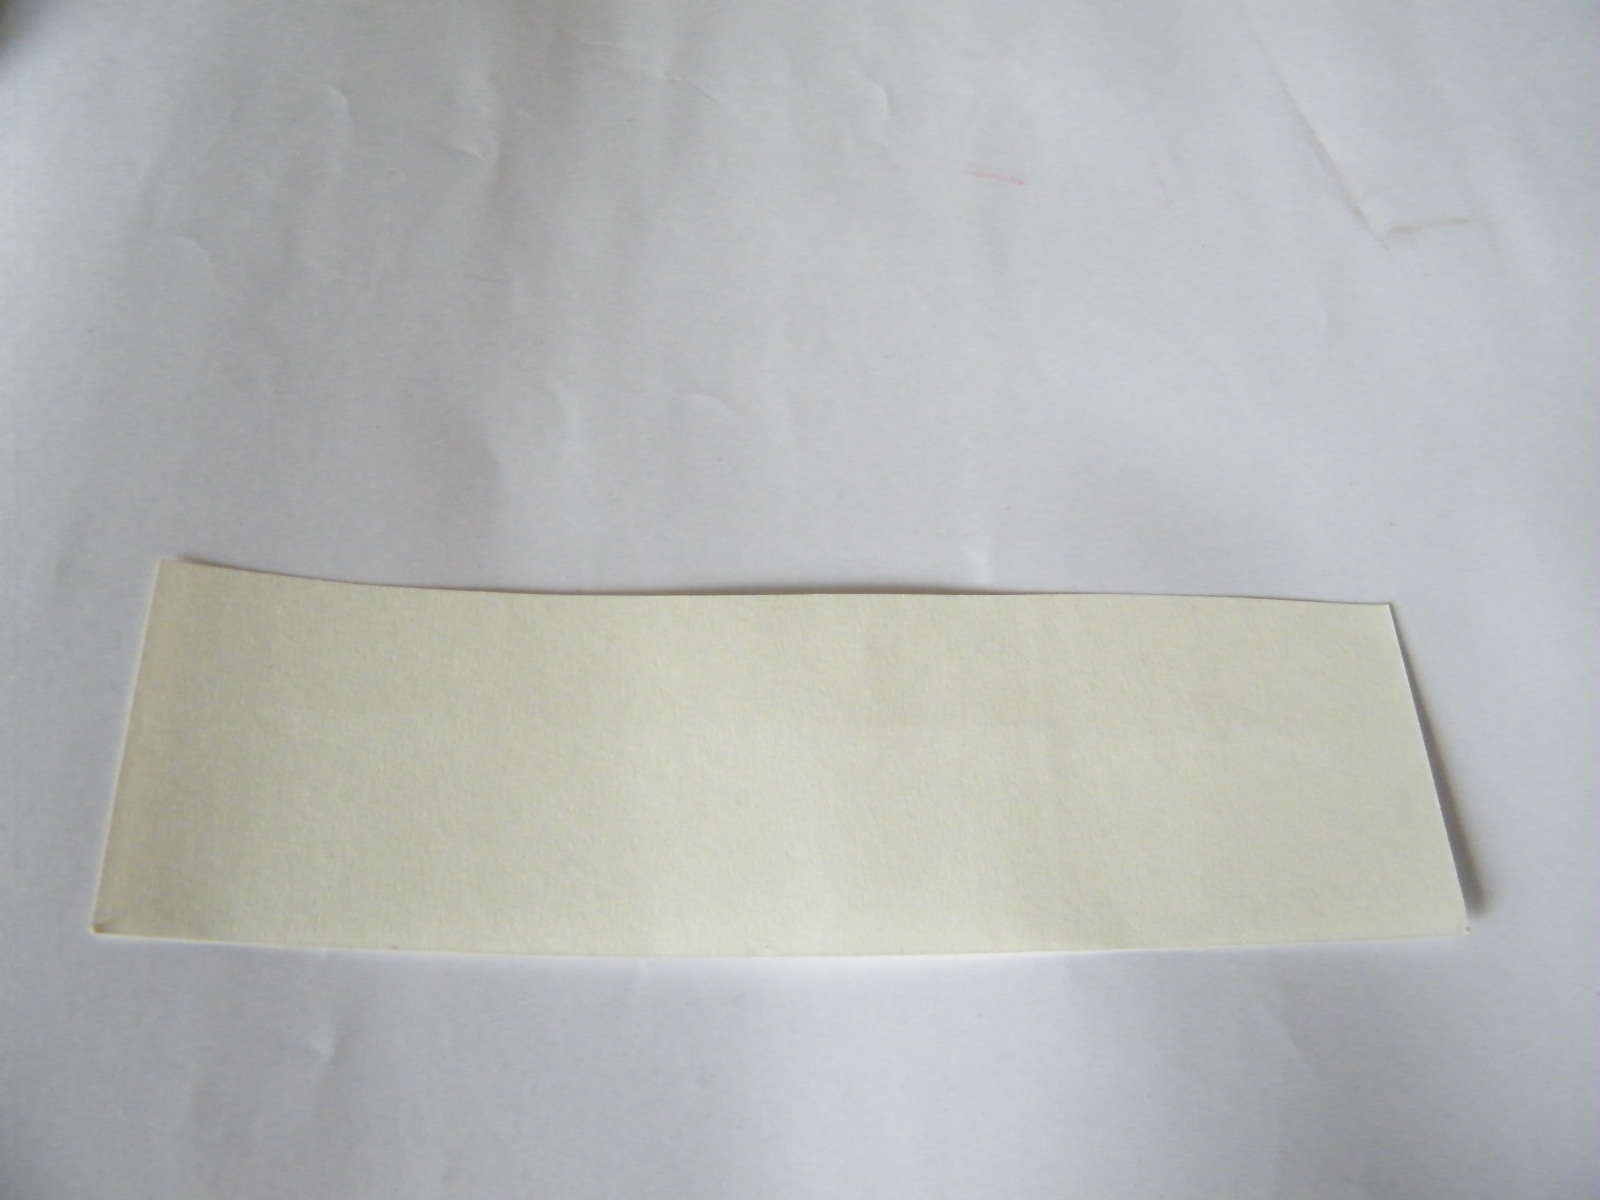
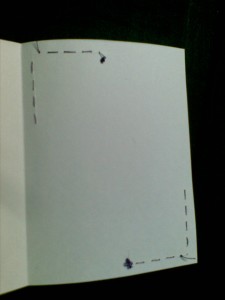
(1) Cut out a rectangle that is about 8 inches x 2 inches long

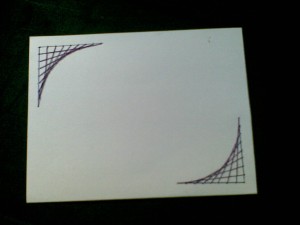
(2) Make a crease that is about 1/2 inch from the bottom (as seen above).

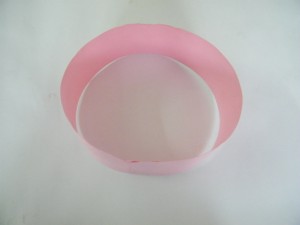
(3) Make vertical cuts (up and down) from edge to edge along this crease (see the image above).

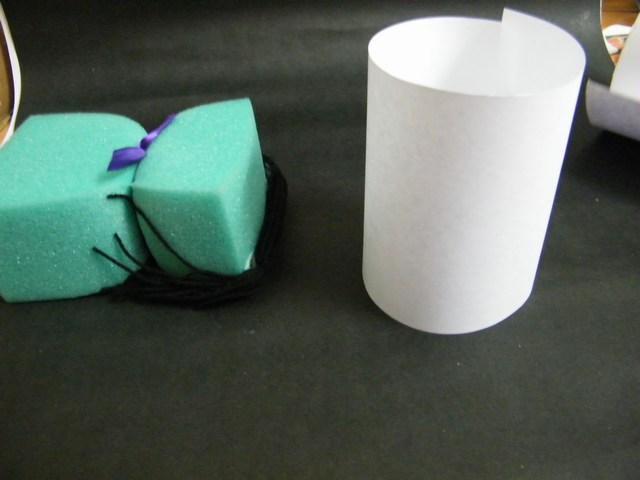
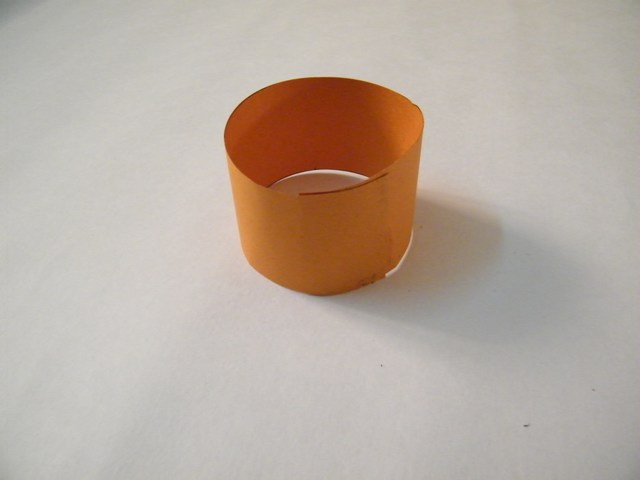
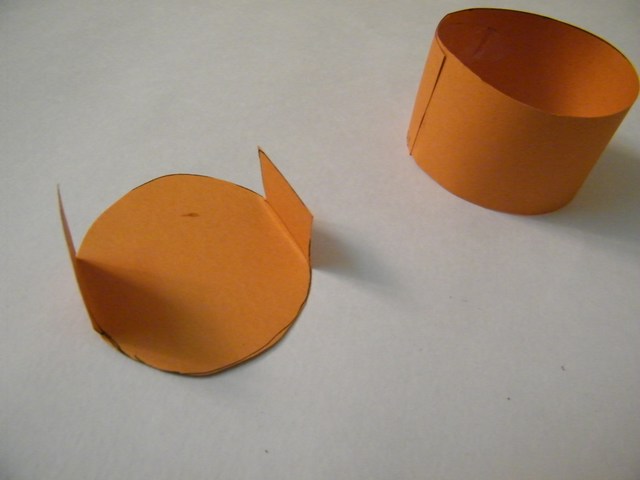
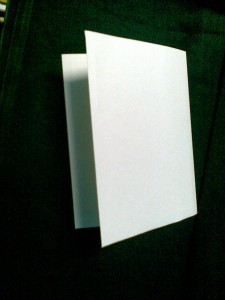
(4) Paste ends together so that it forms a cylinder-like shape.

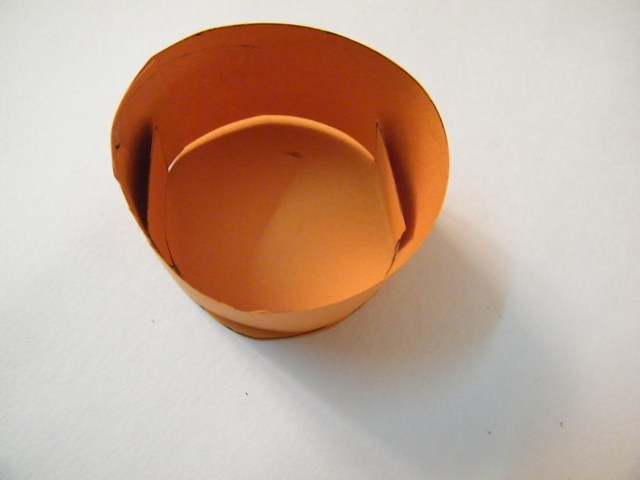
(5) Remember when you made all of those cuts along the bottom of this paper…now fold them in.

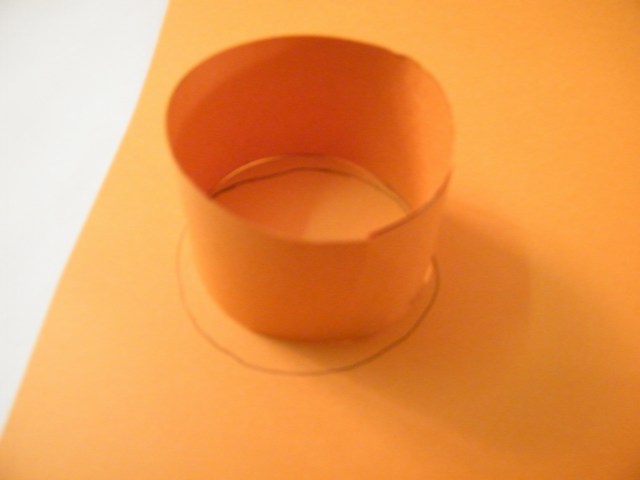
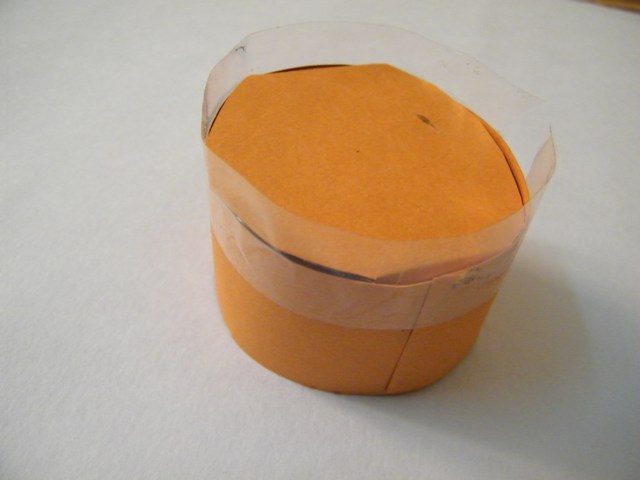
(6) Cut a circle that fits the cylinder shape that you just made.

(7) Paste this circle onto the slits of paper you just cut and folded in.

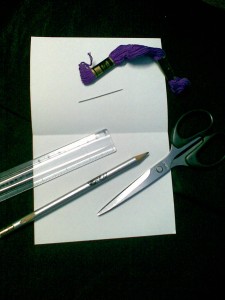
To Make the Drum Sticks, you can either use toothpicks or make them from clay.

Print Rifles & US Colonial Flag

Print out these military rifles by (1) right clicking on them to open them in a new window (2) Click on File > Print.

Print out this Colonial US Flag by (1) right clicking on them to open them in a new window (2) Click on File > Print.

Find a chopstick, a stick from outside or other sturdy stick-like object. Fold this Colonial US flag in half and past it around the stick.

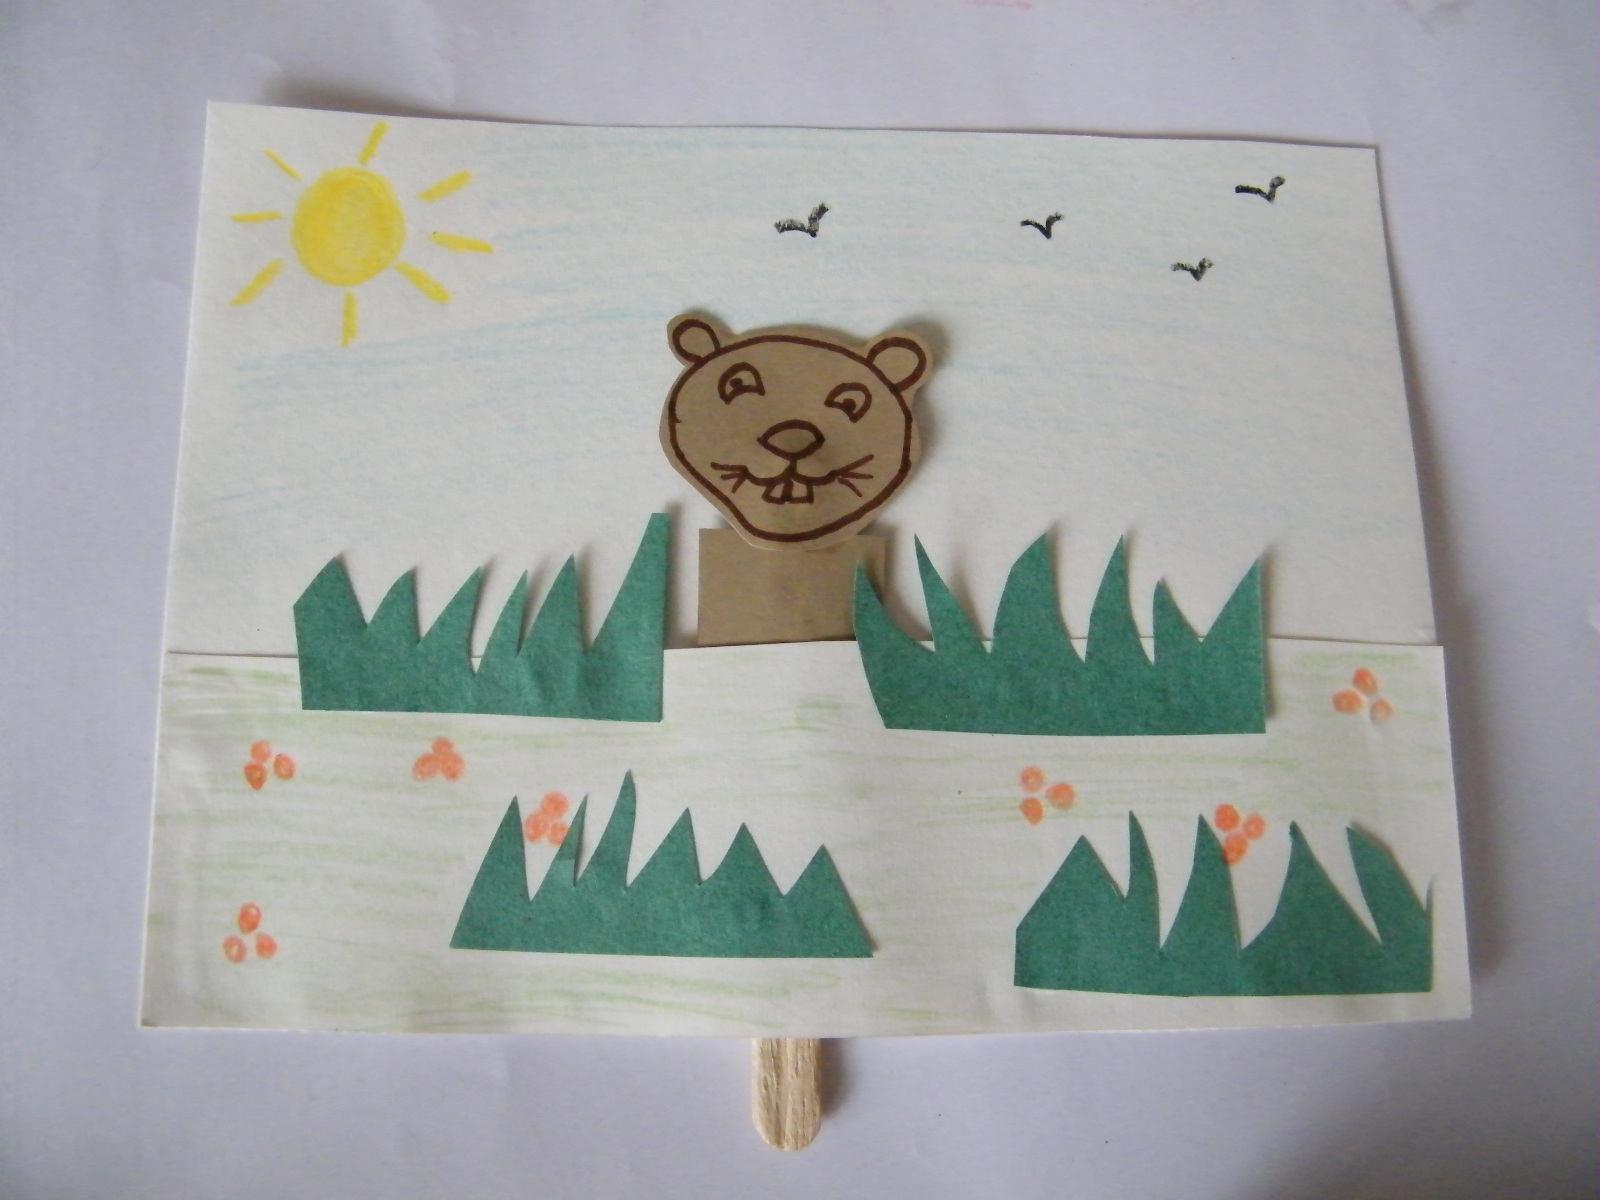
Now let the groups of children place their tents and cannons on to the poster board (or cardboard) to represent George Washington’s camp. Attach the flag to the cardboard or poster board by punching it through the board and then placing the Cannons Around it. You can also cut out trees and place them around the camp and if you want, you can place rifles in formation (as seen in the picture above).

Good luck and Happy Presidents Day.

Here are More President’s Day Crafts for Kids

Technorati Tags: , , , , , , , , , ,

Valentine’s Day Peas and Toothpick Heart and Arrow Craft for Kids

Valentine’s Day Peas and Toothpick Heart and Arrow Craft for Kids

Instead of making the normal lace-paper valentine, with its hears and arrows and doves and cupids for Valentines Day…how about making a unique Valentine’s Day craft with peas and toothpicks. It actually turns out quite pretty. Find the easy instructions below.

[ad#ahc]

This is the way. Take them out of the water about an hour before you need it.

First soak dried peas over night to soften them. You will need to break apart toothpicks so that you have  six short sticks, two longer sticks, and eight peas. Put them all together for the heart, as in the picture above. Next, take a long stick for the arrow. Put a pea on one end for the head, and into this pea thrus two very short sticks, with small peas on the ends, for the arrow’s barbs. Then thrust the other end of the arrow-stick through one of the side peas of the heart, so it will slant across the heart as in the picture. On this end of the arrow-stick slip three small peas, close together, and into these peas stick 6 very short sticks for feathers.

When you are done, lay your hearts-and-arrows creations aside and let them dry so that they hold together properly.

You can make this very special heart-and-arrow craft creation before Valentine’s Day, if you like, and put it in a tiny box, and give it to a friend, relative, or other loved-one  for a special Valentine’s Day gift.

HERE ARE EVEN MORE VALENTINES DAY CRAFTS ACTIVITIES FOR CHILDREN

Technorati Tags: , , , , , , ,

Make Embroidered Designs on Card Stock – Basics – Part 2

Make a beautiful border for a greeting card and impress your family and friends. If you have never used this technique before, follow the steps given in Part 1 of this series ( link to part 1).

Make Beautiful Embroidery Thread Designs on Paper Card Stock – Basics – Part 2

border
[ad#ahc]

Craft materials required:

Thread (single strand)

Needle

Scissors

Card / thick paper

Pencil

Scale

glue

Image132

Cut out a piece of card approximately 20 cm x 15 cm and fold it as shown.

Image133

Leaving about half a cm distance from the sides draw 2 sets of perpendicular lines, 4 cm each, on two corners as shown.

Image134

Mark points every 0.5 cm as shown.

Image137

Use the seimography technique shown here ( link to part 1) to make the design.

Image138

The back of the card will look like this

Image139

Cut out a piece of card, half the length of the original card and glue it in such a way that it hides the back of your needlework

Image140

Your card is ready. Add a special message or greeting in the center of the card and give it to someone you love.

Image142

Did you enjoy doing this? Try out Part 3 of this series and learn to make some pretty multicolor butterflies.

Go Back to Part 1

Technorati Tags: , , , , , , , , , , , , , ,