Does your mom love jewelry? Well, Mother’s Day is coming up and today we will teach you to how to make a very special jewelry box for your Mom. Make this nice keepsake box for her to store her favorite jewelry. It will be a great gift for mother’s day. So find an old box and follow the instructions to make this gift.
How to Make Jewelry Storage Box Craft for Mom on Mother’s Day
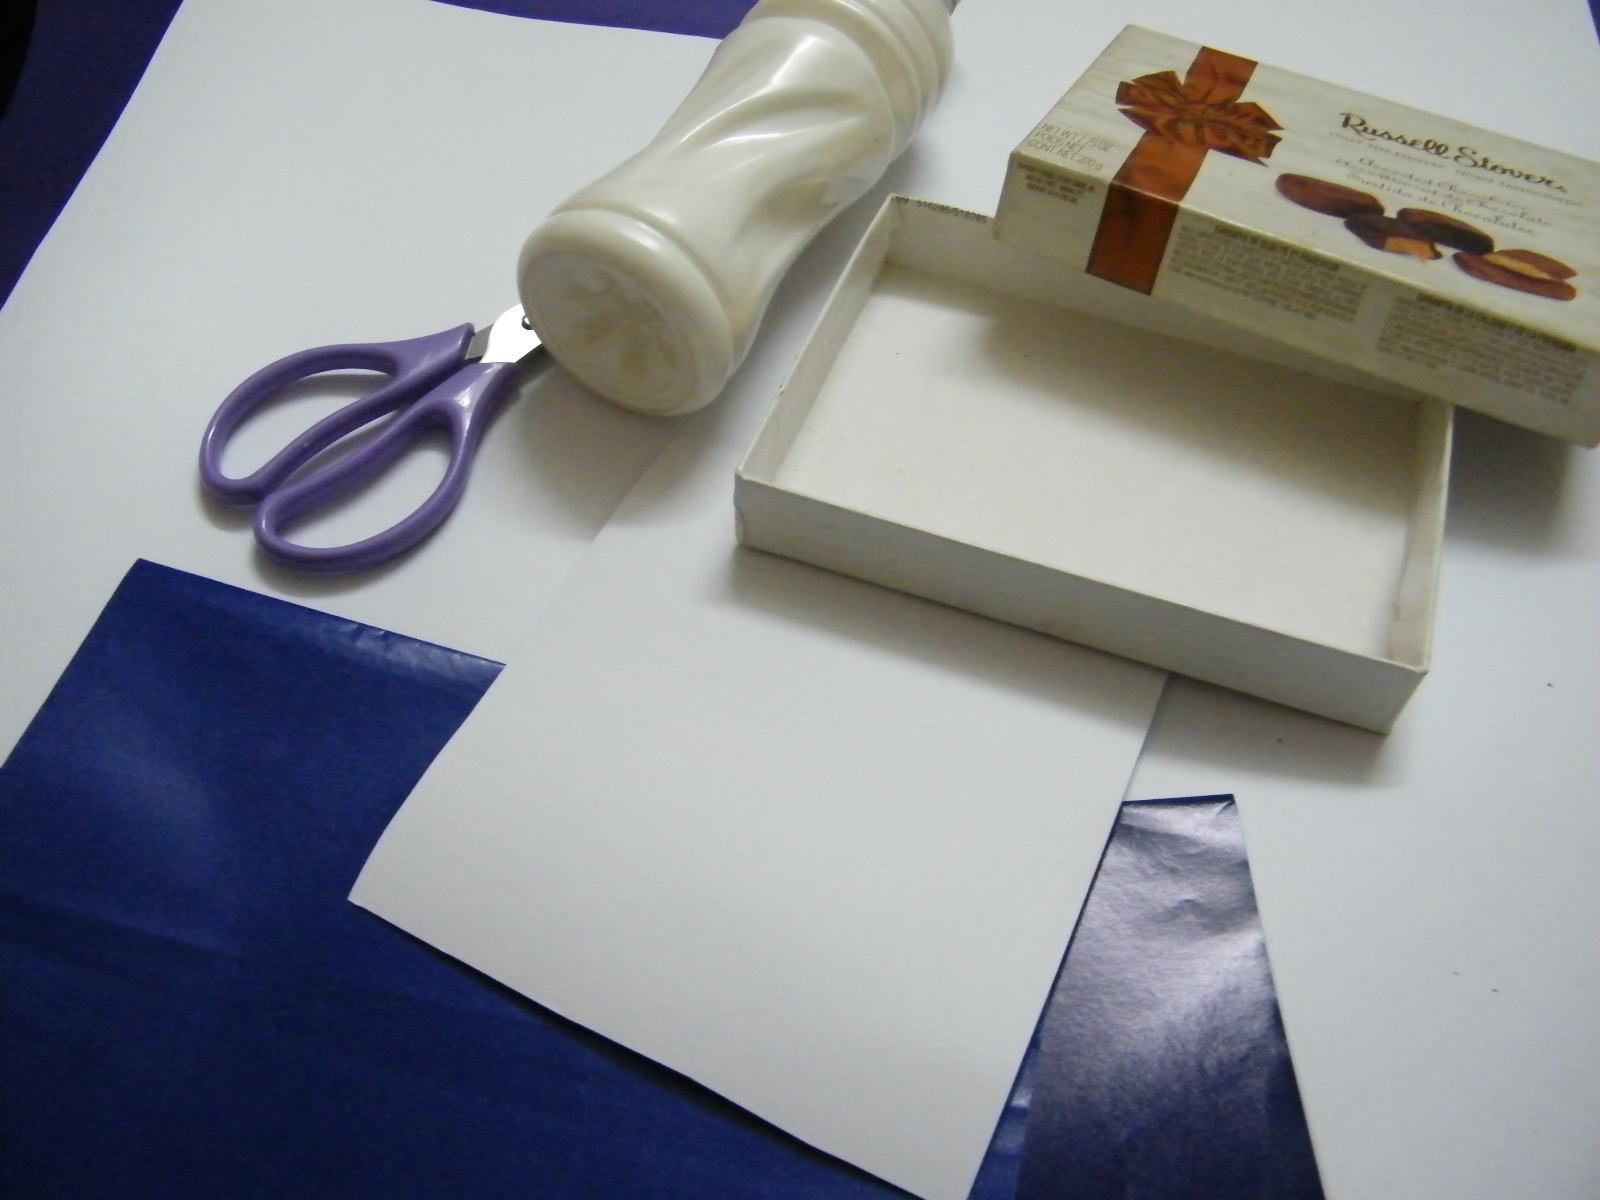
Craft materials required:
A flat box as shown below
Colored paper
scissors
glue
Thick card paper
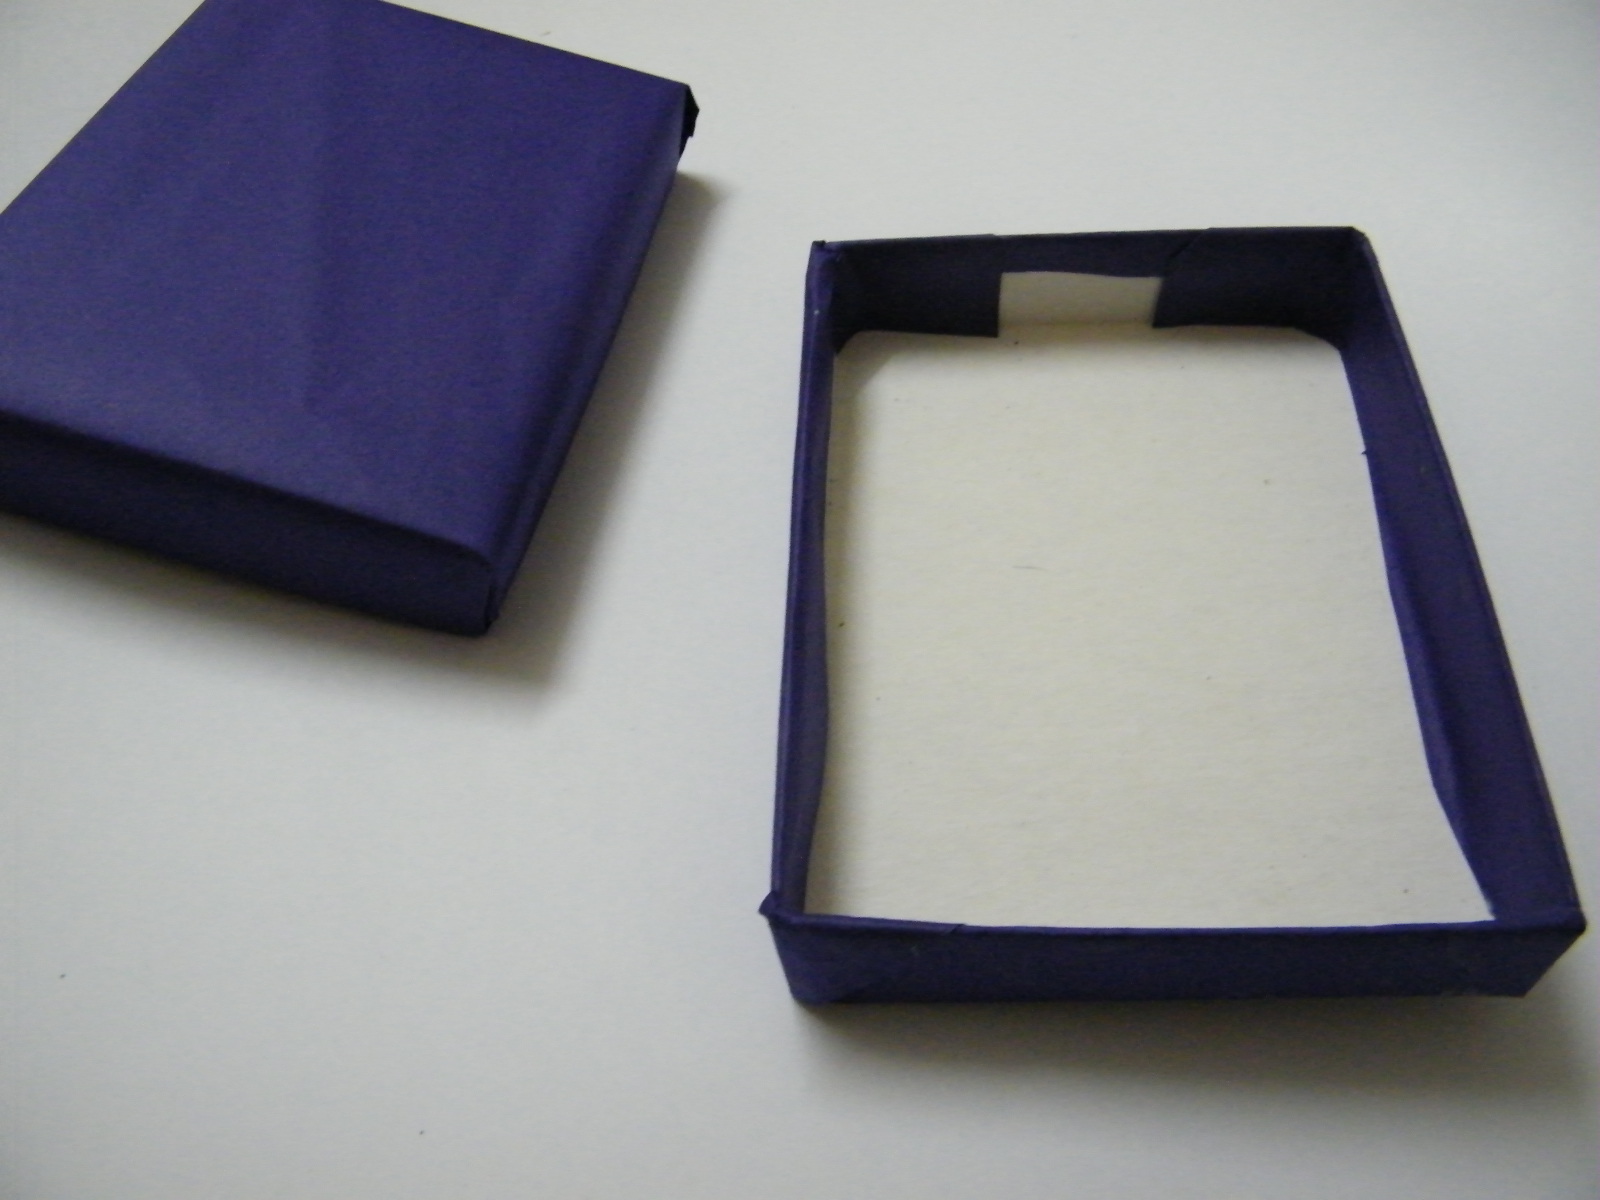
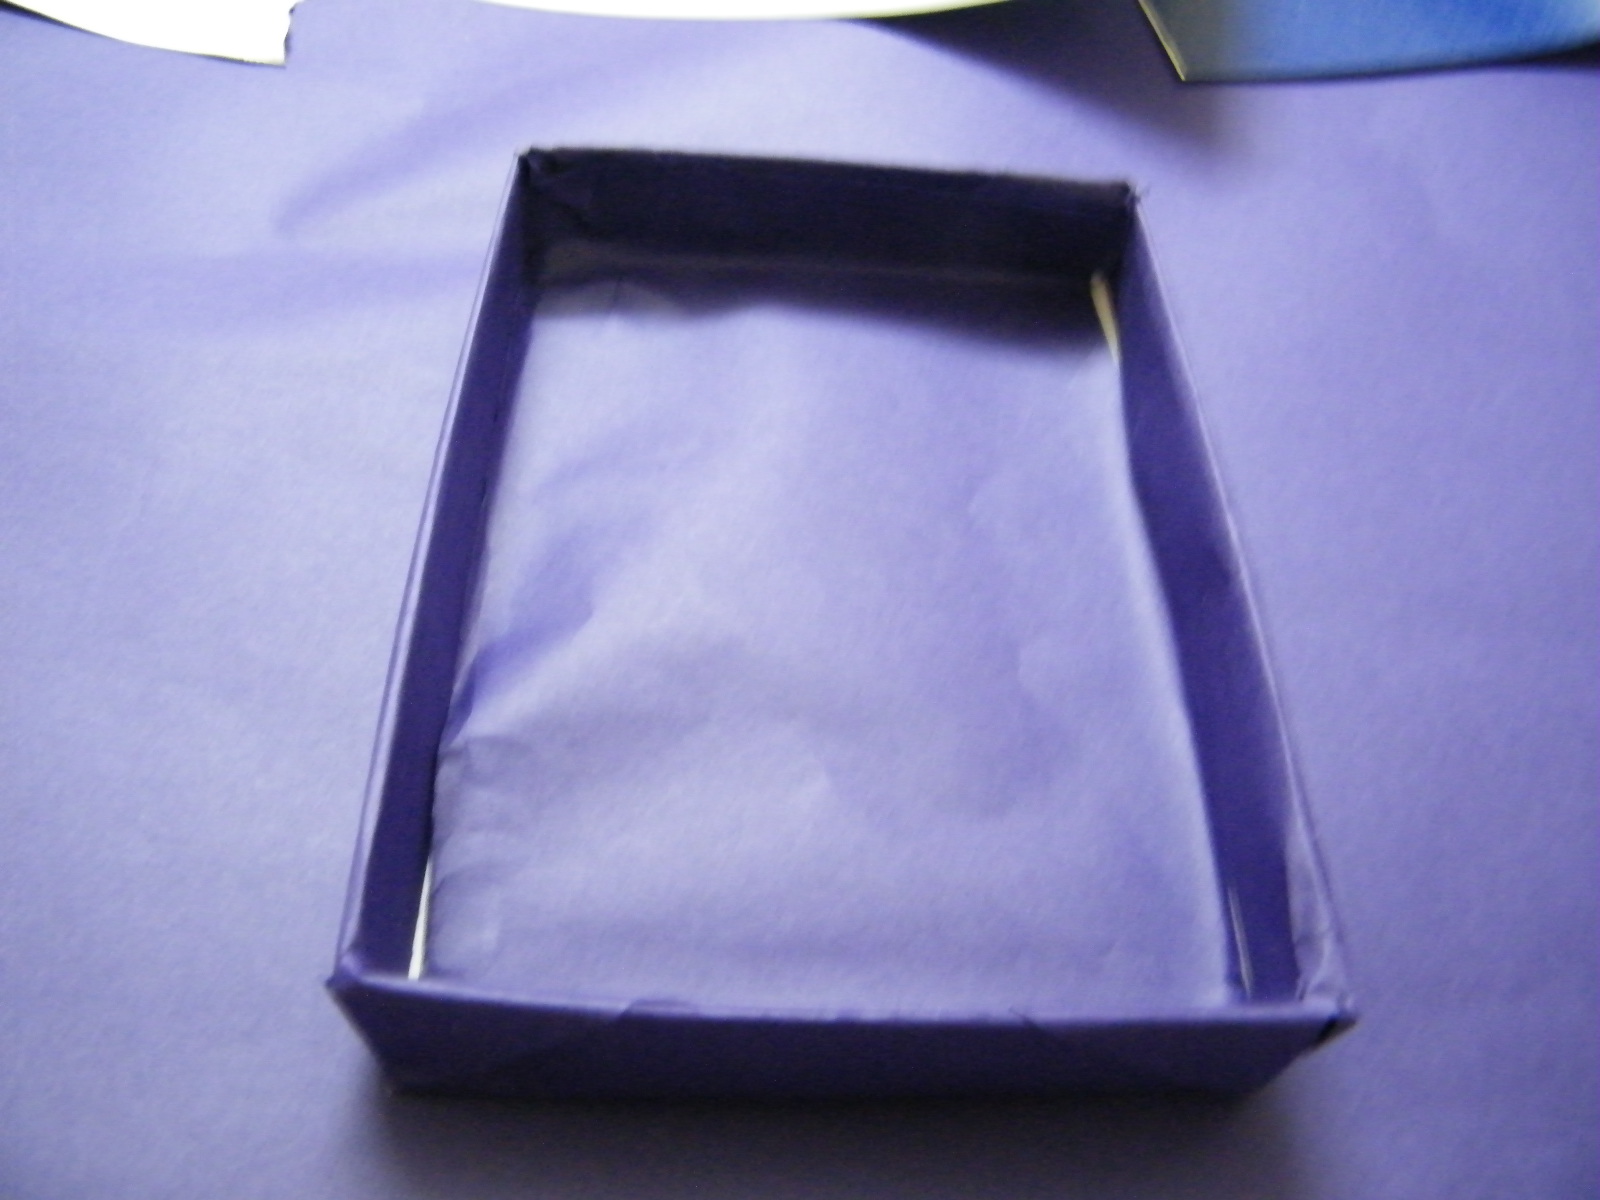
Step 1
Cover both the boxes with colored paper.
[ad#ahc]
Step 2
Cut out a piece of thick card paper approximately the same size as the base of the box. It should fit inside the box.
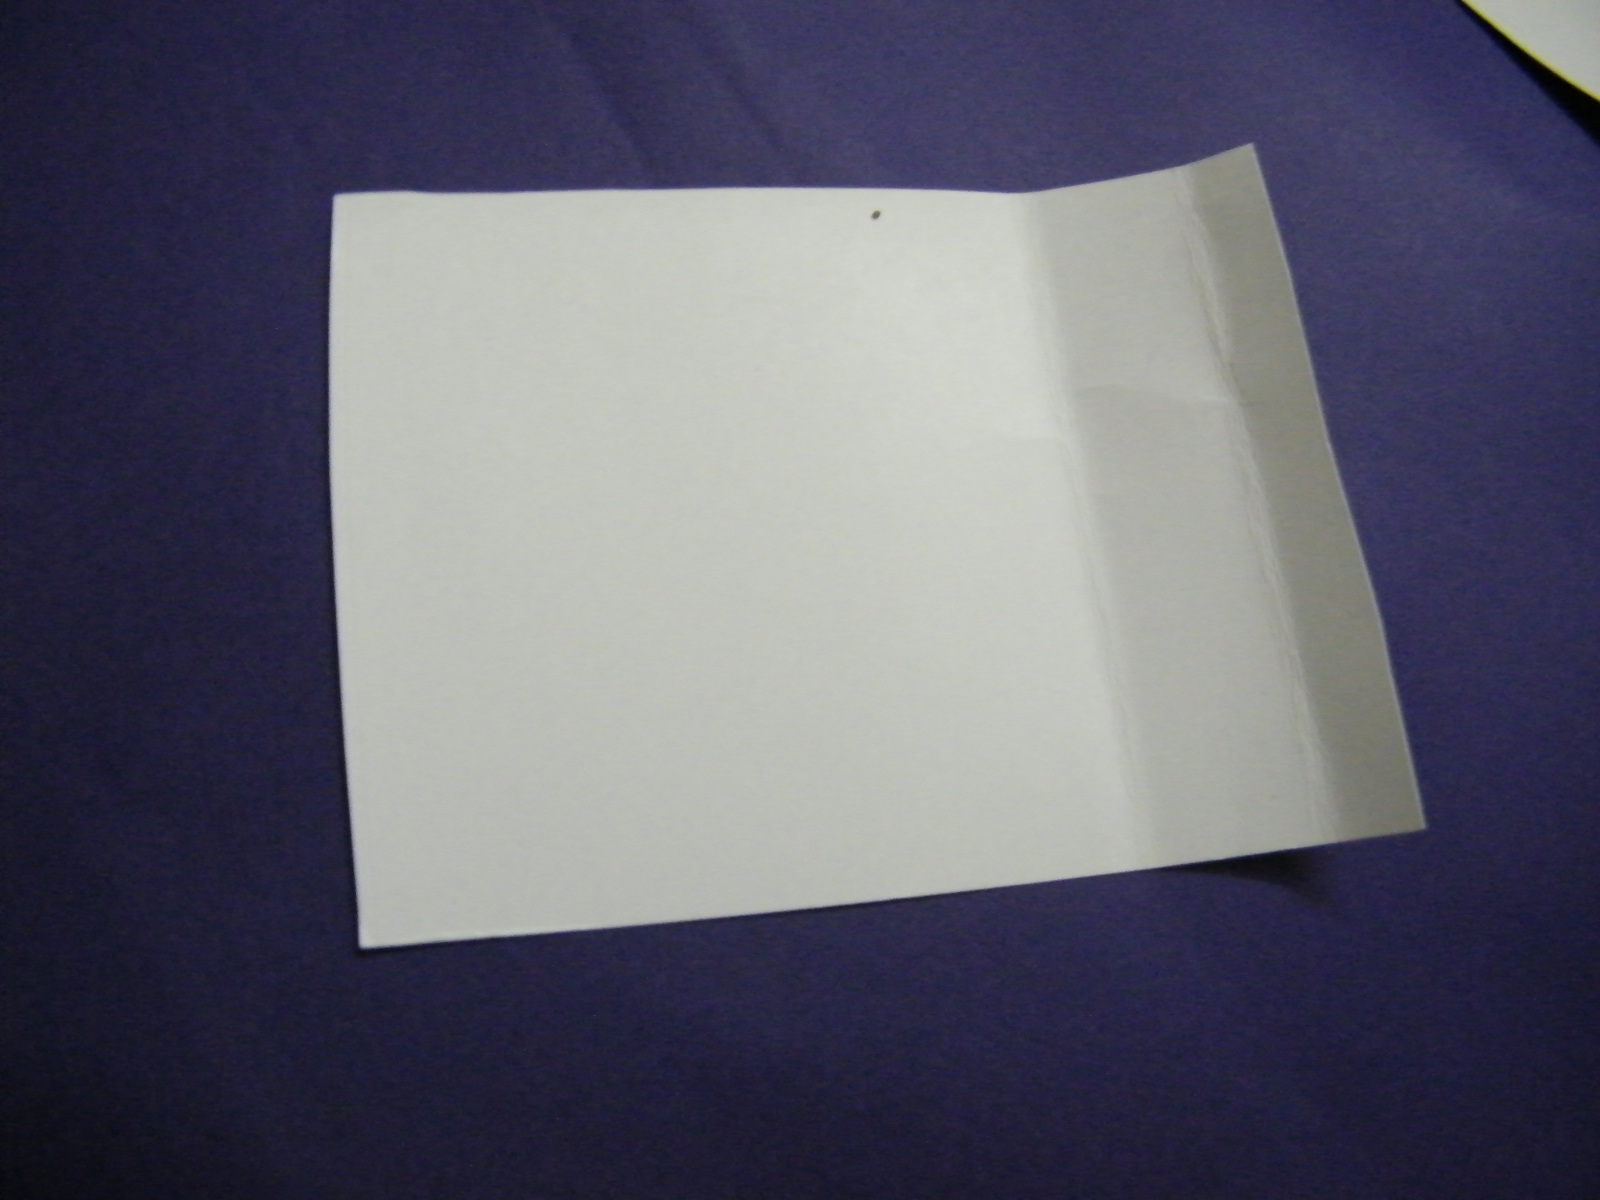
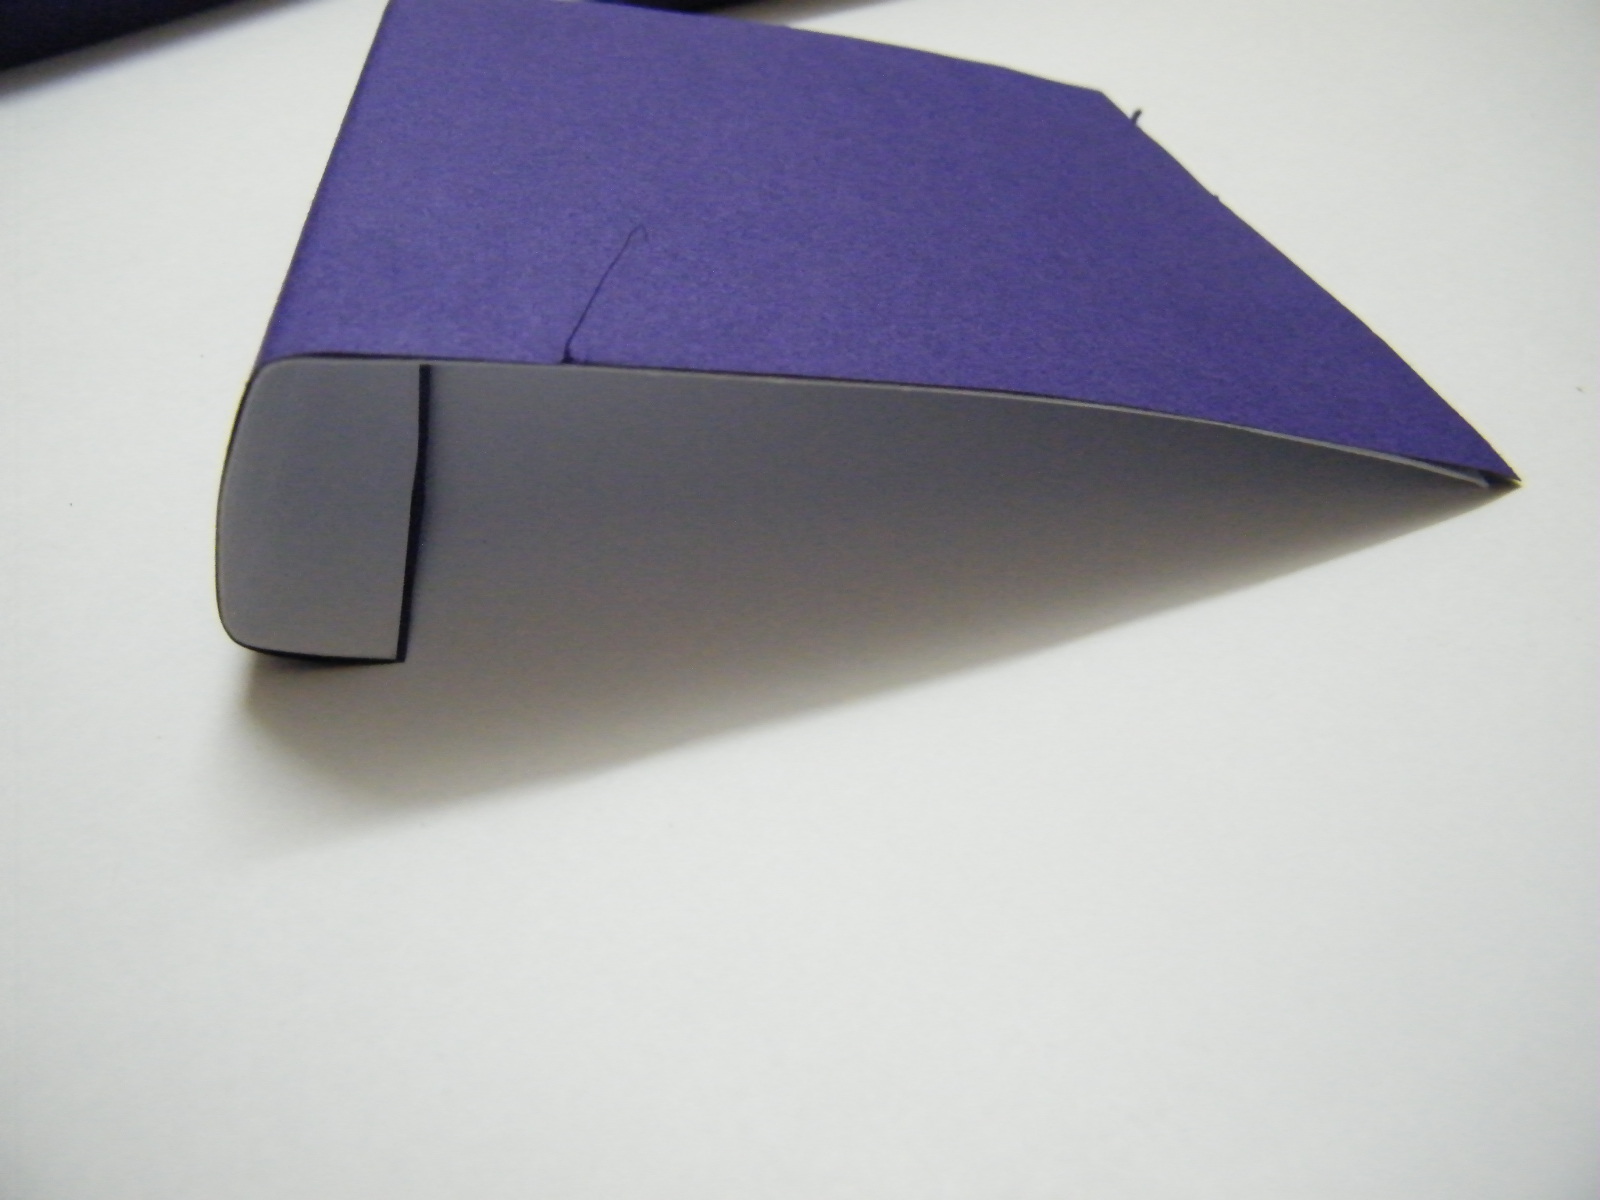
Step 3
Fold the paper as shown. The height of the middle fold should not be higher than the box. This entire piece should fit inside the box well even when it is closed.

Step 4
Cover the inside of the box as shown.
Step 5
Cover the top of the thick card piece.
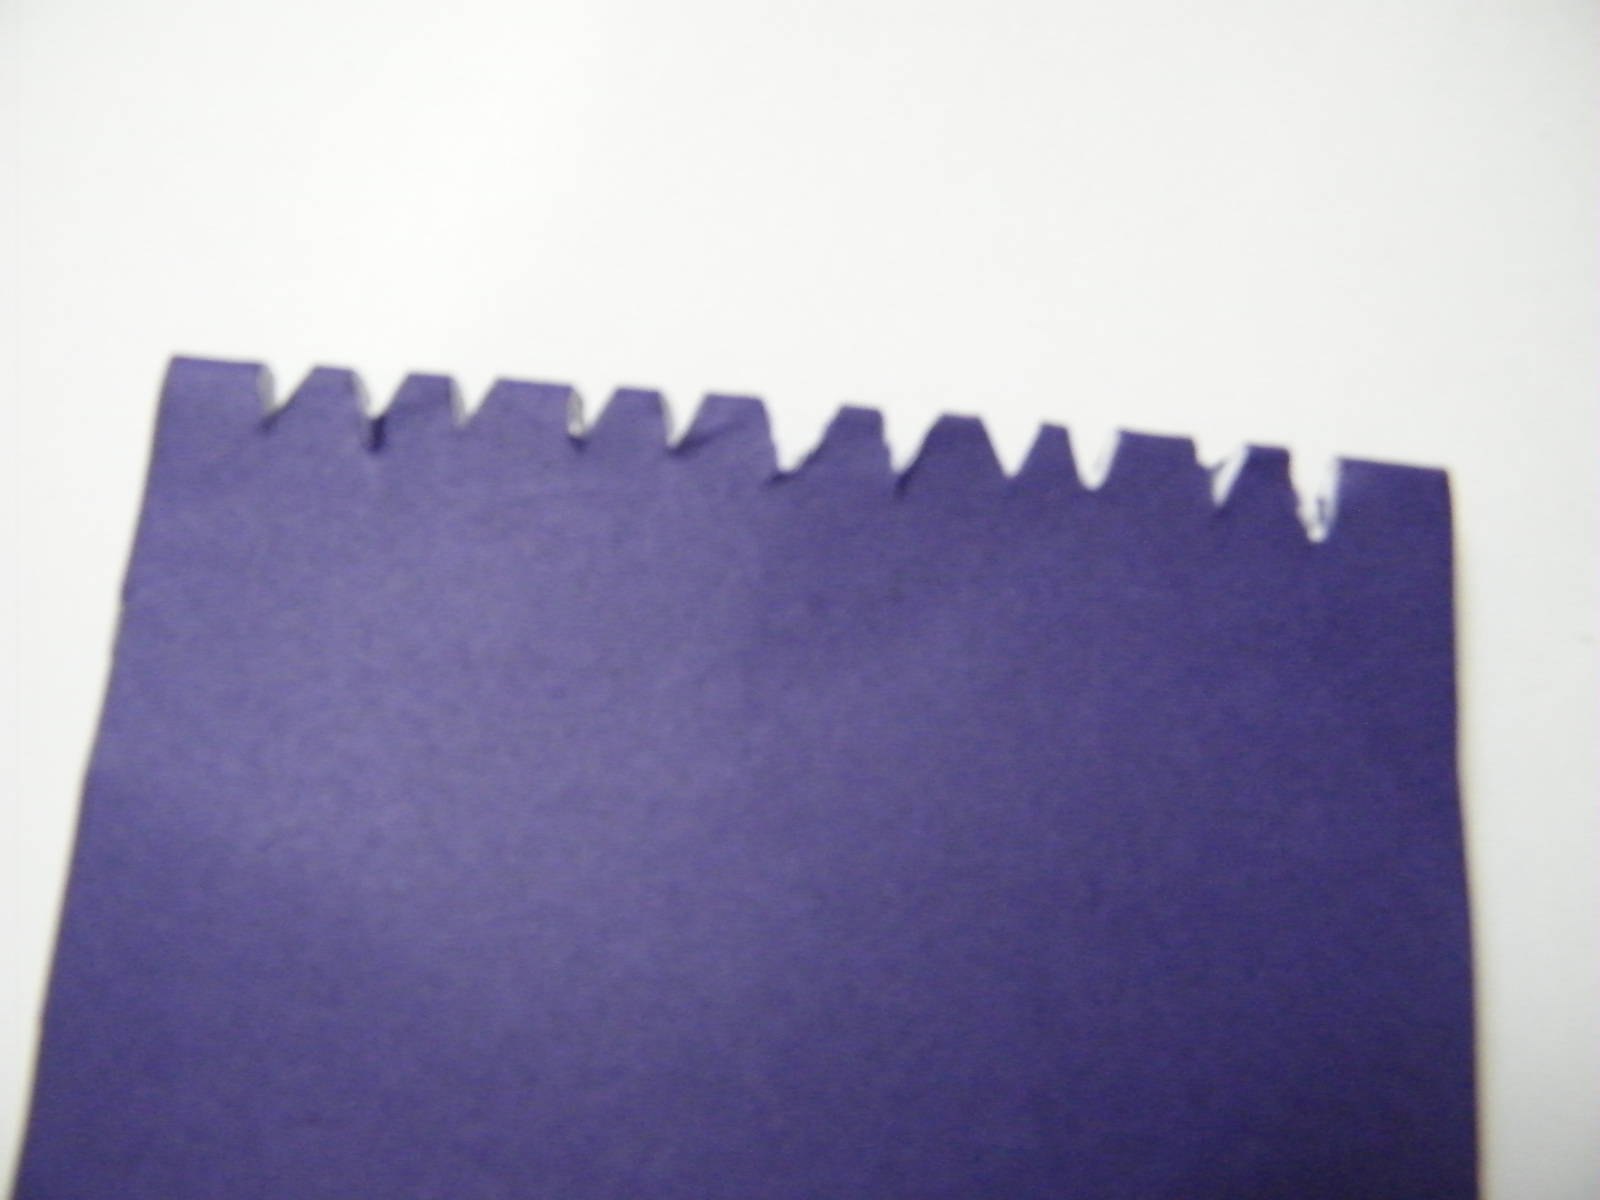
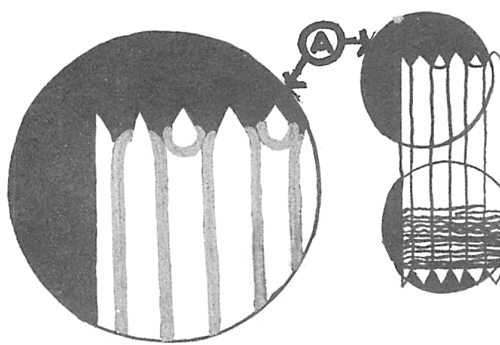
Step 6
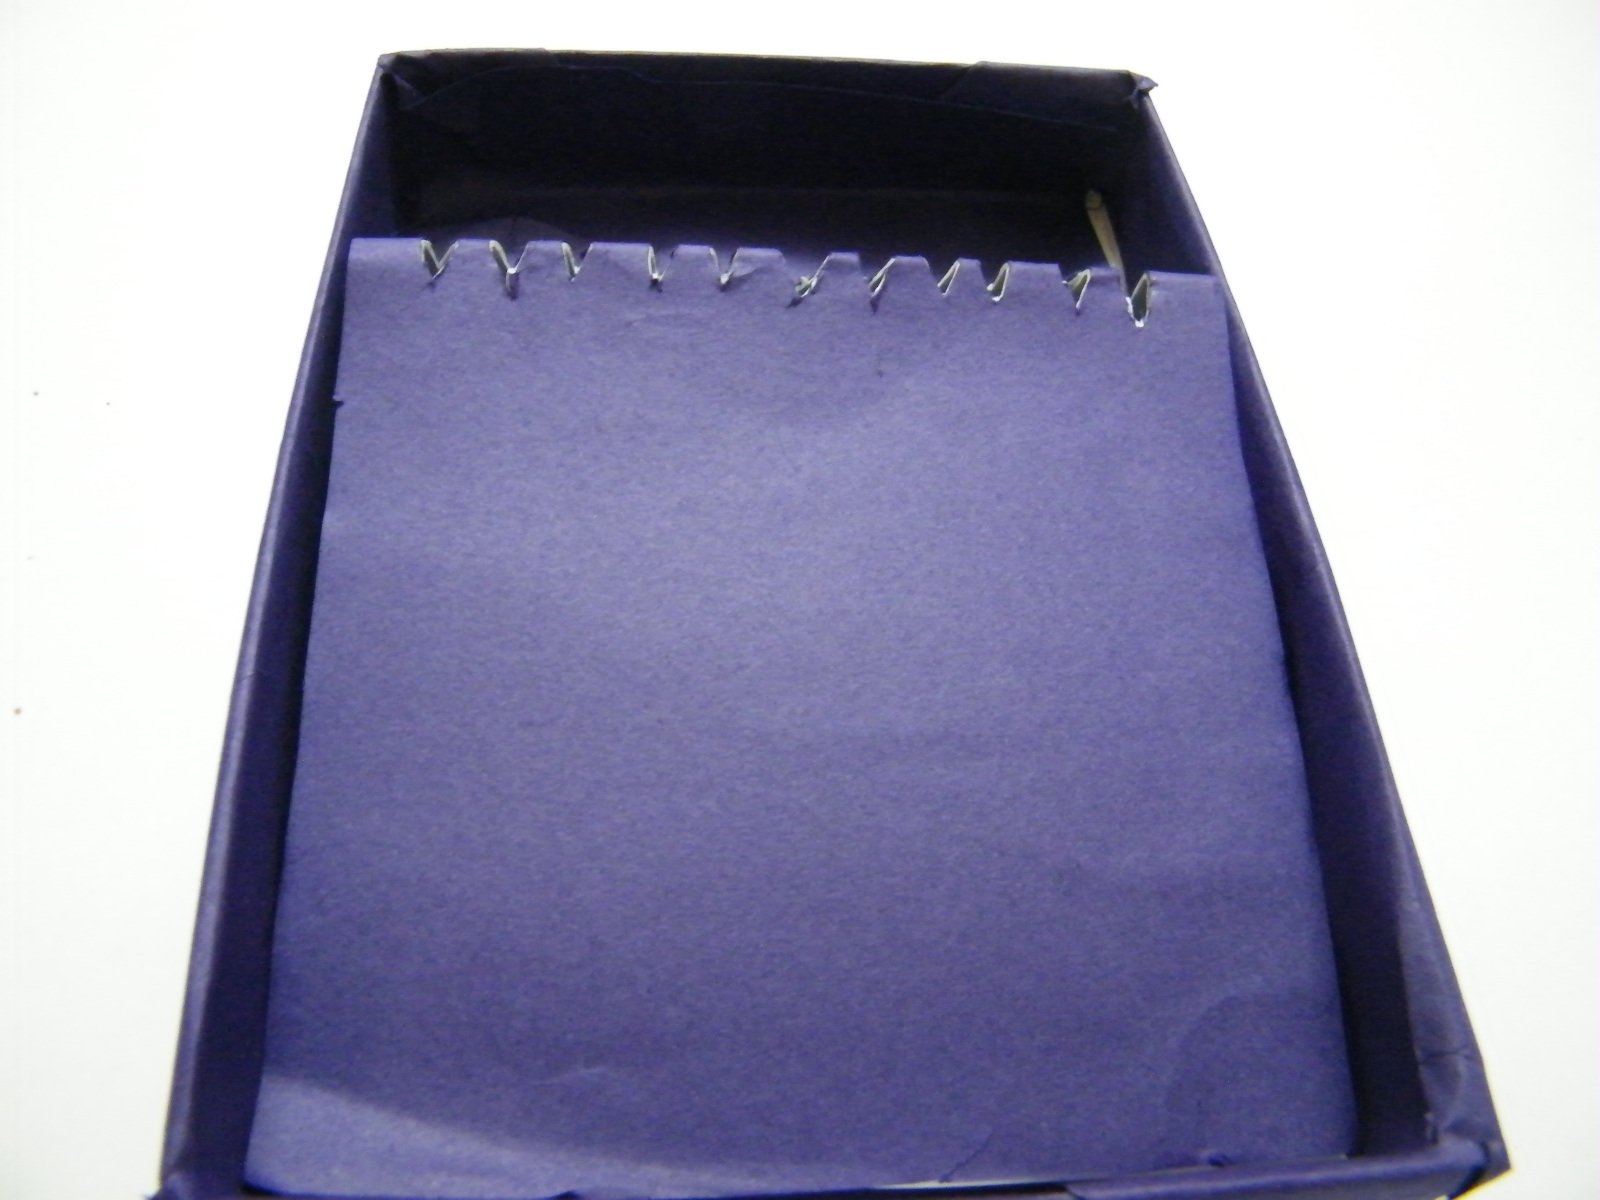
Fold the card and cut slits as shown.
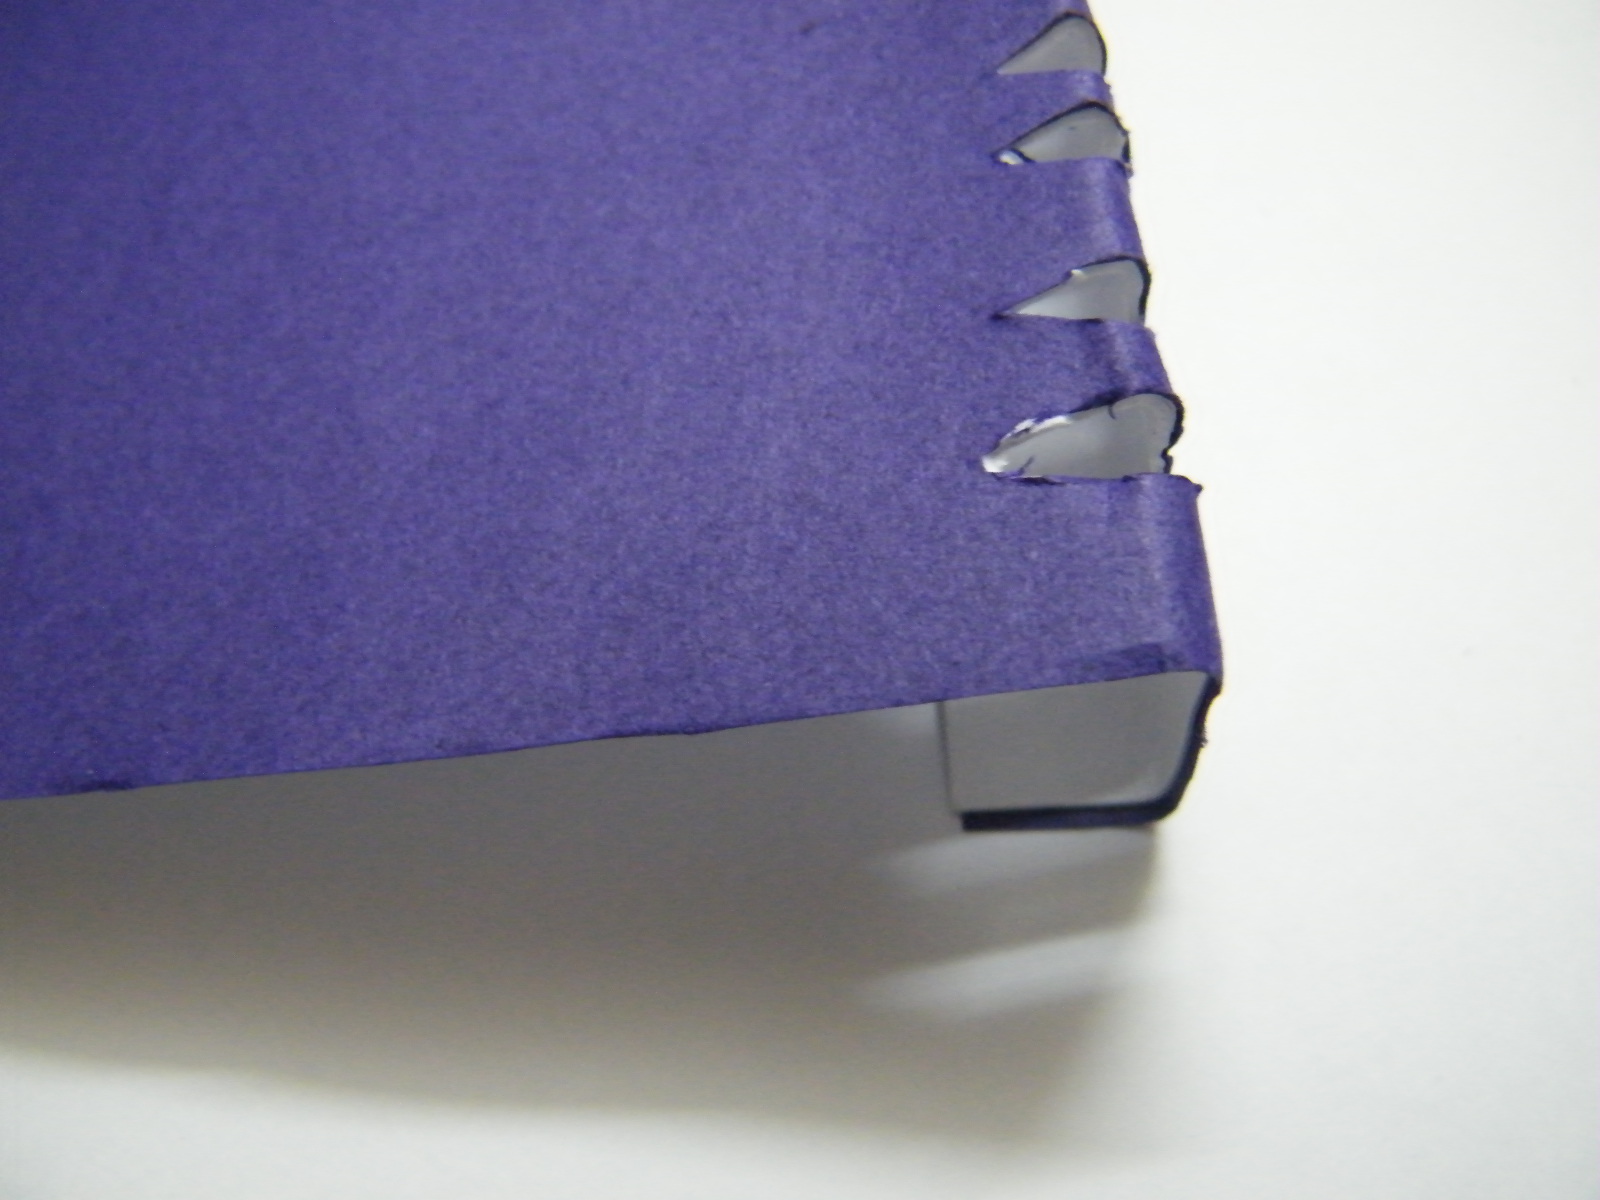
Step 7
When you open it, it will look like this.
Step 8
Glue this card to the box as shown below.
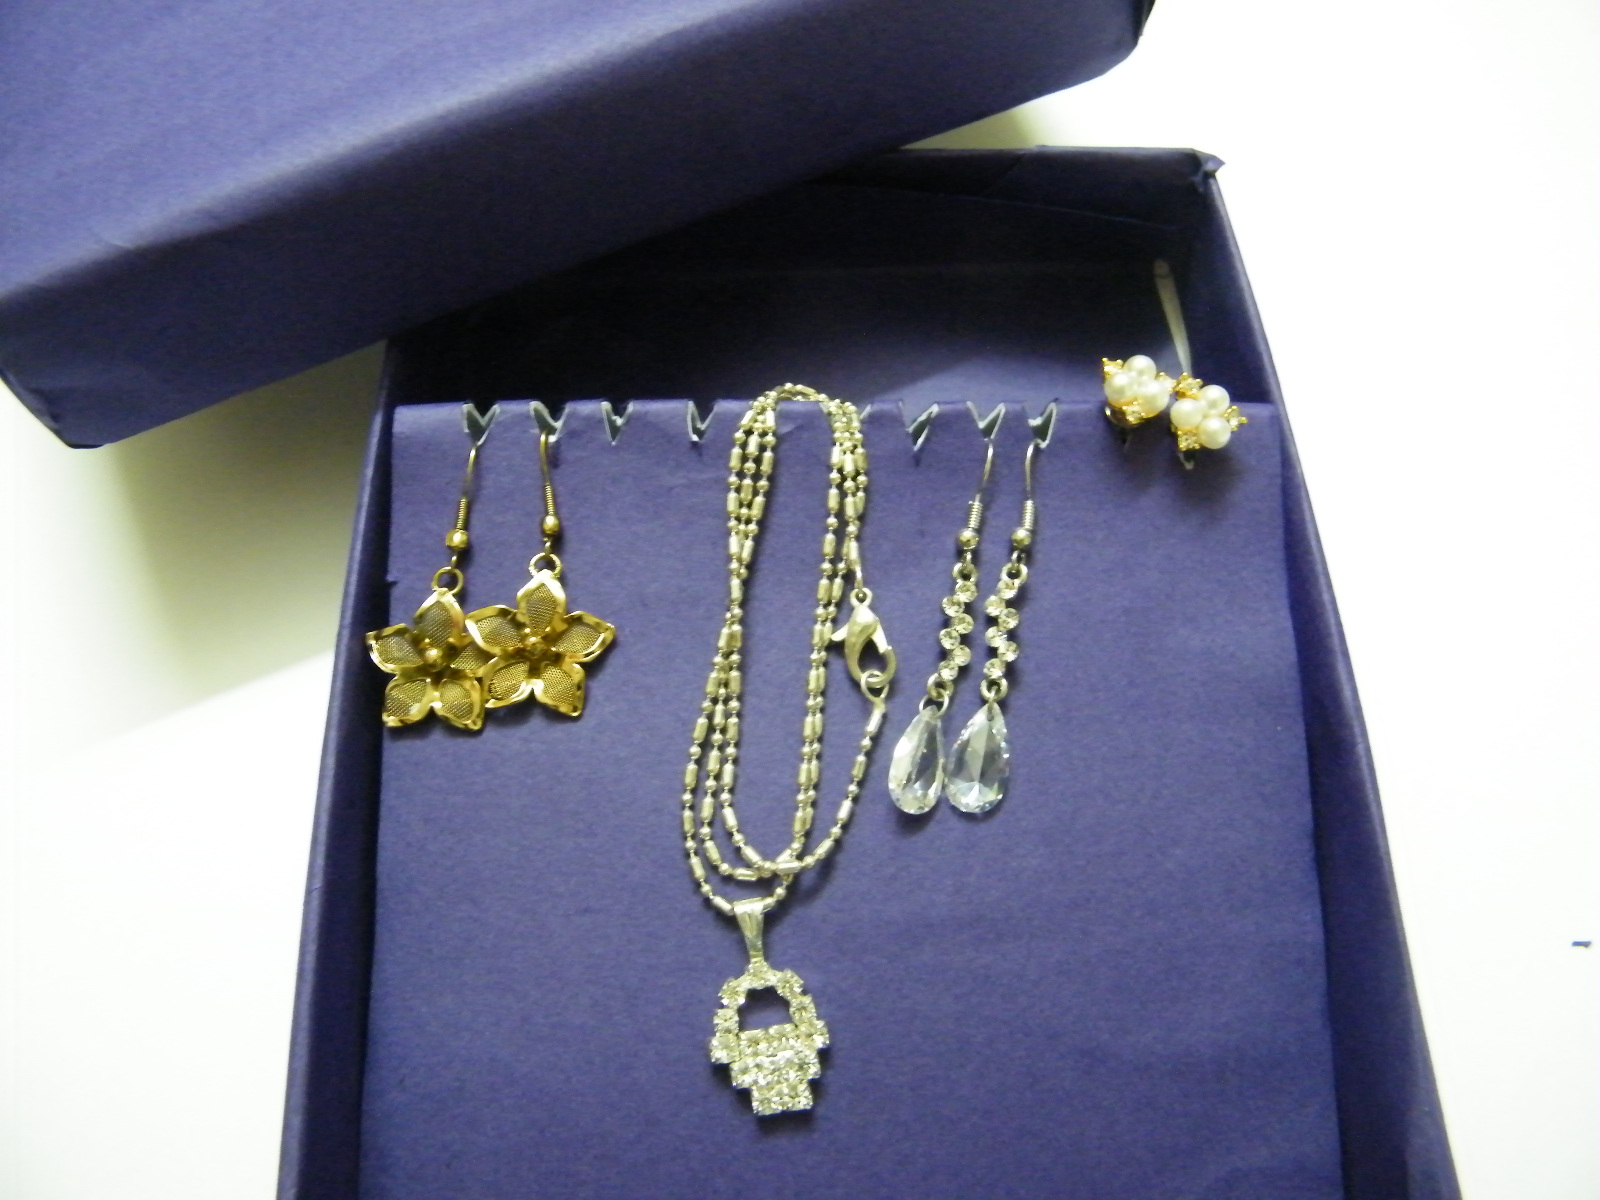
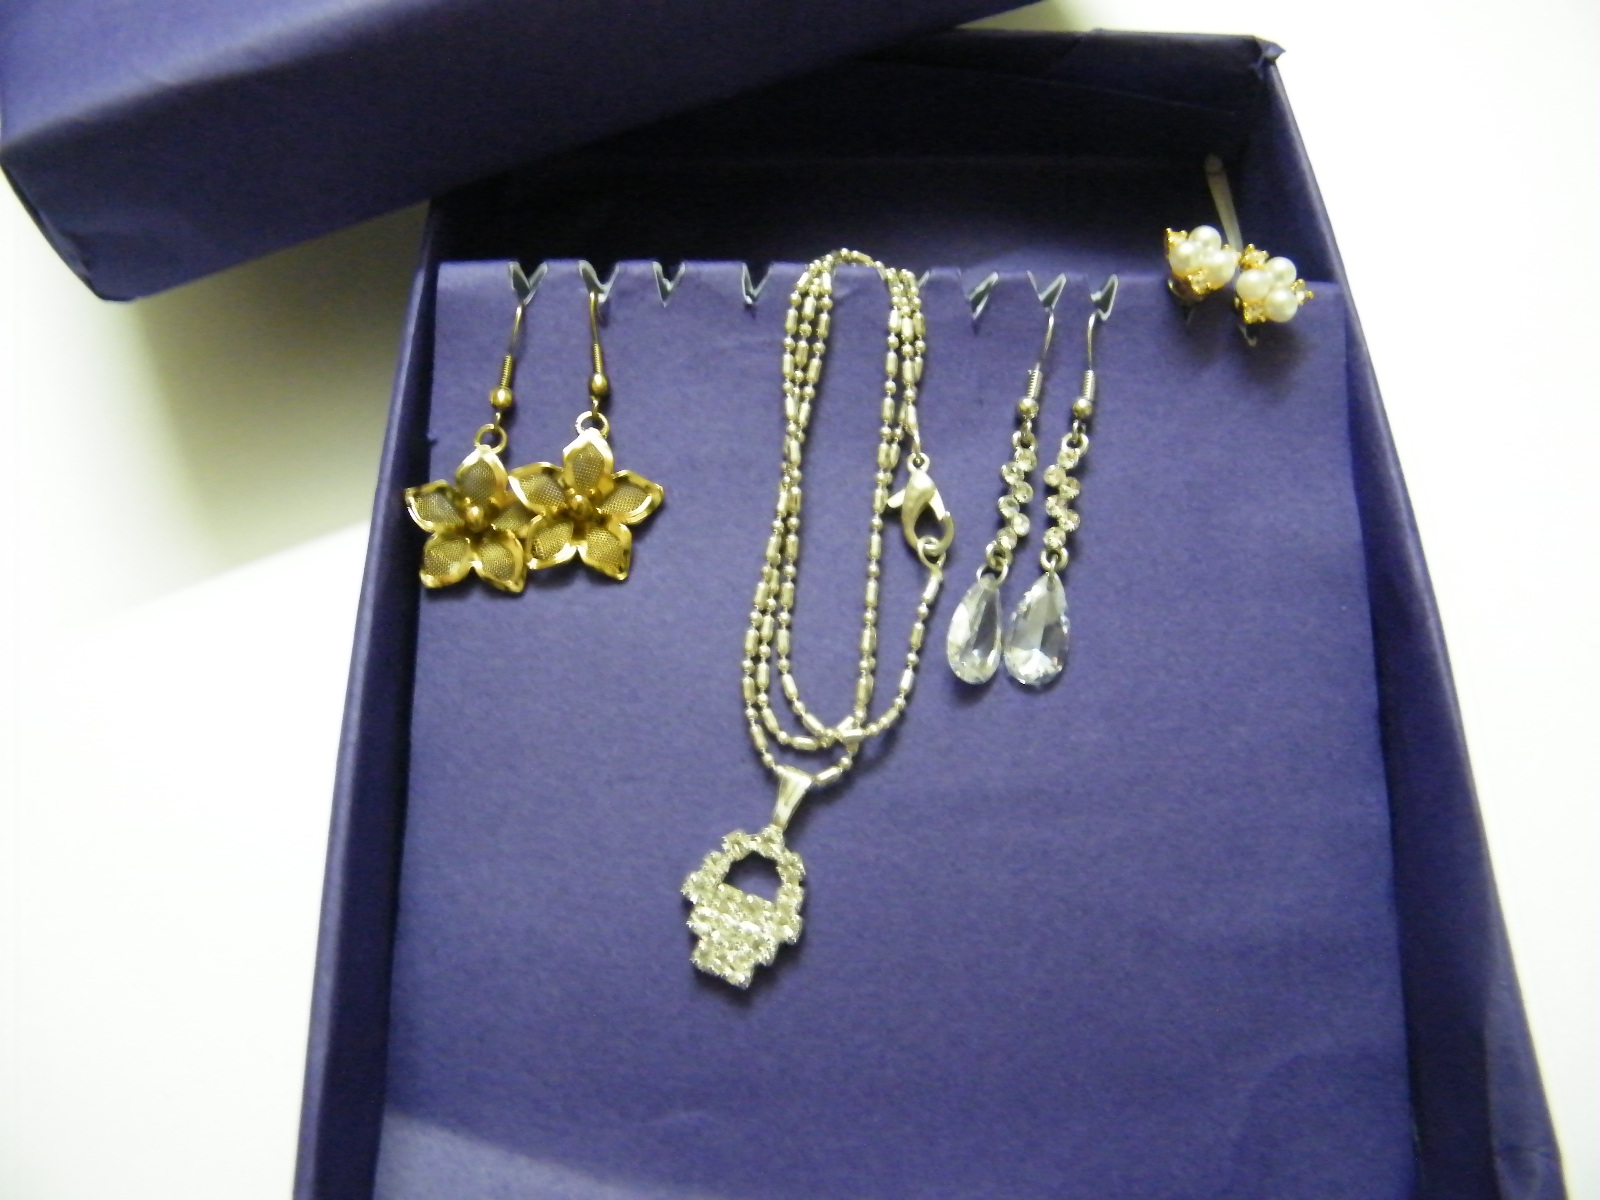
Step 9
Your mom can now keep her jewelry in this box as shown below.
Technorati Tags: make jewelry box, making jewelry box, how to make jewelry box, jewelry boxes, jewelry box, crafts for girls, crafts for kids, mothers day gifts, make mothers day gifts, mothers day, mothers day crafts, gifts for mom, make gifts for mom, box crafts, making boxes


 that are behind it.")


