Do you want to learn how to make a unique picture frame? Most picture frame crafts are for one photograph, but this one holds 3 photos. This would be perfect to make as a gift for Dad or Mom for family photos…and it would look great on their office desk. If you want to learn how to make a tri-fold picture frame, then look at the directions below.
FYI…this craft is for older children – 9 and up….younger children can do it with help from an adult / parent / teacher.

How to Make Tri-Fold Picture Frame Gift That Holds 3 Photos for Dad’s Desk on Father’s Day
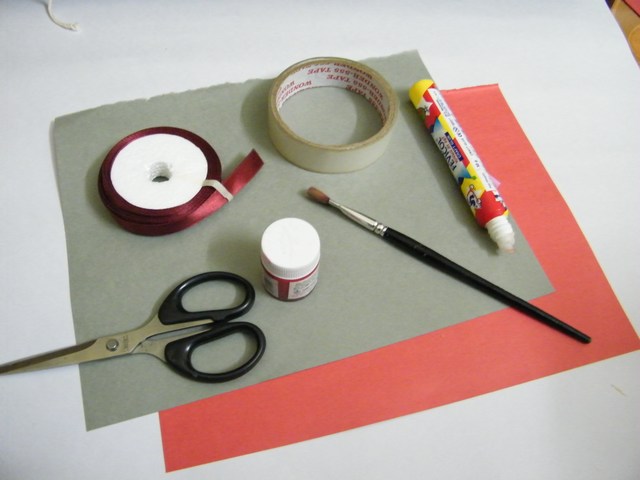
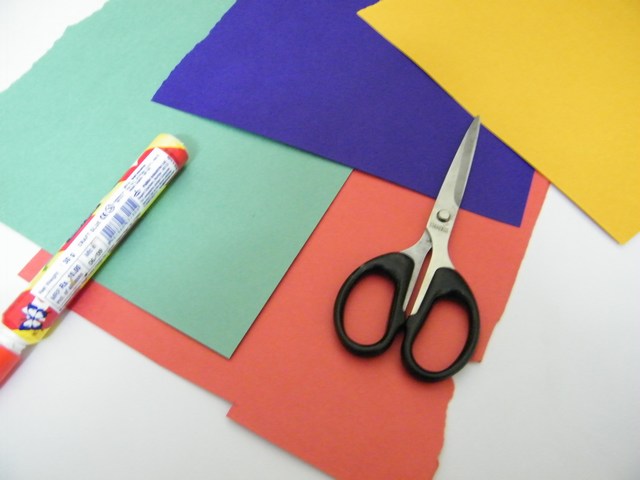
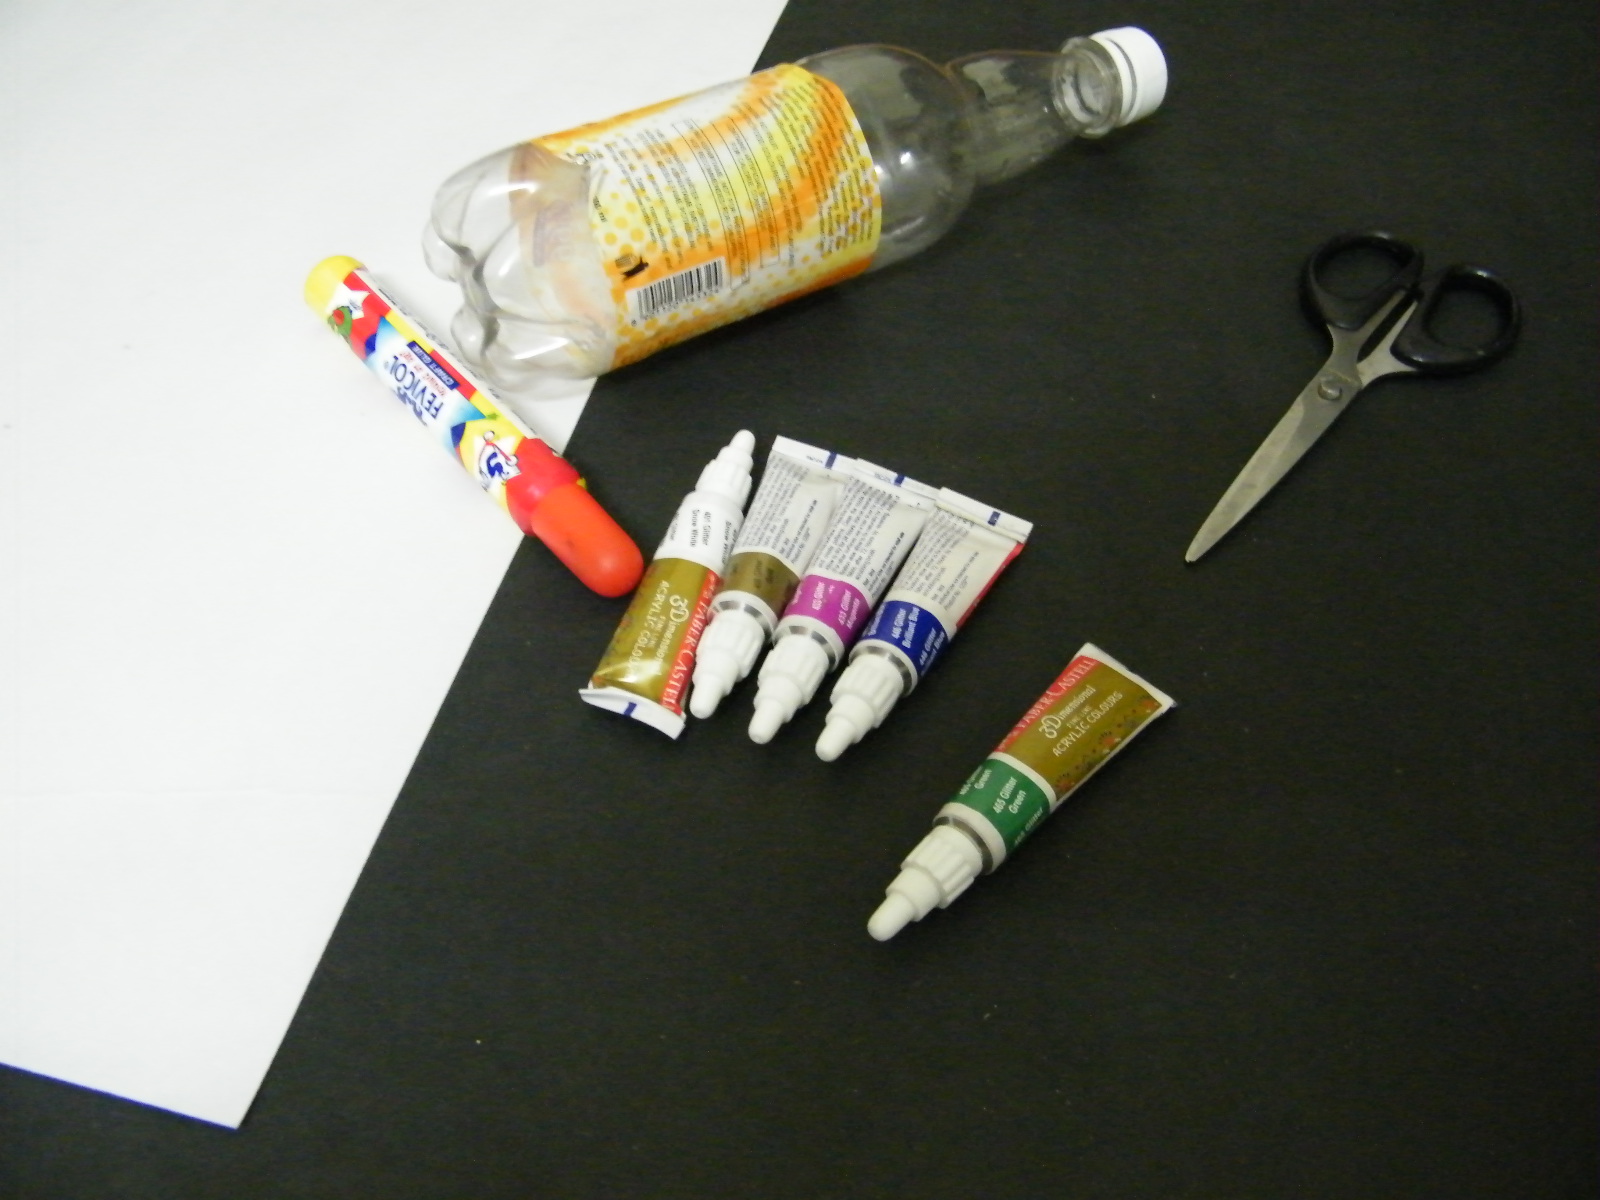
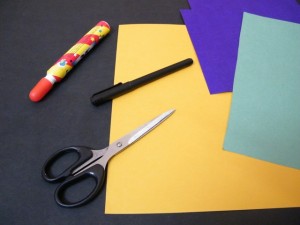
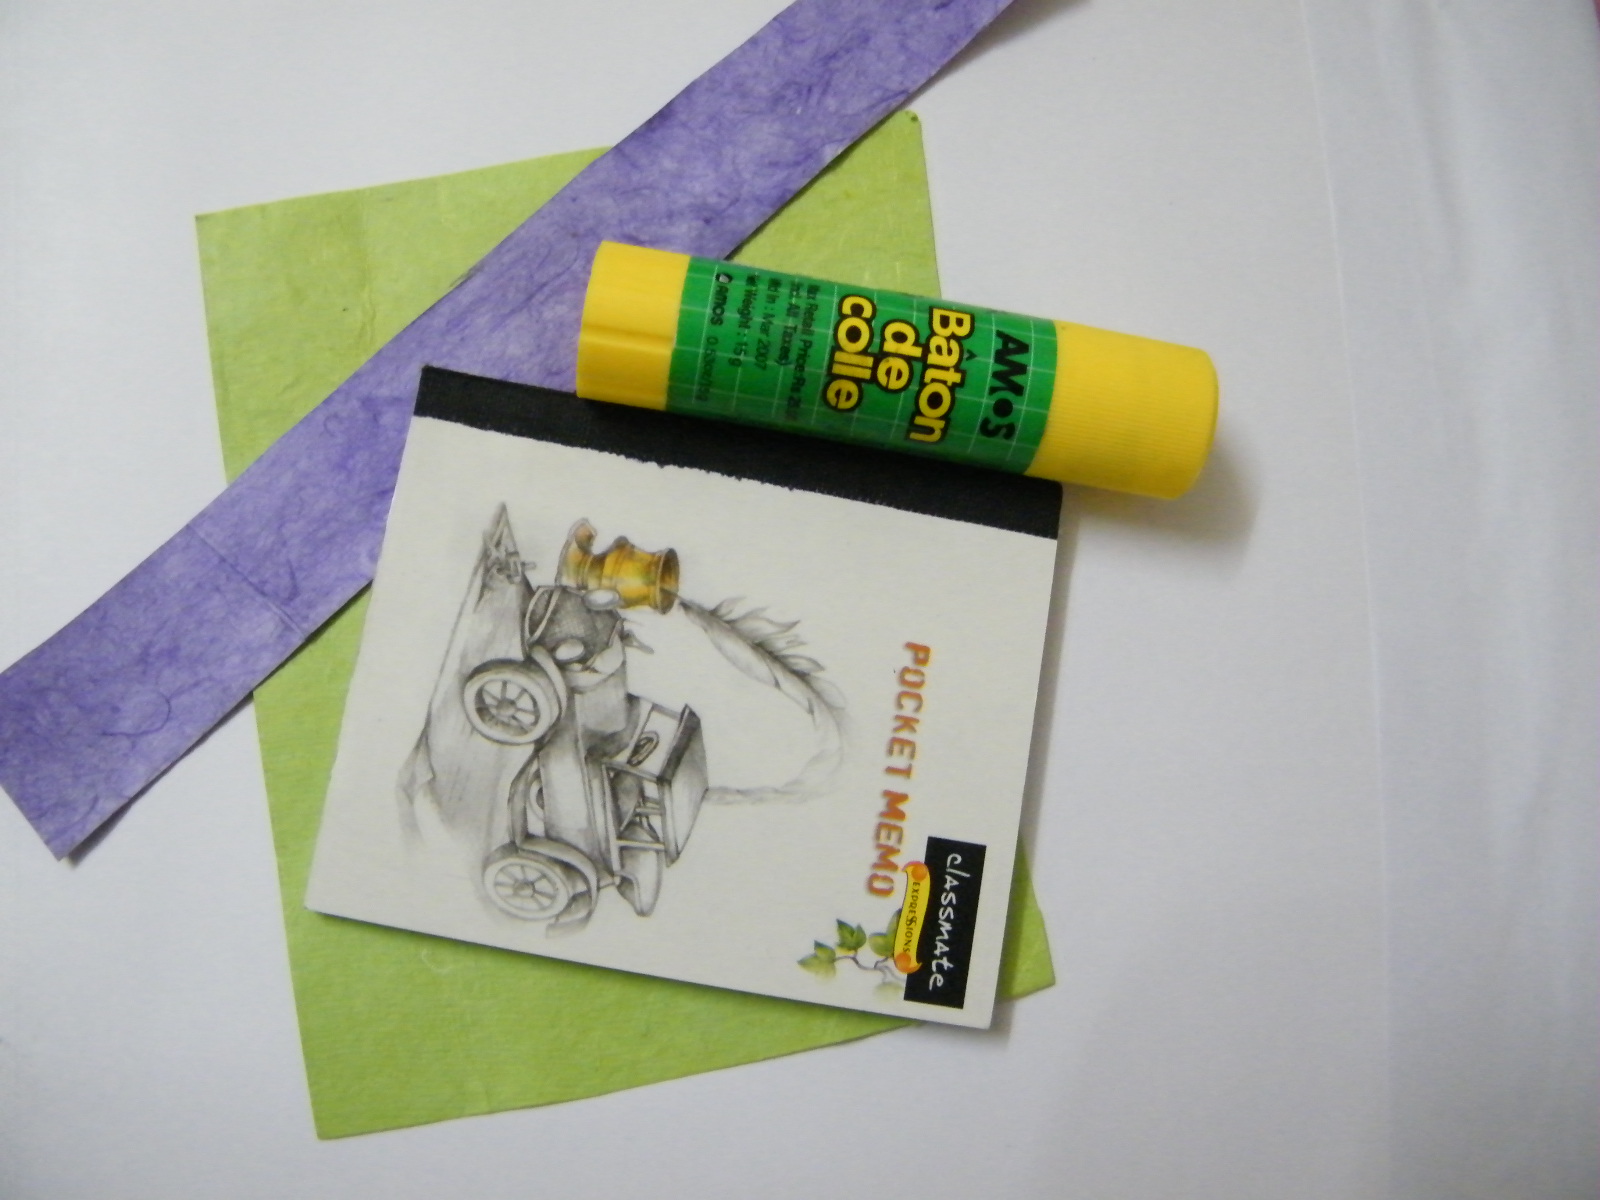
CRAFTS MATERIALS THAT YOU WILL NEED:
– Cardboard, 15 by 5 inches
– 2 Pieces of felt, each 16 by 5′ inches
– 3 Snapshots (family photos)
– Wool thread in contrasting color
– Needle with large eye
– Scissors
– Tape measure
– Glue Stick, Rubber Cement, or other Adhesive
– Chalk
HOW TO MAKE THIS CRAFT : TRI-FOLD FAMILY PICTURE FRAME
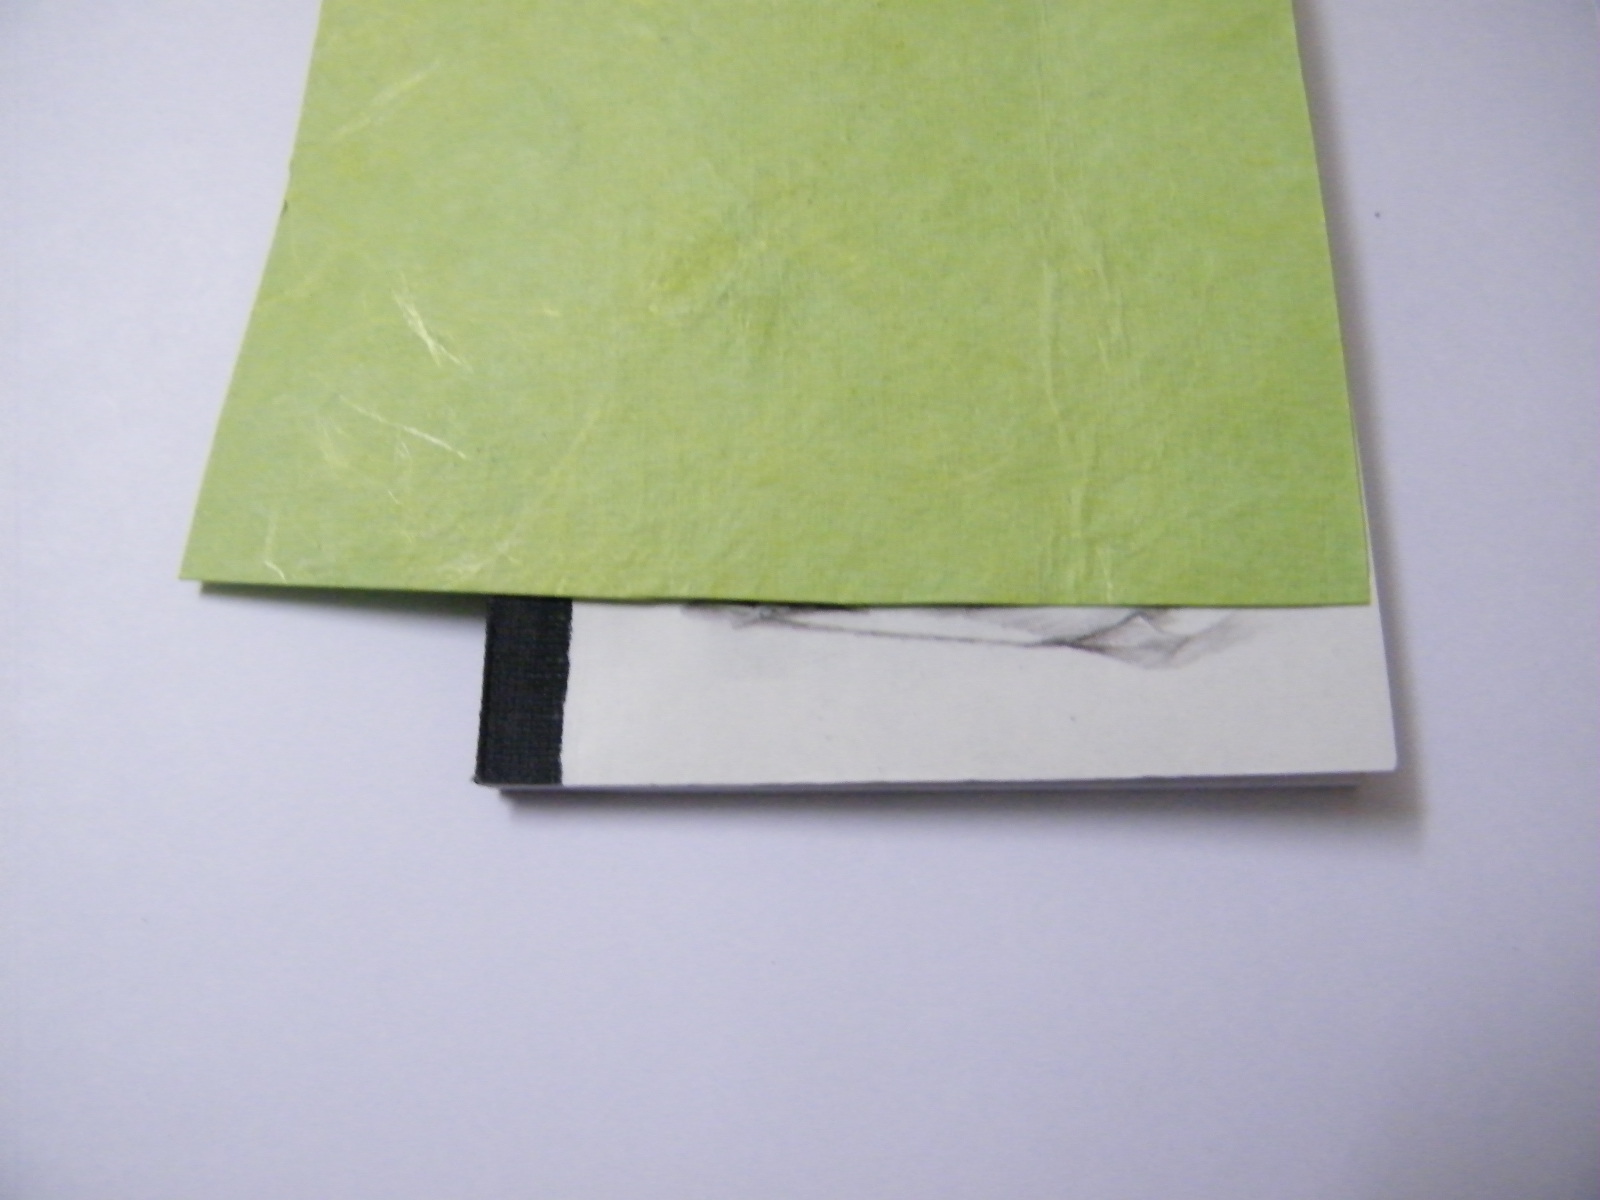
Step 1
Cut the cardboard into three pieces, each 5 by 5 inches. Paste one photography on each piece. Try to choose pictures that you father will look at and feel all mushy and sentimental.

Step 2
[ad#ahc]
Arrange the three pieces side by side and lay one piece of felt over them. Leave 1/2 inch between the pieces of cardboard,since the felt is 1 inch wider than the three pieces of cardboard.

Step 3
Mark with chalk either an oval or square shape where the felt is to be cut out to show the underlying family photographs. Cut out these pieces of felt.

Step 4
Sew a long-and-short blanket-stitch border around each hole (see instructions on blanket stitching below) using the pretty wool thread.
Tip: How to Sew a Blanket Stitch

To blanket stitch, make a knot at the end of your piece of thread. Put your needle in 1/4 inch from the edge of the fabric, put the thread under the point of the needle and then pull the needle with the rest of the thread through. Repeat until finished.
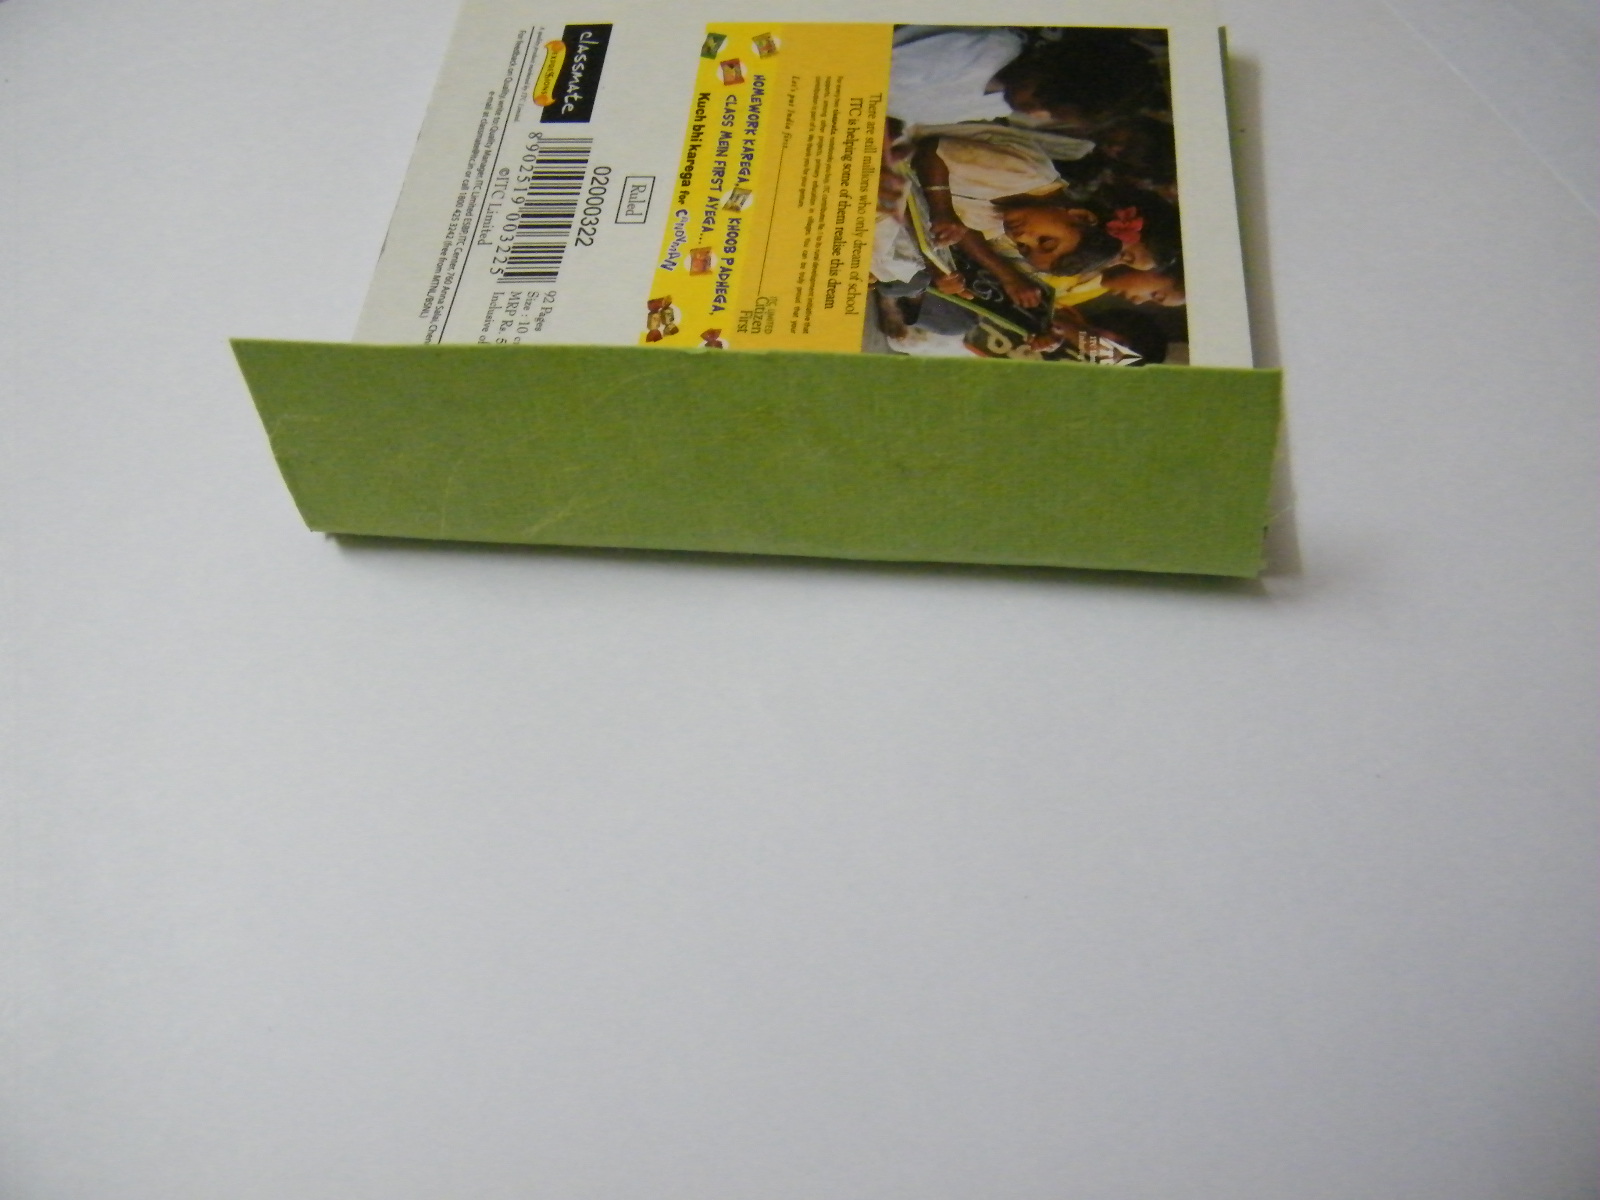
Step 5
Glue the felt with the holes over the cardboard so the snapshots show through. Glue the other piece of felt to the back of the three pieces of cardboard.

Step 6
Sew a running stitch (see instructions for sewing the running stitch right below.) in places marked A and B in the illustration and then the frame is ready.

Tip : How to Make the Running Stitch

Begin sewing this stitch with three or four little stitches sewn one over the other, instead of making a knot in the thread. The running stitch itself is a small, even stitch, running on a straight line. Try to make each stitch about 1/8 inch long, though if it is closer to 1/4 of an inch no thunder or lightning are going to strike you. You can run up to six of these little stitches on the needle and then pull the needle through the fabric. Finish your seam with three or four little stitches sewn one on top of the other.
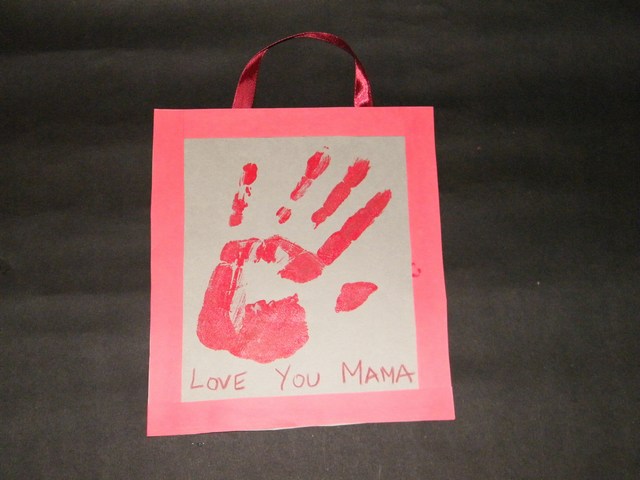
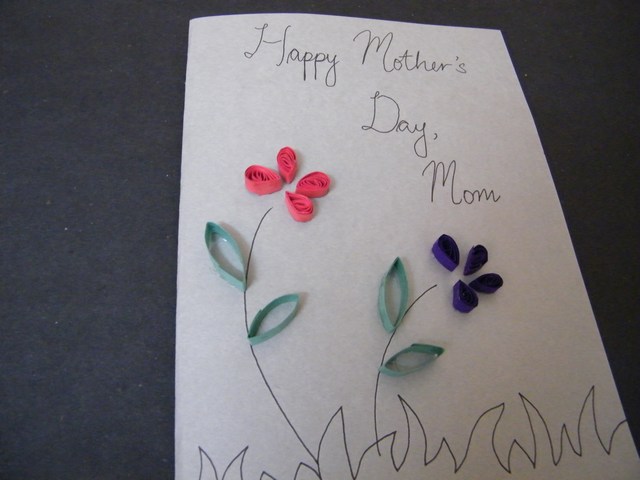
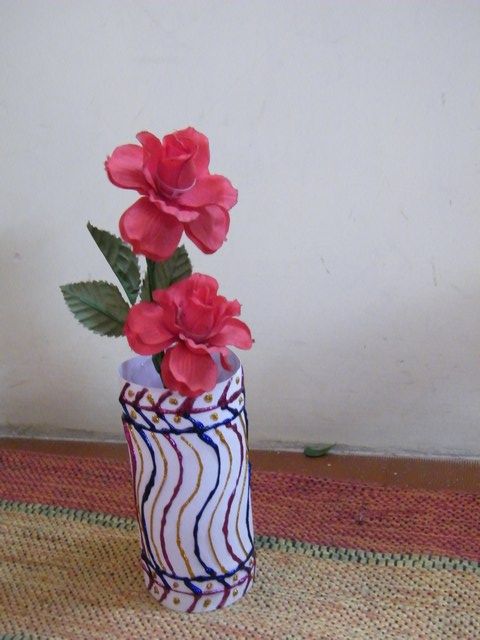
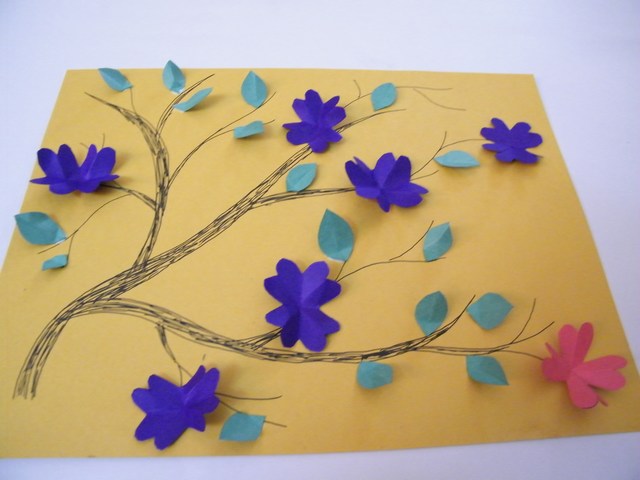
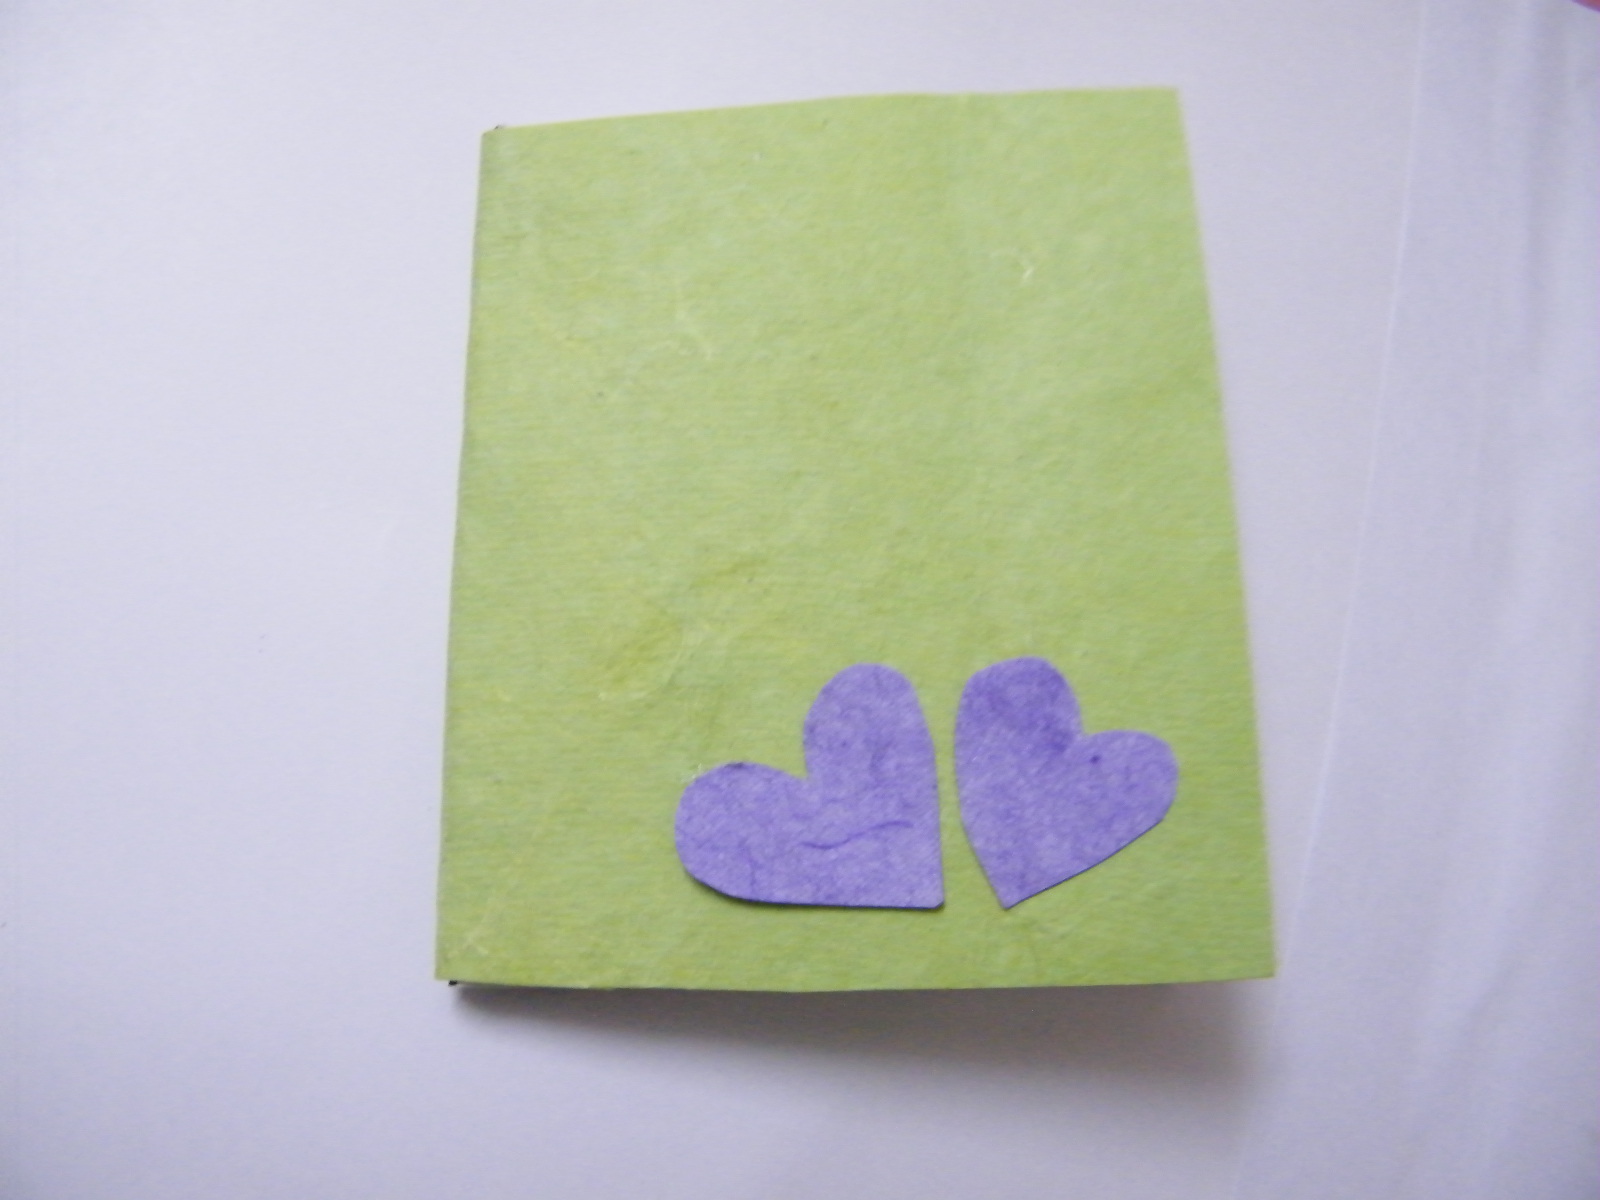
Below you can see what the finished picture frame will look like.

Technorati Tags: make picture frames, making picture frames, make picture holders, making picture holders, picture frame crafts, kids frame crafts, make tri-fold frame, making tri-fold frame, kids picture frame crafts, fathers day crafts, fathers day gifts, make gifts, making gifts, gifts for dad, crafts for kids, kids crafts


")


")