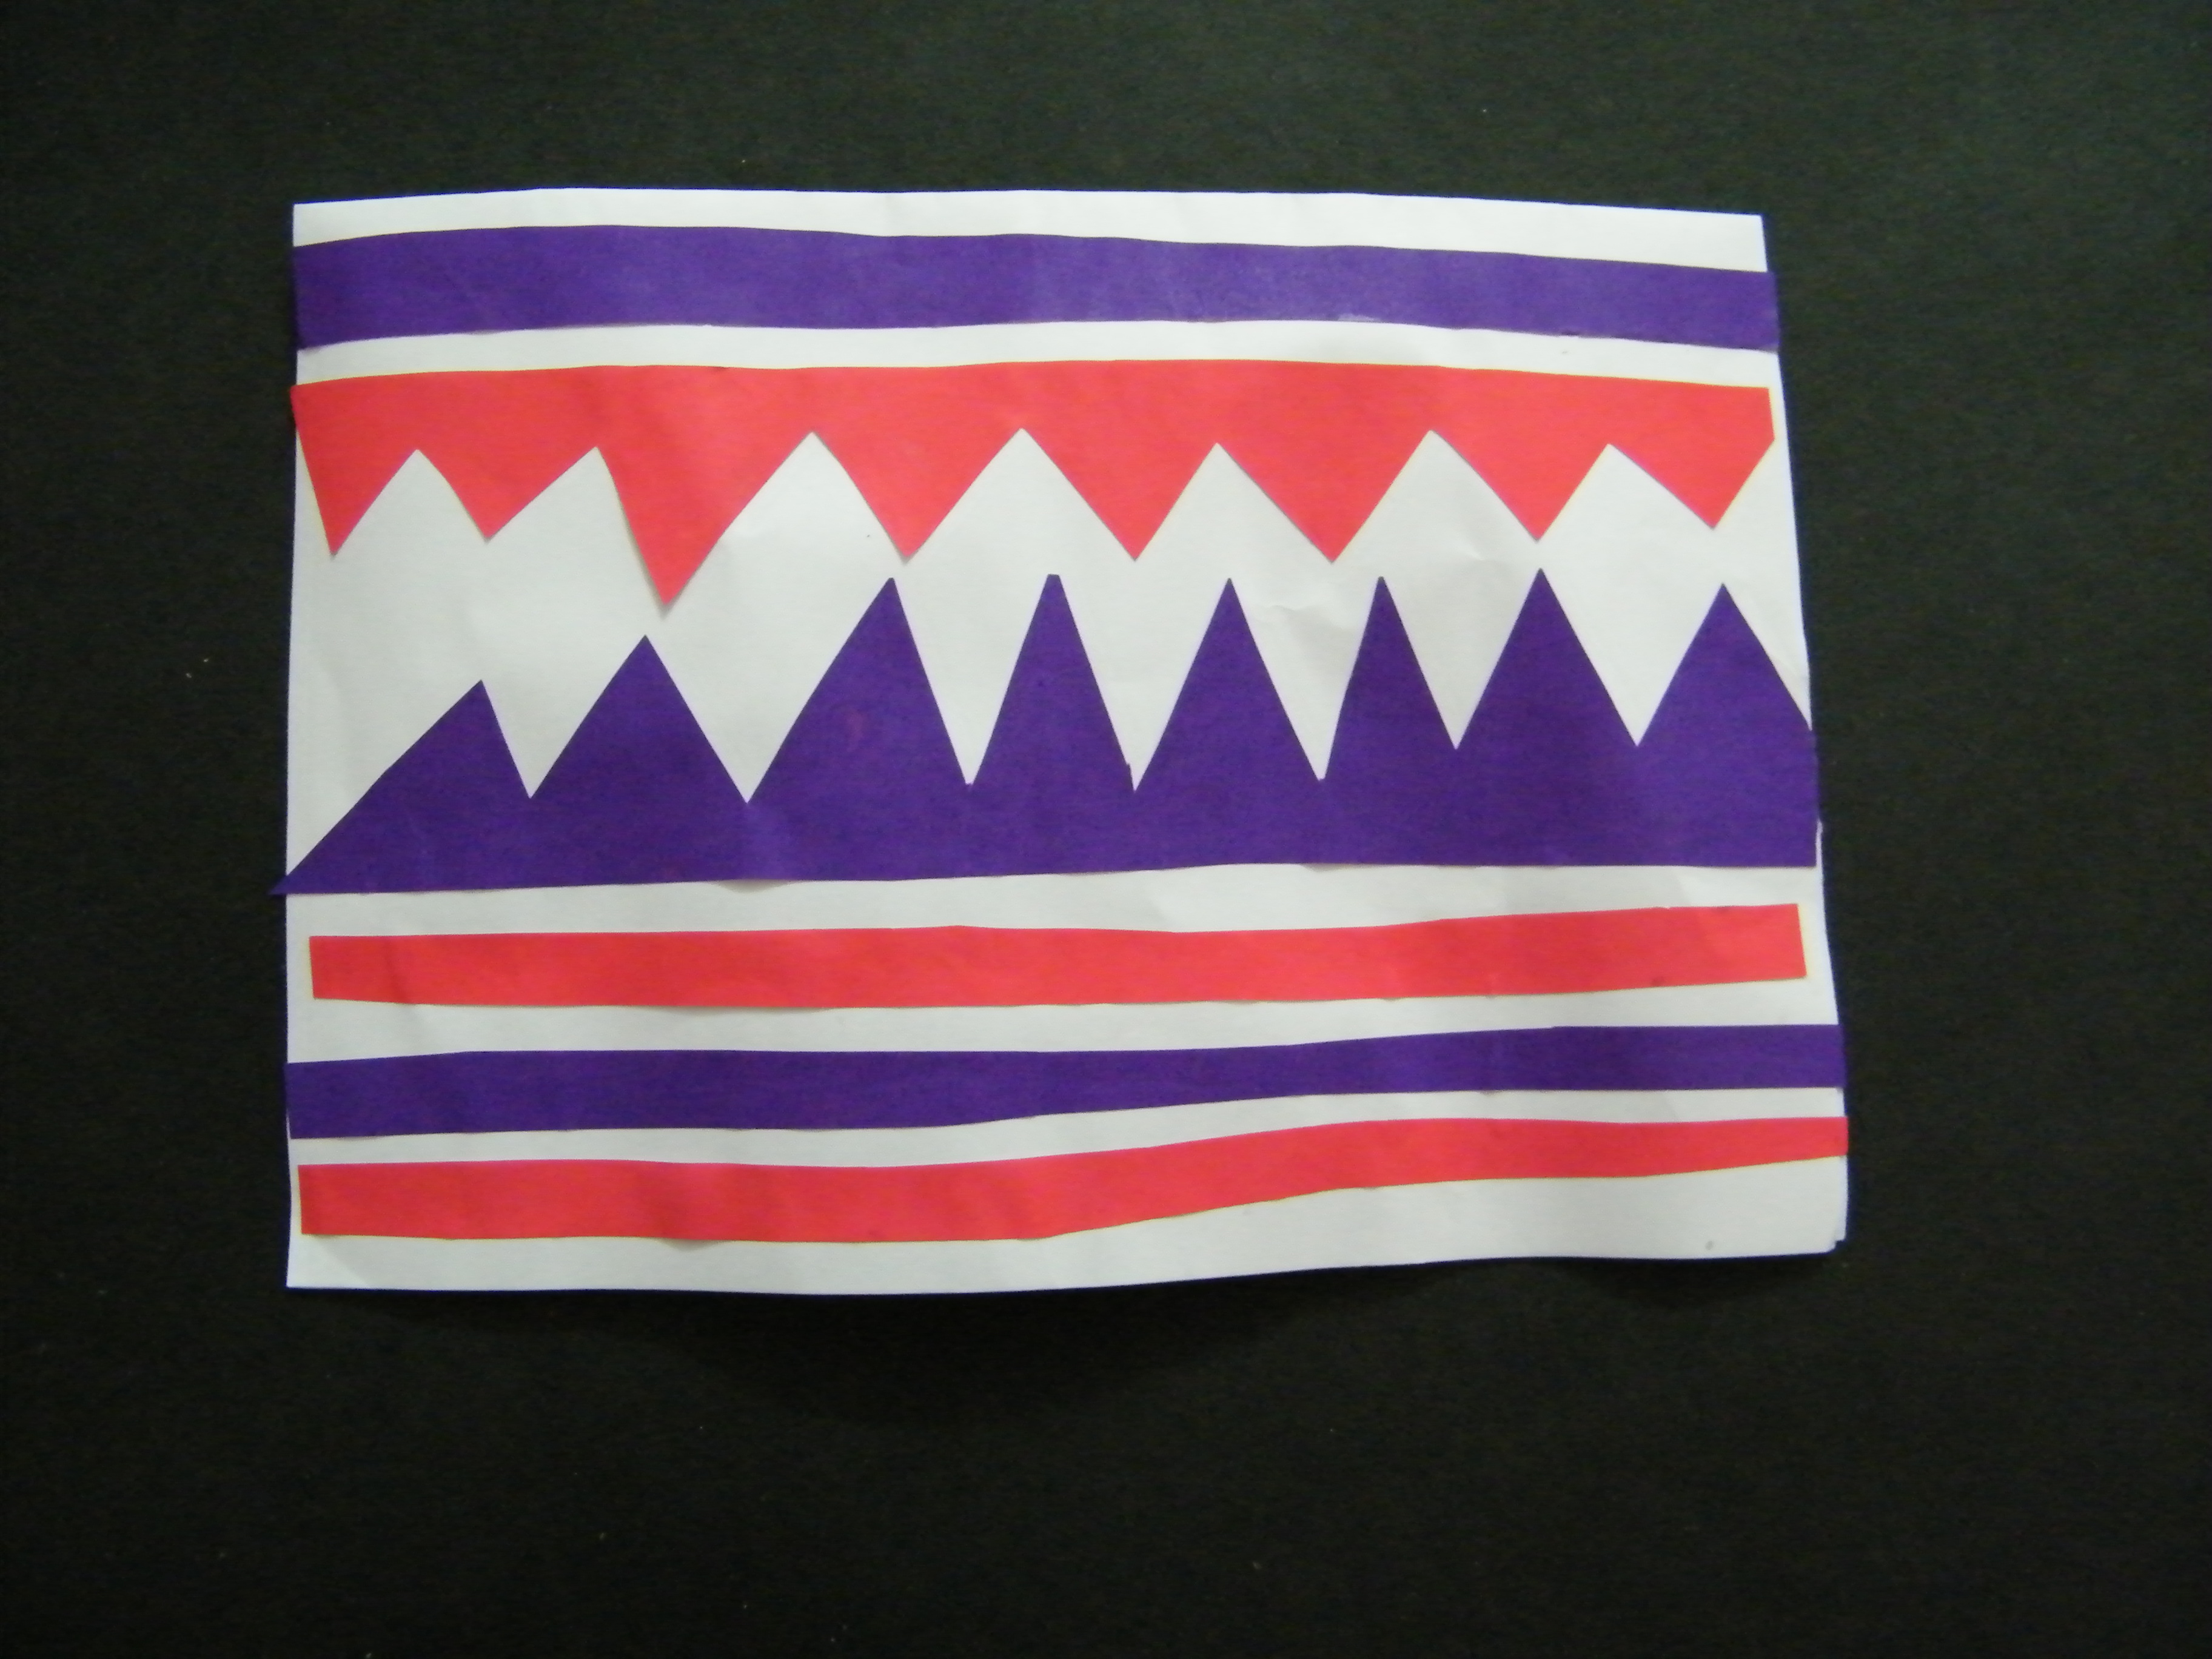
It is almost New Years Eve and Day so I thought that I would make a special craft for this special time. It is nice to put aside special treasures, mementos, pictures, certificates, love letters, or whatever else you find important to you. You can use this special fold-up, accordion pocketed book to hold all the memories of this year or next year … and then you can put it away as if it were a time capsule. Then you can try not to look at it for 10 years. You will be surprised at how much you have changed in that amount of time. Have fun.
Making a New Years Memory Accordion Pocket Book to Hold Precious Memories

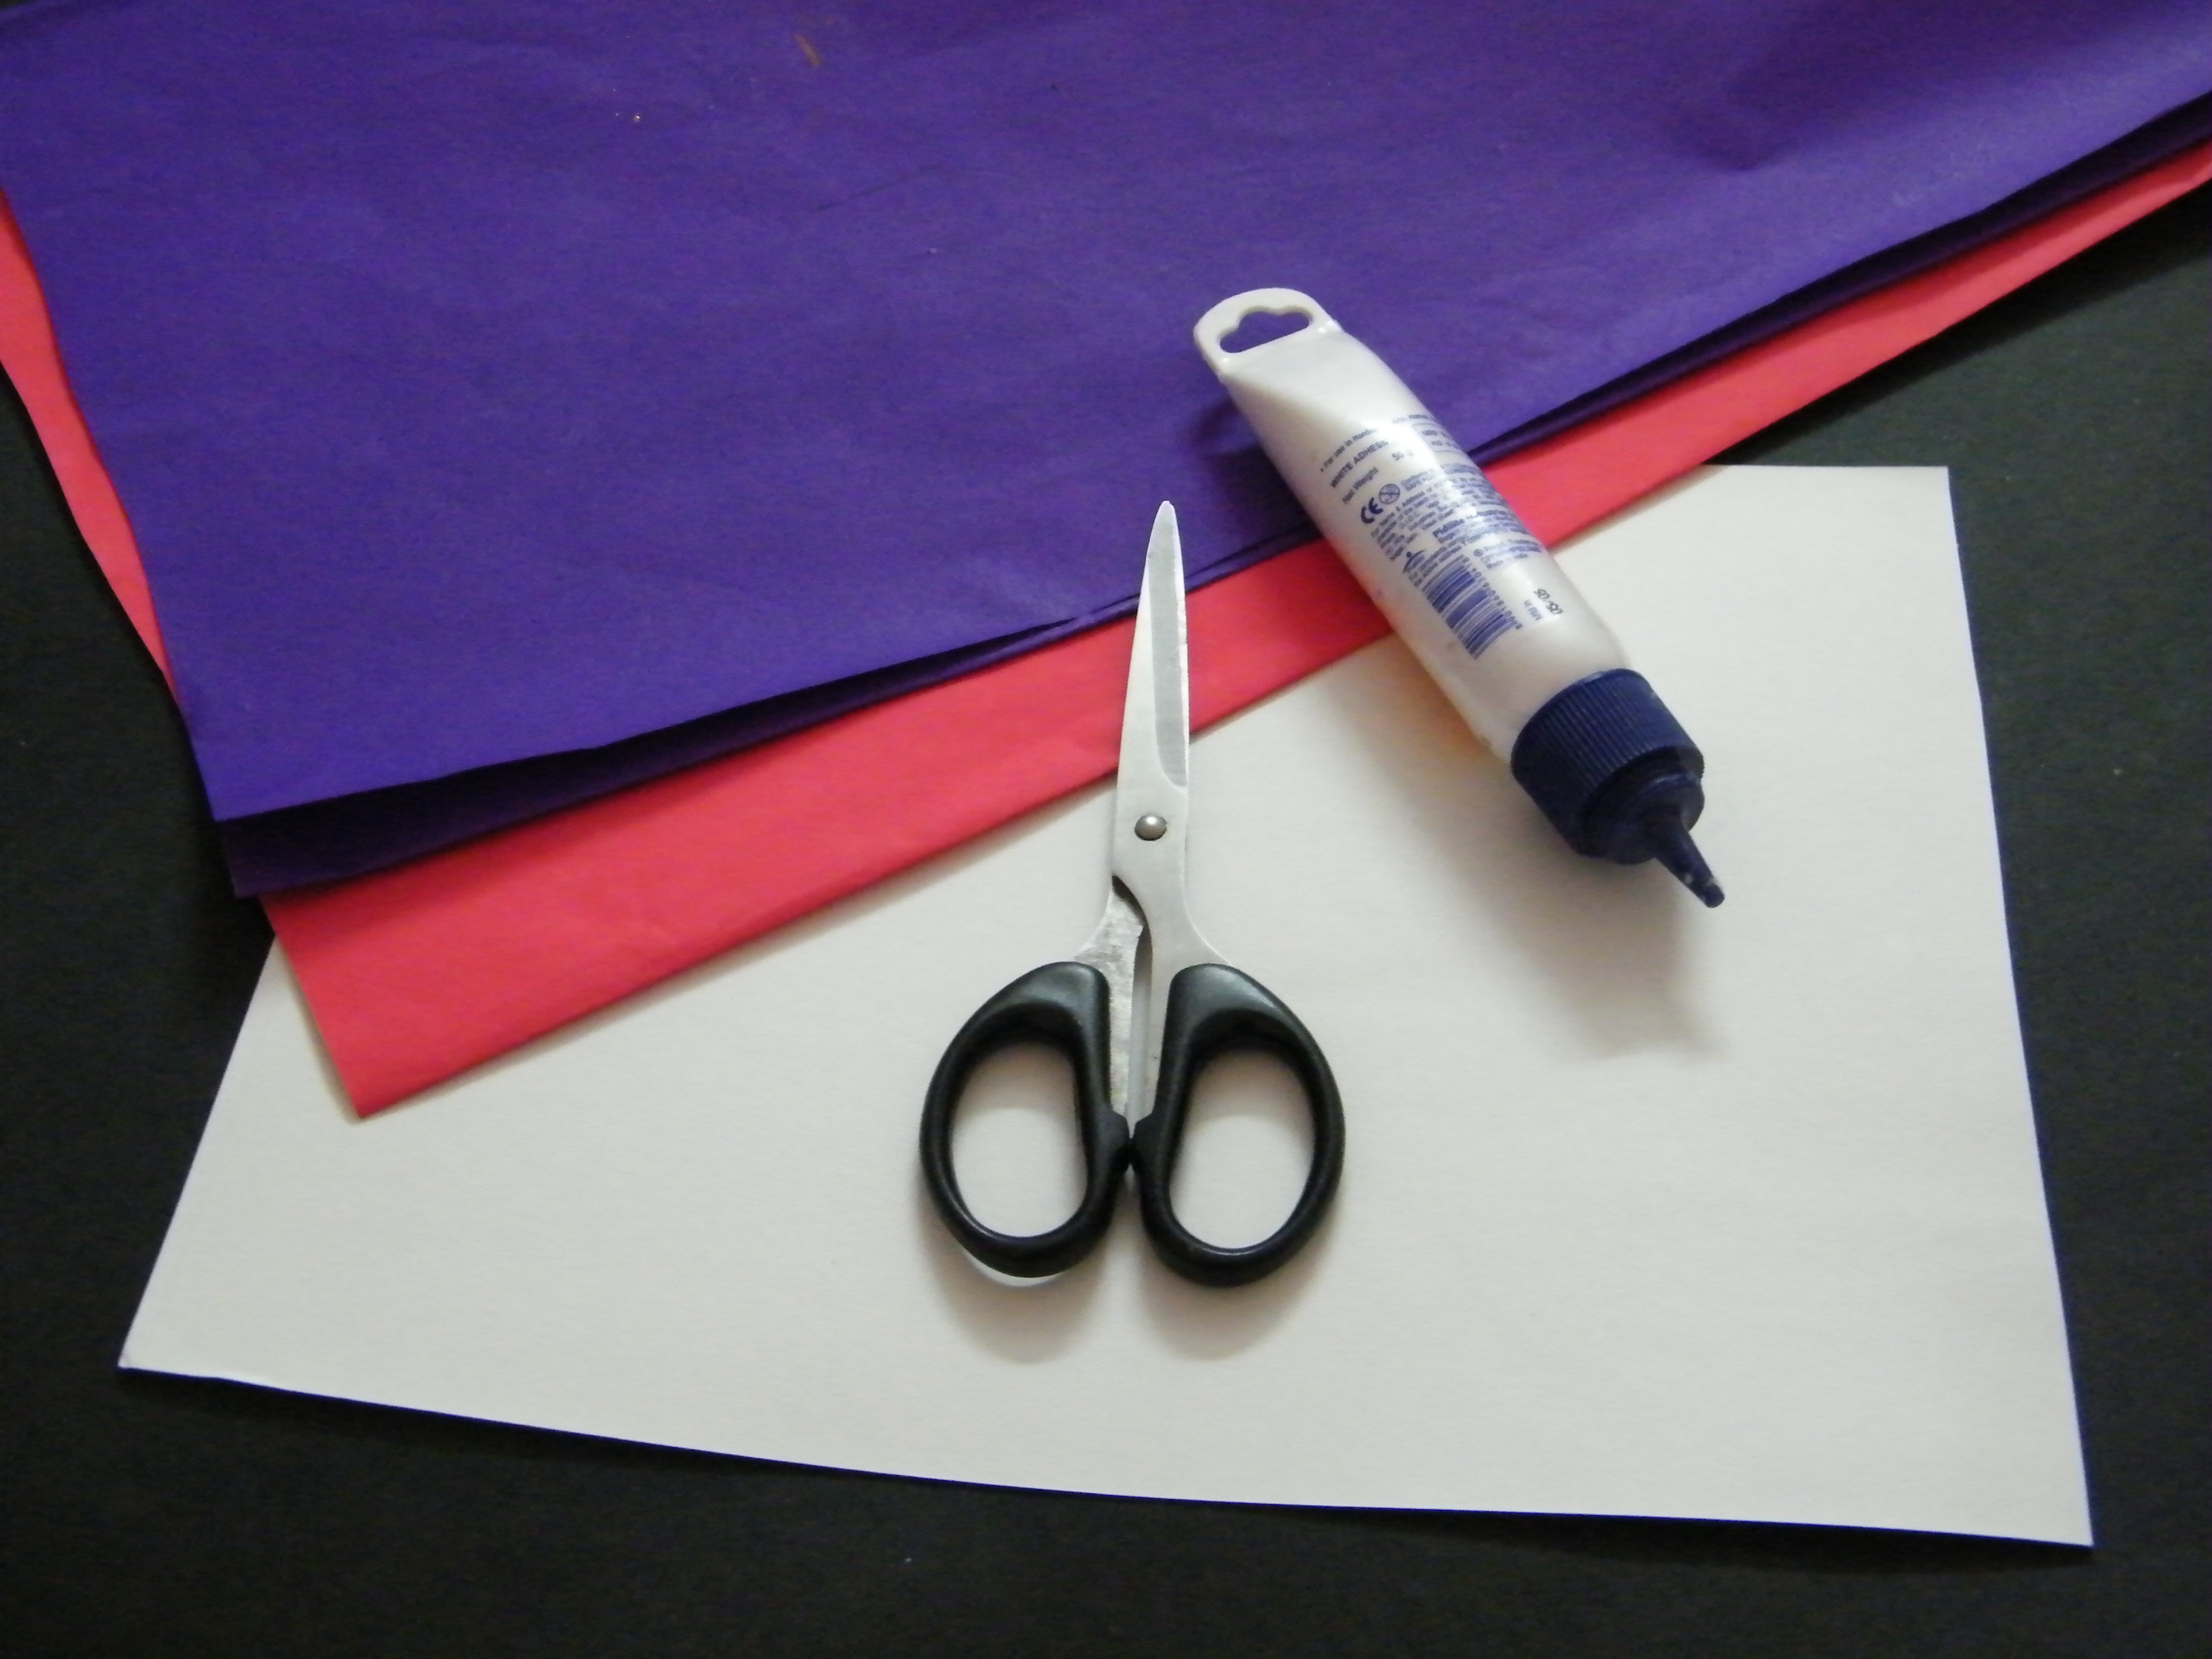
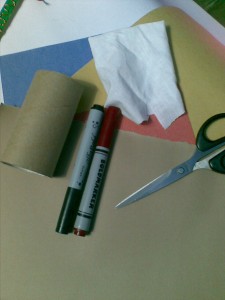
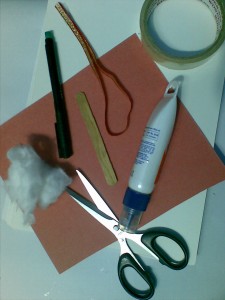
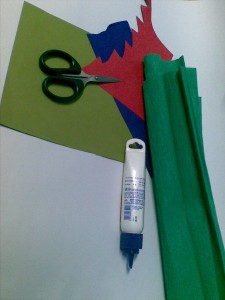
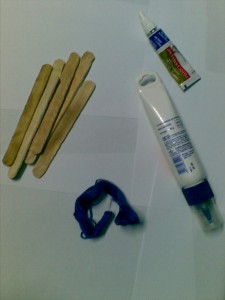
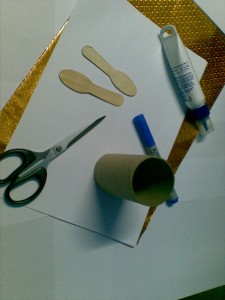
Crafts Materials That You Need:
..Ribbons
..Decorative Paper (Any Size That You Want…my paper was 11 x 14…but this will also work with 8×11 or any other paper)
..Scissors
..Glue
..Ruler
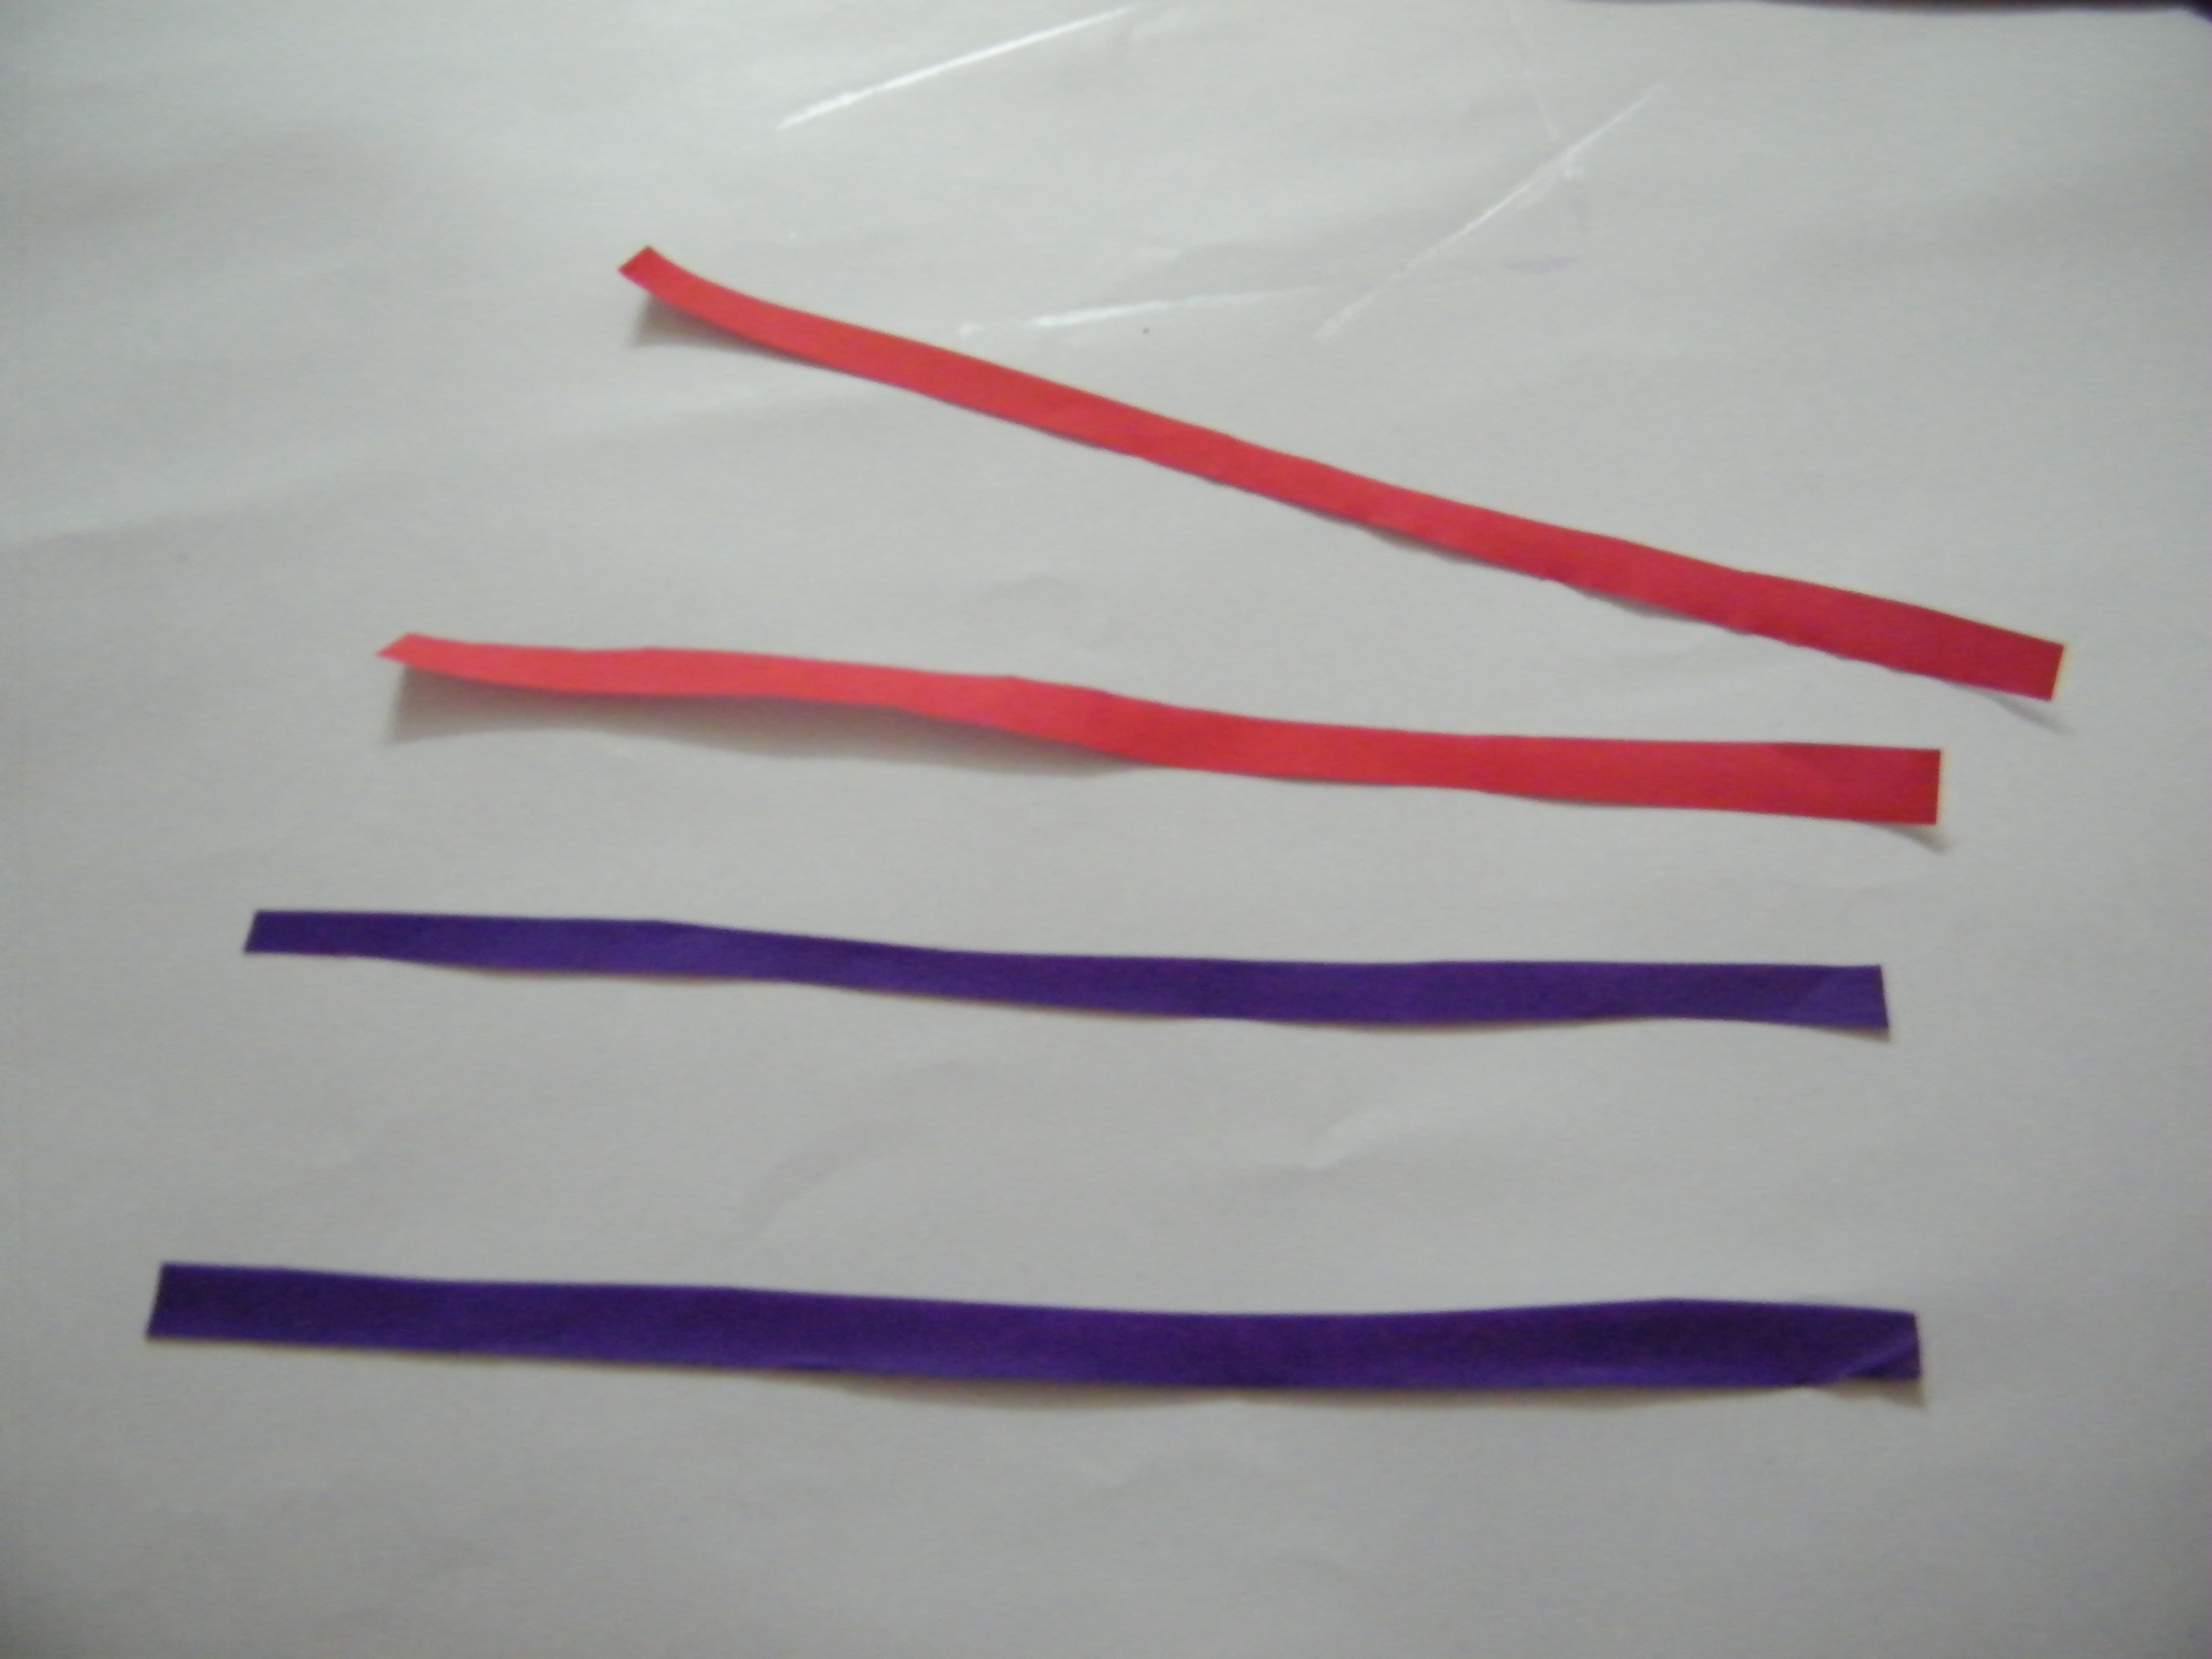
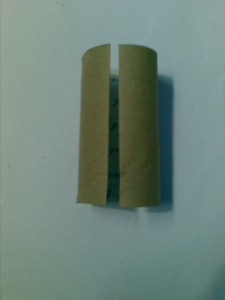
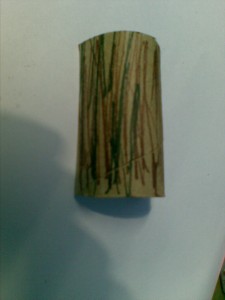
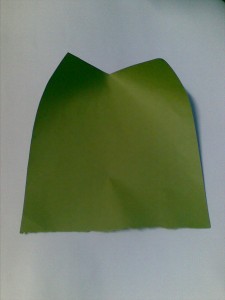
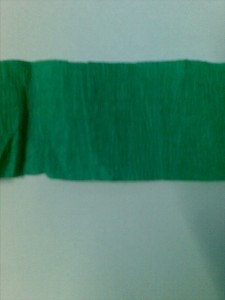
Step 1

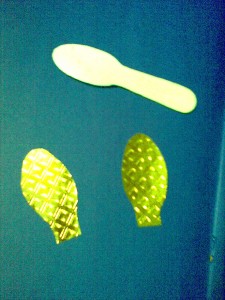
Take one of your decorative pieces of paper and cut it lengthwise (in half) as you see above.
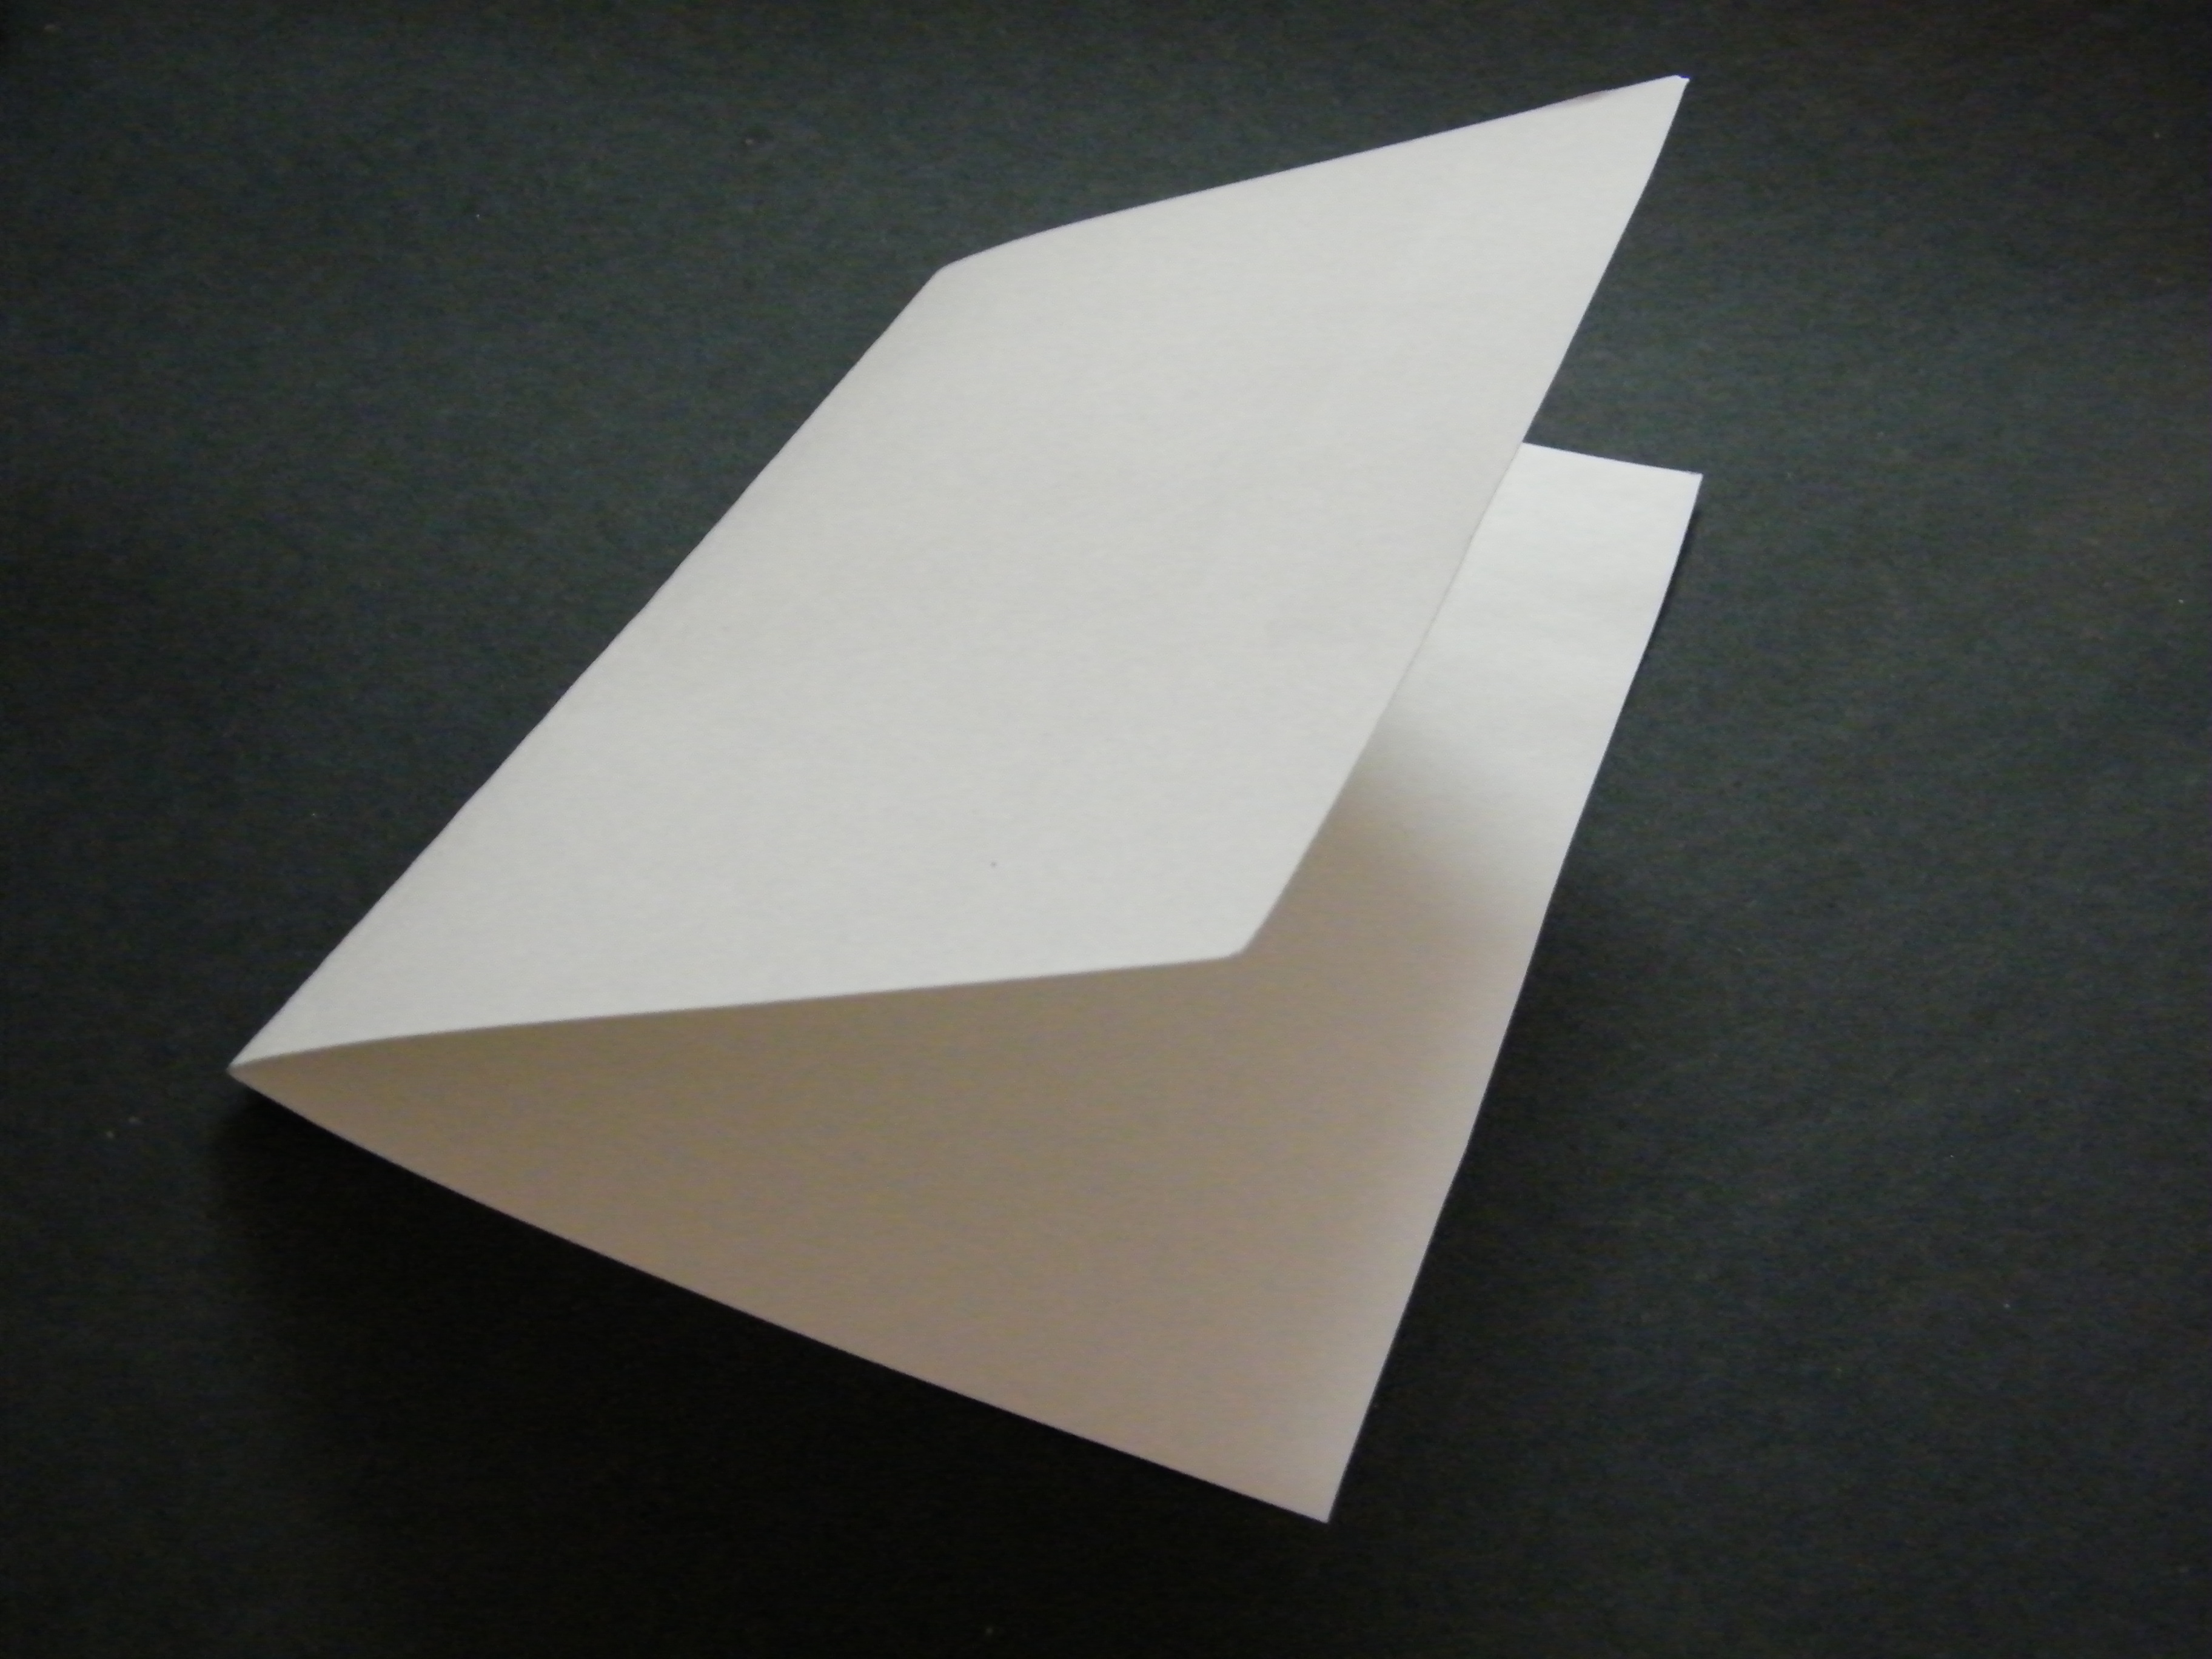
Step 2

No bend one of these pieces of paper in half lengthwise.
[ad#ahc]
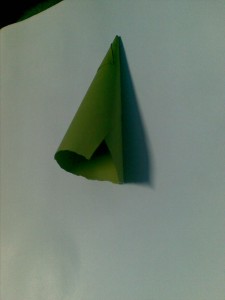
Step 3

Now bend it again inwards.
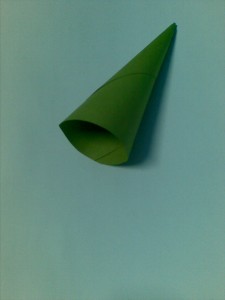
Step 4

Unfold it…turn it onto its opposite side. It probably will stand up like mind does above. Now fold it inwards again (now it will be in the opposite direction of the original crease).
Step 5

Like I said above, you are re-creasing the folds in the opposite direction.
Step 6

Now do the same exact thing with the second piece of paper.
Step 7

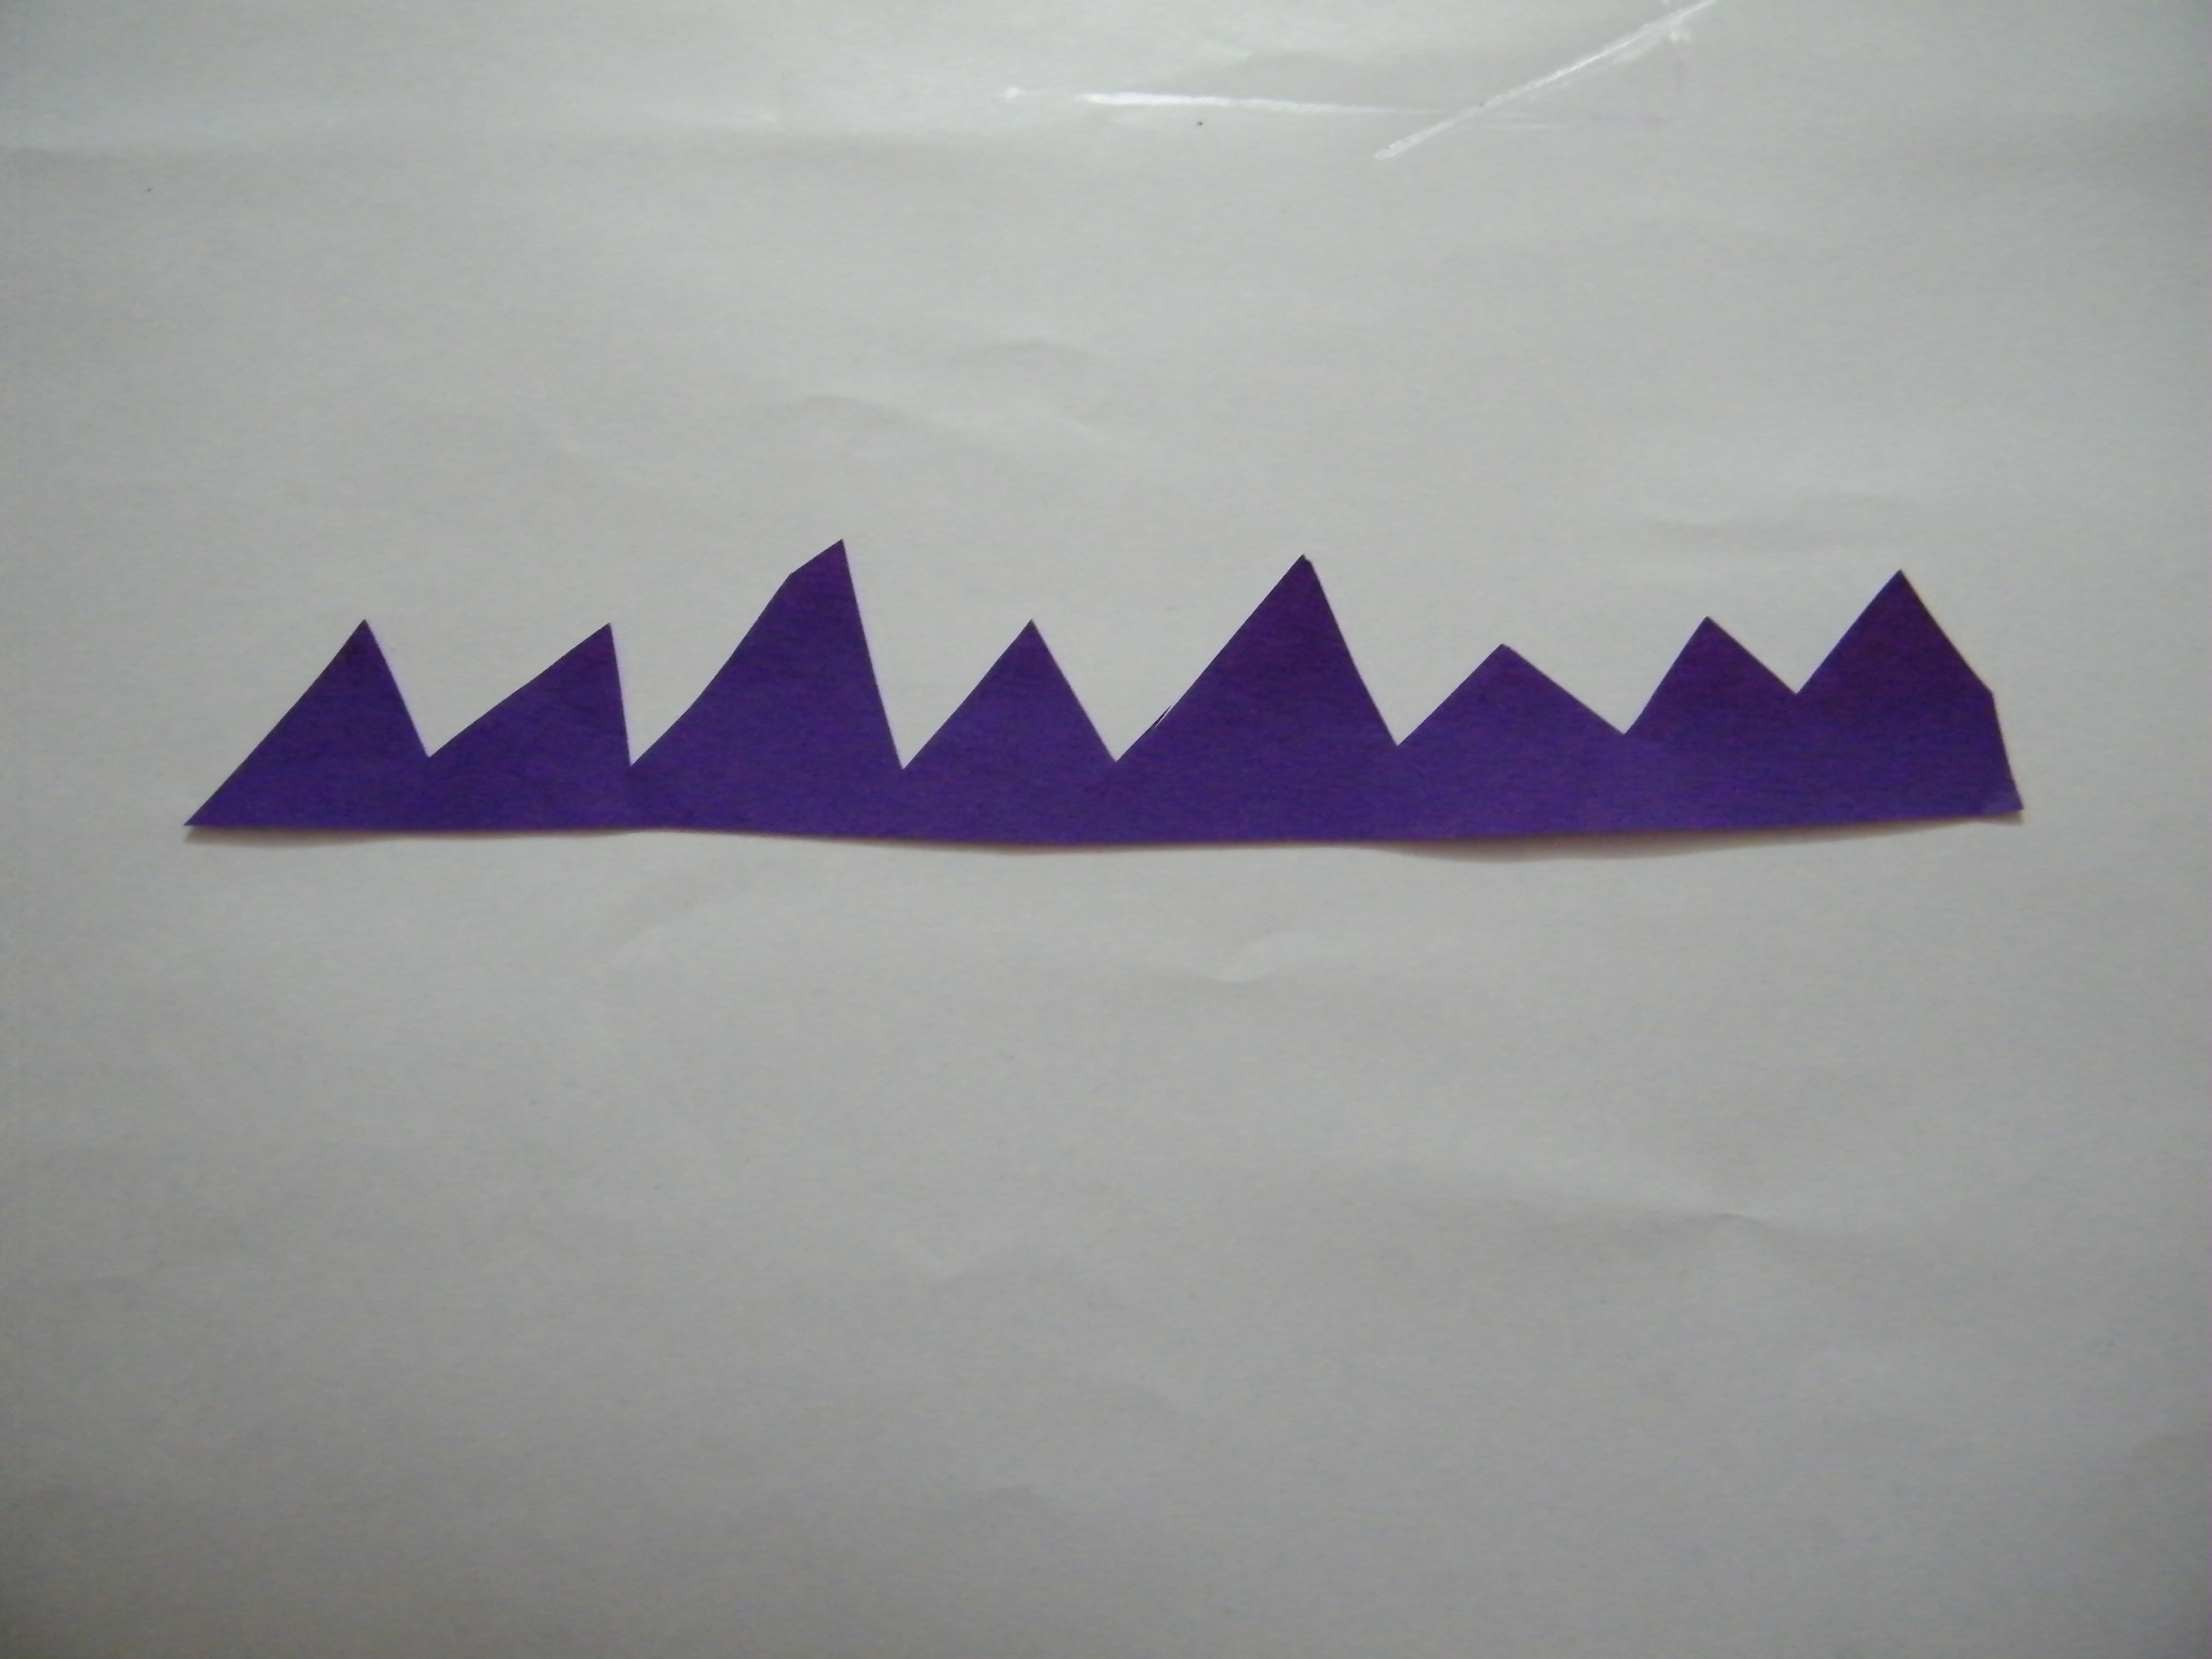
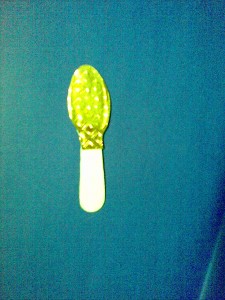
Overlap both of these folded pages so that they look like mountains (look at the above picture). Now glue them together.
ALSO CUT OFF THE FIRST OR LAST RECTANGLE.
Step 8

If you want pockets in your accordion memory book…then follow this step. You will be doing step 1-7 over again….but in half the height. This is for the accordion pockets. Just figure out how high your original accordion fold was and then make 2 accordions half the height.
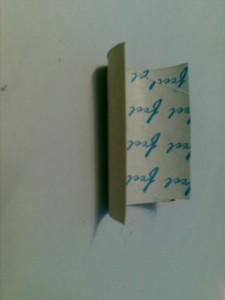
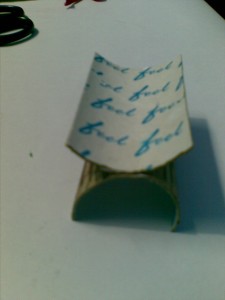
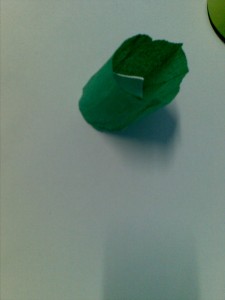
Step 9

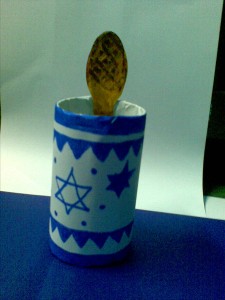
It is a little hard to see but I have glued the pockets down to the first accordion folds that we made. You should glue it to the bottom and to the creases. Don’t glue the entire thing down or you won’t be able to use them as pockets.
Step 10

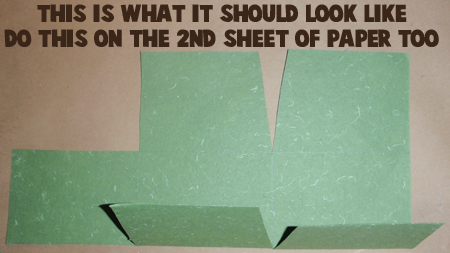
This part is a bit complicated and you might need a parent to help you. Don’t over-think it. Basically just put your folded up accordion paper in the middle of a piece of decorative paper….Lightly draw a line around this paper book. Now just take a ruler and draw lines vertically and horizontally across the paper. Now you should have a grid. On the farthest left line draw a triangle at the top and at the bottom of the paper (as seen above). These 2 triangles should be cut out so they are removed from the piece of paper. On the right side of the paper, cut the top and bottom square so that they are removed from the paper. It would be better if you could make these cuts larger than the line (as you see above). Fold on the dashed lines that you see above.
Step 11

After you cut out everything…this is what it should look like.
Step 12

Now fold the middle and left tabs inwards (as seen in the diagram above). Basically fold top left down…bottom left up. Fold middle top down and middle bottom up. Then it will look like the picture above.
Step 13

Now fold the left over the middle.
Step 14

Now fold the right rectangle into the pocket that you created in the previous step.
This will be one of the covers.
Get another piece of decorative paper and do the same thing that you did in steps 10 – 14.
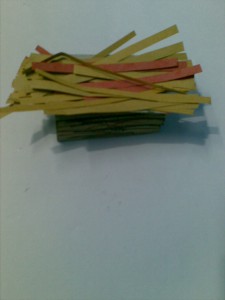
Step 15

Yes…I know…all of a sudden my covers turned orange. I messed up the green ones. Anyways. This is what you should have in front of you right now. 2 covers and your accordion paper with pockets (unless you decided not to).
Step 16

Glue the front cover to one side of the accordion and the back cover to the other side of the accordion.
Step 17

Cut 2 slits in the back of the back cover because you will be putting ribbon through it and then tying the ribbon in the front of the book.
Step 18 – Finishing up Your Memory Scrapbook

Draw whatever you want on the front of the cover. You can even draw a picture if you want to. Stick pictures, ticket stubs, invitations, memos, special notes, and other special mementos from this year (or next year) so you can remember your special memories from that year. You can use it as a time capsule. Look at this in ten years if you want to.
Technorati Tags: new years crafts, kids new years crafts, kids new year crafts, new years, new year, new year crafts, book making crafts, folder crafts, pocket crafts, make book, making books, scrapbooks, scrapbooks, accordion books, make accordion books, time capsules, make time capsules, crafts for kids


