I have another funny way to celebrate Chinese New Year : let’s make a pair of earrings (you’ll need a little help on step # 4). These will be made of paper and will have two very important Chinese symbols : the fan and the cherry blossom. The fan is a traditional Chinese handicraft used for cooling and as prop in the “fan dance”. For the Chinese, the cherry blossom is a very significant symbol of power. It represent a feminine beauty and within the language of herbs and herbal lore of the Chinese the cherry blossom is often the symbol of love.
You Might Also Like Our Other Chinese New Year Crafts
This crafts ideas was contributed by Laura from Dacian Moon Handmade
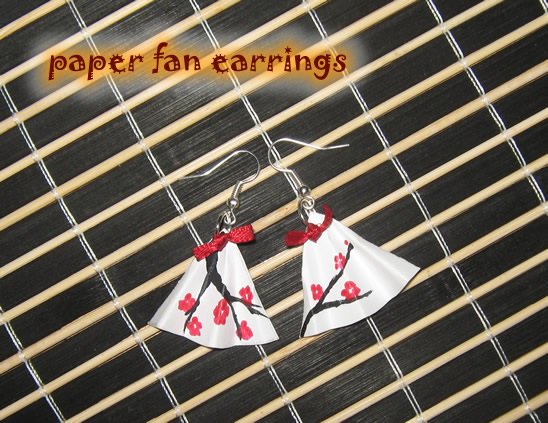
How to Make Mini Paper Fan Earrings for the Chinese New Year : Arts and Crafts Project for Kids
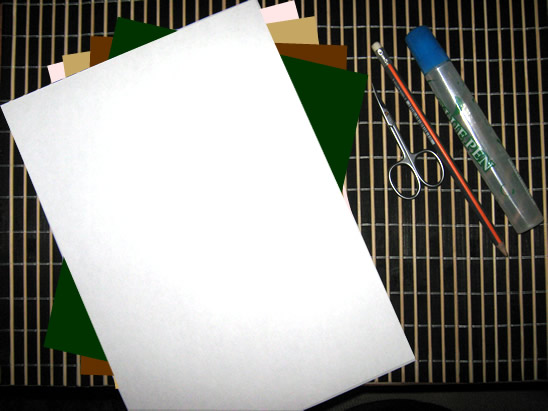
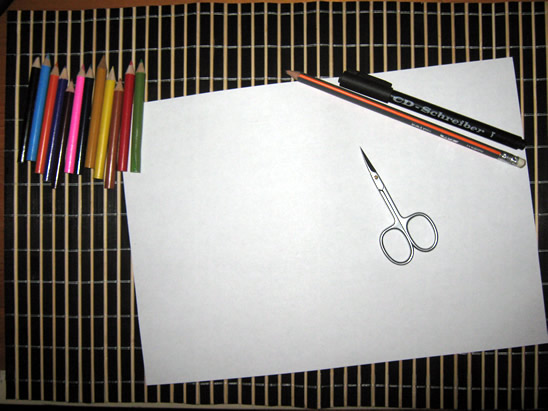
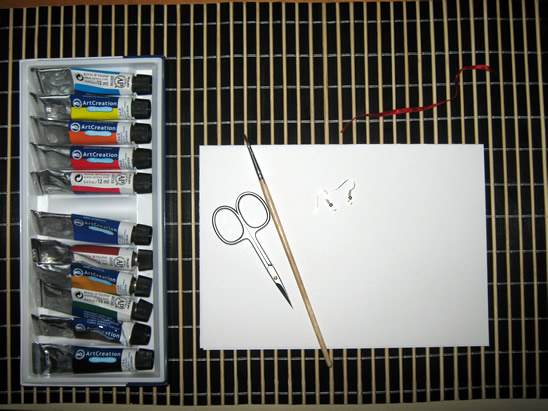
CRAFTS MATERIALS NEEDED:
– paper (not too thin)
– scissors
– ribbon (about 10 cm)
– paints
– paintbrush
– 2 earrings findings
– 2 jumprings
– pencil
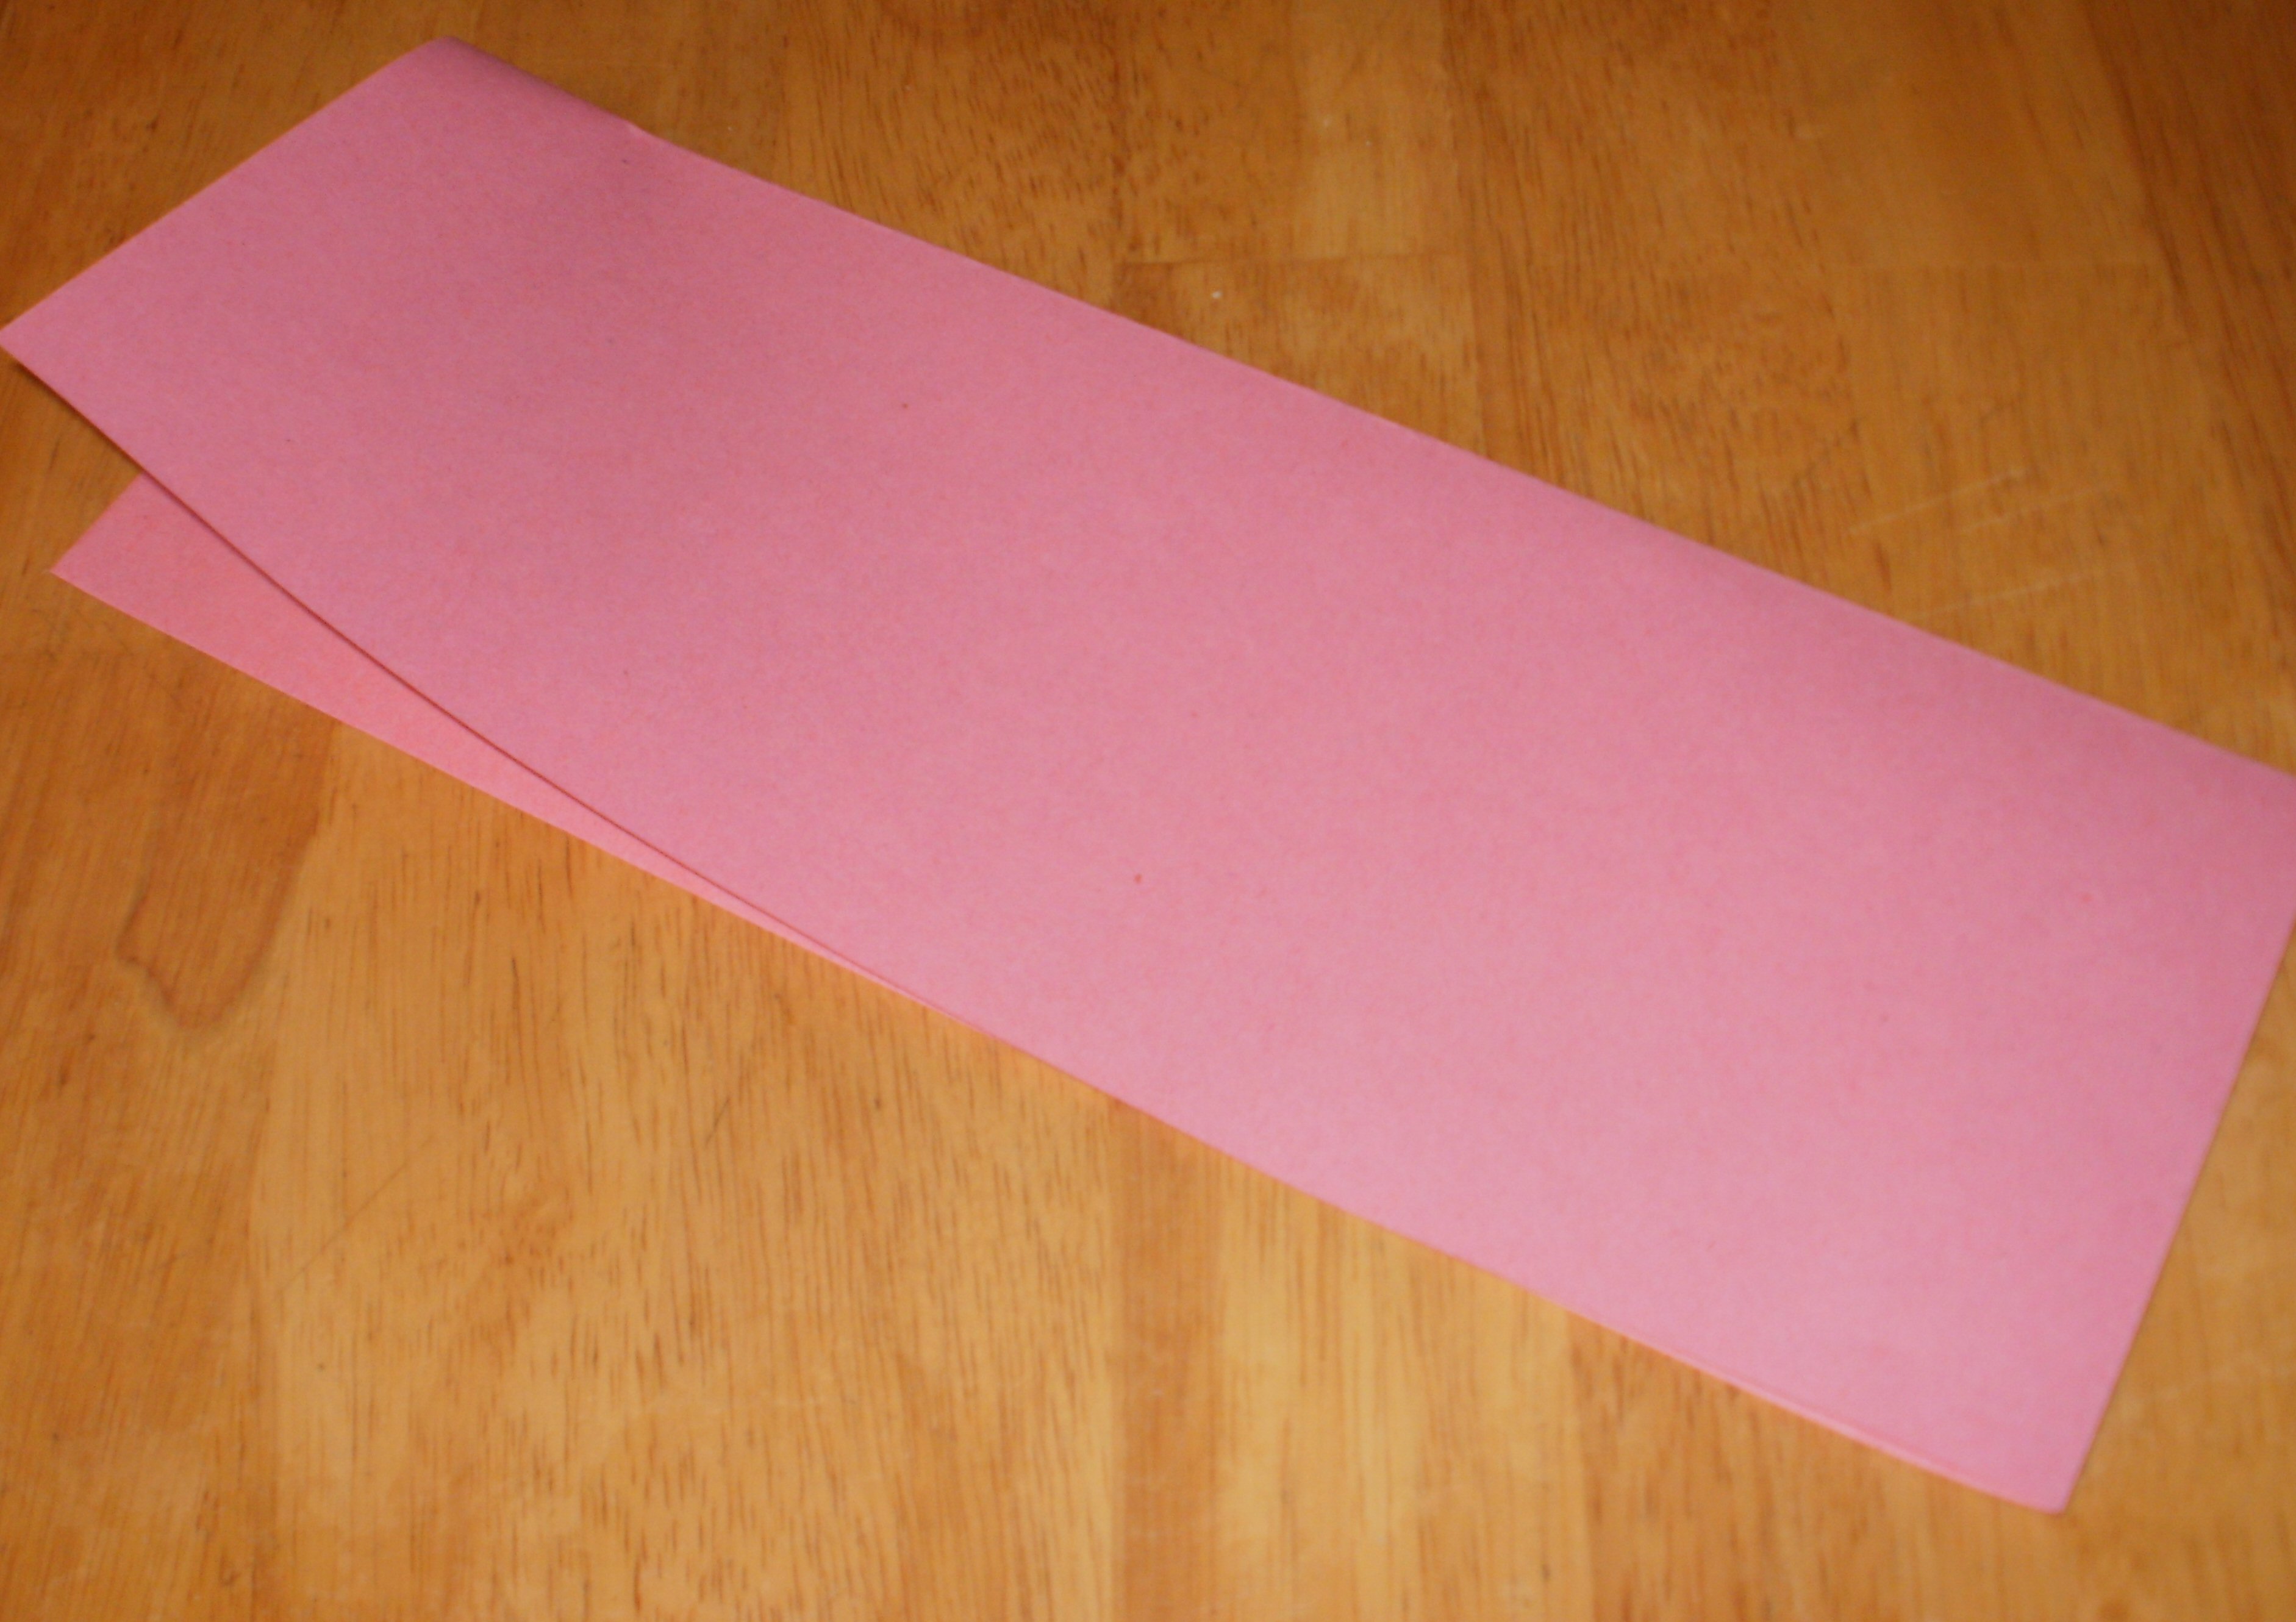
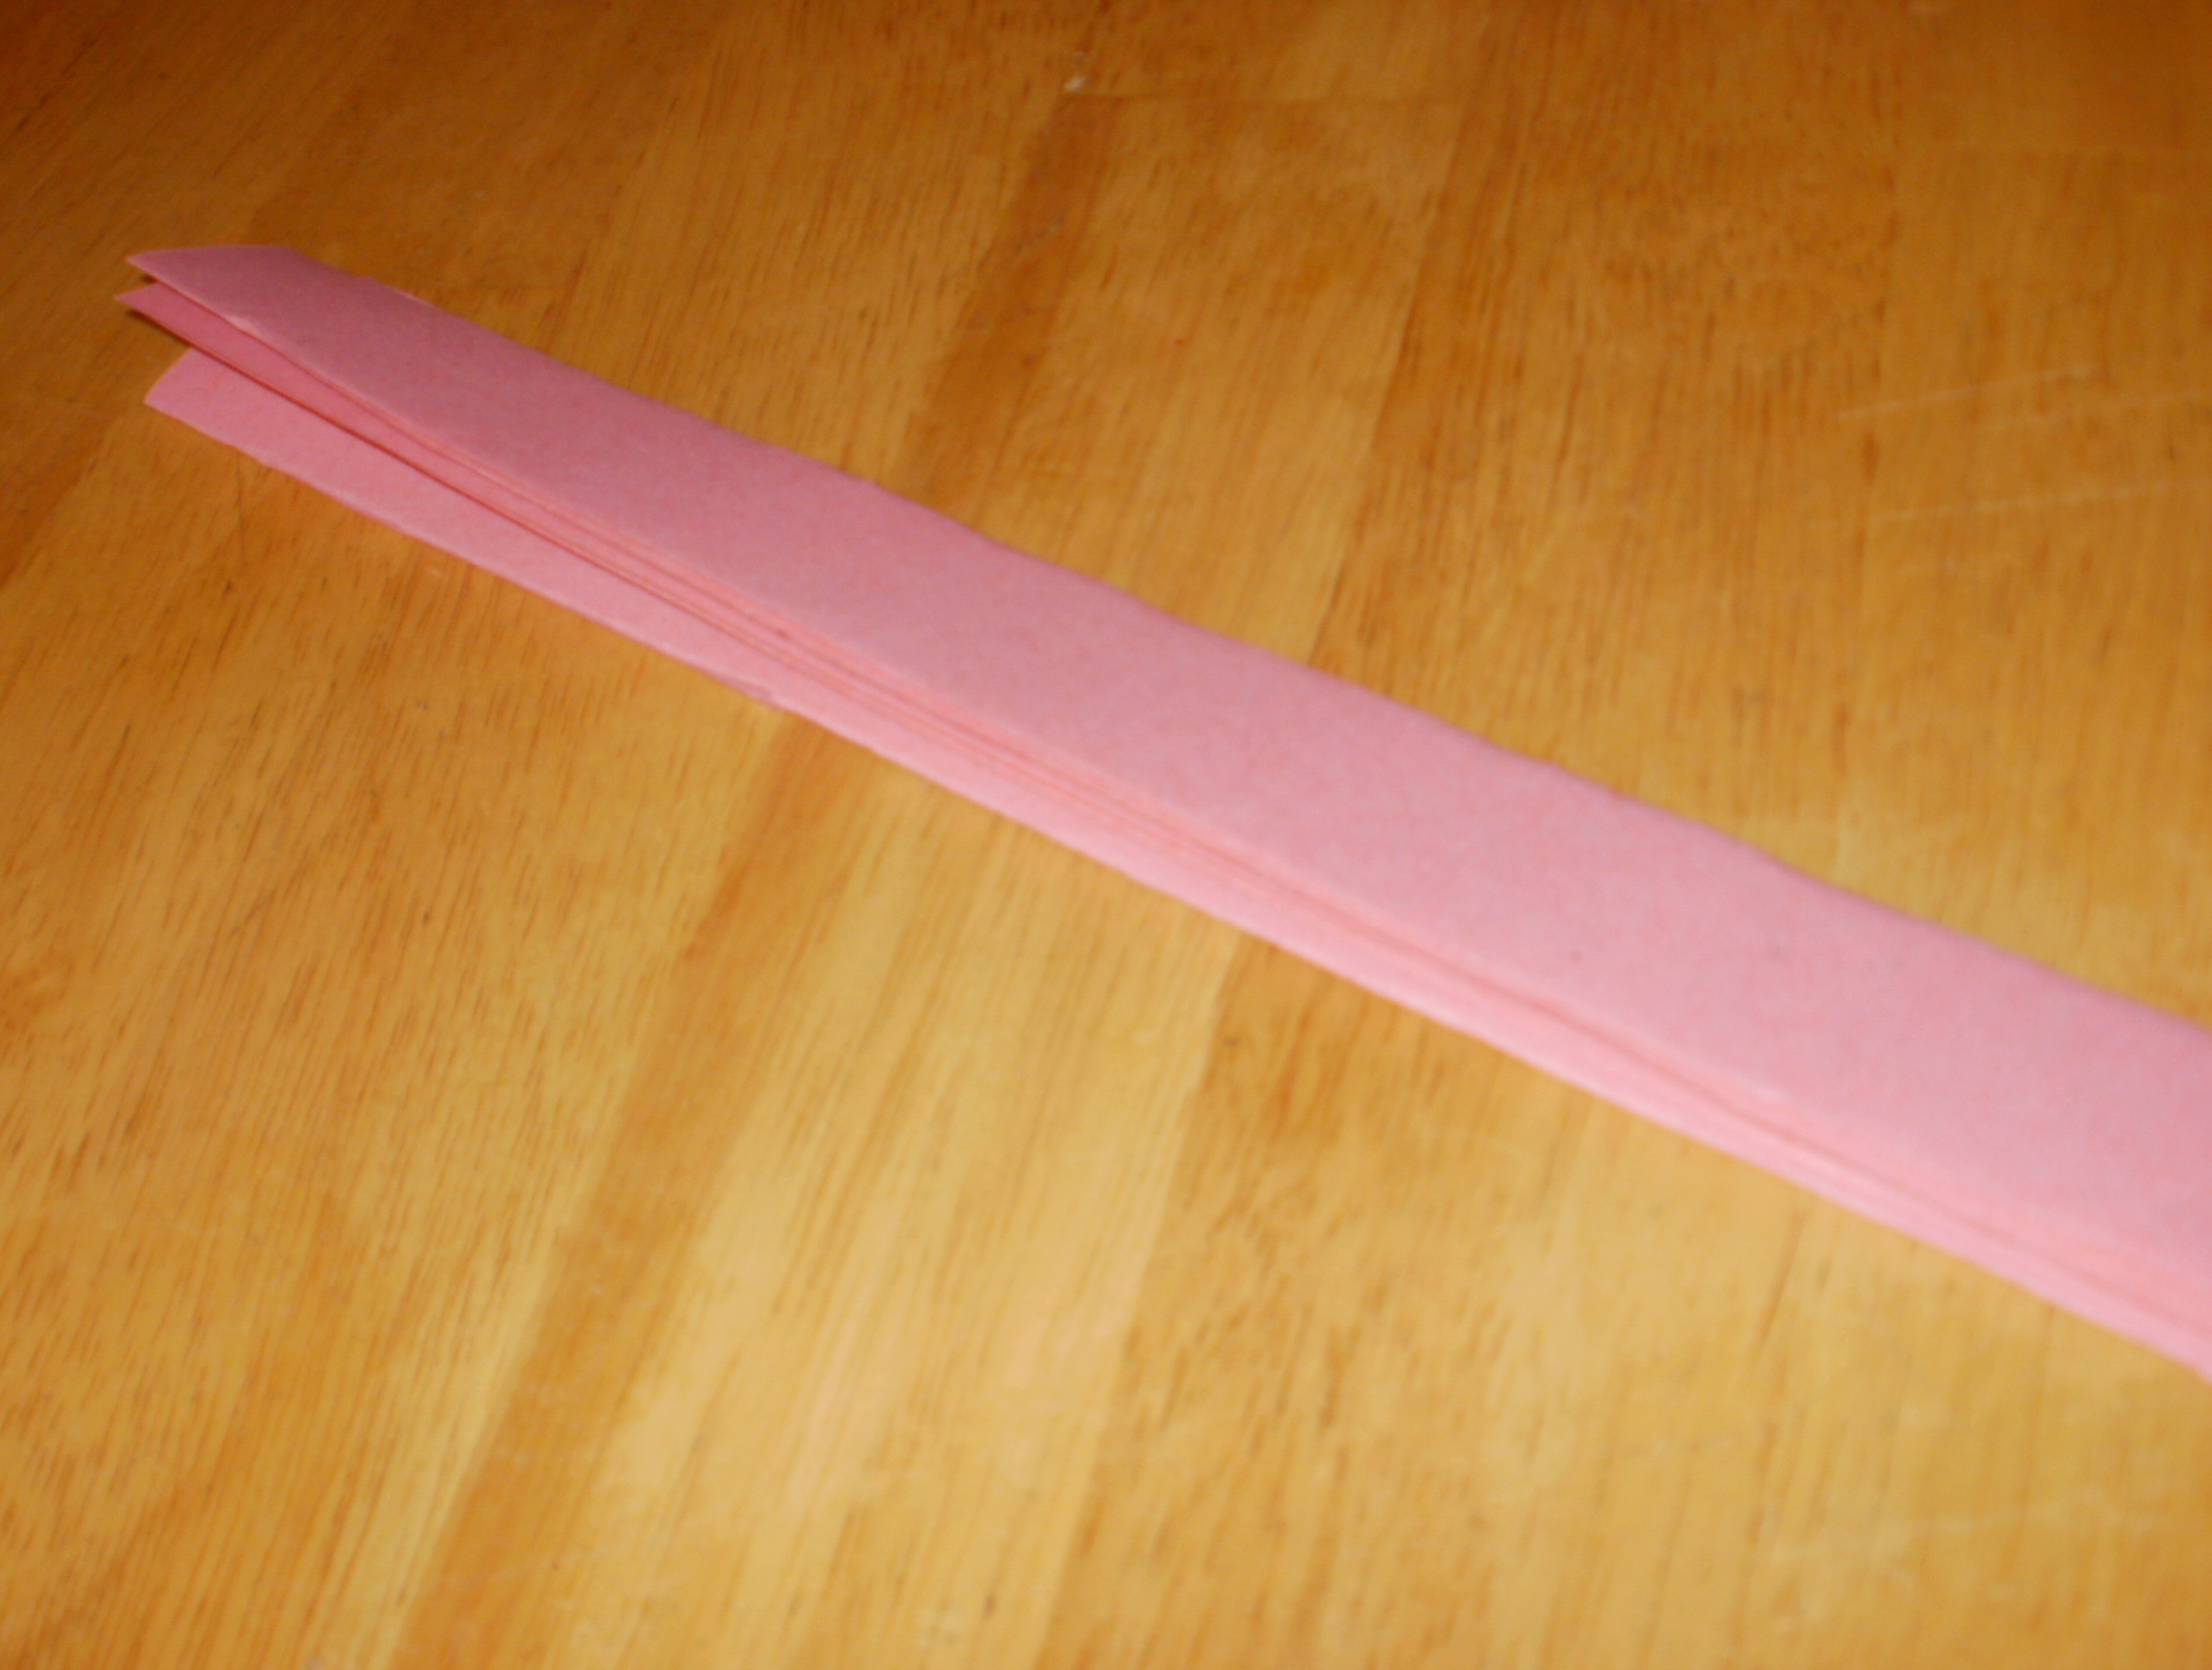
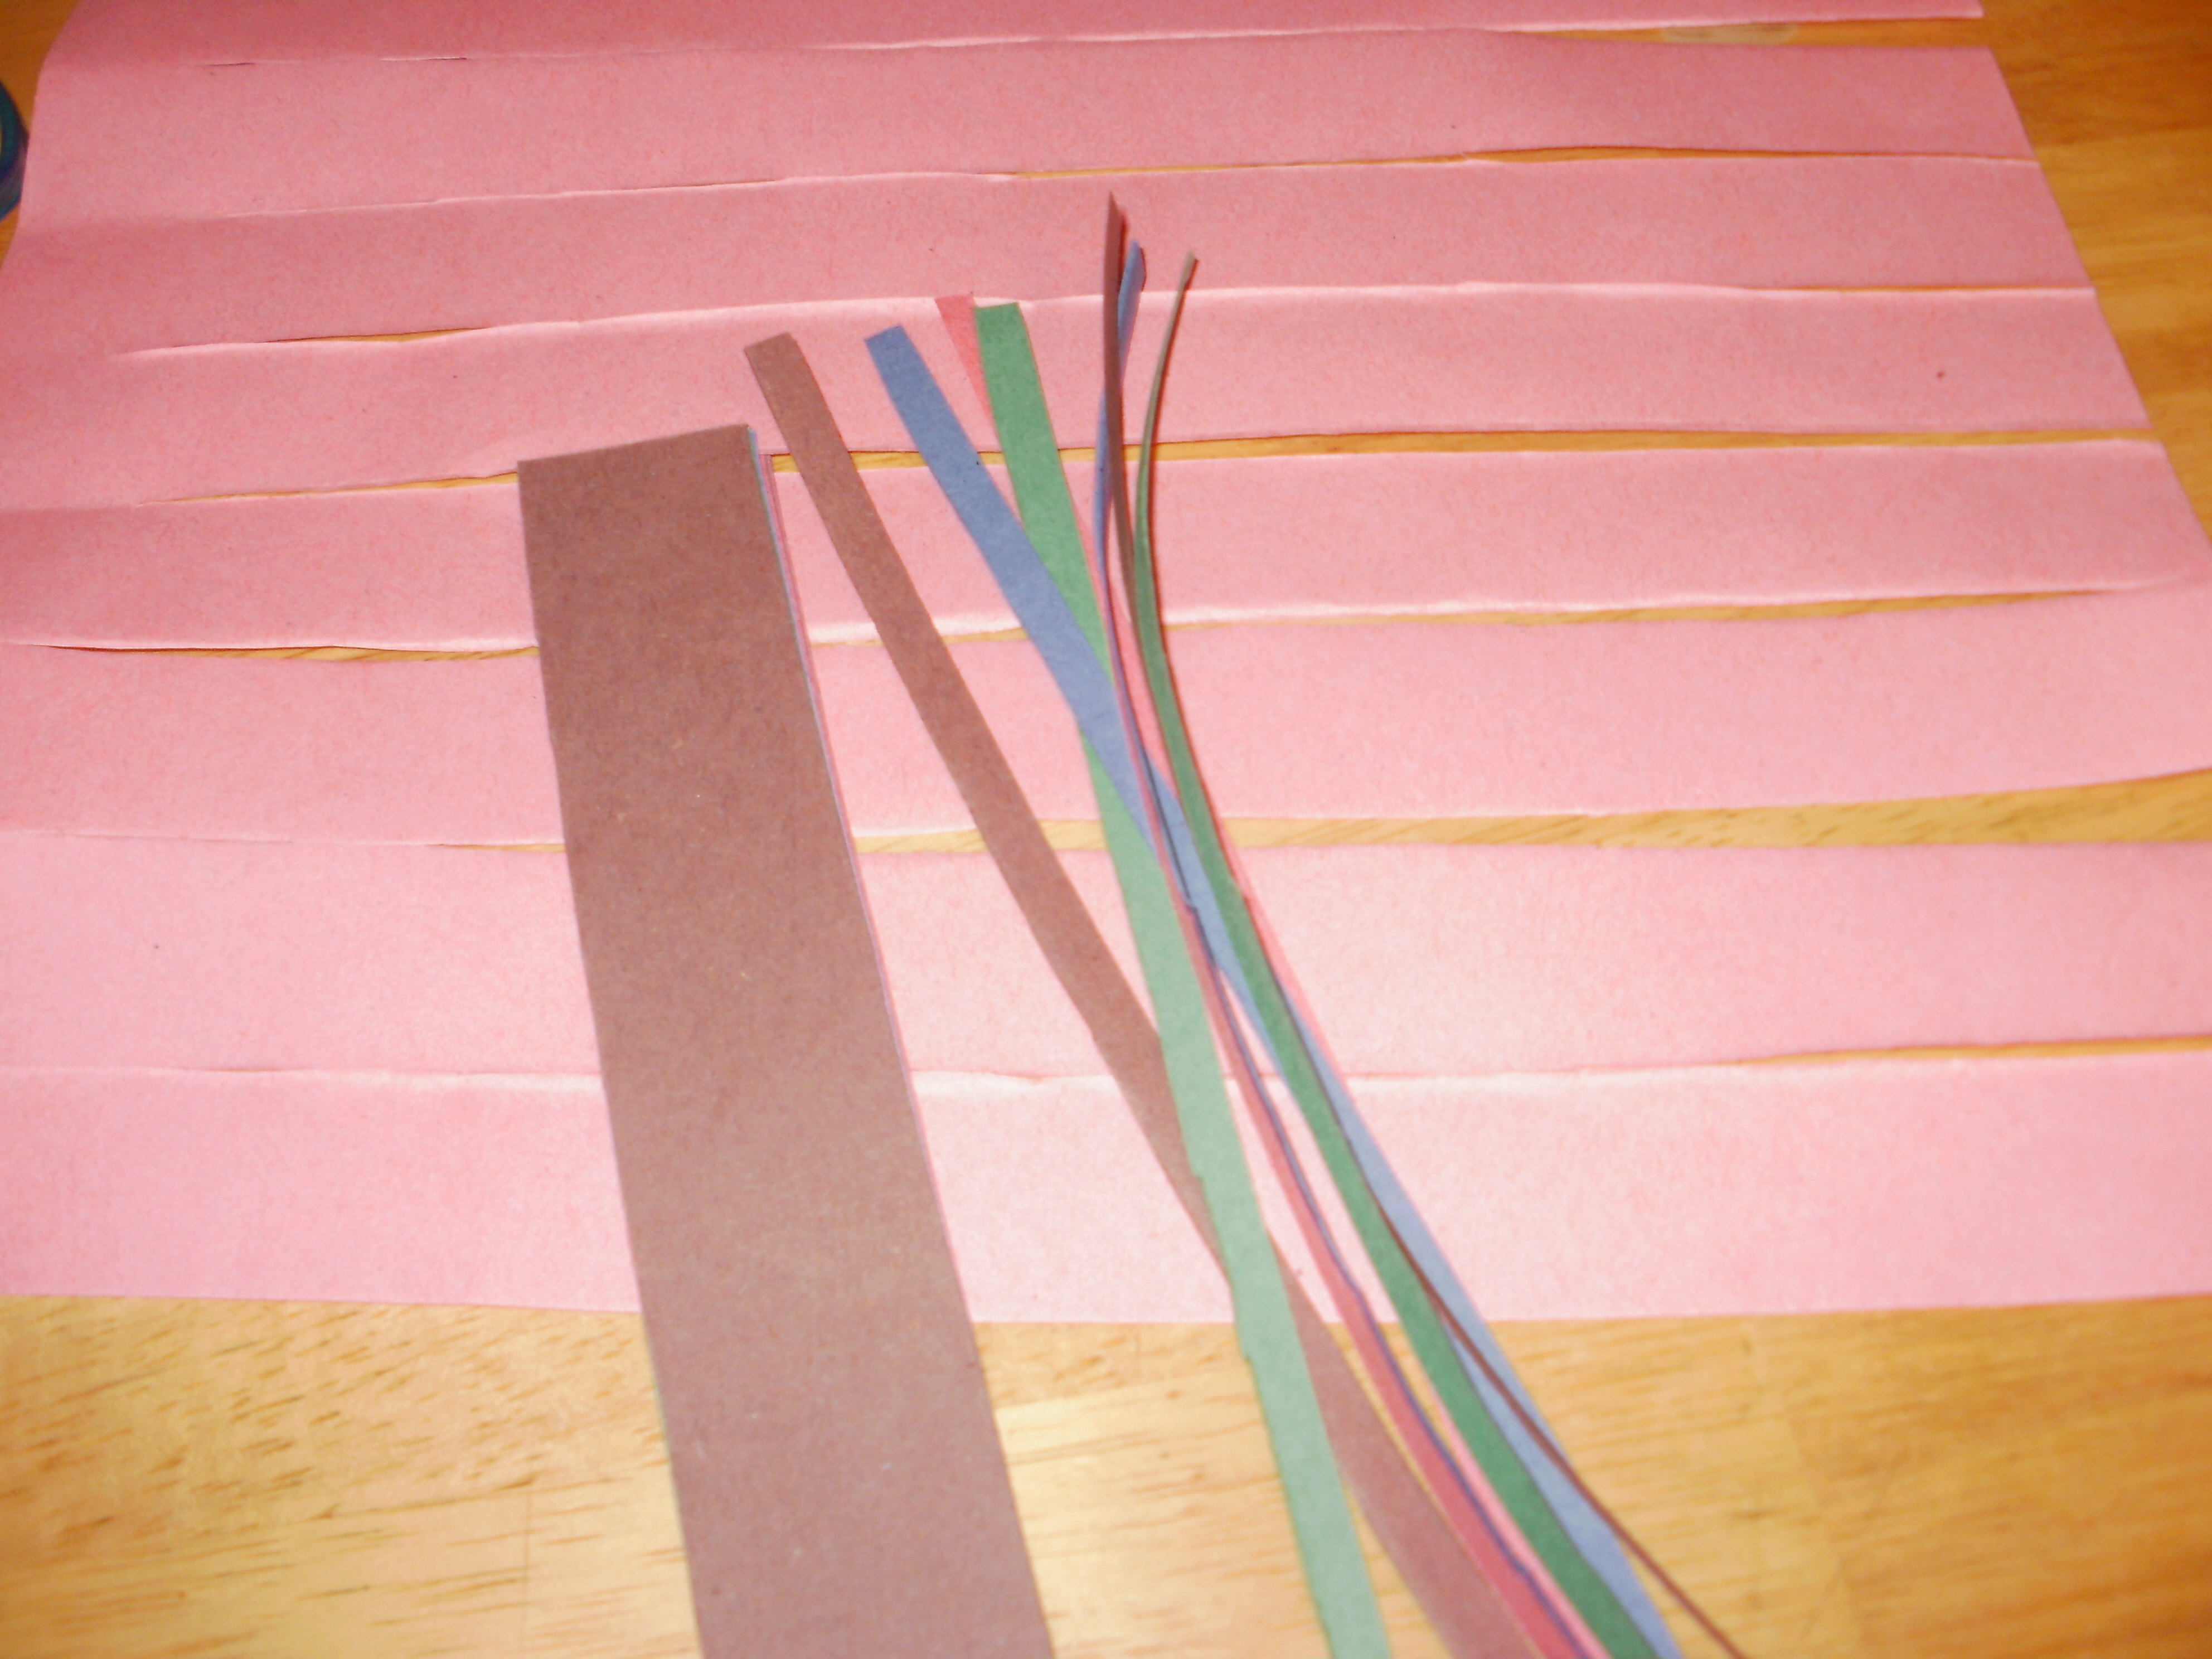
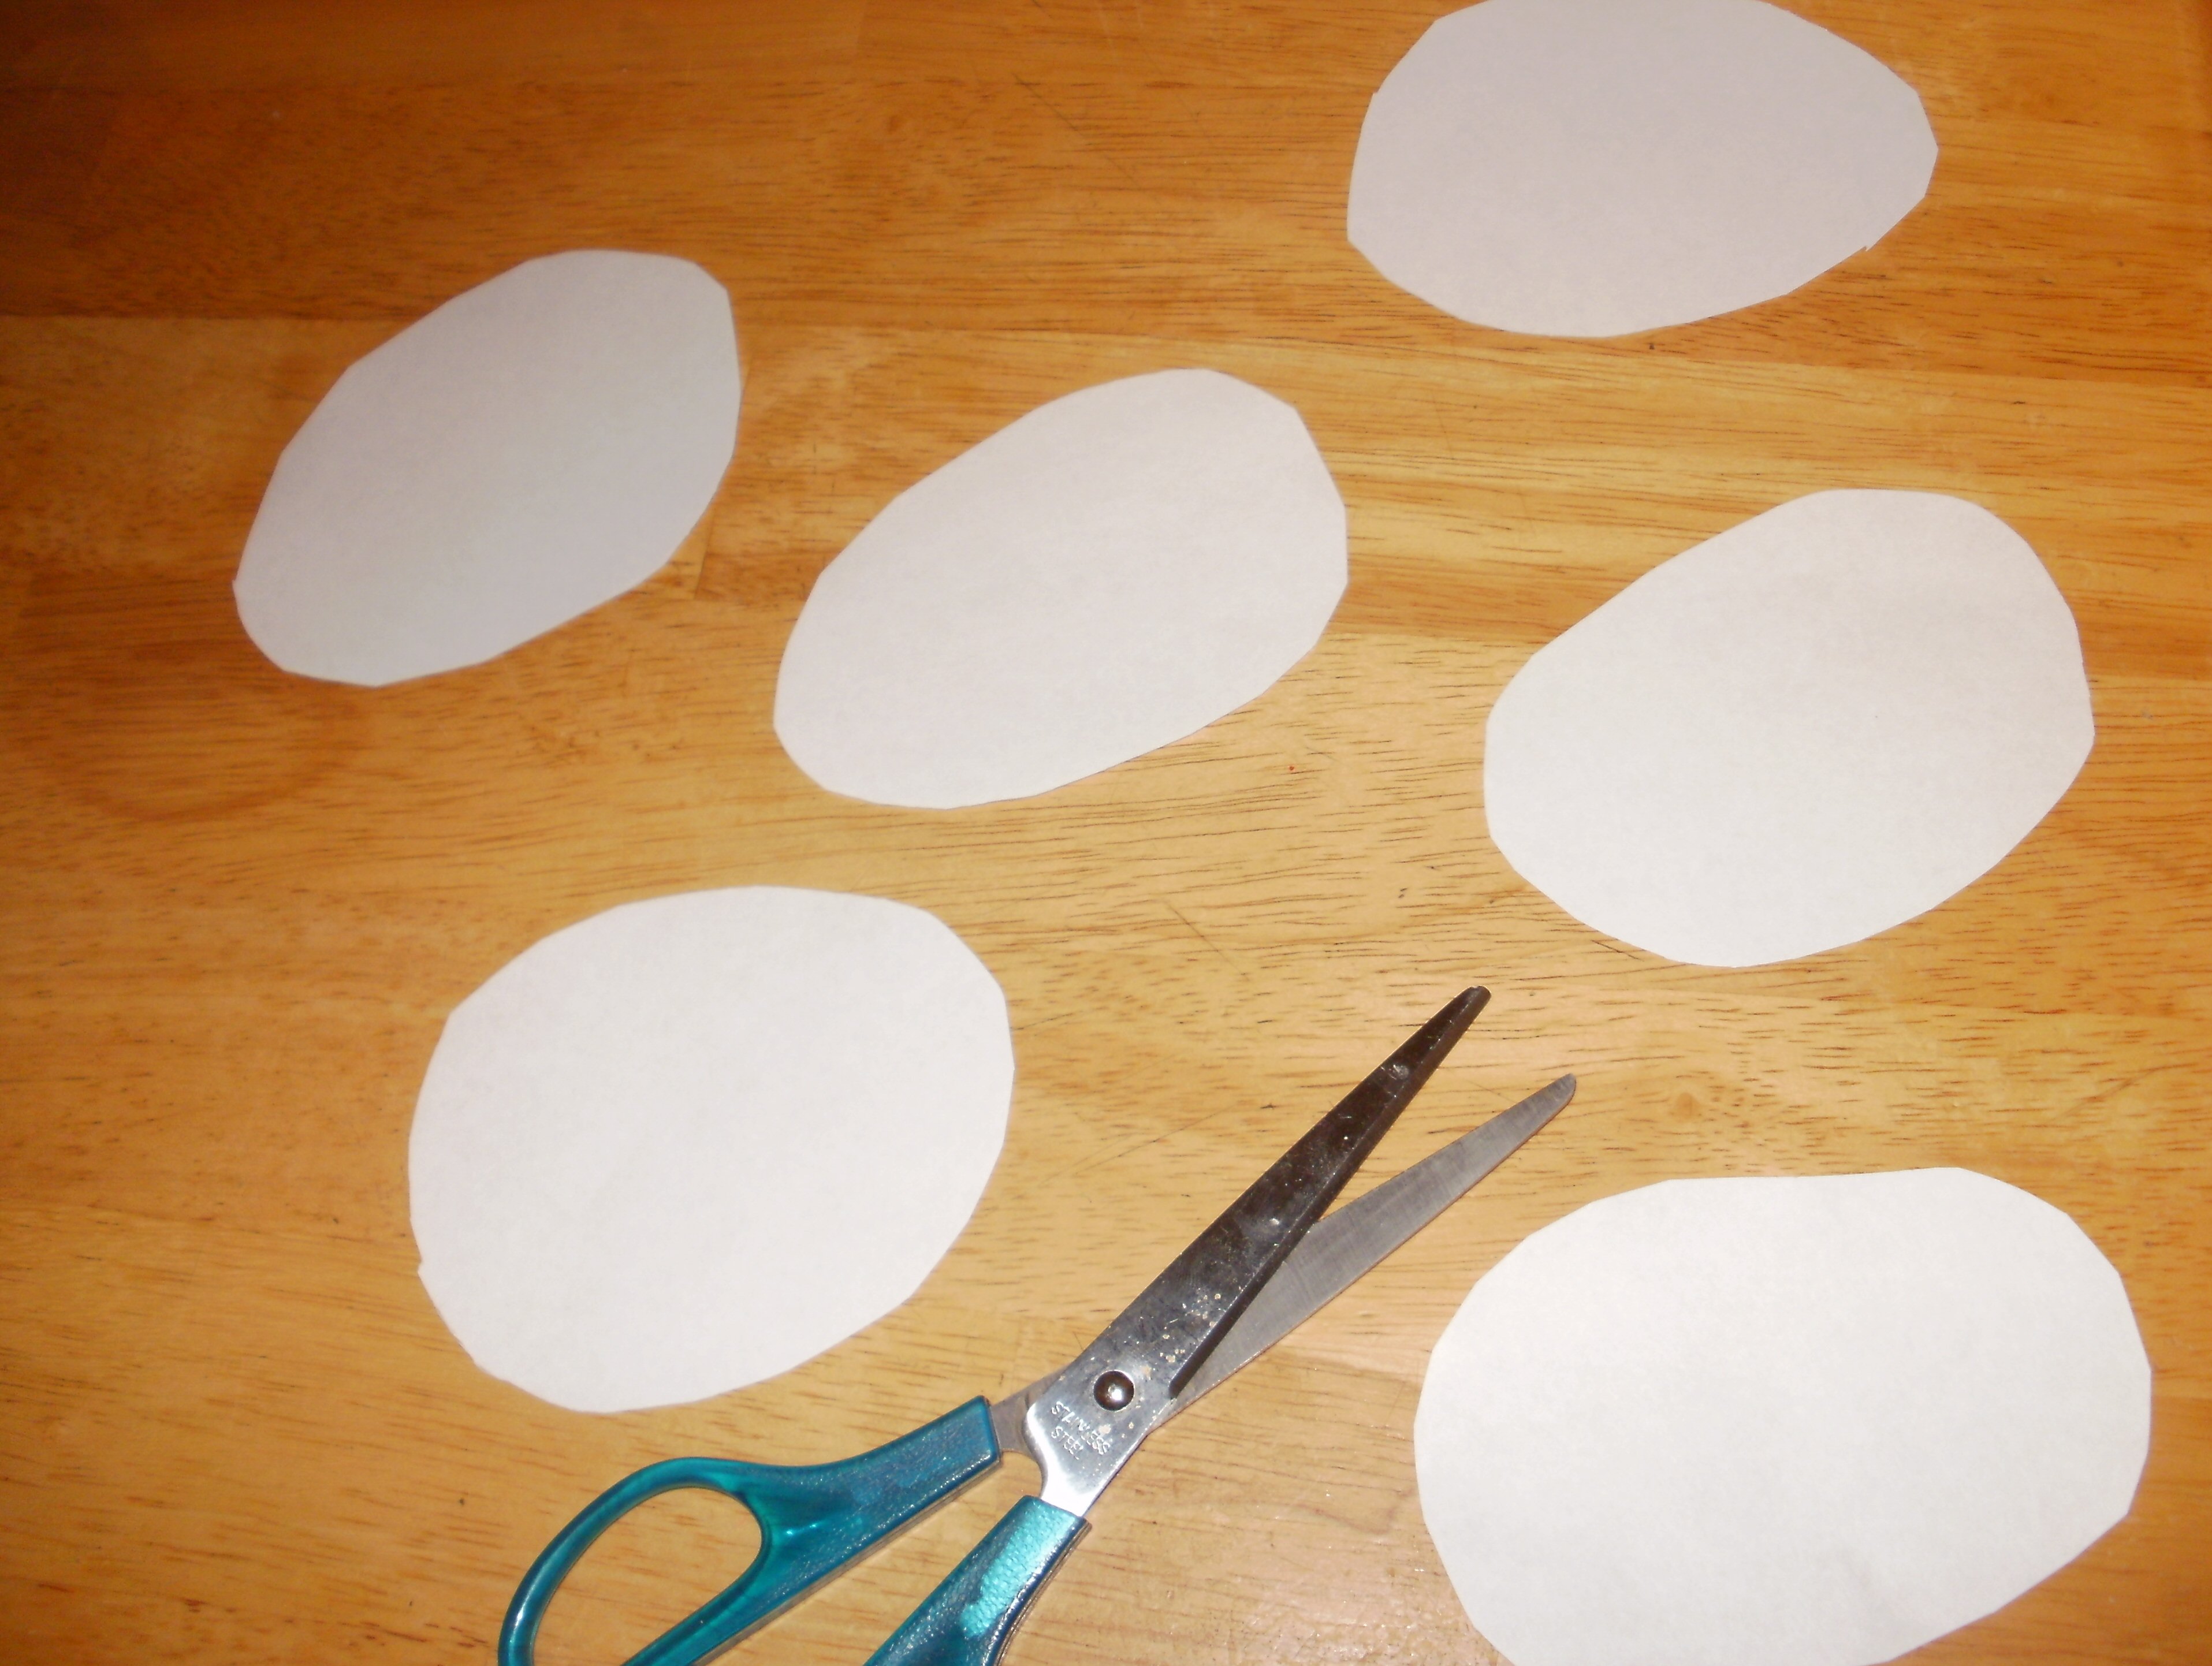
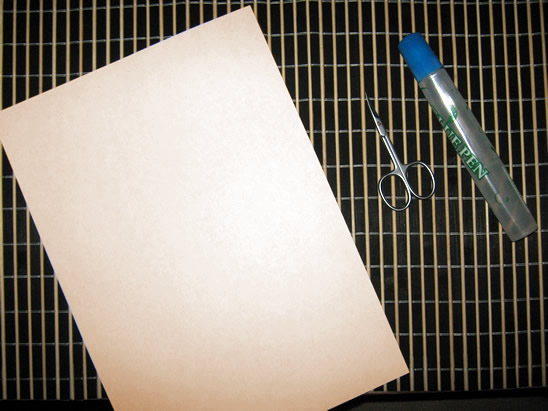
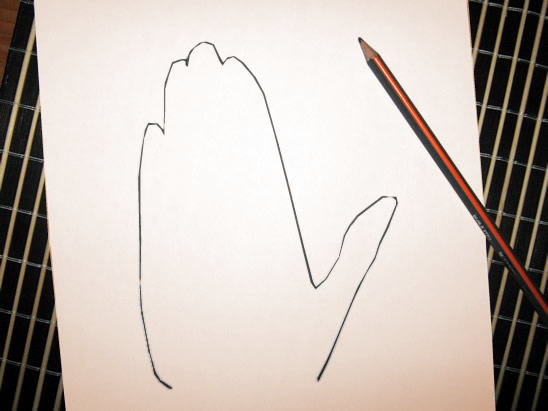
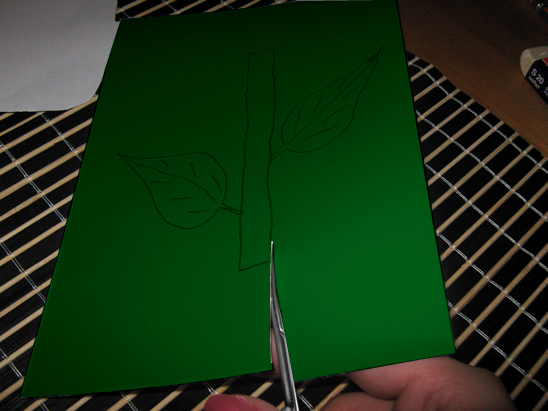
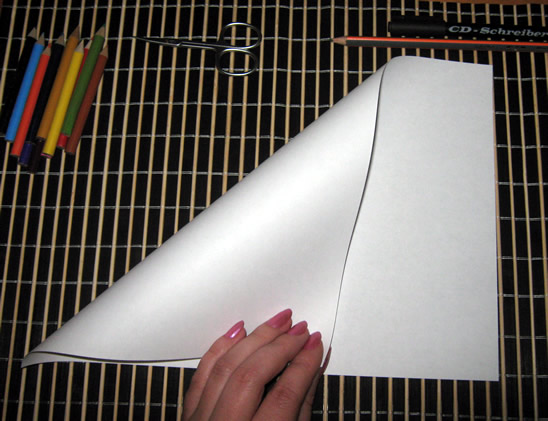
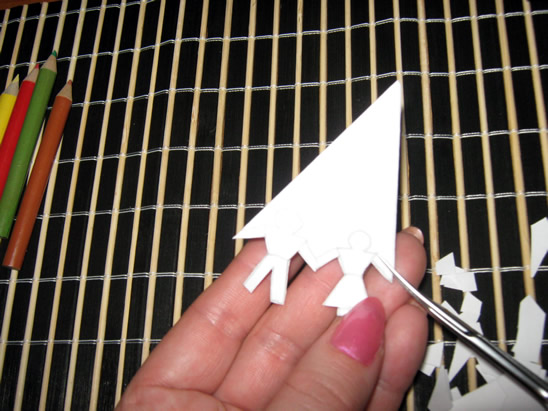
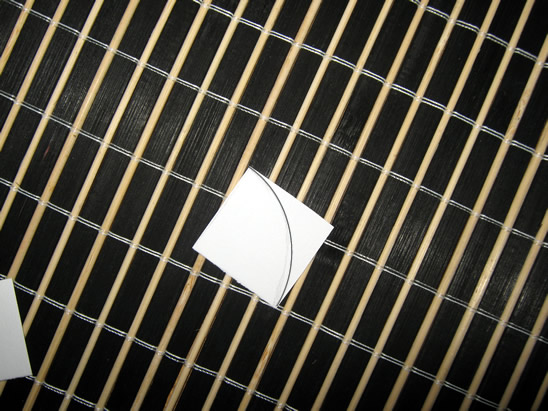
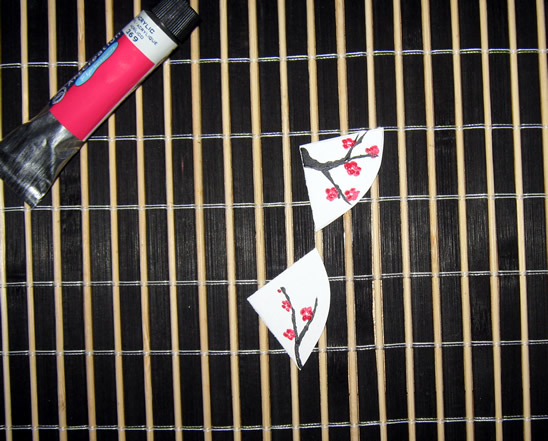
Step 1
Cut two square pieces from the paper (about 3 cm on each side)
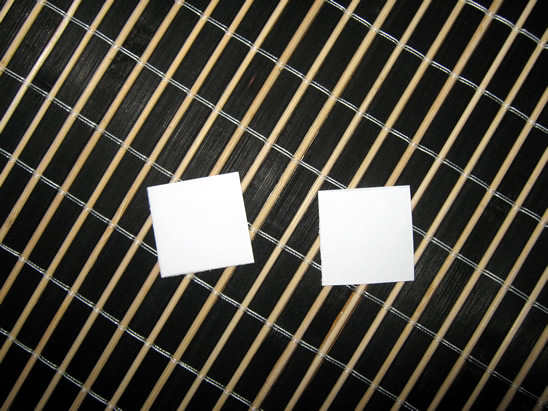
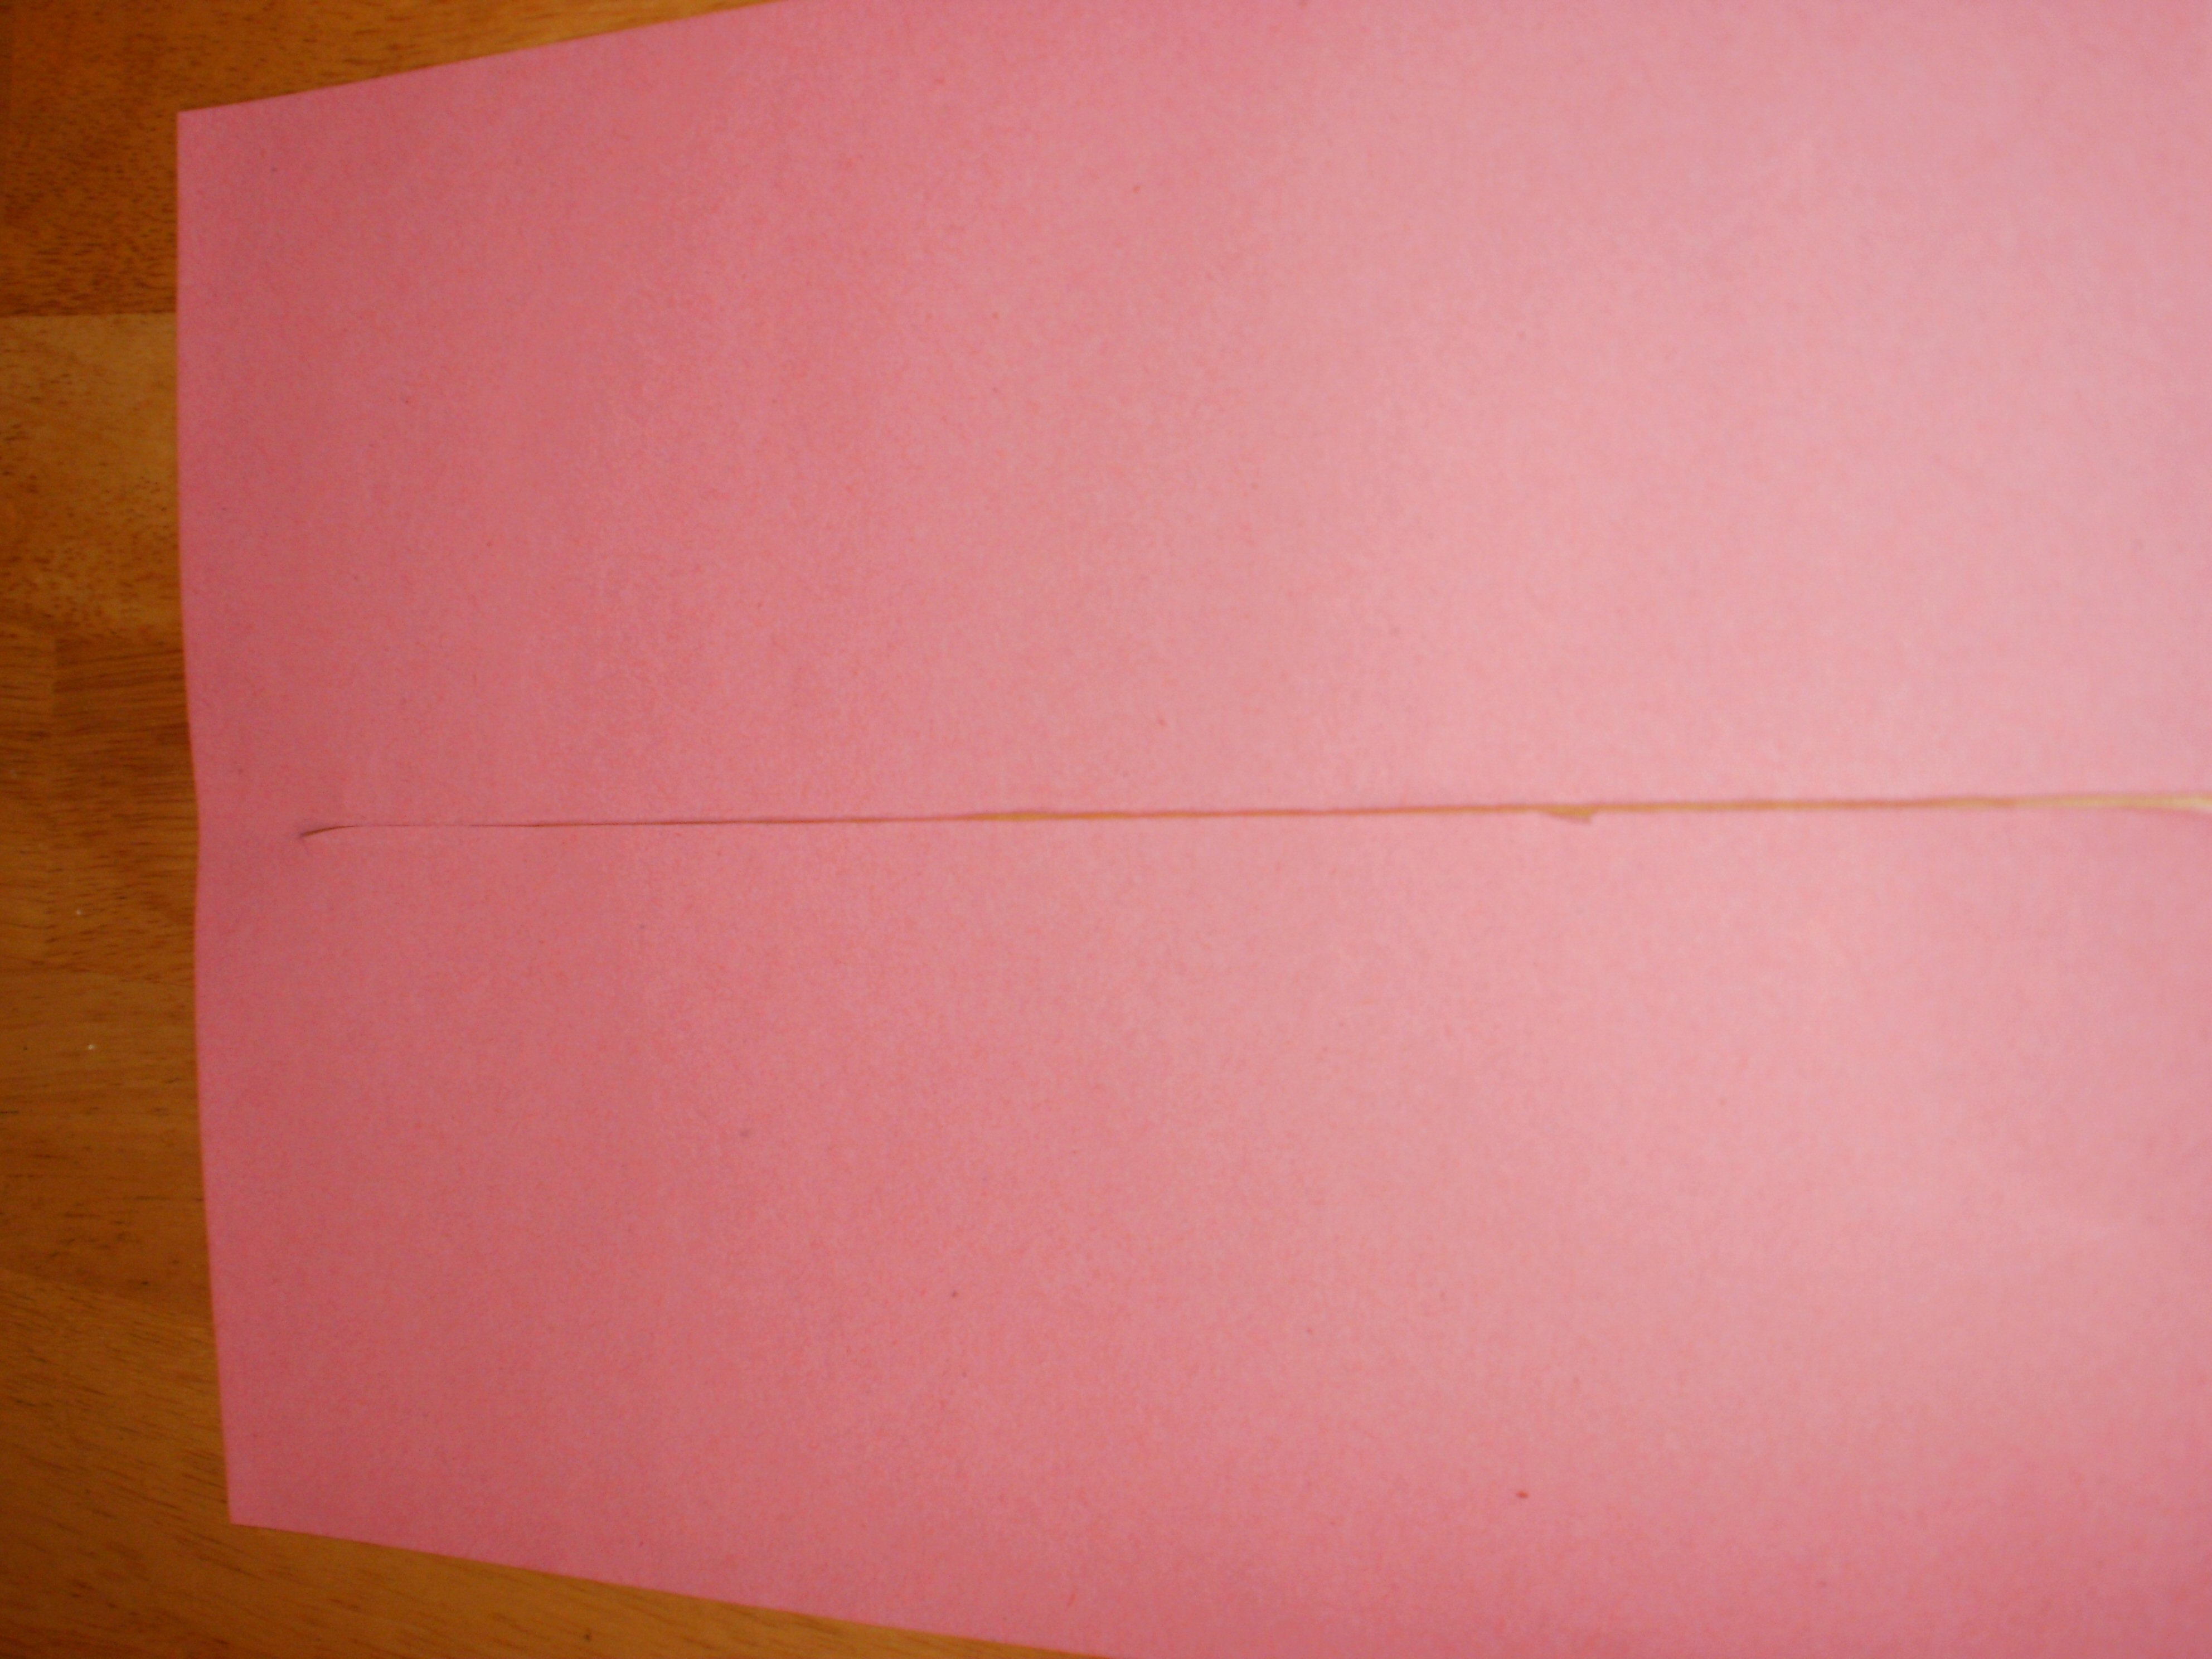
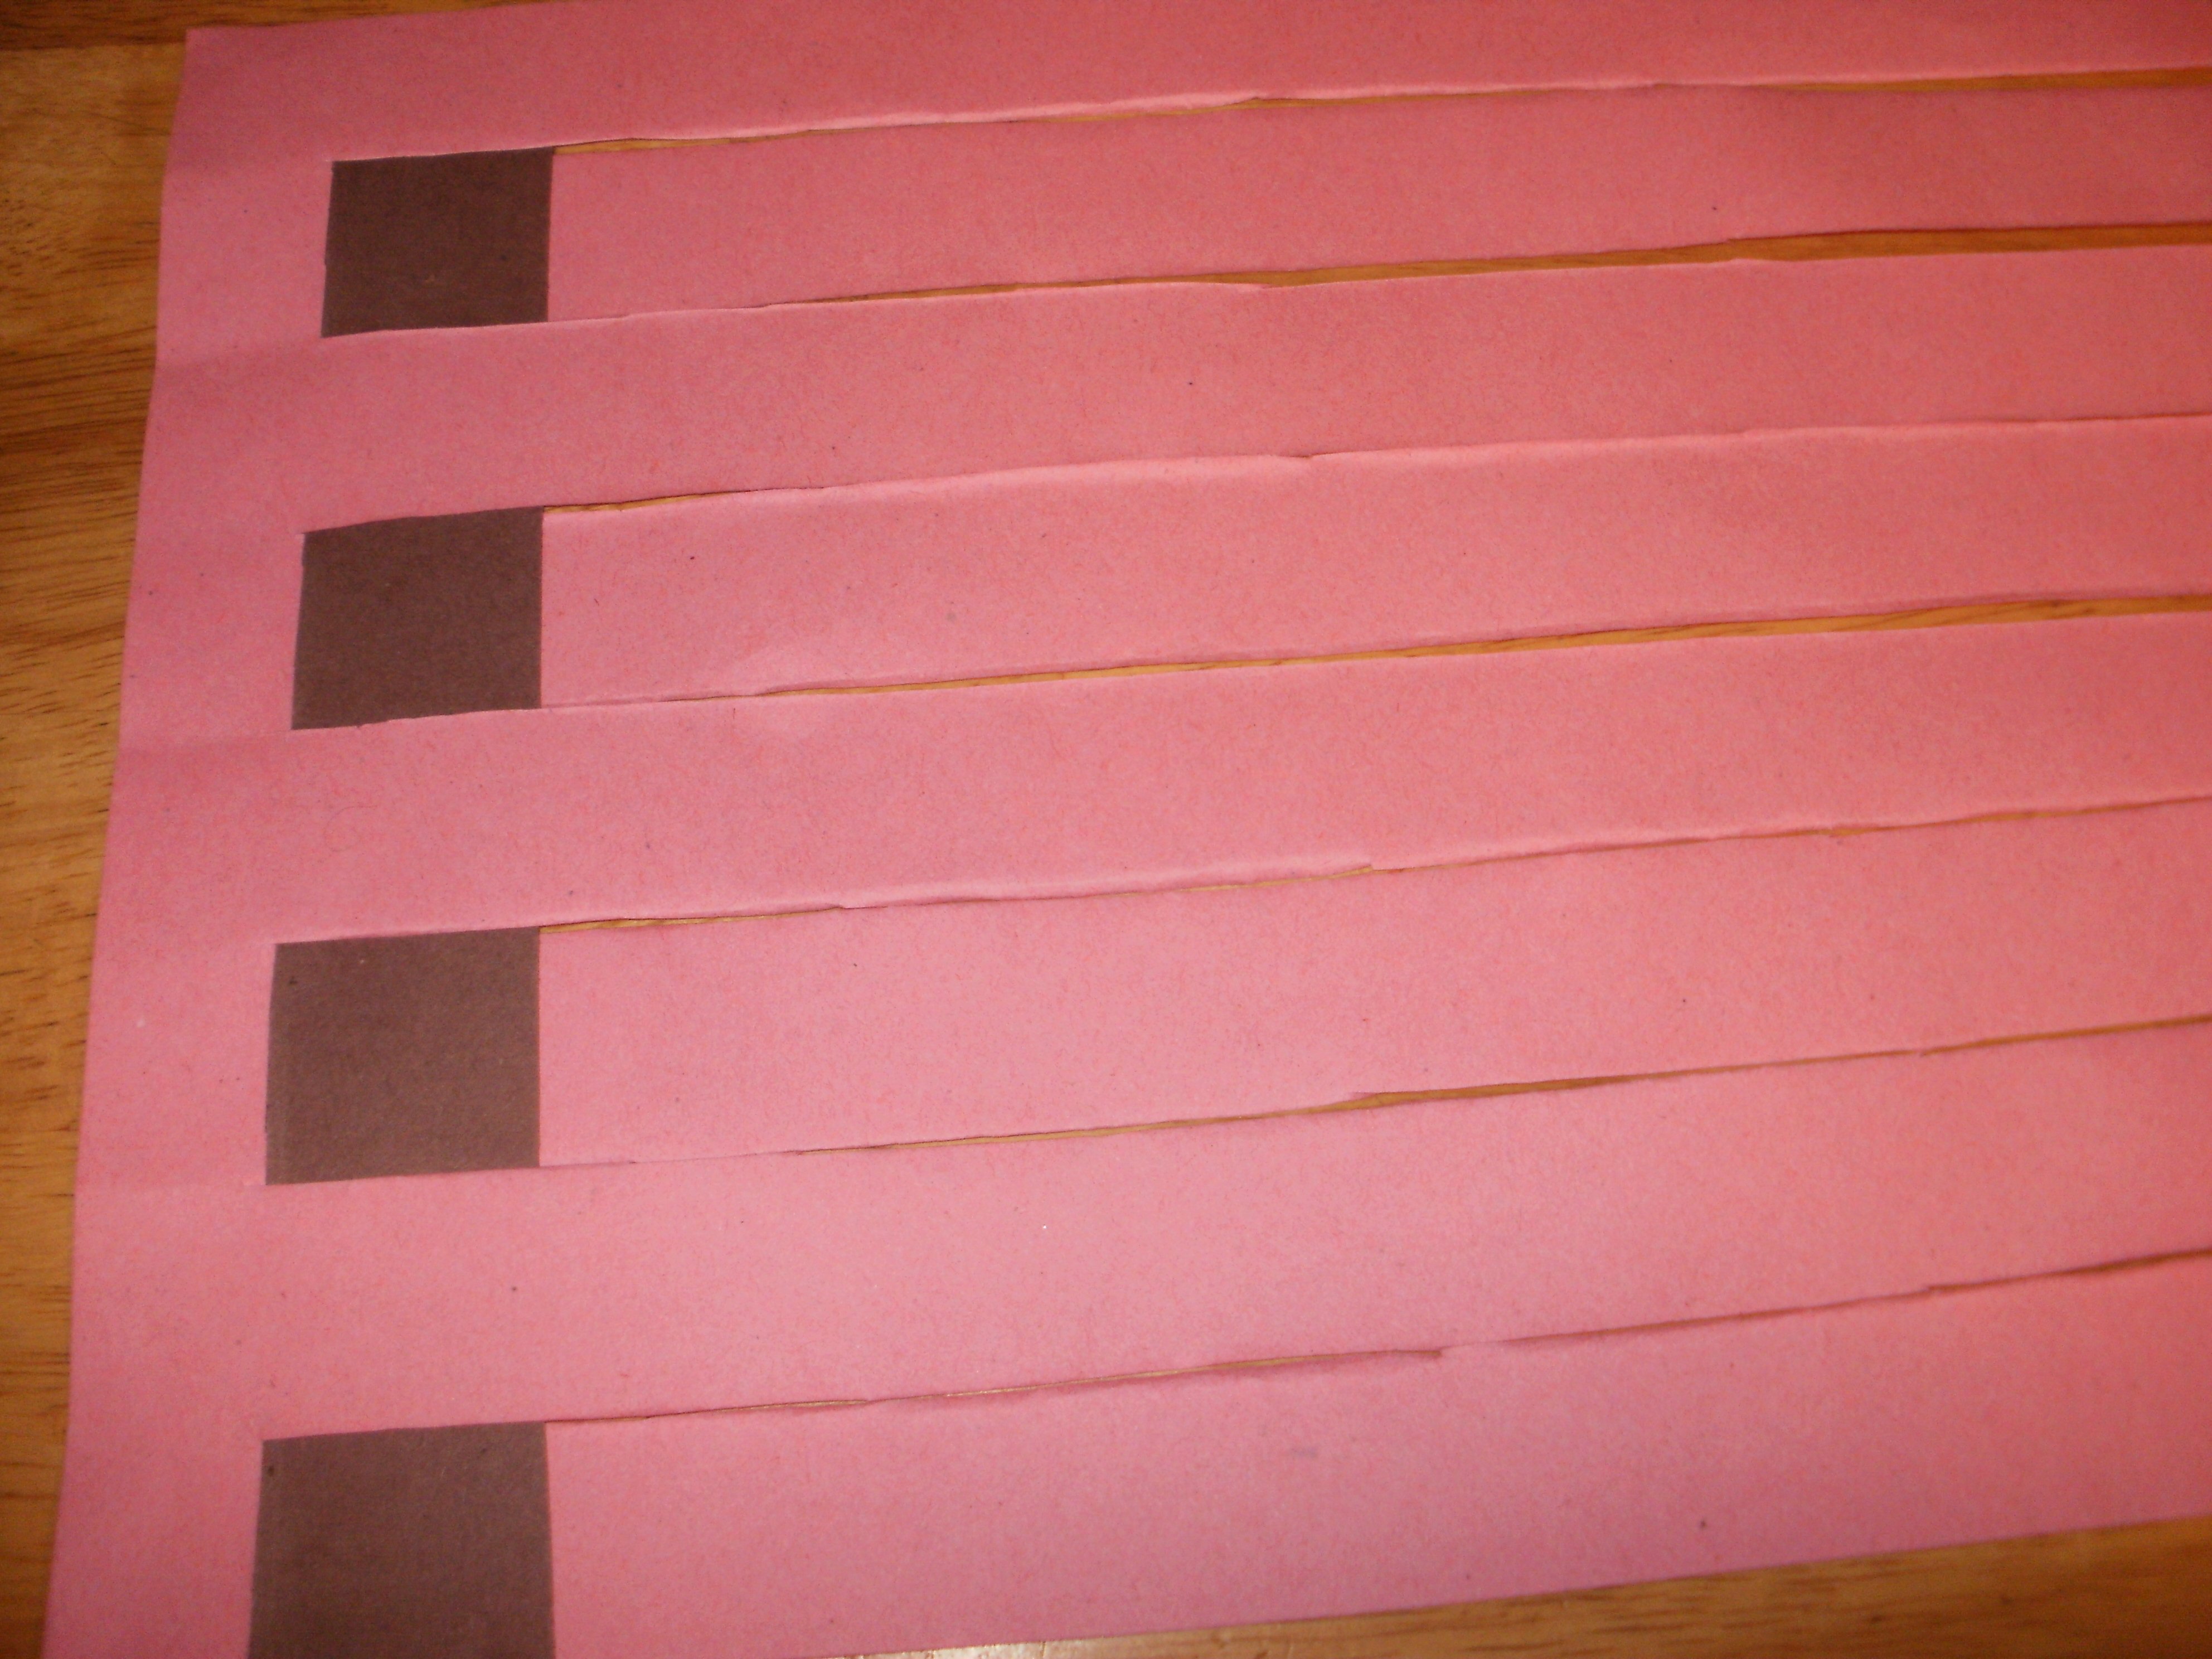
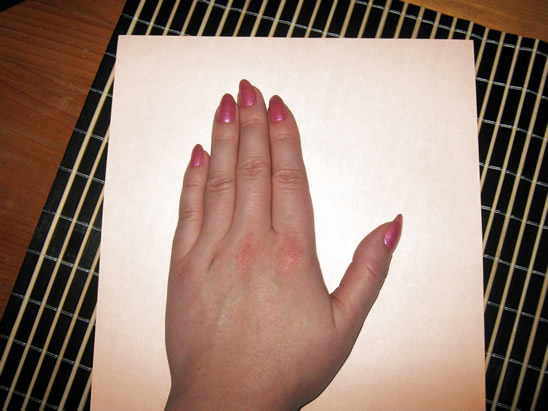
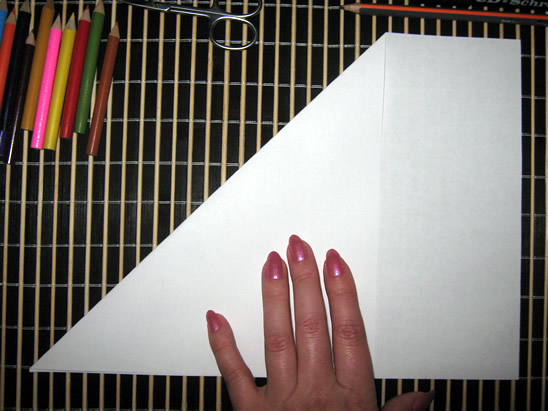
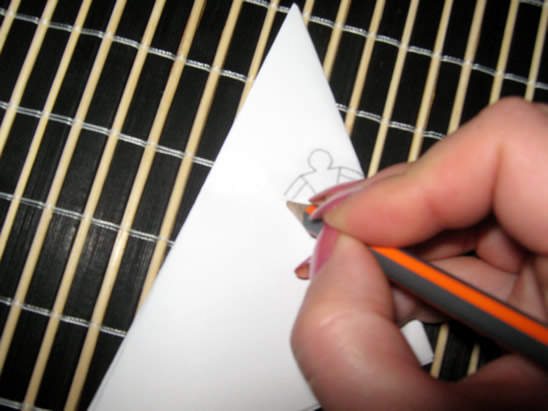
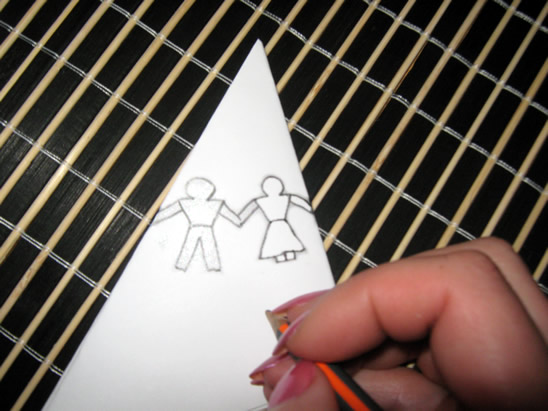
With the pencil make a line like in this picture…
[ad#ahc]
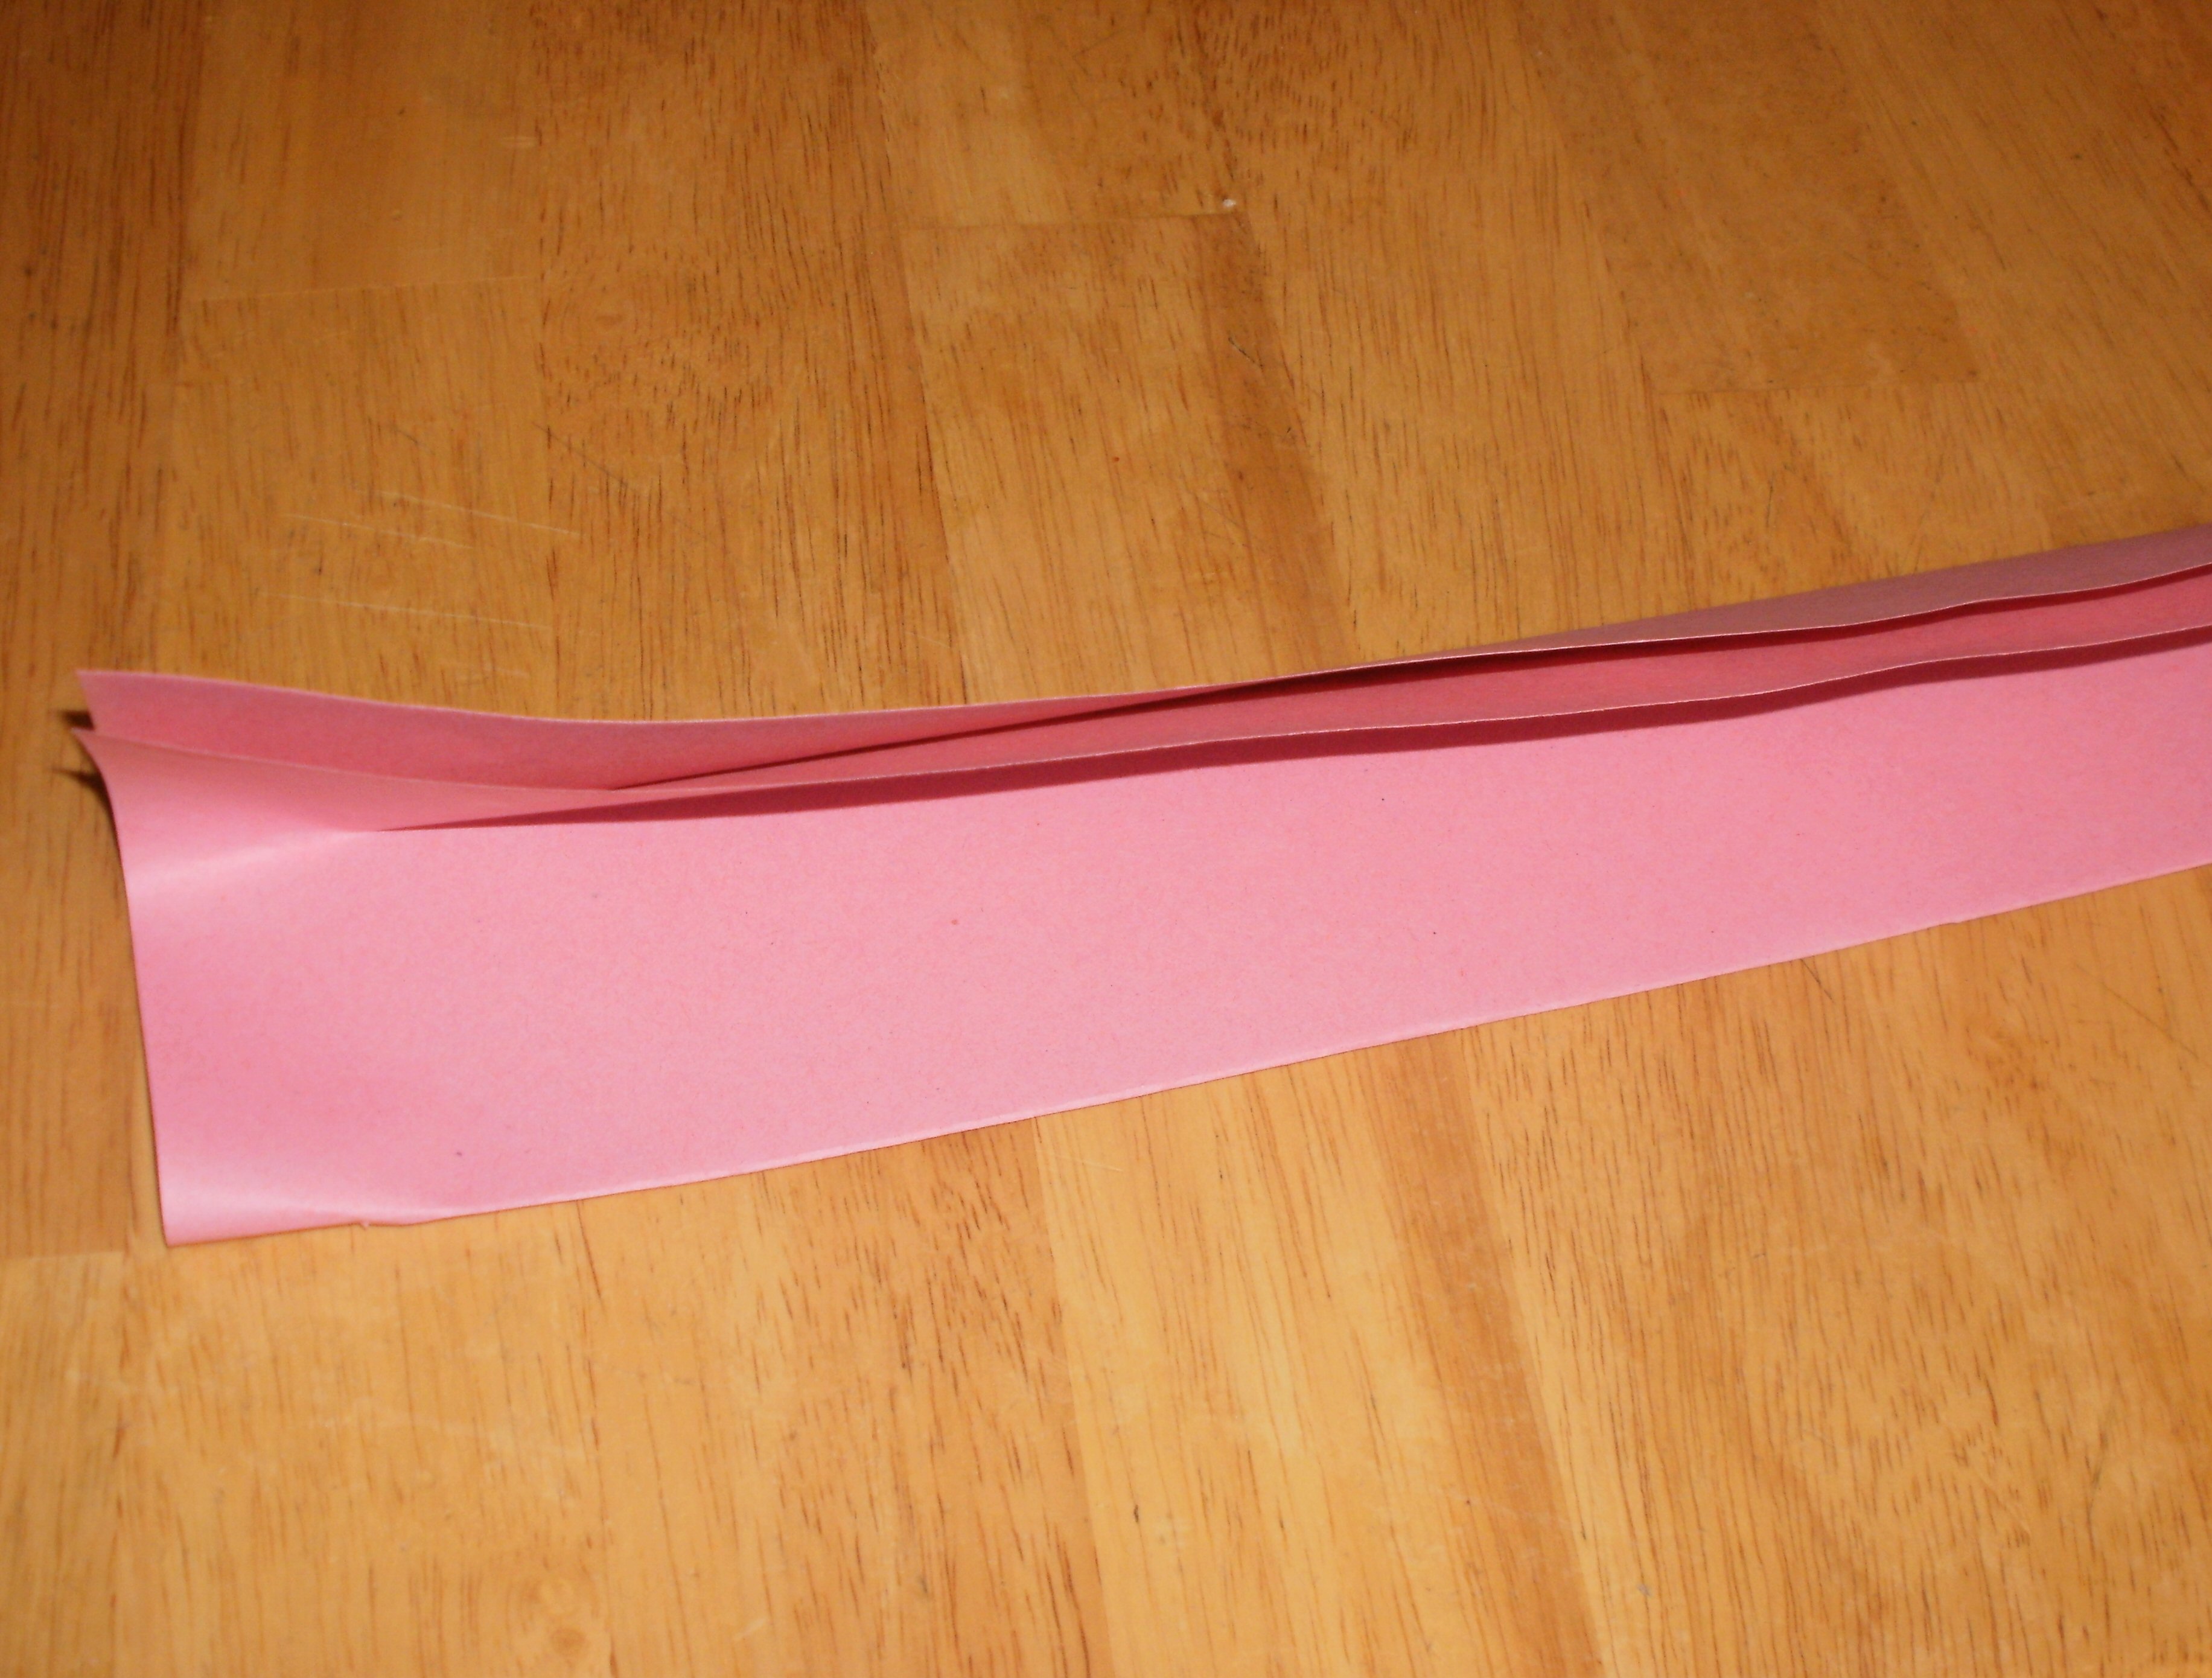
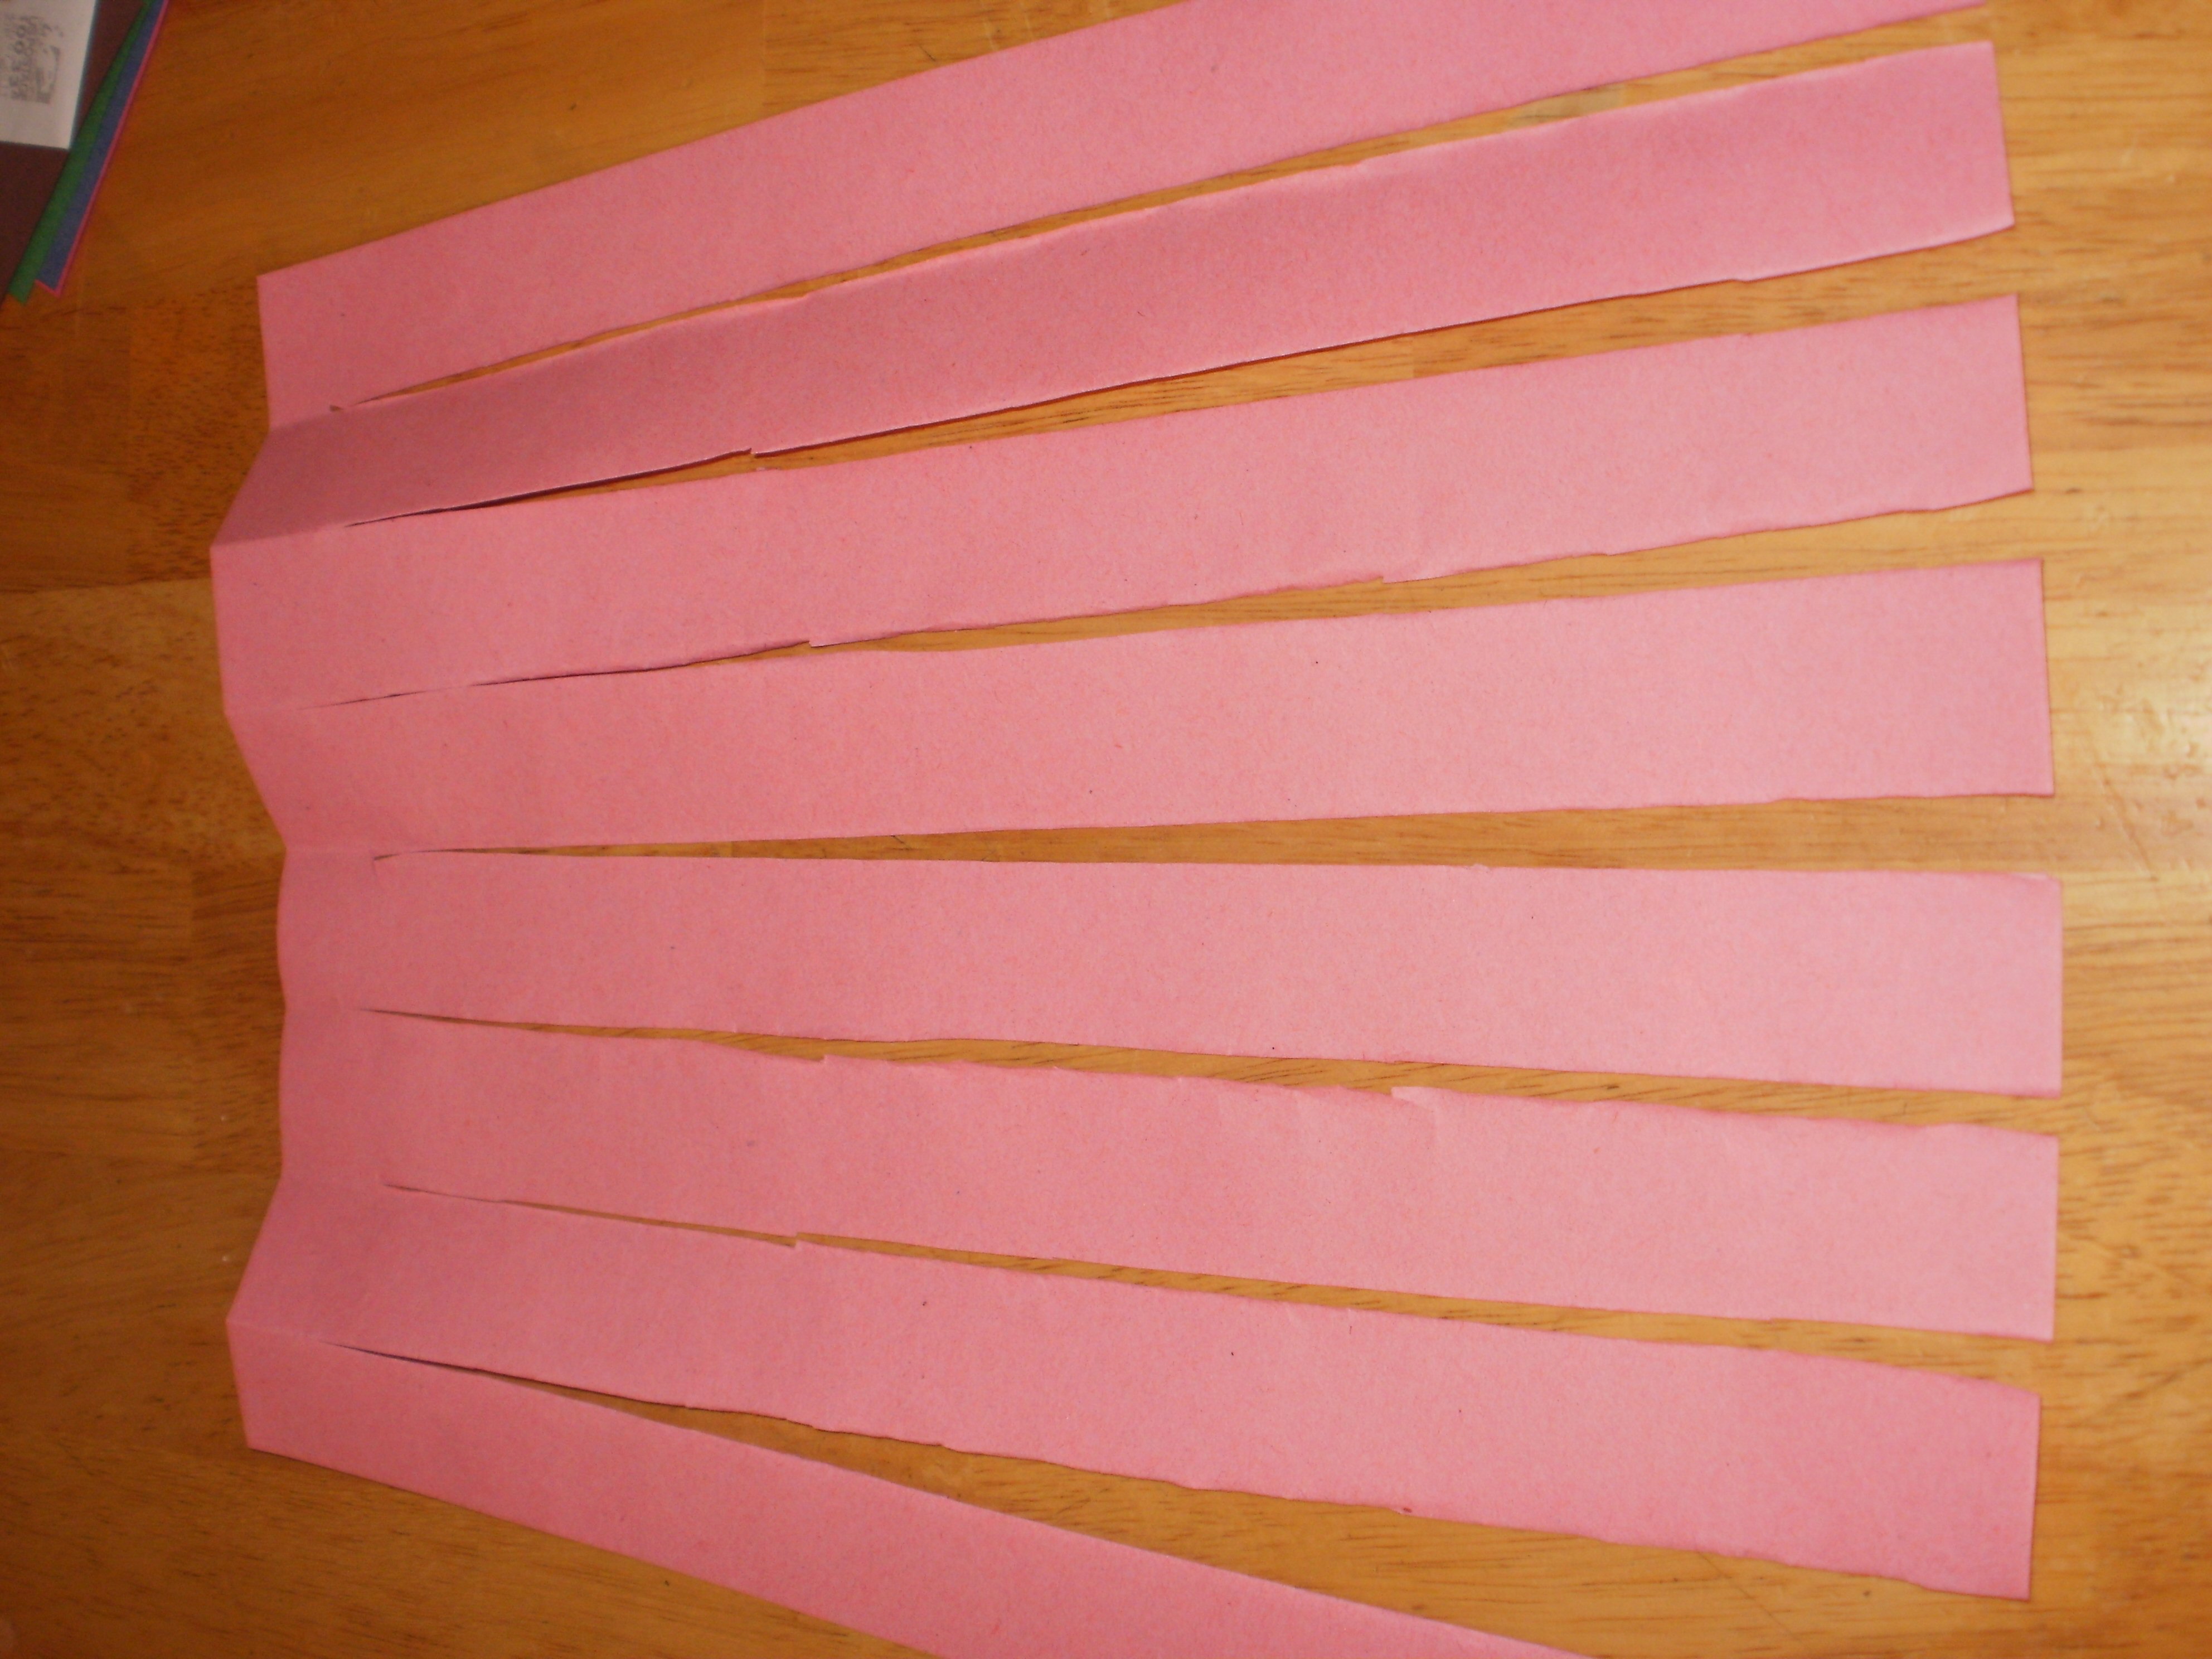
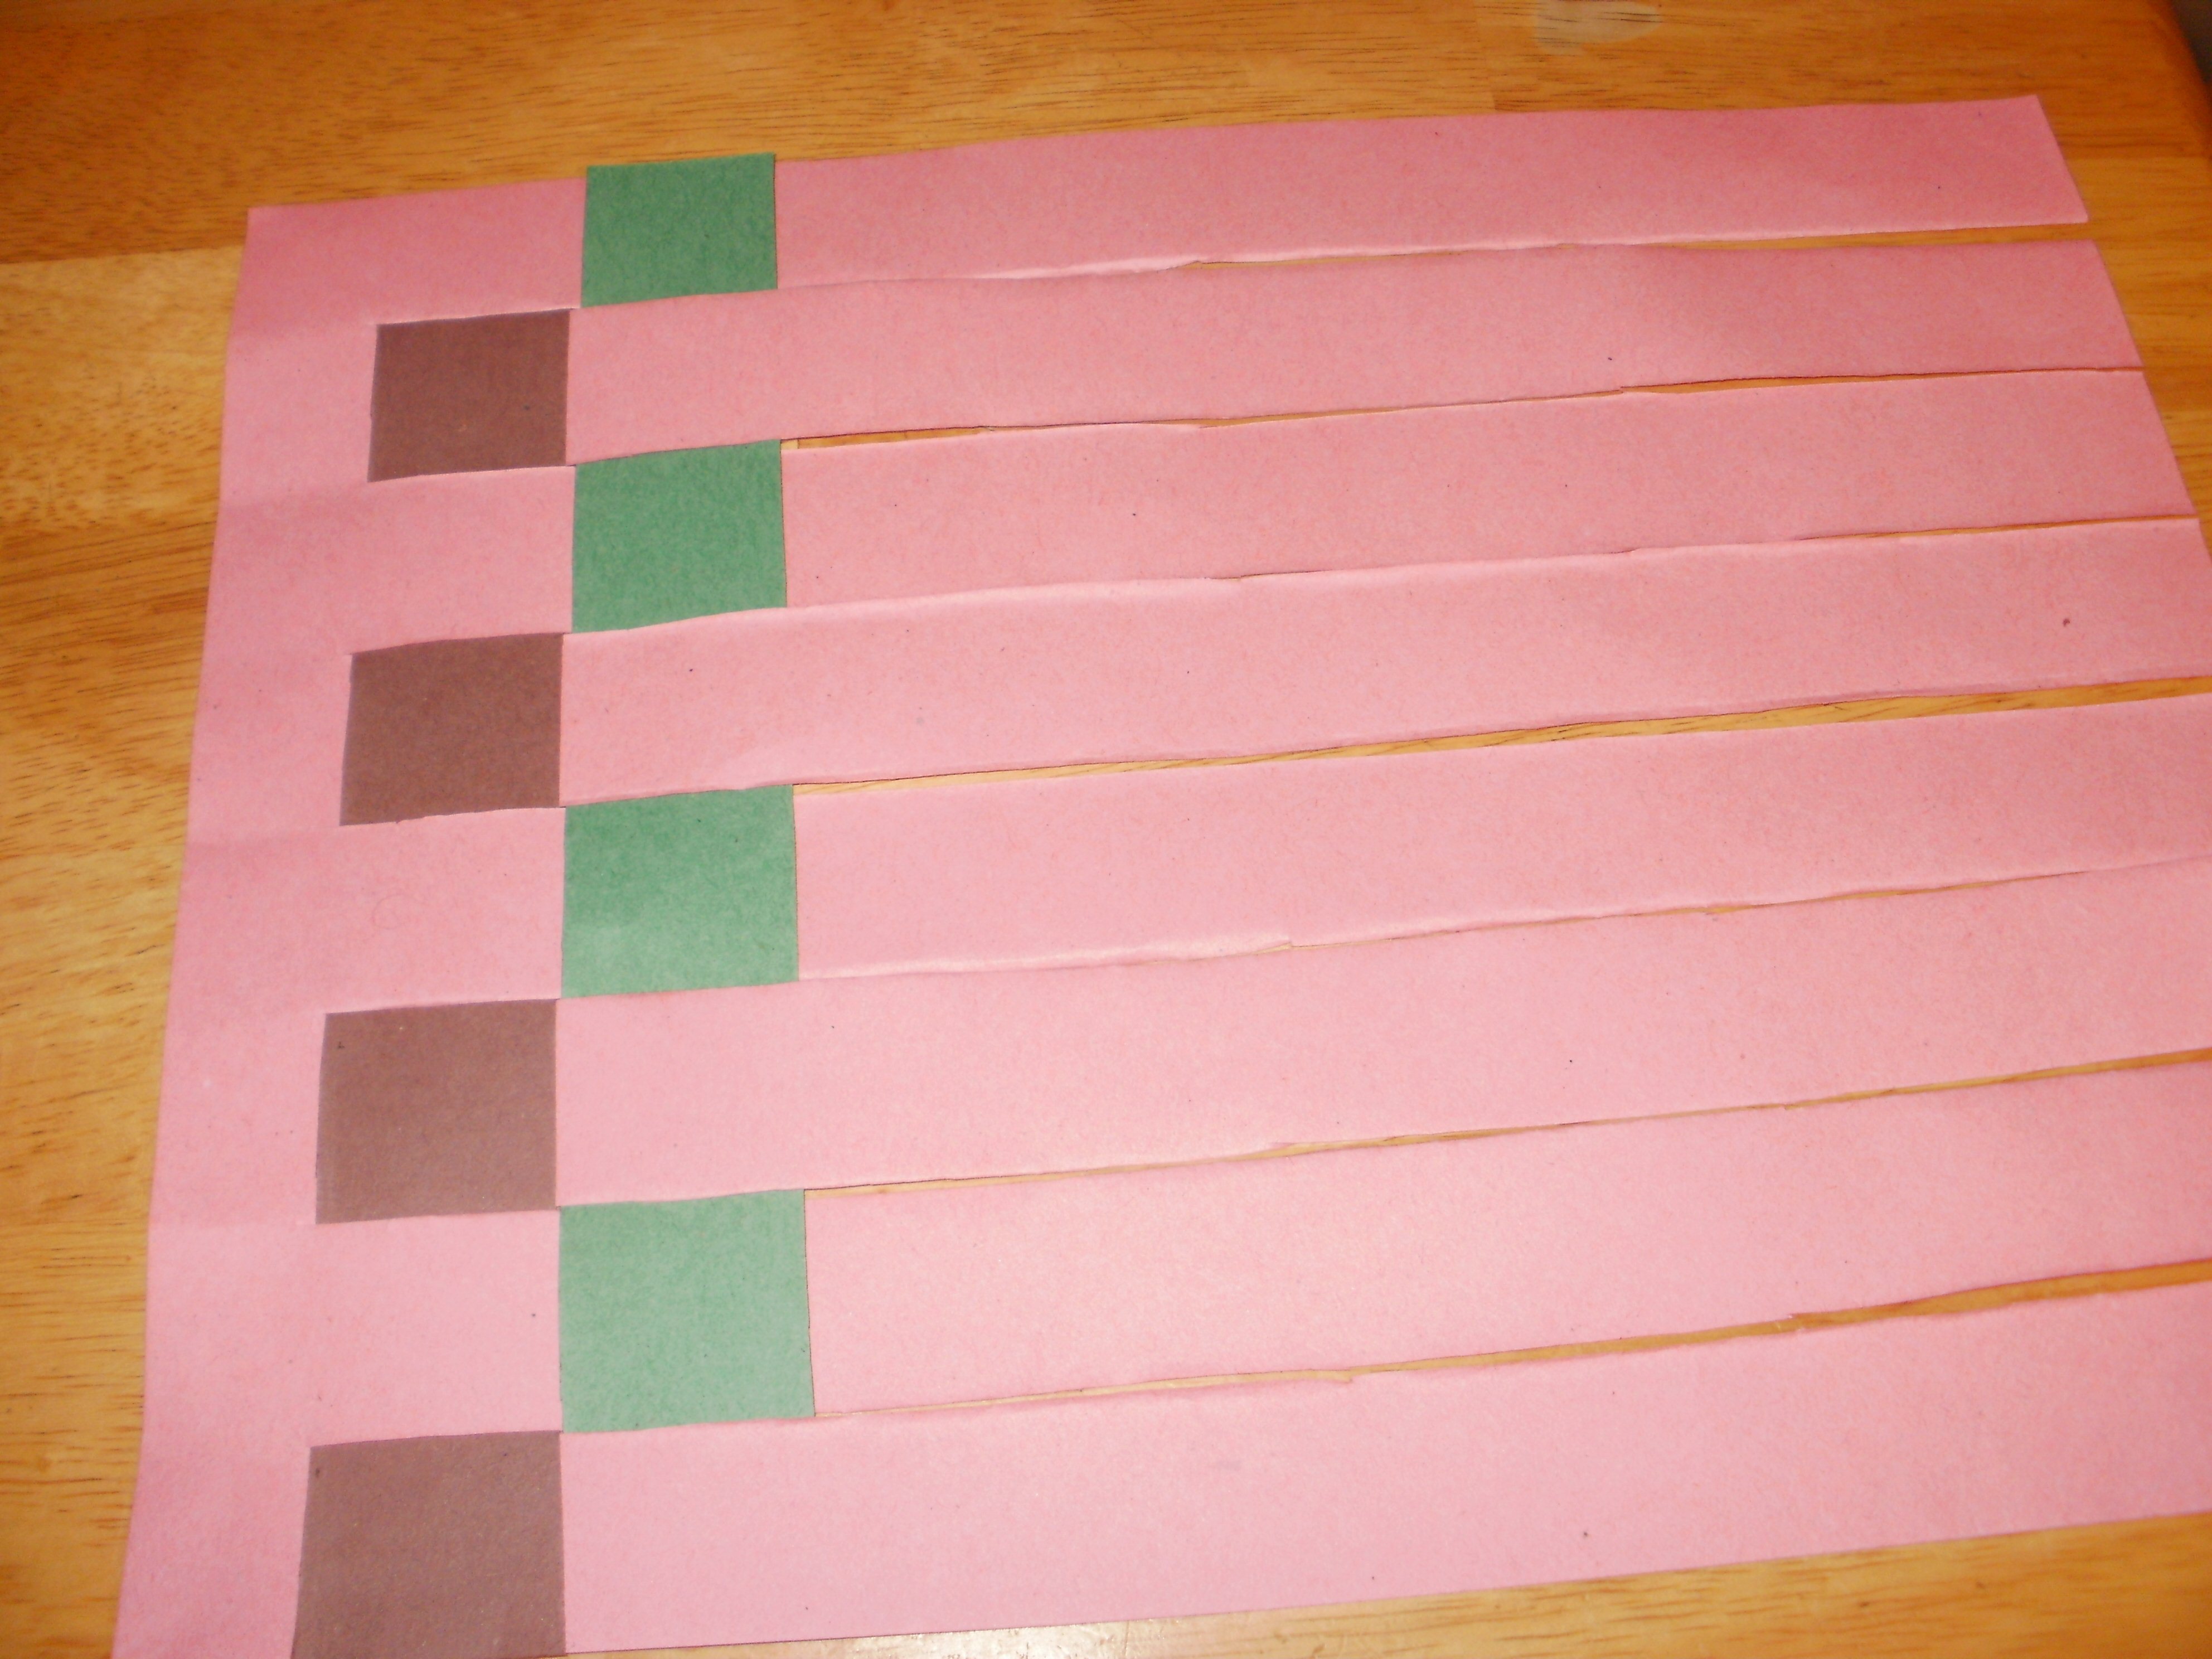
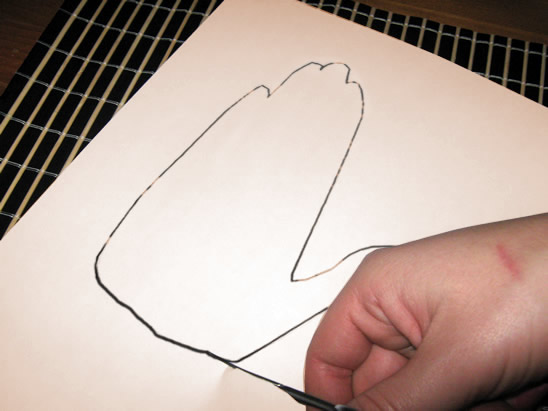
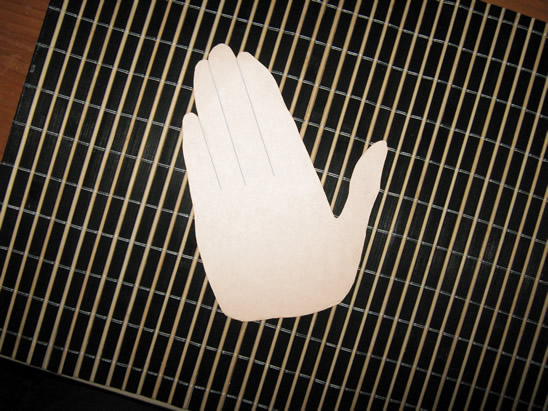
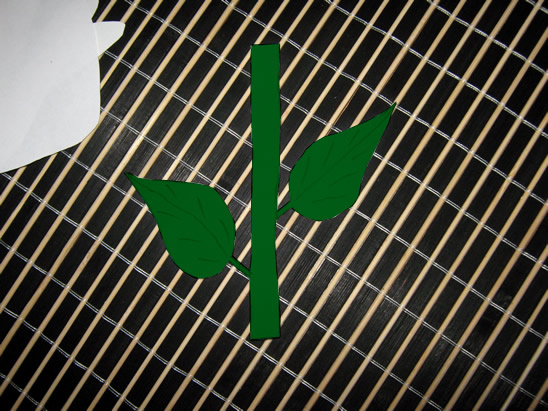
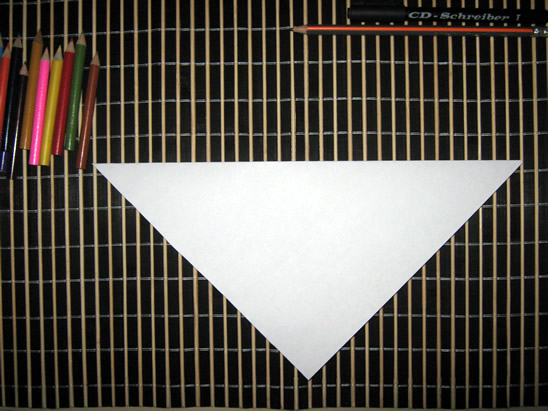
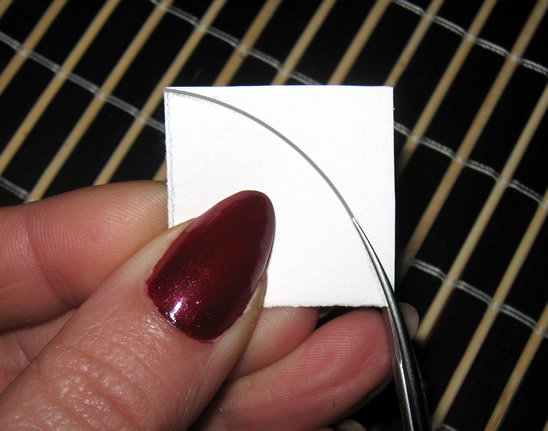
…then cut it out.
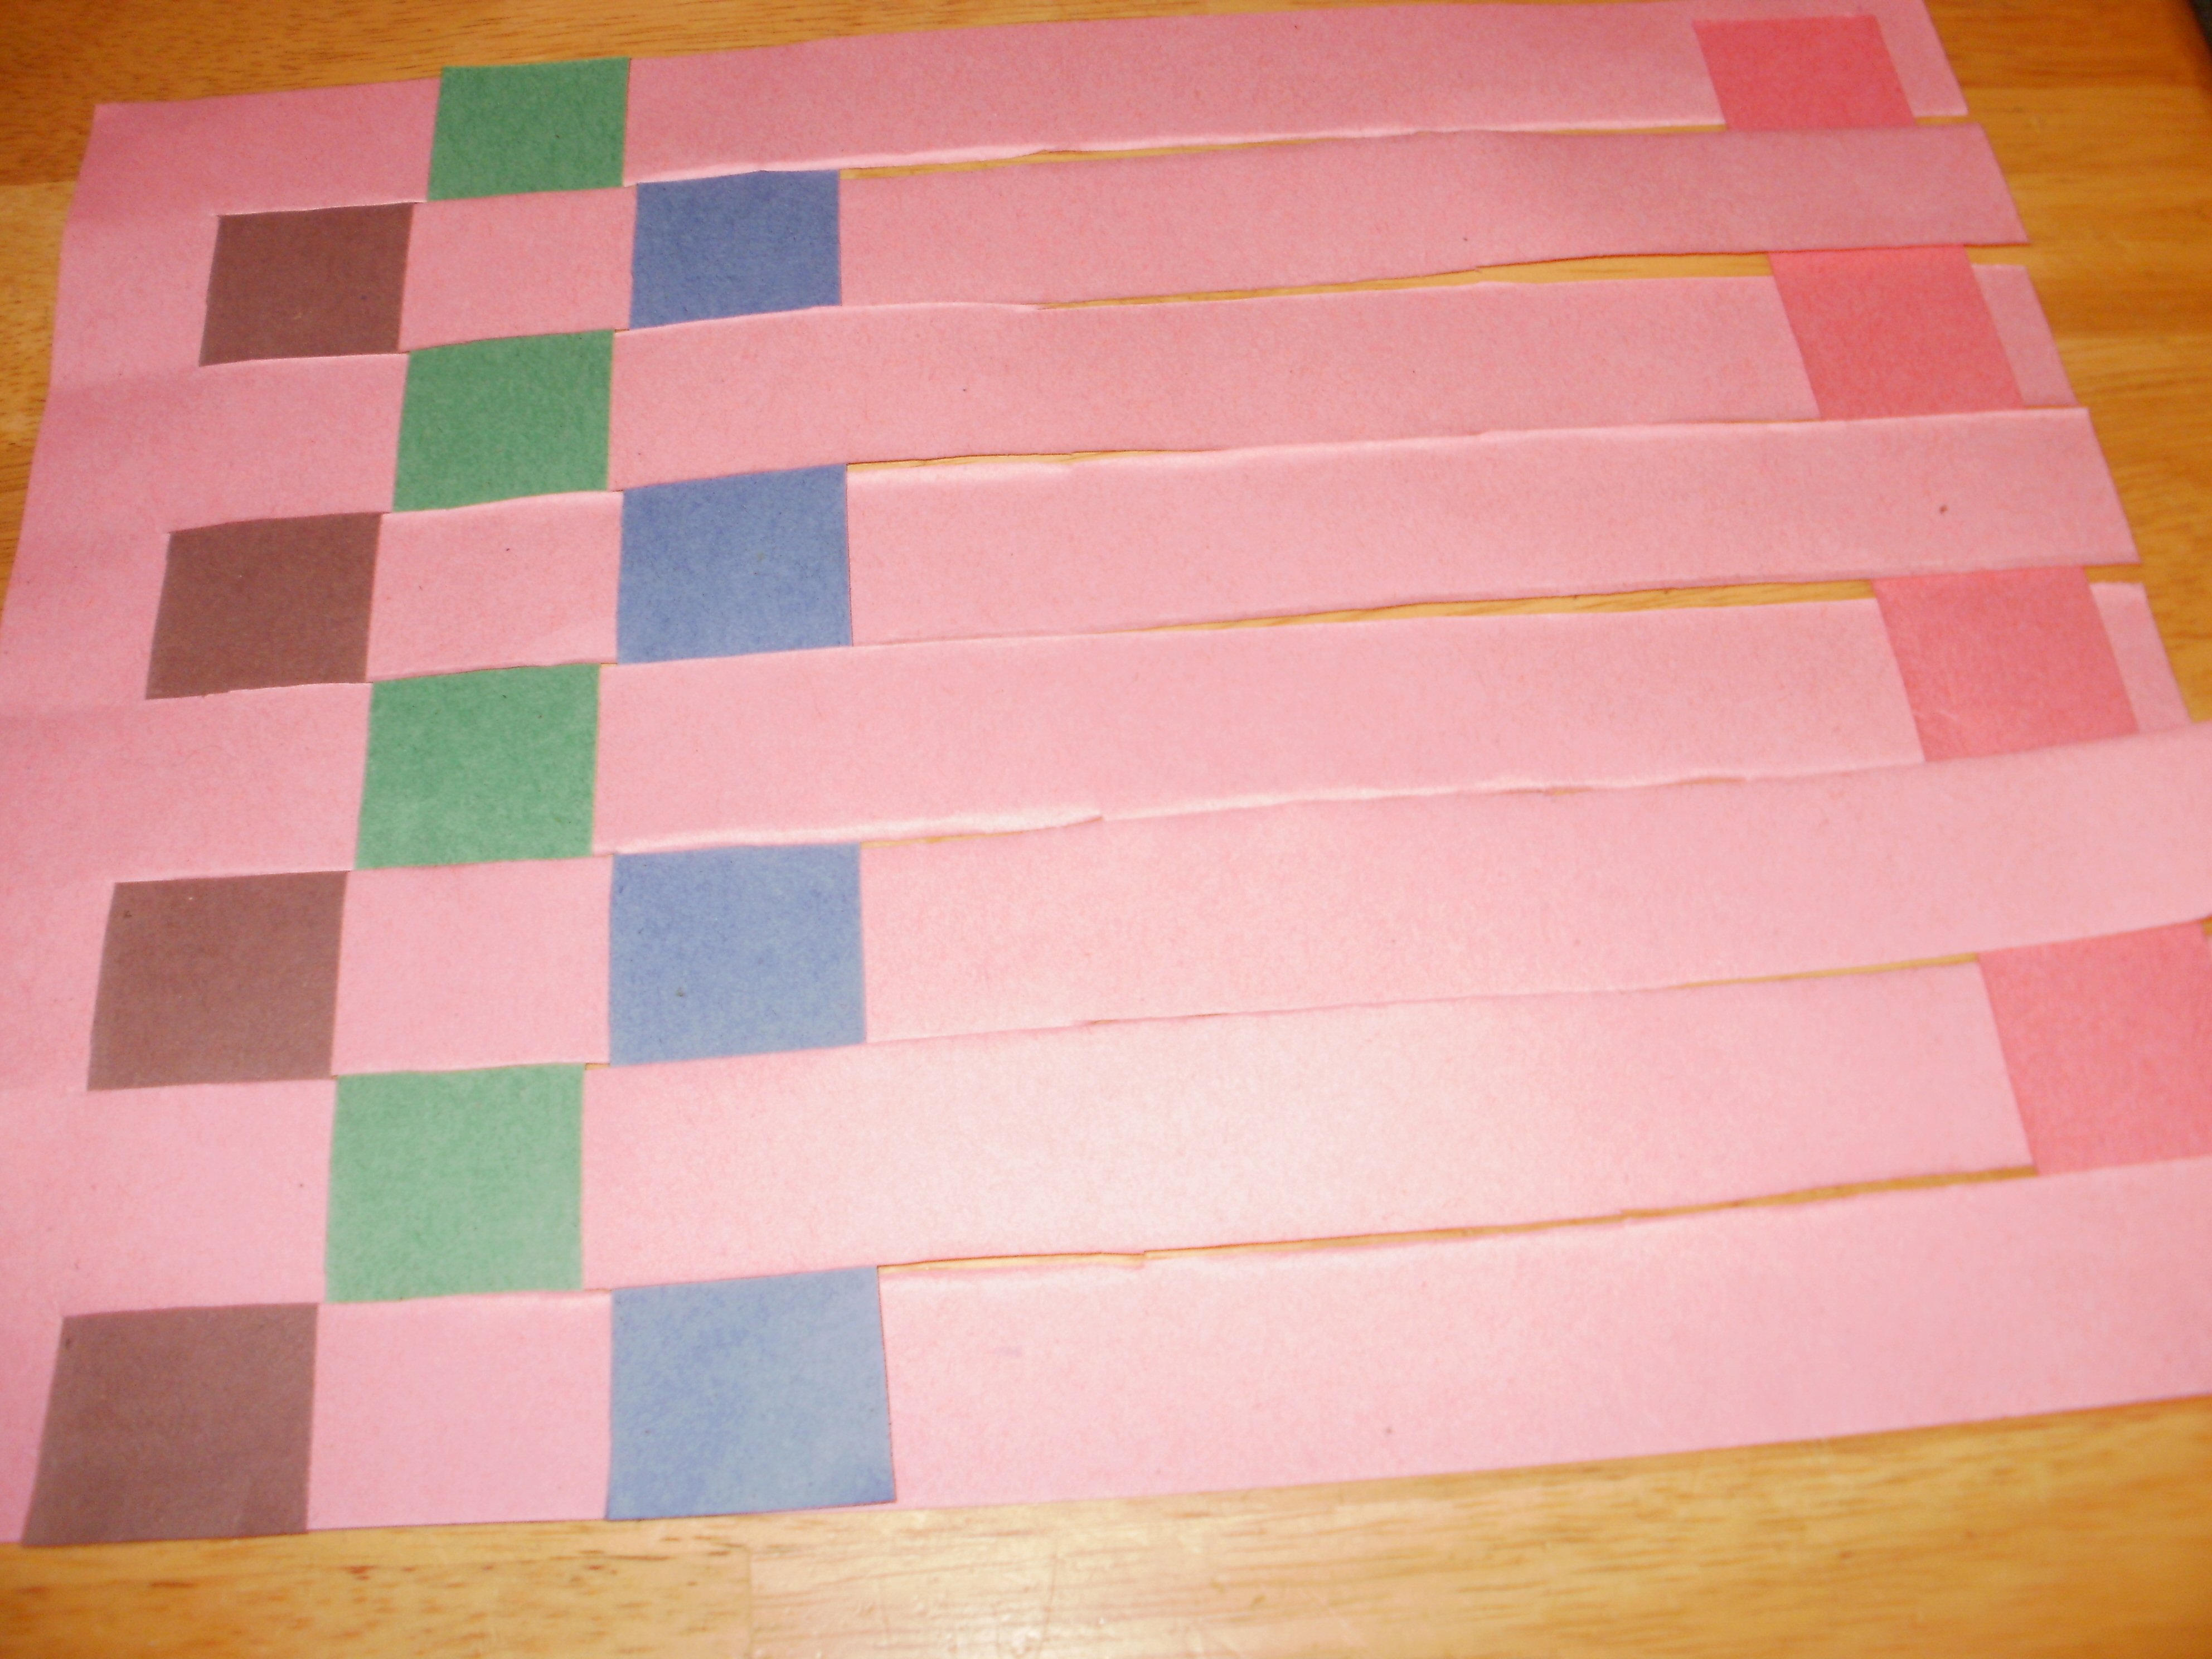
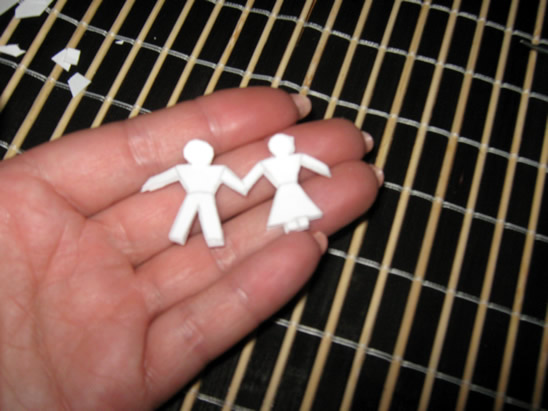
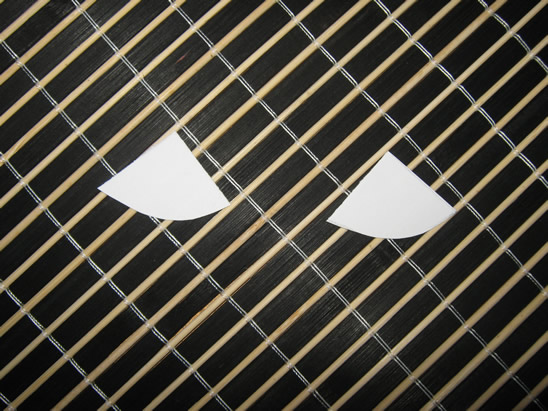
Repeat for the second square and your pieces of paper should look like this.
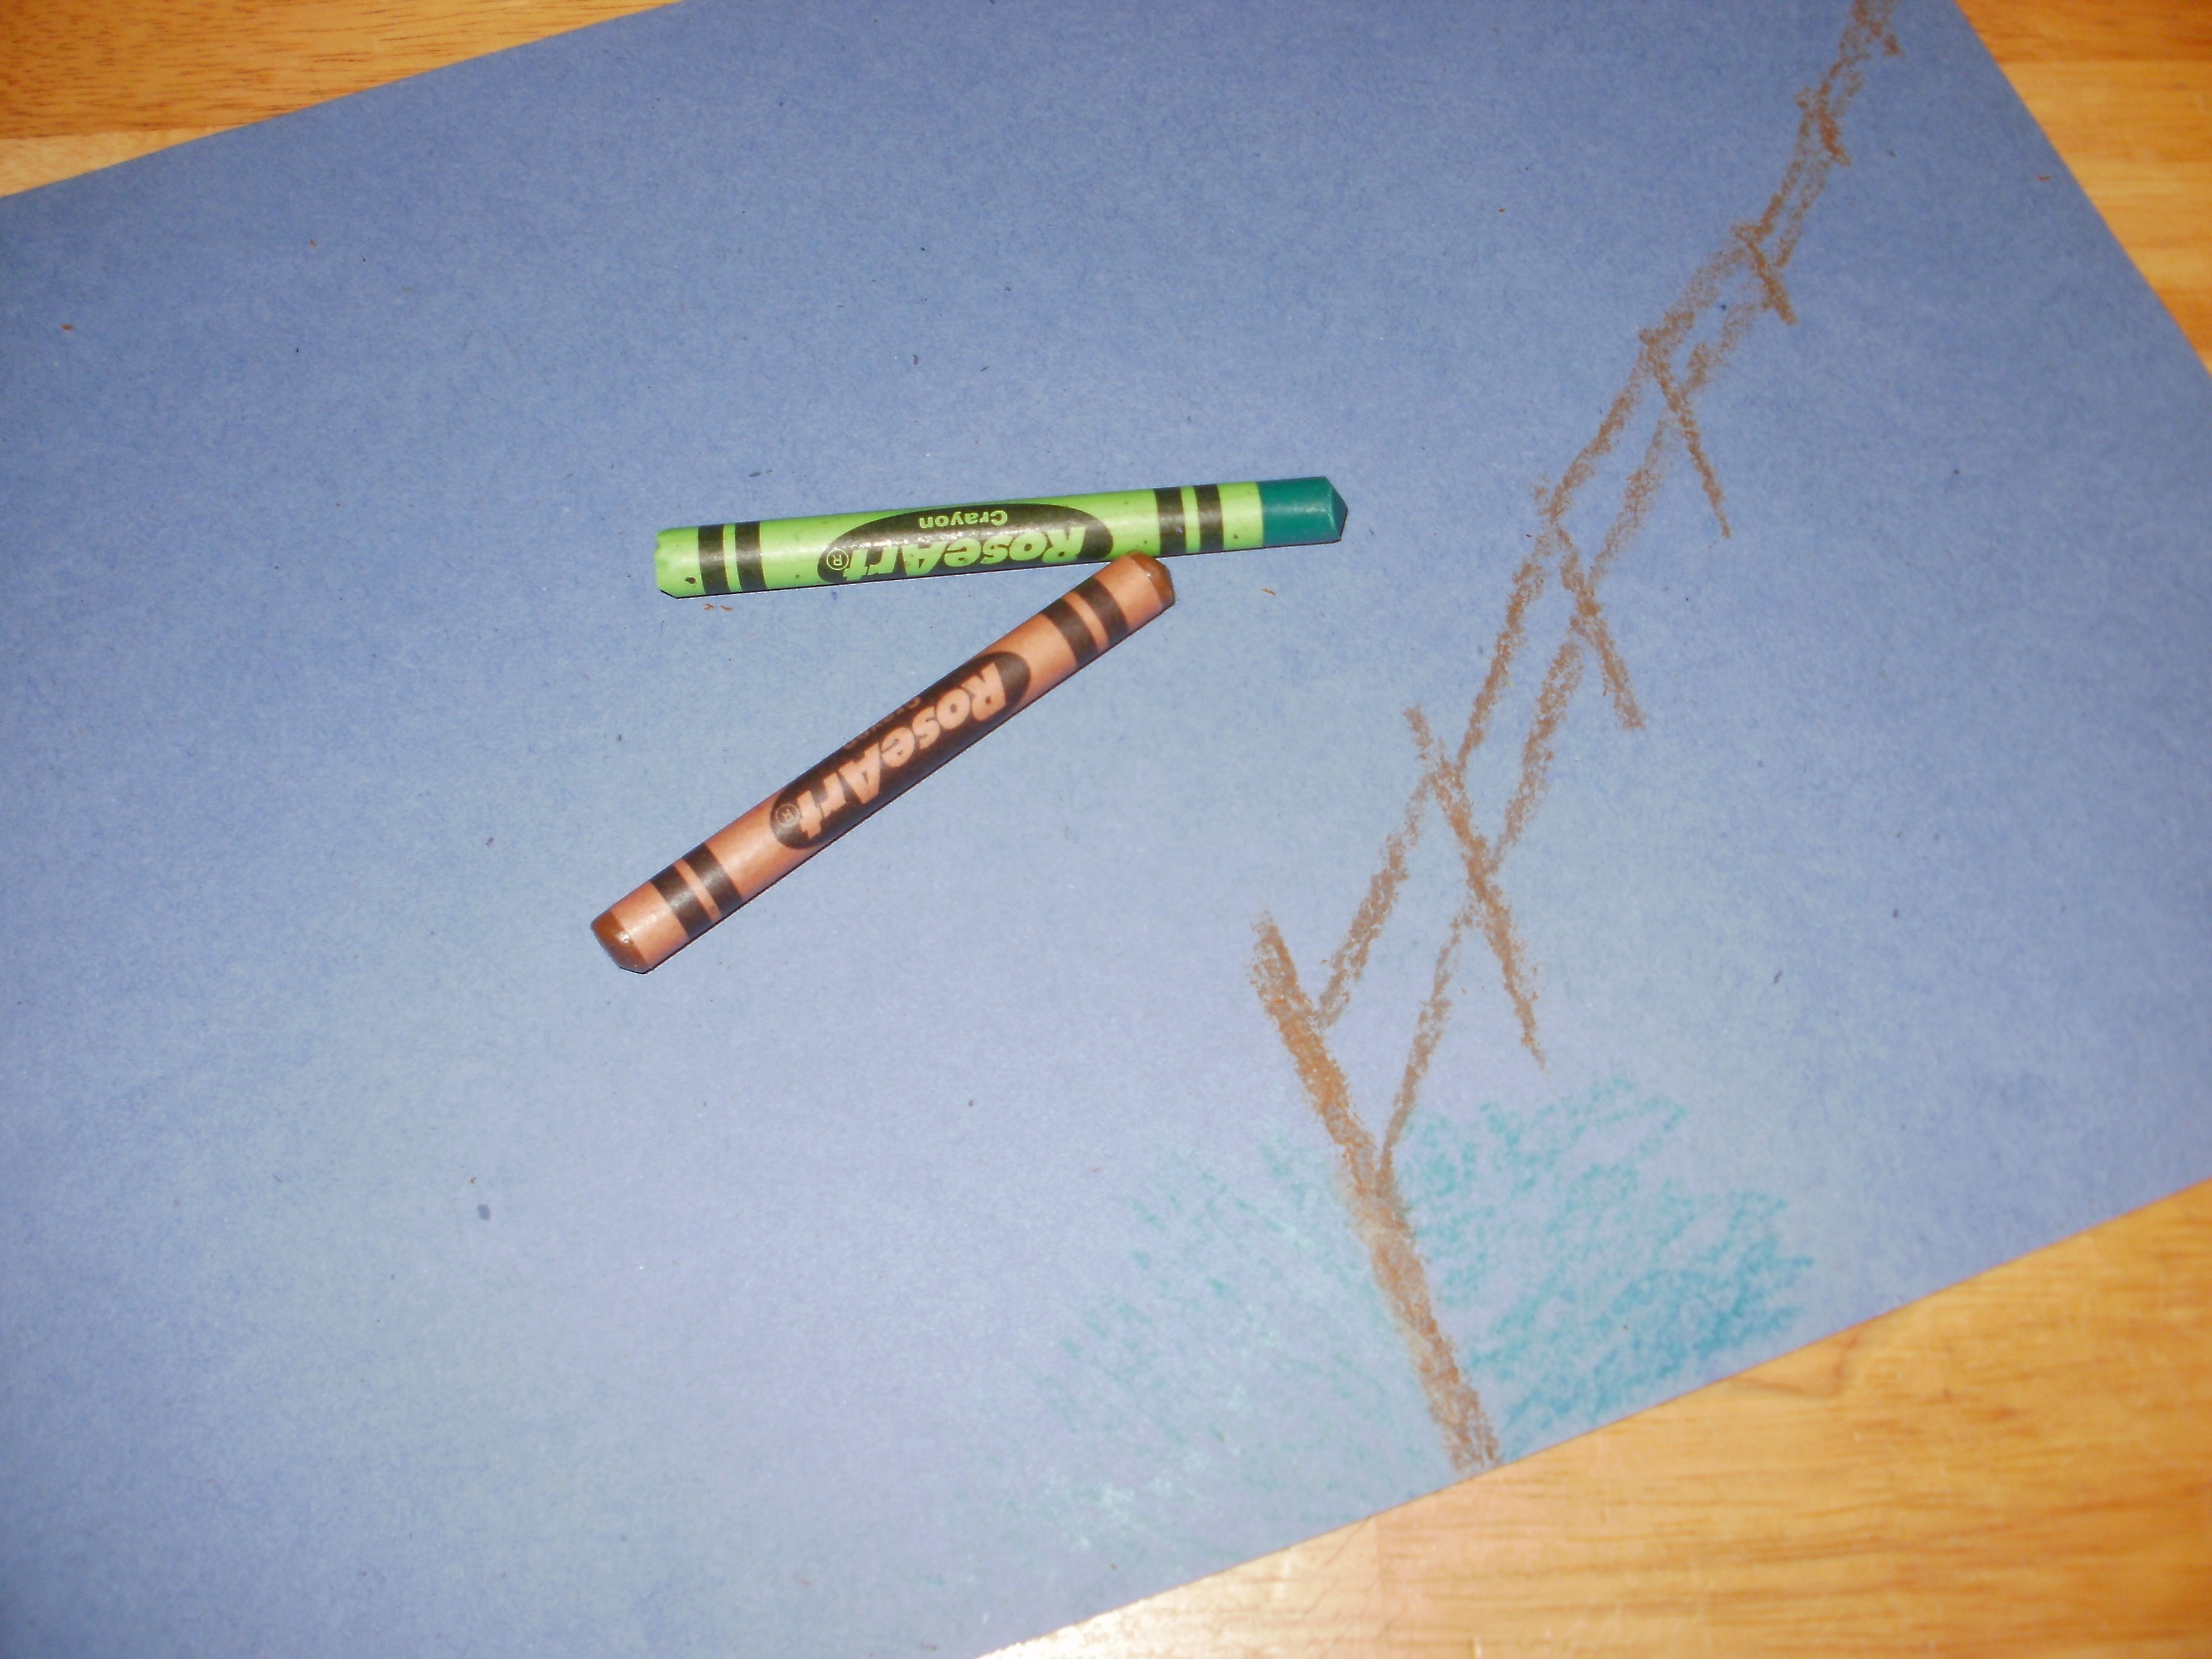
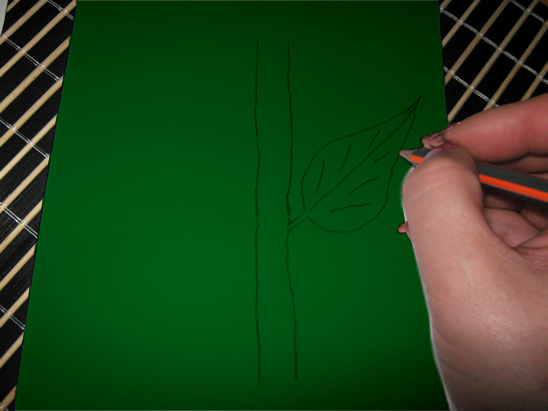
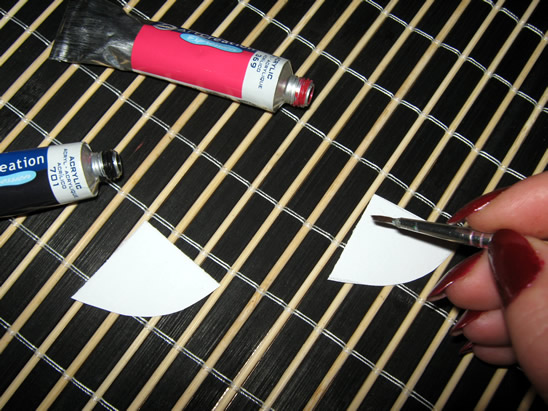
Step 2
Take black and pink paint (if you don’t have pink, just mix red and white) and paint black cherry branches and pink flowers on them.
Don’t worry if you don’t draw the same on the two paper pieces. Your earrings will be more funny.
Let the paint dry very well.
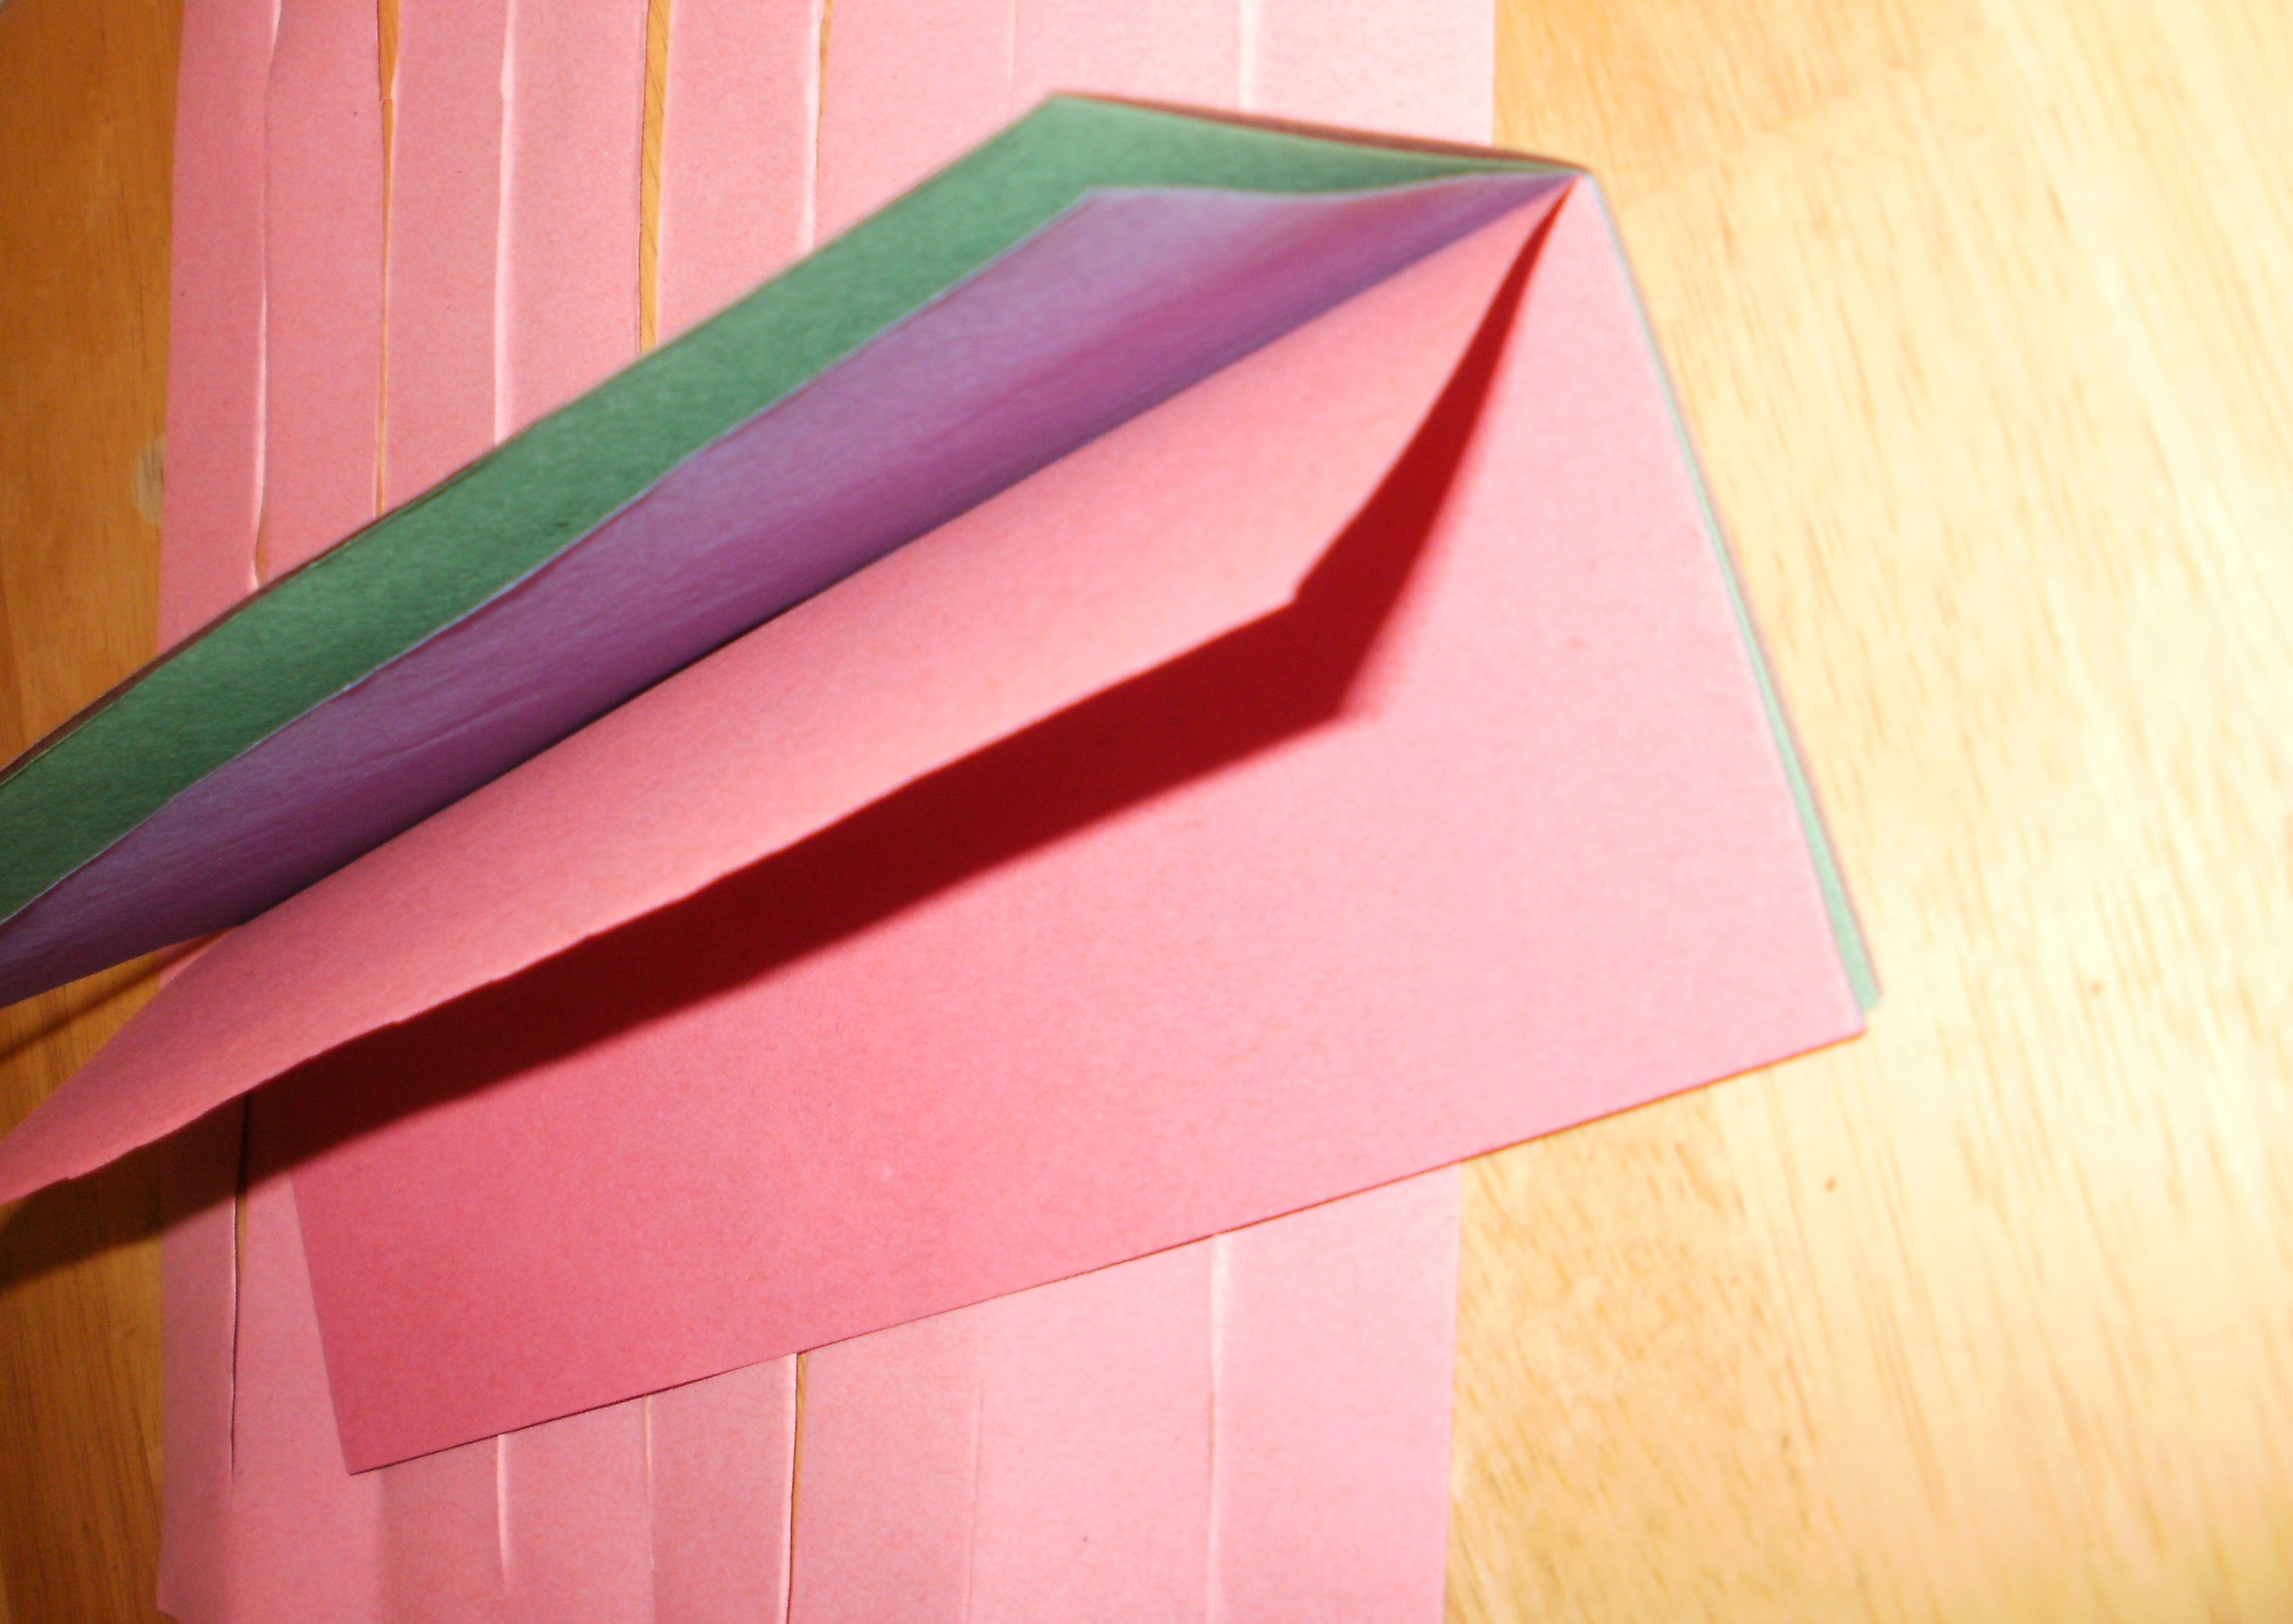
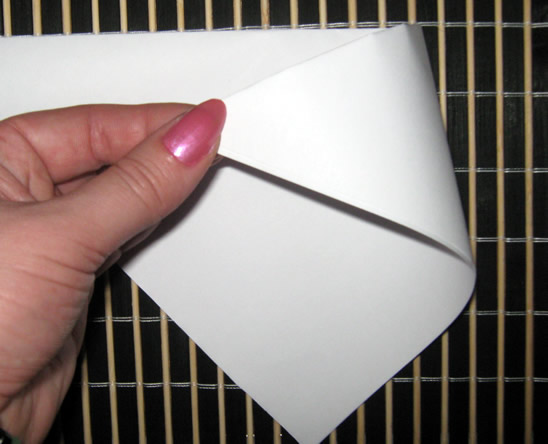
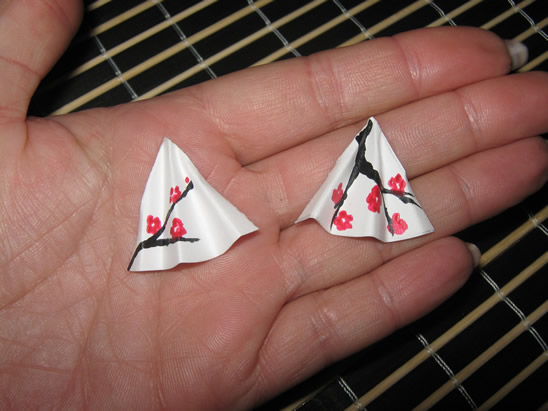
Step 3
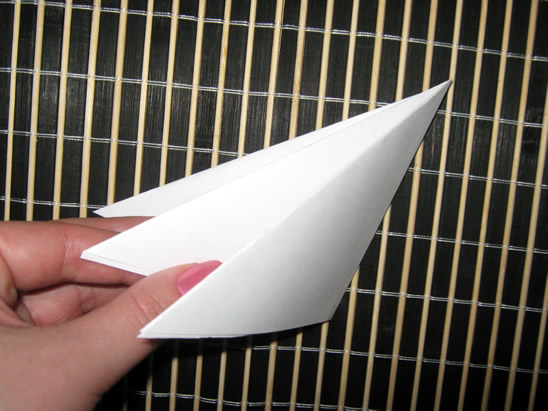
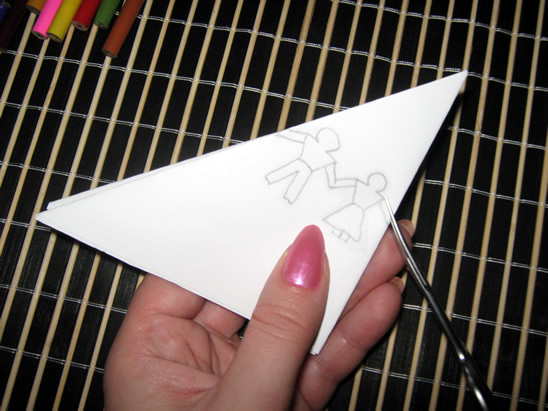
Take one piece of paper, keep it with the curved side to you and fold the left corner.
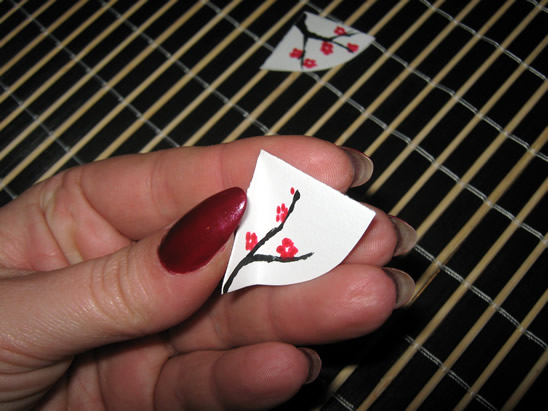
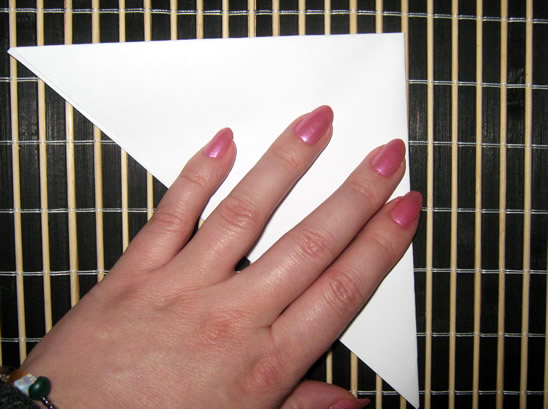
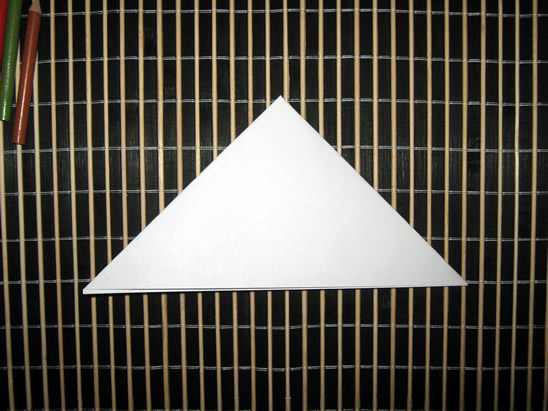
Continue folding like in this photo…
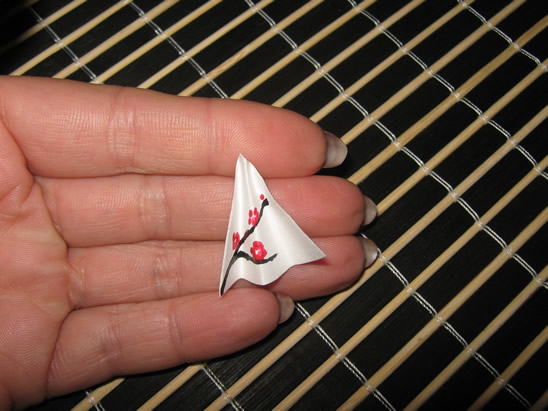
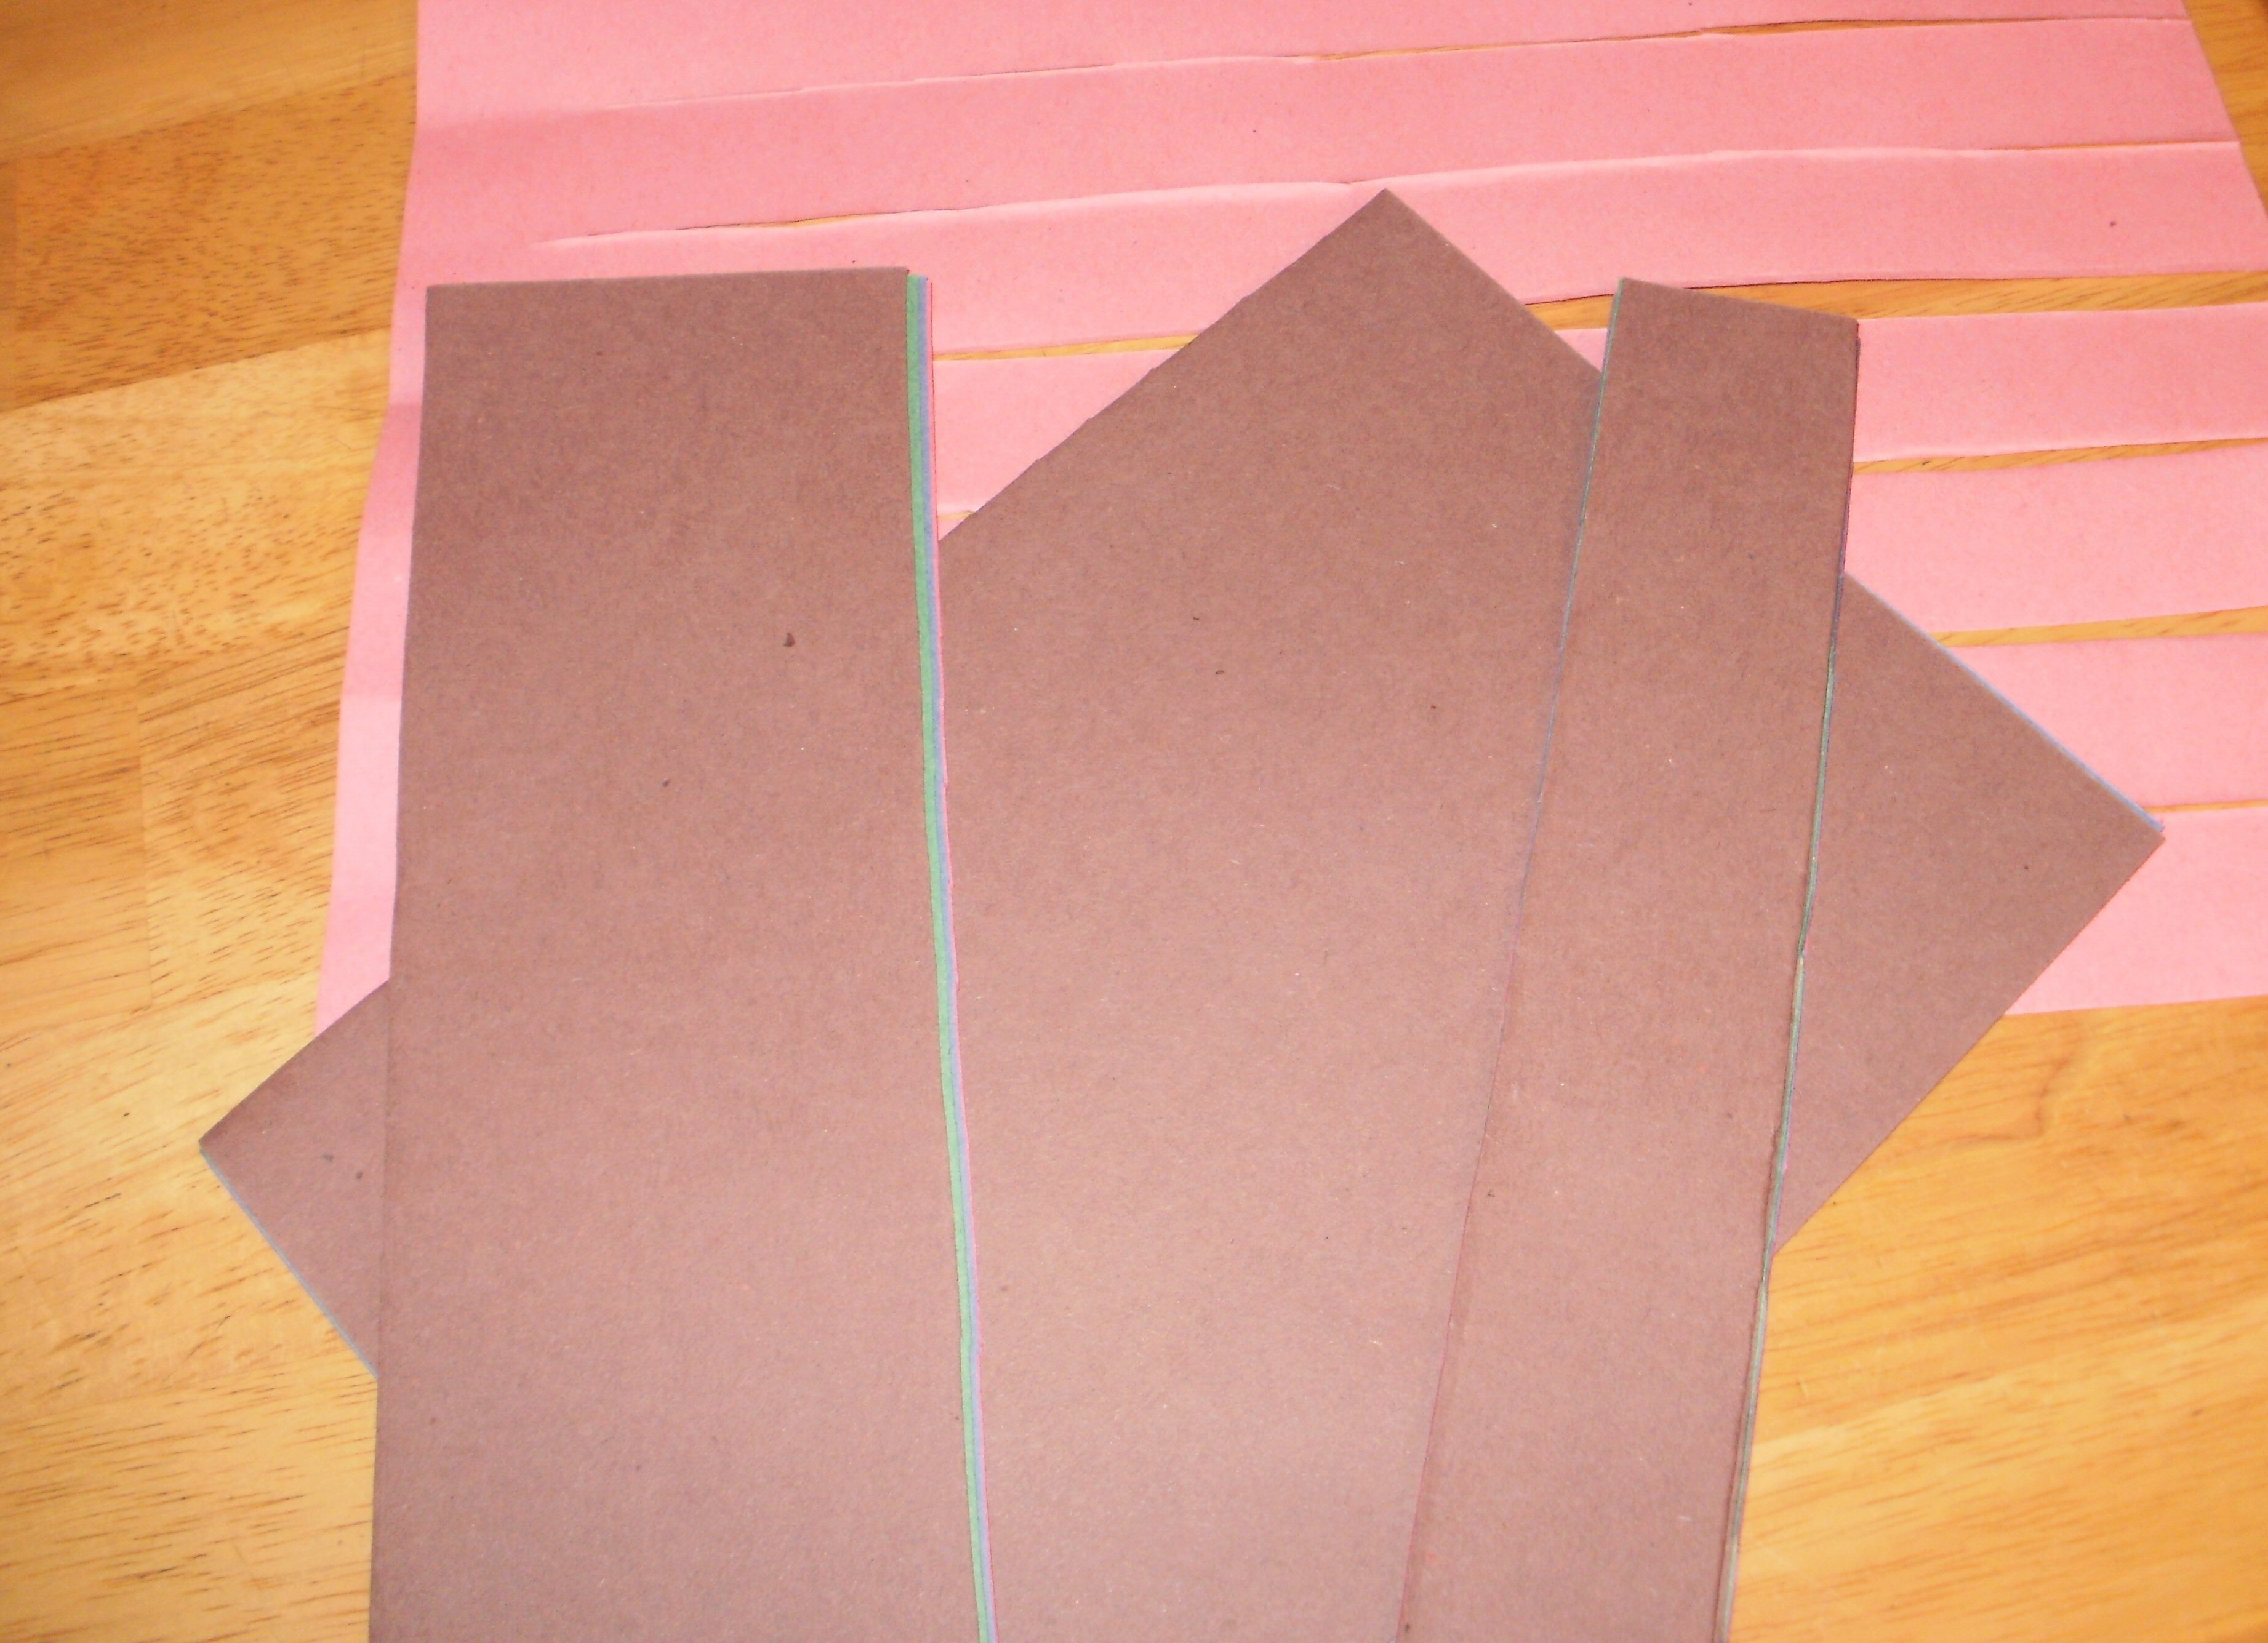
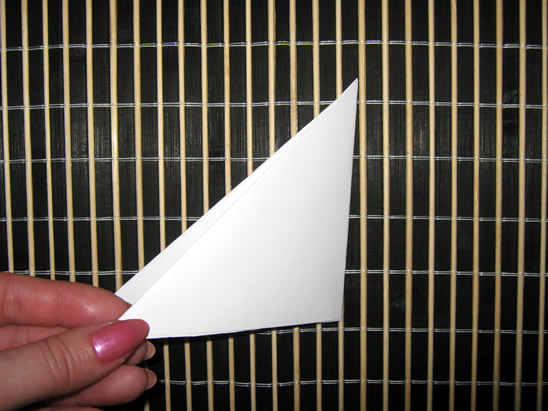
… and one fan is ready.
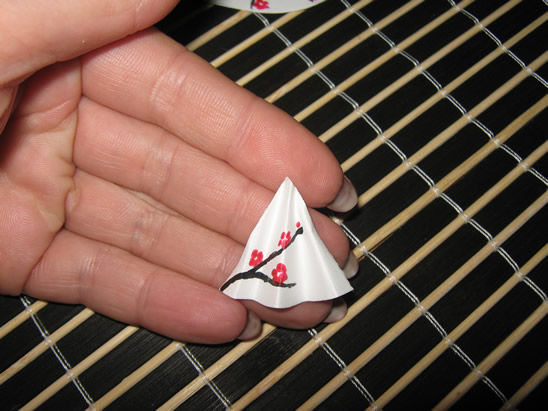
Repeat for the second piece of paper.
Step 4
Cut the ribbon in half.

This is the part where you’ll need a little help from an adult. Ask him to make a hole on the top of the fan (with a needle)…
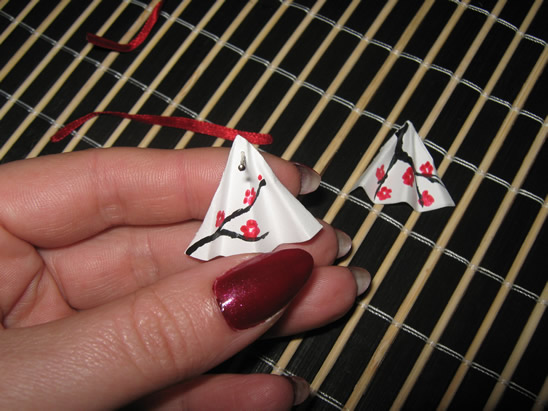
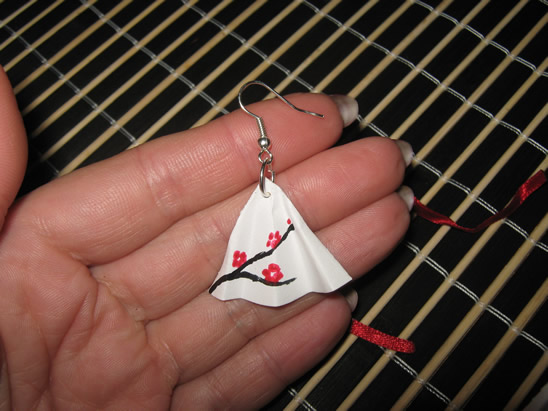
… and then open the jumpring, put it through the hole and through the earrings finding and then close the jumpring.
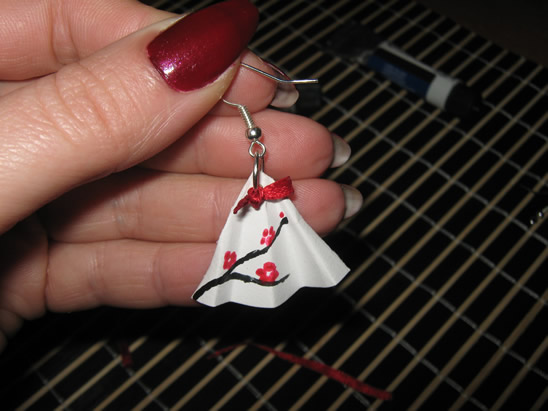
It should look like in this photo.
Step 5
Take one piece of ribbon and put it through the jumpring, like in the photo.
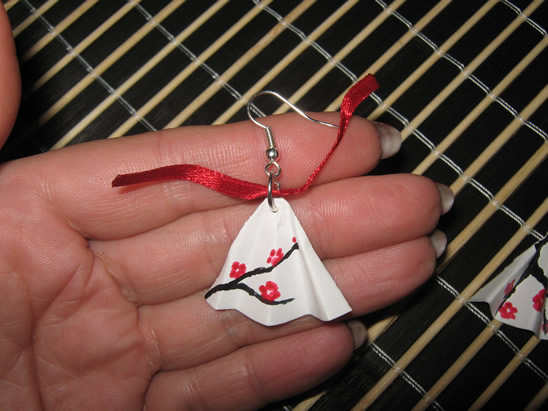
Make two knots…

… and then cut the ribbon letting just a little near the knot.
Repeat for the other earring and you just finished a beautiful and funny pair of earrings that you can wear on the Chinese New Year or you can give them to your mother / sister… on that ocasion, just to bring them luck 🙂

Technorati Tags: chinese new year, chinese new years crafts, chinese new year crafts, paper earrings, making paper earrings, mini paper fans, miniature paper fans, cherry blossoms, chinese fans, chinese paper fans, crafts for kids, jewerly crafts, earrings crafts, asian crafts