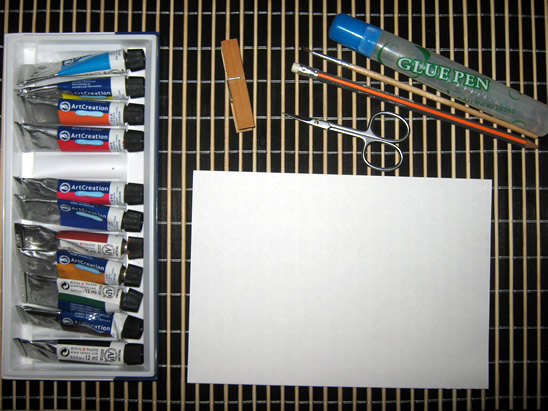
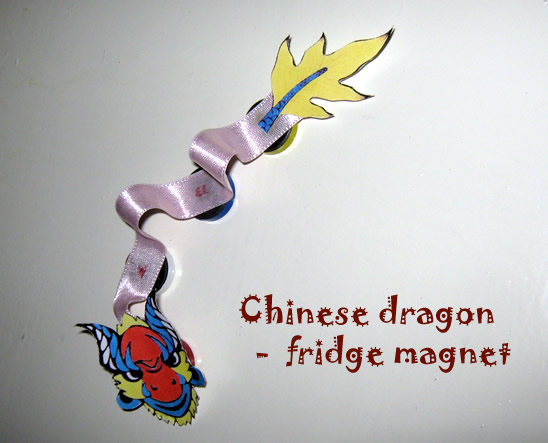
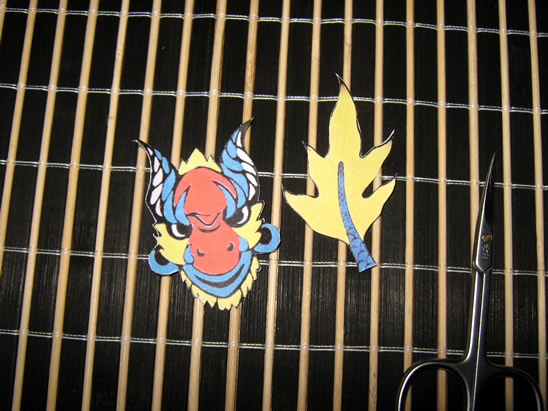
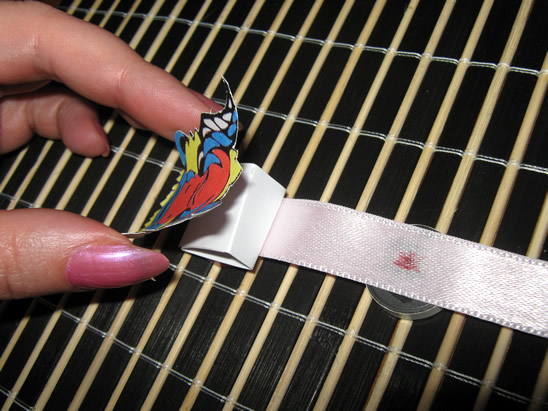
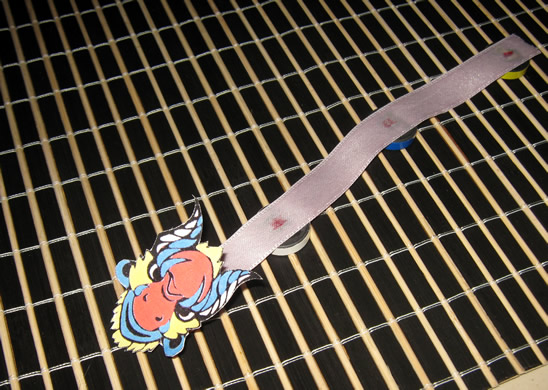
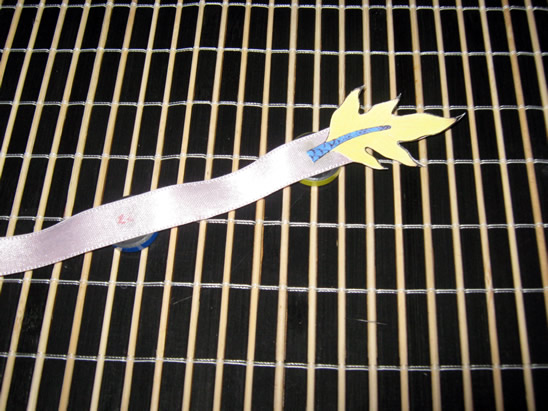
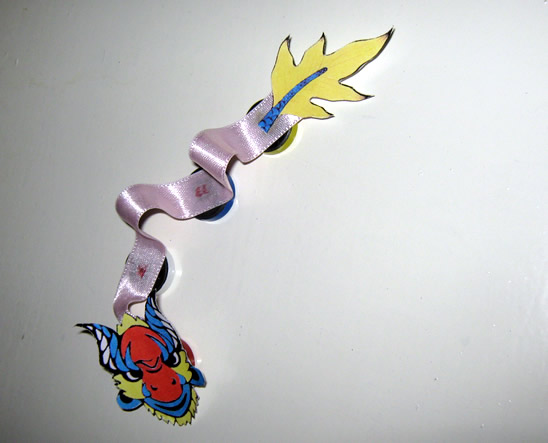
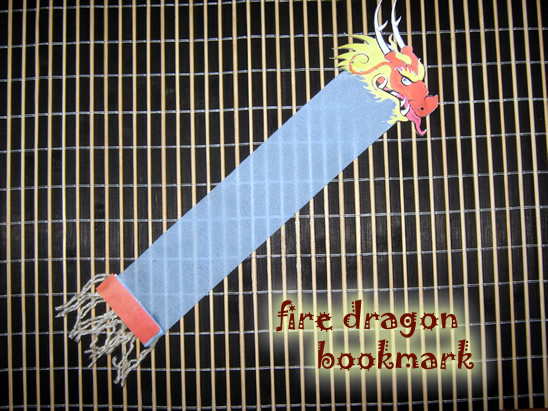
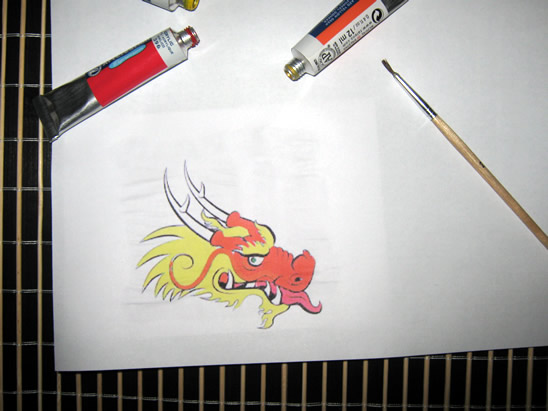
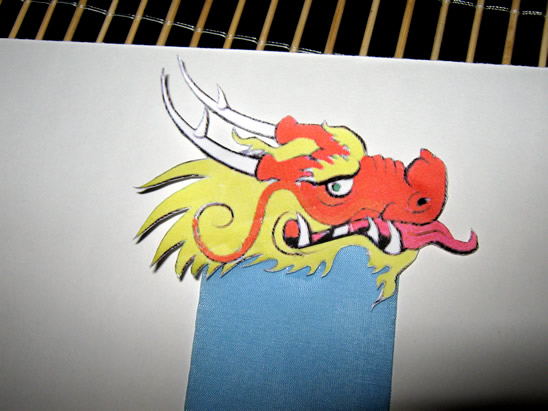
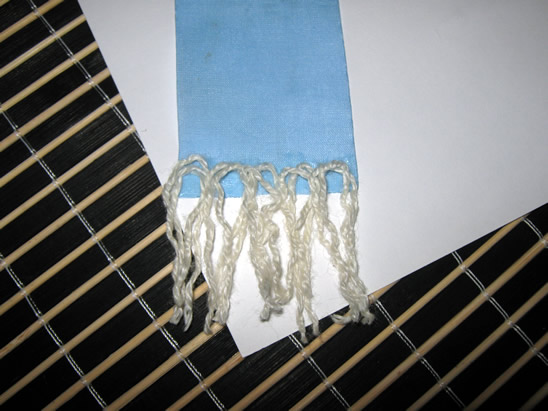
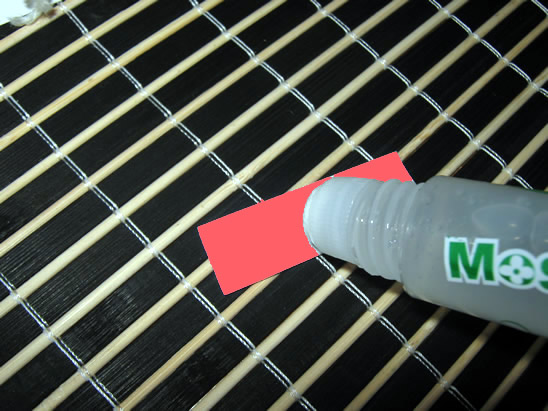
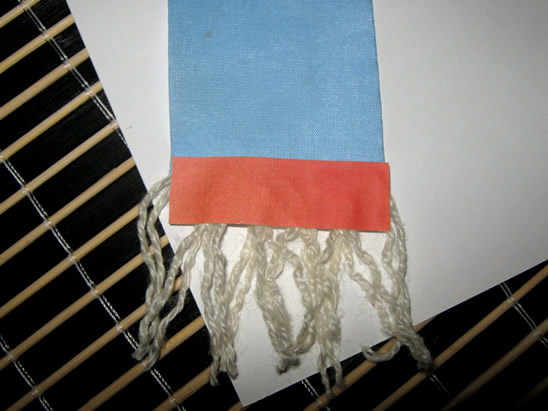
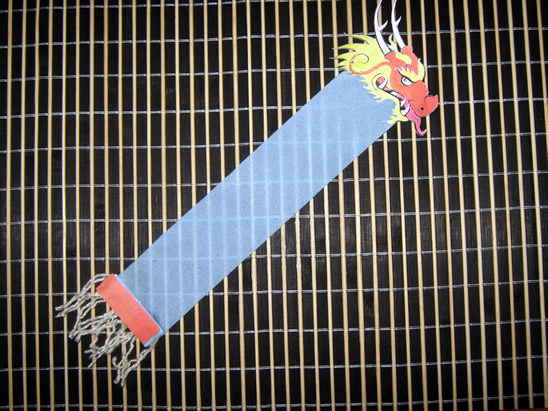
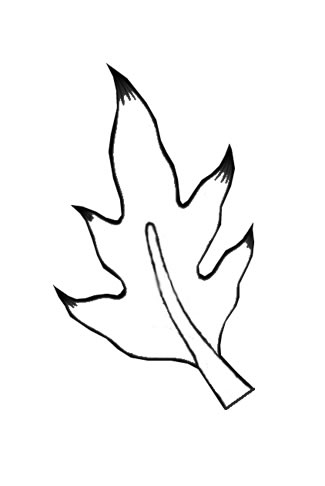
We just showed you how to make a very cool Chinese dragon bookmark for the Chinese New Year. We wanted to follow up this arts and crafts project with a Chinese dragon head lesson (the one used in the Chinese Bookmark Tutorial ).
Here are Even More Chinese New Years Crafts

How to Draw a Chinese Dragon Head Step by Step Drawing Tutorial
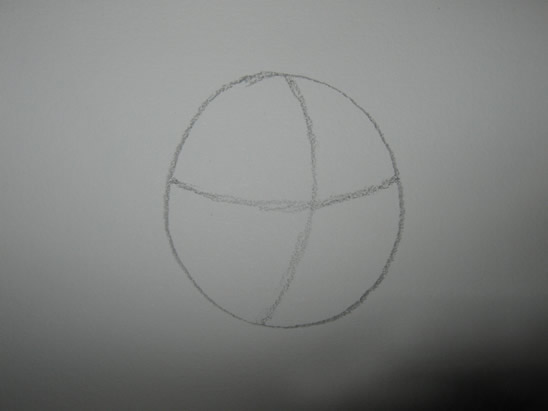
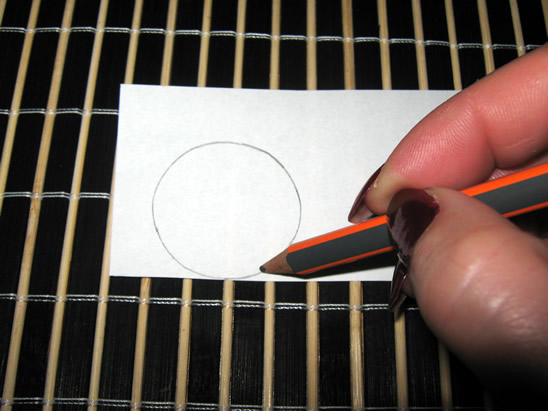
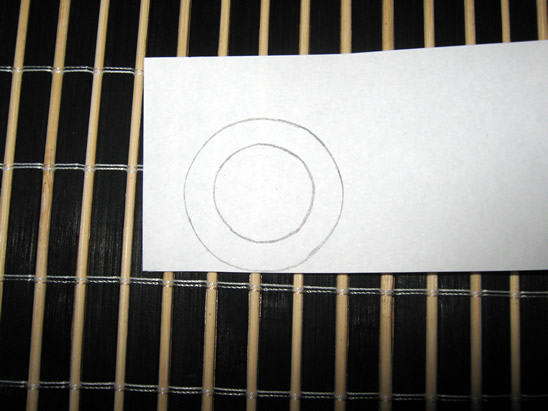
Step 1.
We will start drawing a simple circle. Is a very necessary step when drawing animals. To determine the direction the dragon is facing, draw lines horizontally and vertically across the circle to give it a 3-dimensional feel.
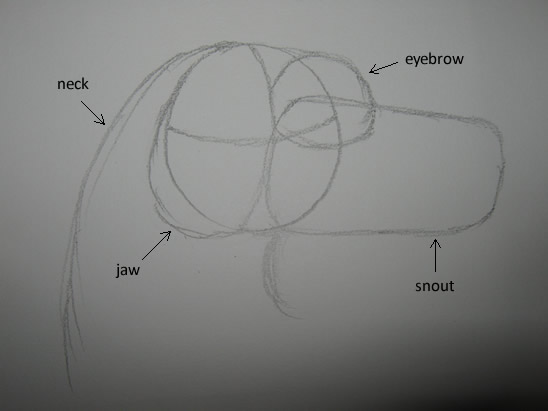
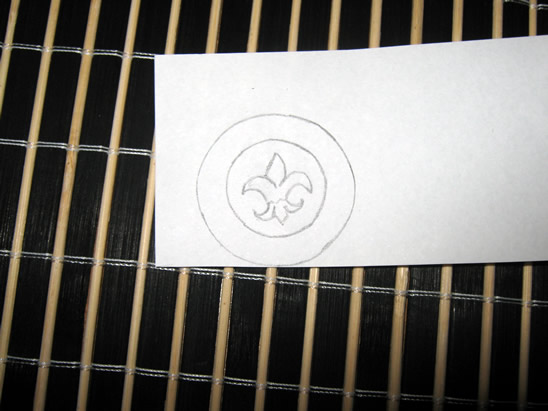
Step 2.
The next thing to add will be the basic parts of the dragon face : the jaw, neck, eyebrow and snout.
[ad#ahc]
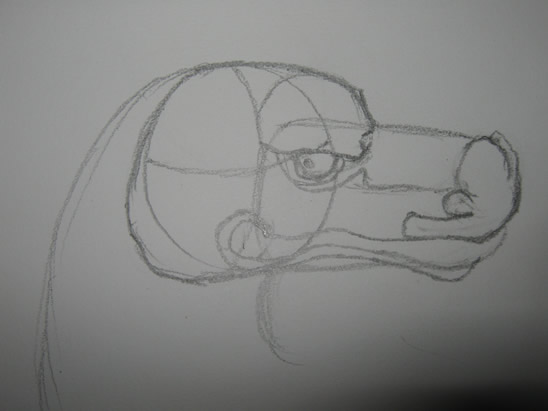
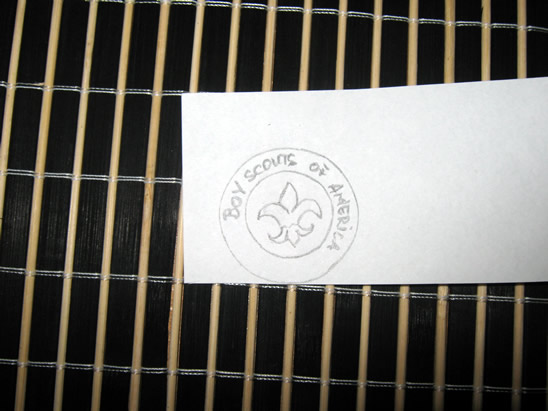
Step 3.
Now is time to give it some facial features 🙂
Draw an outline of the dragon’s face around the jaw, snout and eyebrow.
Next, draw a nose.
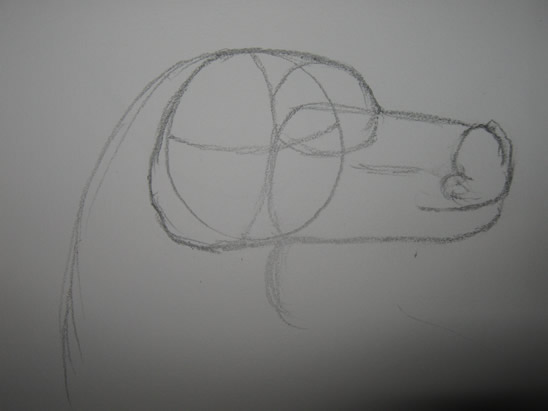
The feature that will make him look „alive” is the eye. Make sure you draw it along side the eyebrow shape (eyebrow shape = the shape we draw back in the last step). Draw around the eye too, so that it looks like it fits perfectly into the face.
Is time for the mouth. Do not draw the mouth in a straight line. We will draw it on the base of „snout shape”. We draw the dragon with his mouth open and we define better his nose.
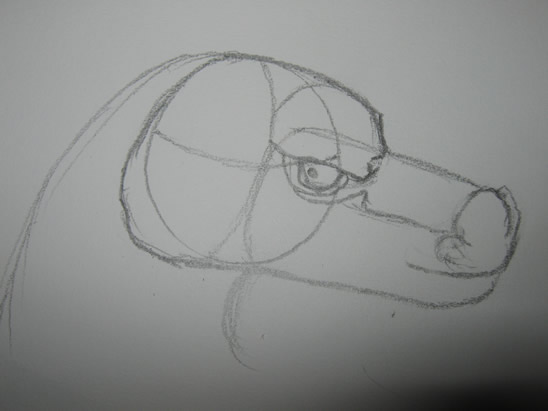
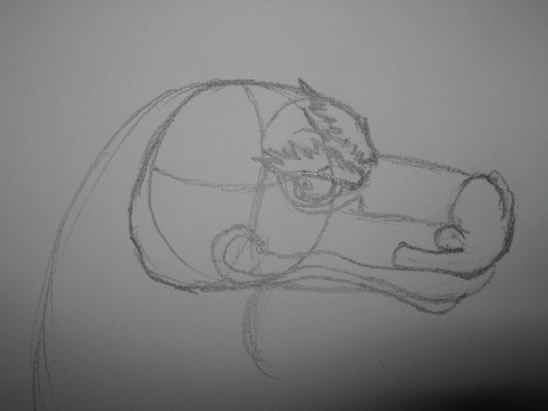
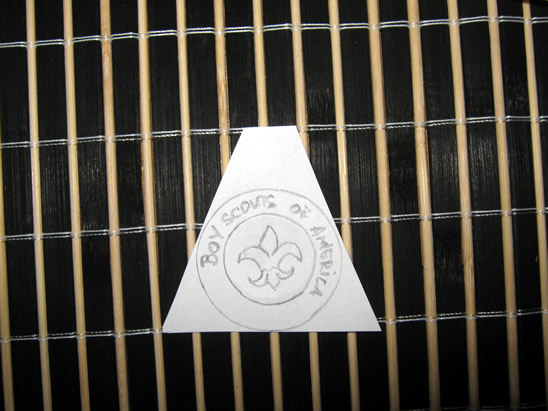
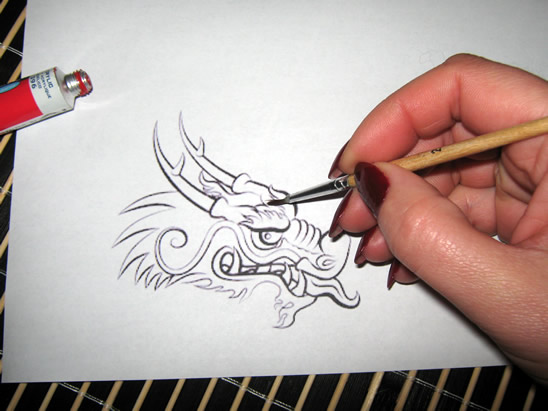
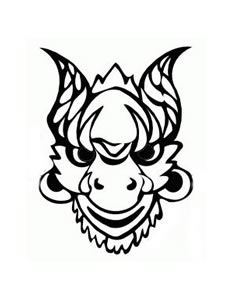
Step 4.
On this moment we have drawn in the dragon’s basic facial features and will start to add details.
Because it looks kind of cute, let’s make him look fierce.
So, let’s draw his eyebrows. We will draw them oriented up and bushy.
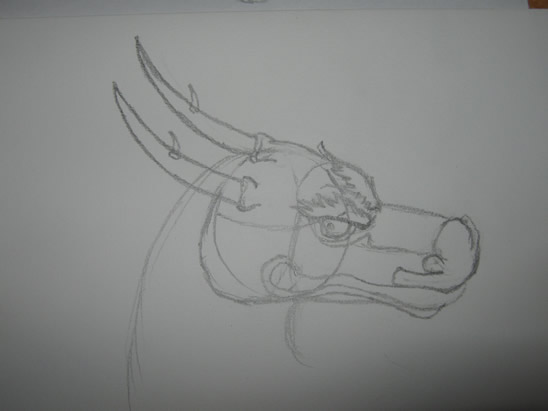
The next thing to draw are it’s horns. We will draw them on the upper back part of the initial circle. We will use them to create a balance.
We know that chinese dragons have hair so, let’s make it. It will encircle his head as a lion (or chow-chow) mane. We will continue his mane with a beard. Now it looks like a dragon …

… without teeth.
We will add some fangs on the lower part of the mouth. It is a cheeky dragon so we will draw his tongue too 😀
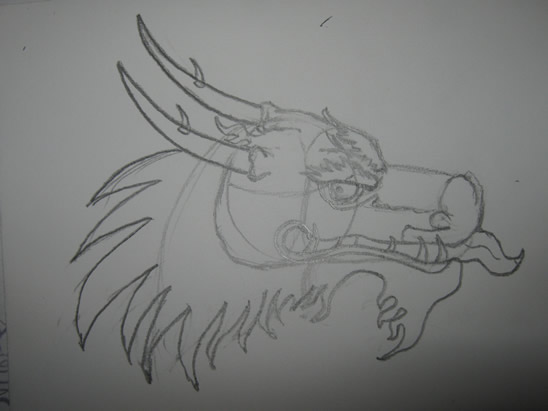
Is almost ready. The only thing to add are his wiskers.
You can add more details that make sense. They will make your dragon unique.
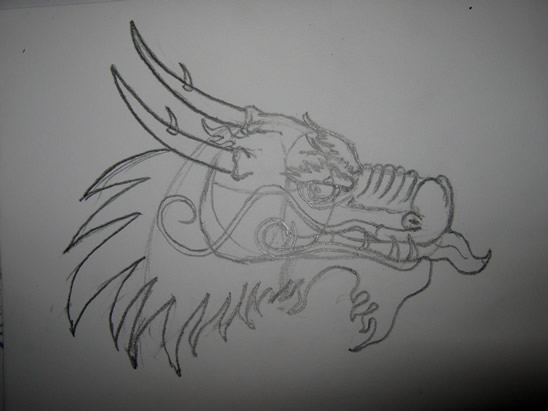
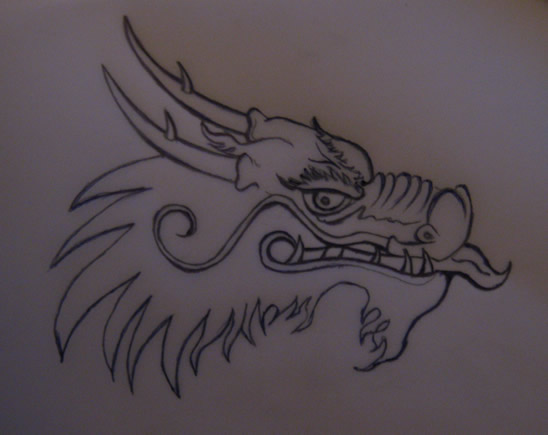
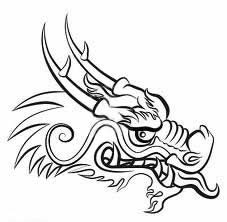
Step 5.
He looks a bit dirty. It’s necessary to erase any extra lines to make your dragon look complete and… alive 🙂
Step by step tutorial offered by Laura from Dacian Moon Handmade.
Visit Our Chinese Bookmark Tutorial
Here are Even More Chinese New Years Crafts
Technorati Tags: draw dragons, draw dragon heads, drawing, how to draw, dragon, dragons, dragon heads, how to draw a dragon, chinese dragons, drawing for kids


