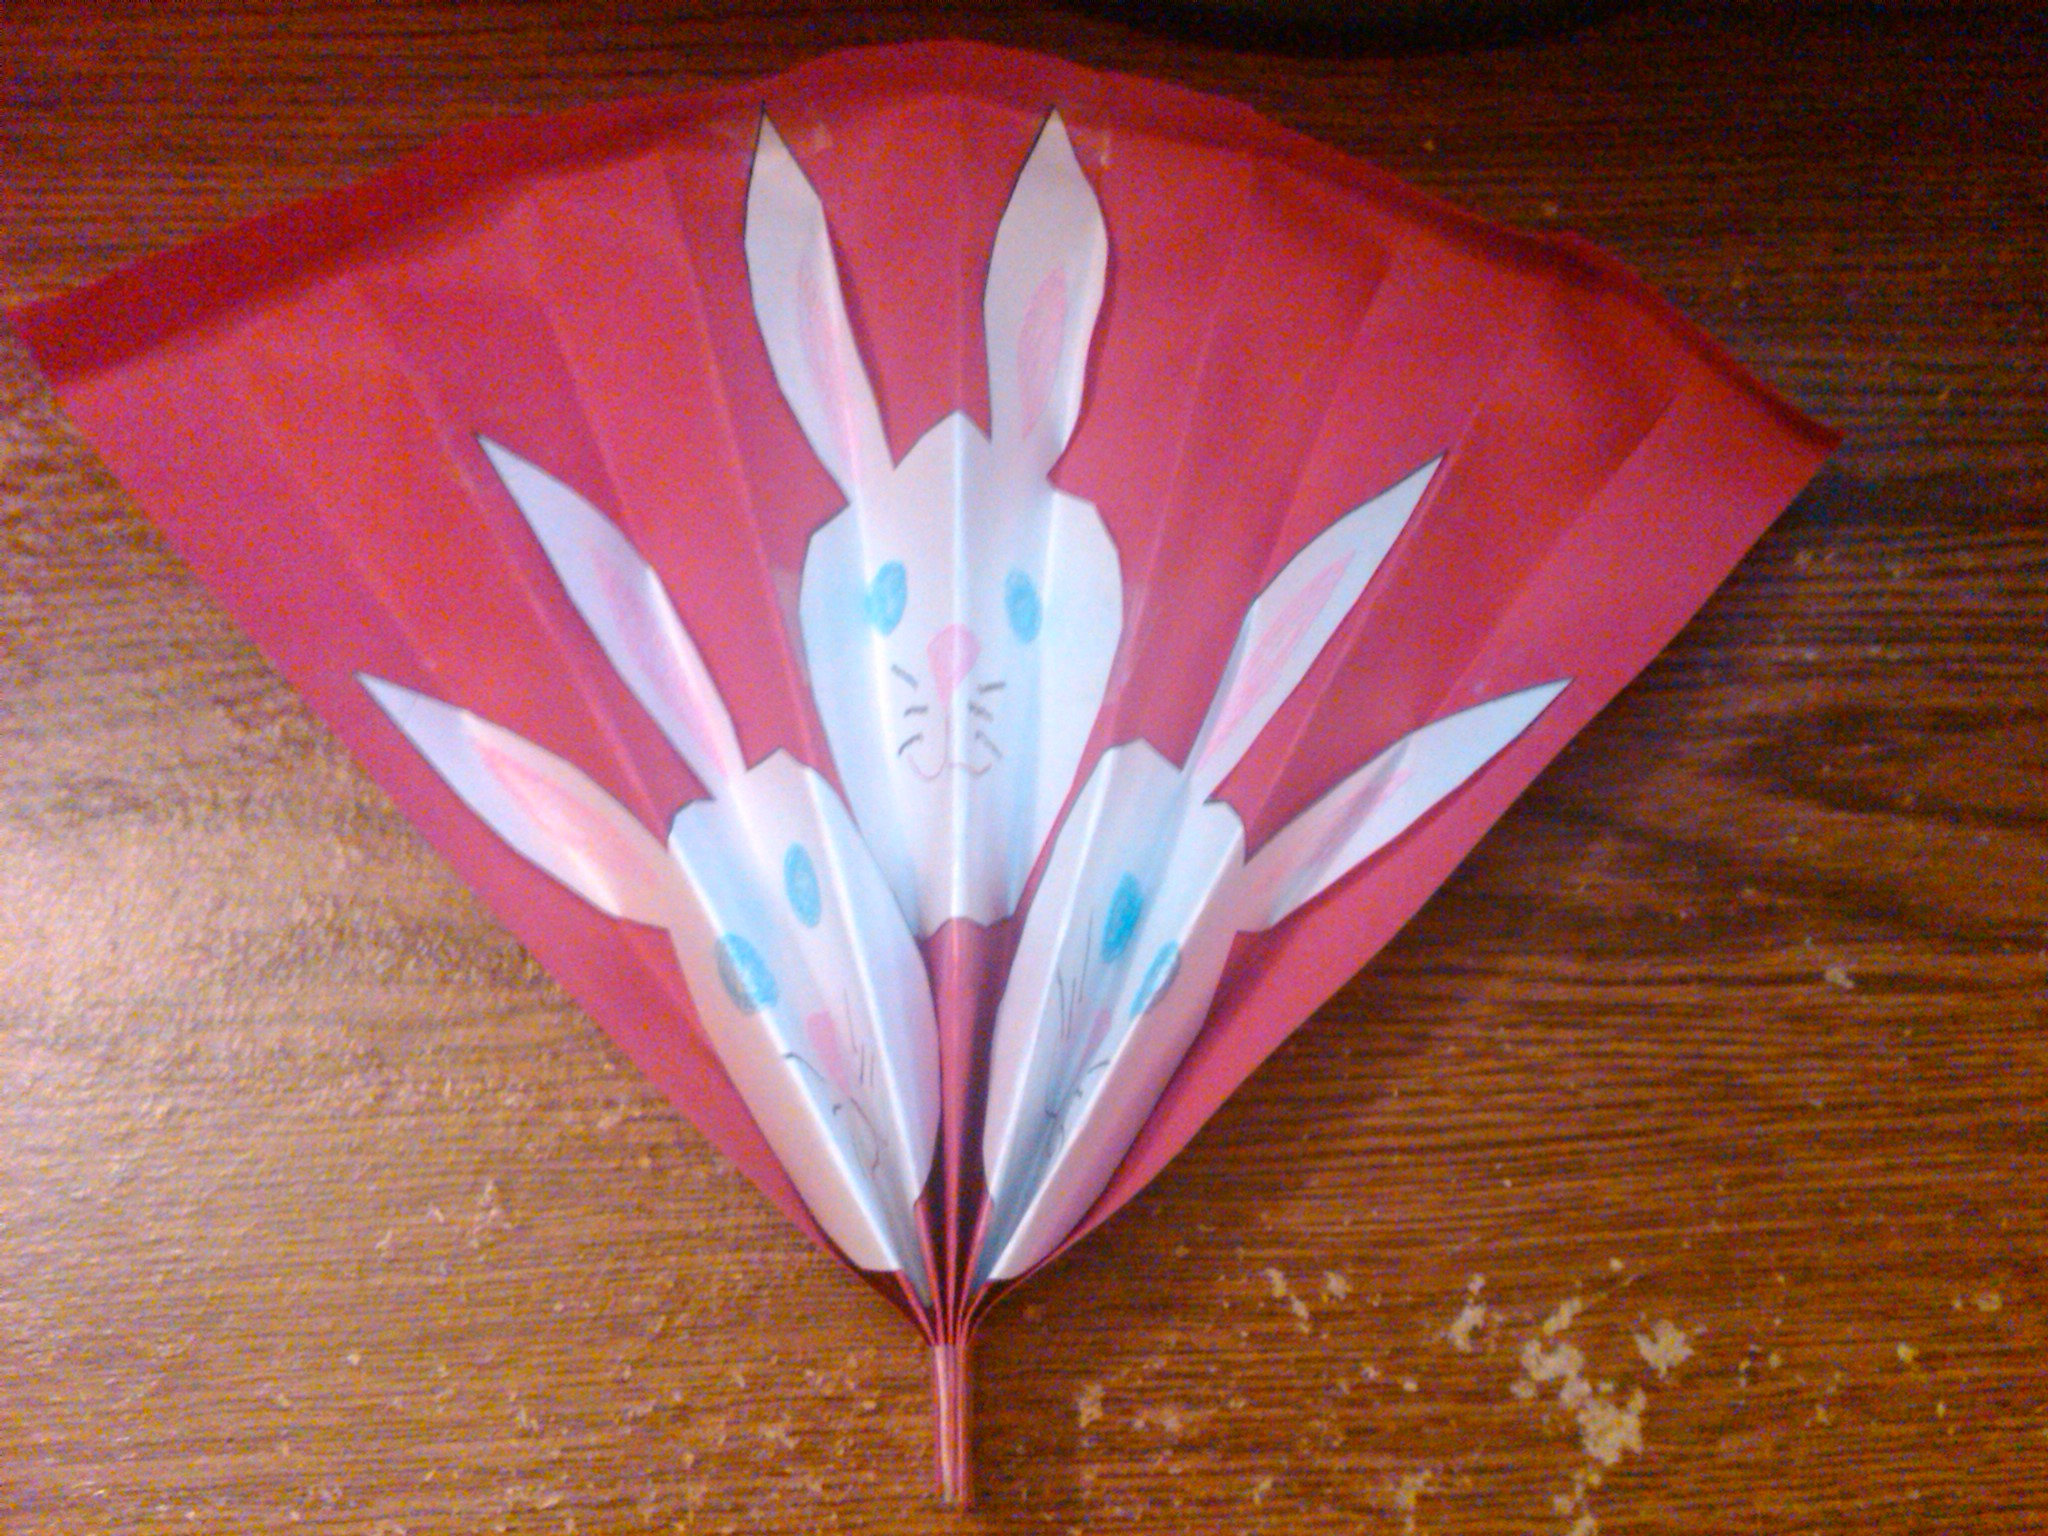
2011 is the Year of the Rabbit, so today we will be making a Chinese-style fan with rabbits on it. Included is a template with 3 rabbit outlines, but you can also draw your own. Just make sure they aren’t too big.
Here are Even More Chinese New Years Crafts

Making Rabbit Chinese New Year Fan Arts and Crafts Project for Kids
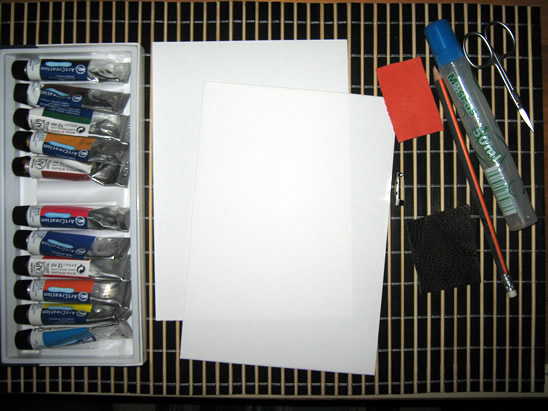
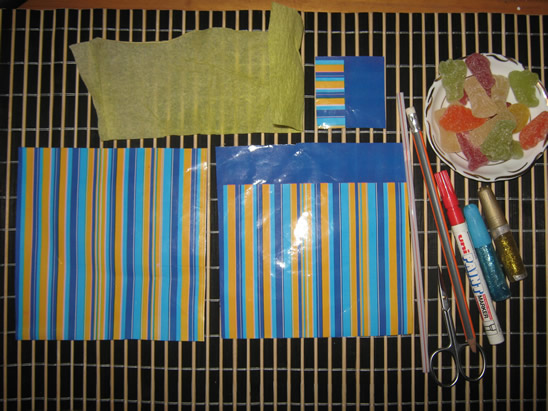
CRAFTS MATERIALS NEEDED:
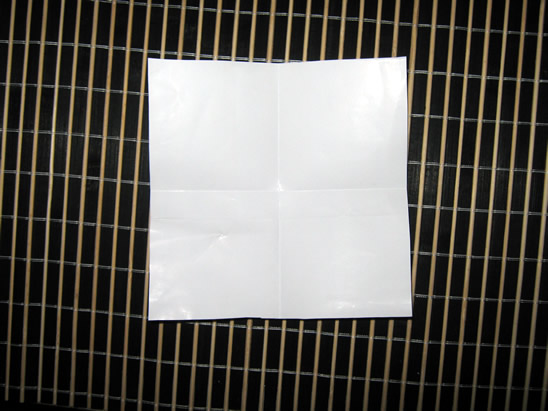
- White paper
- Colored pencils, crayons, or washable markers
- Safety Scissors
- Tape
- 1-sheet of red construction paper
- Ruler or yard stick at least 12 inches long.
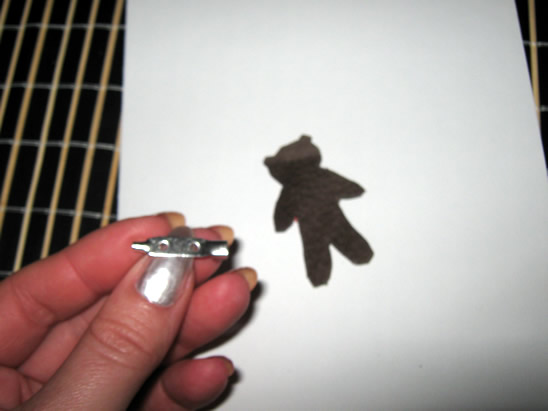
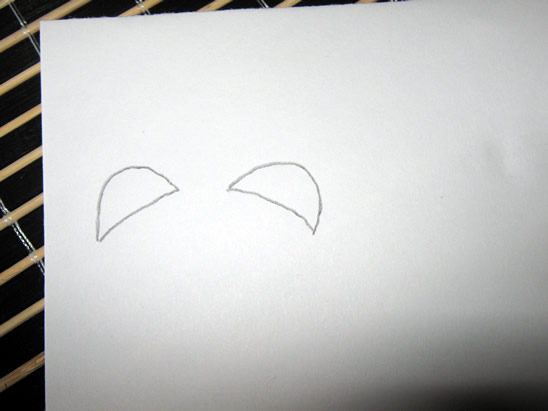
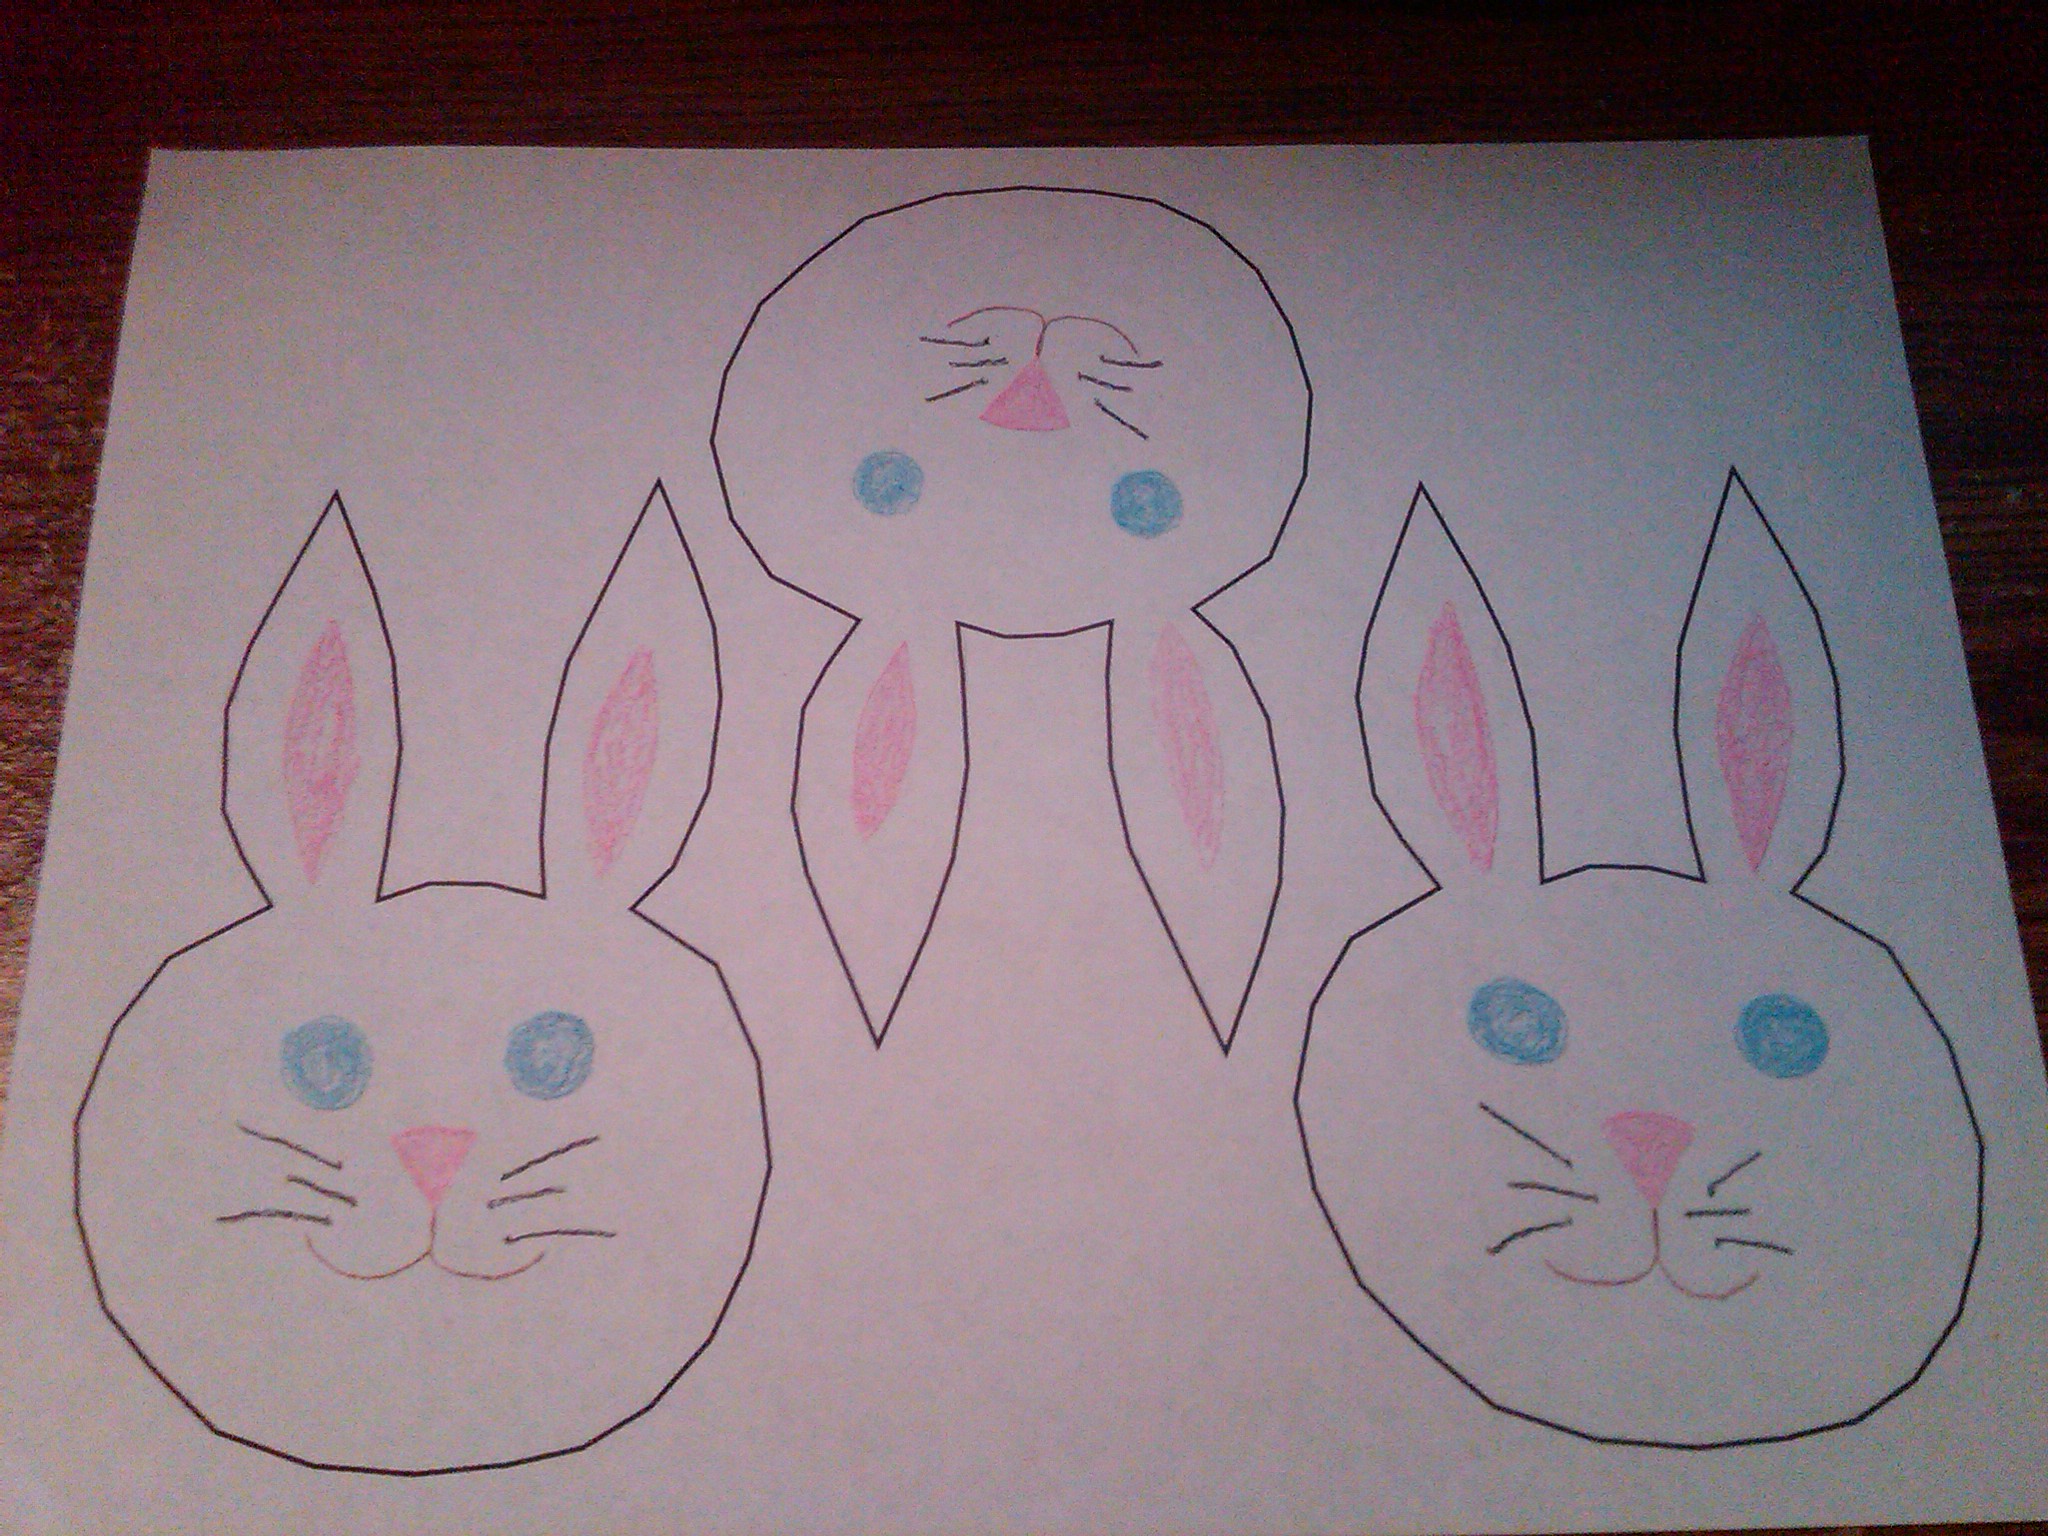
STEP 1 – RABBIT OUTLINES
Print or draw three rabbit outlines.

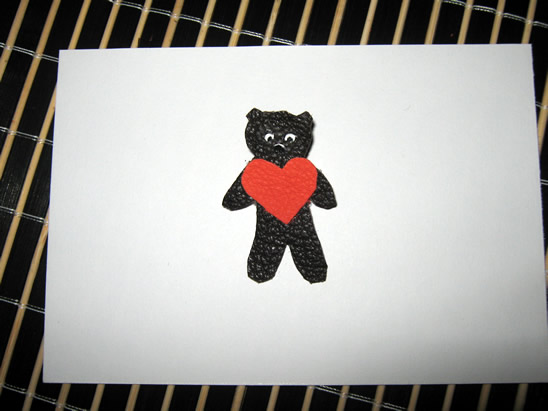
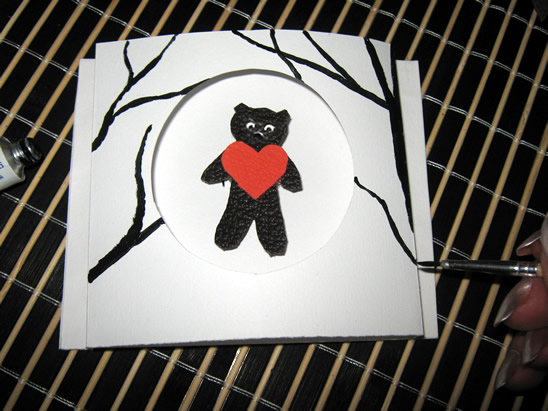
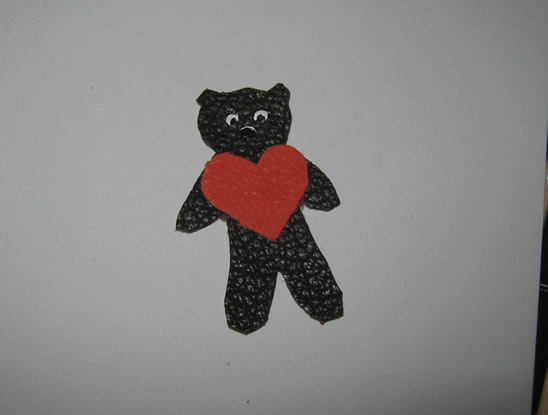
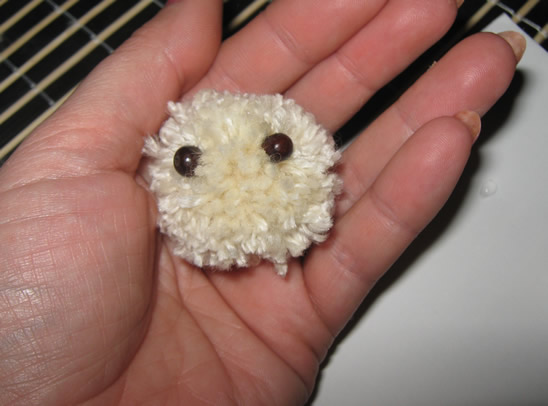
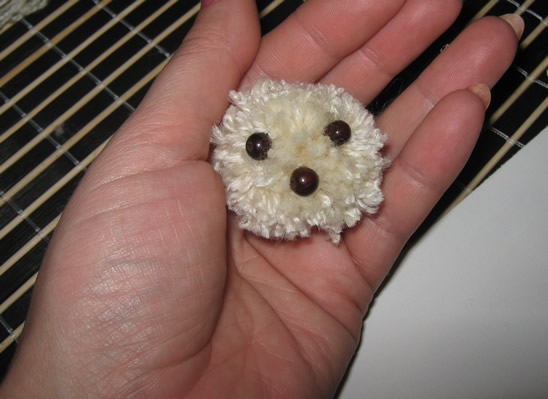
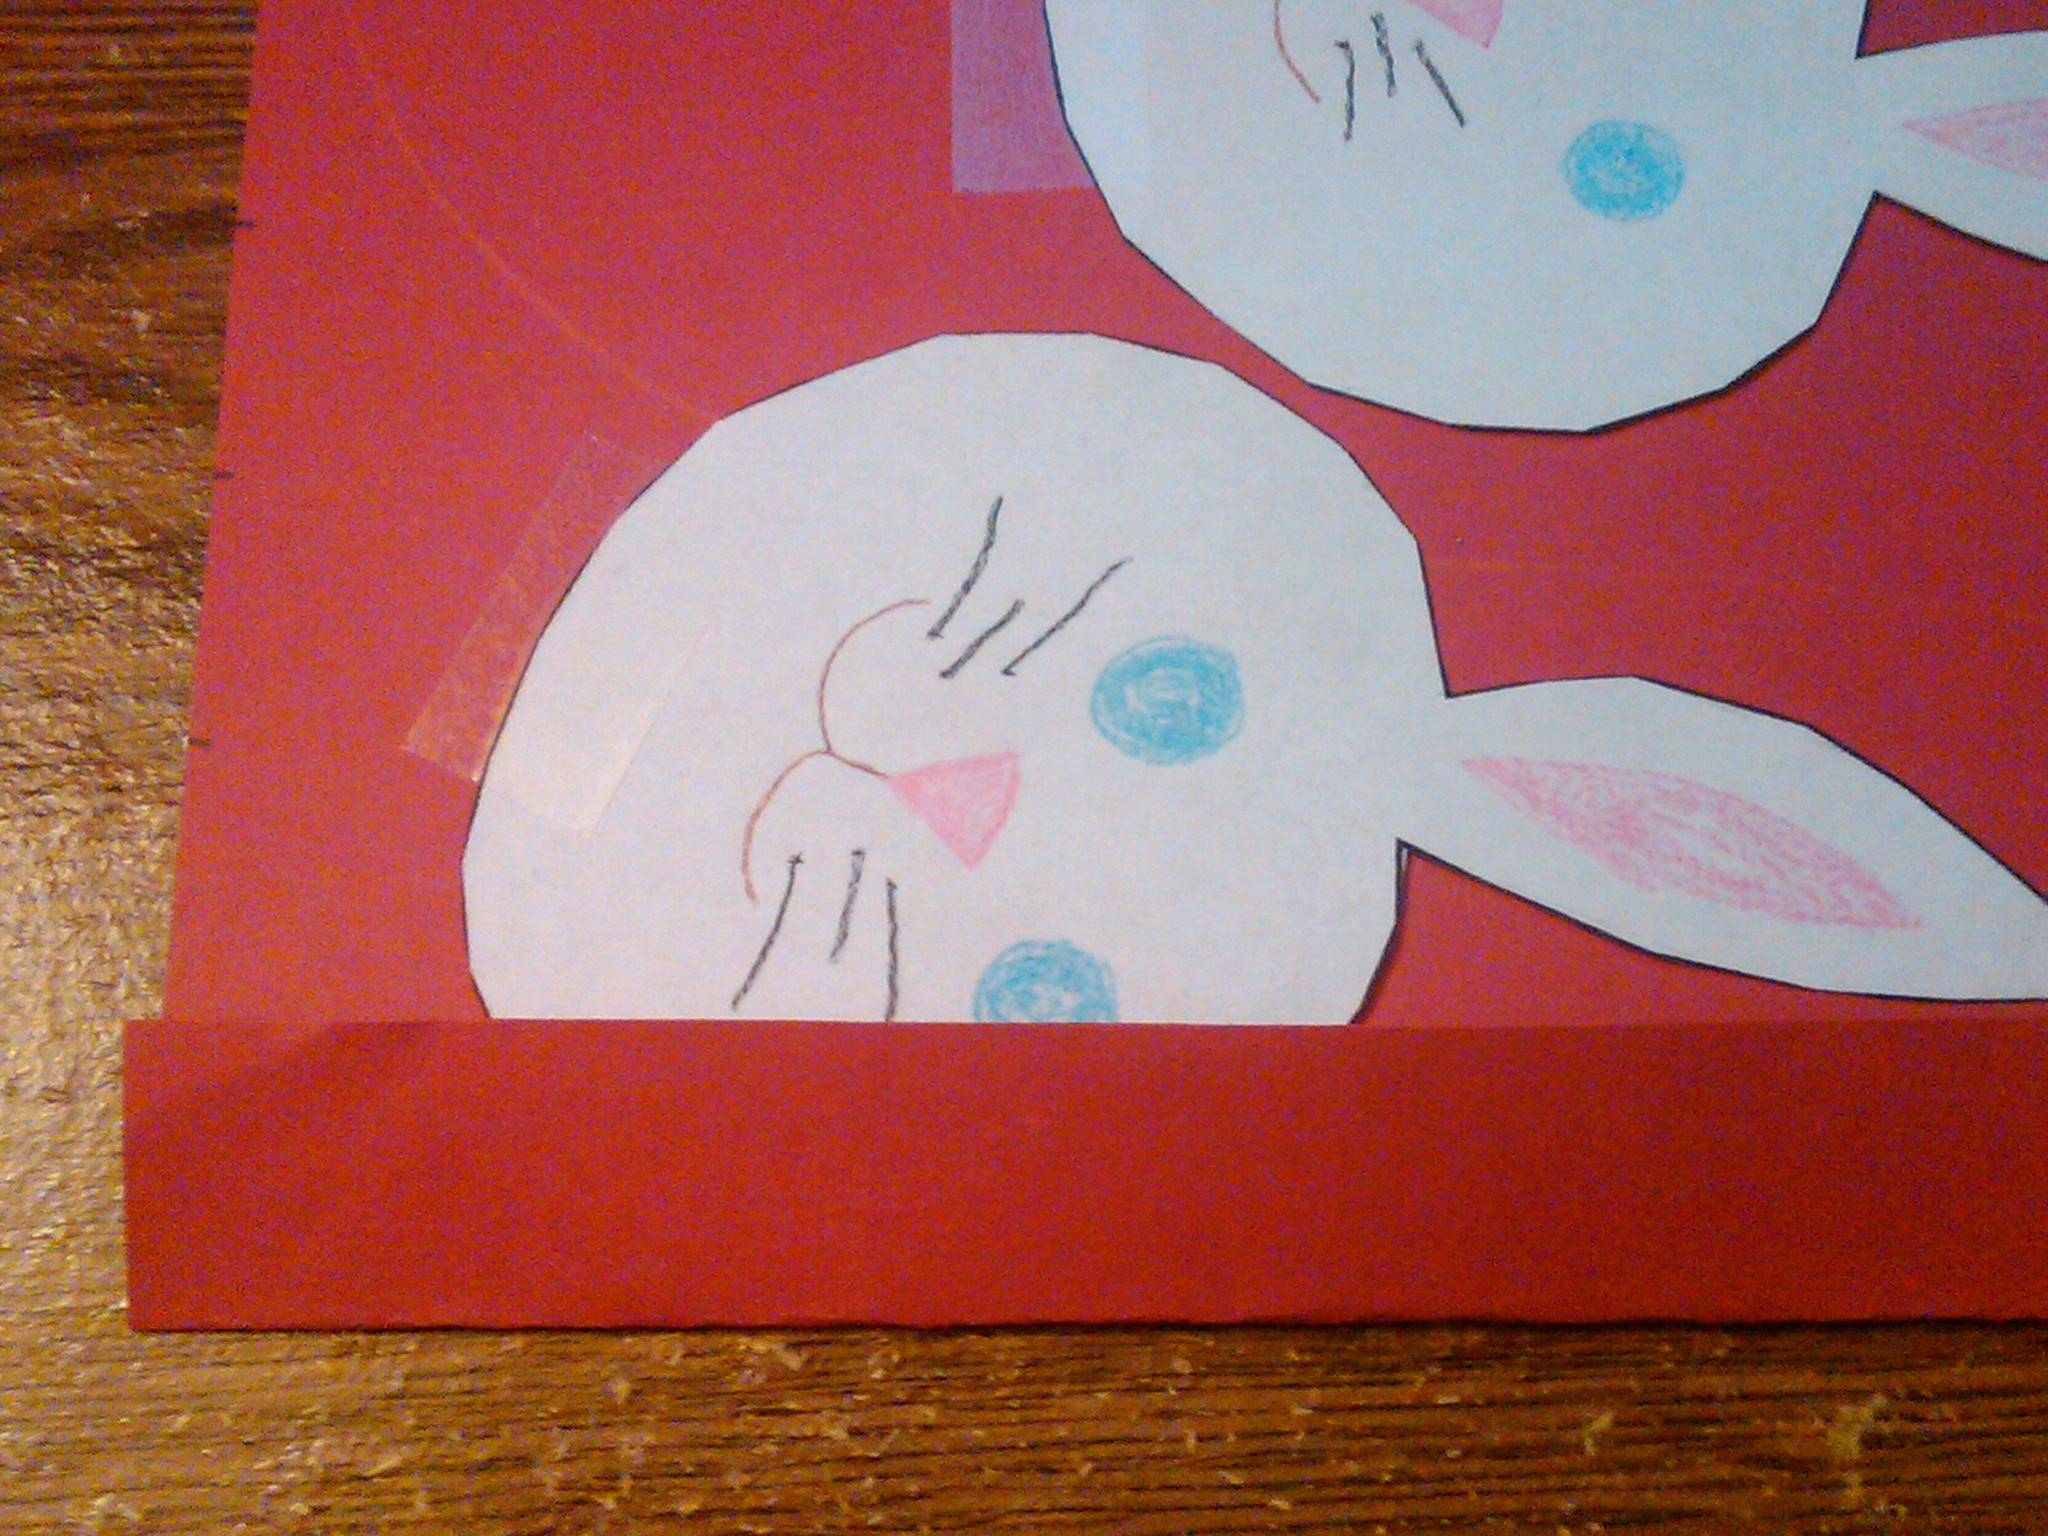
STEP 2 – COLOR FACES
Color the faces on to your rabbits. You can give them as much or as little detail as you want. I added a nose, mouth, eyes, whiskers, and inside of ears.
[ad#ahc]
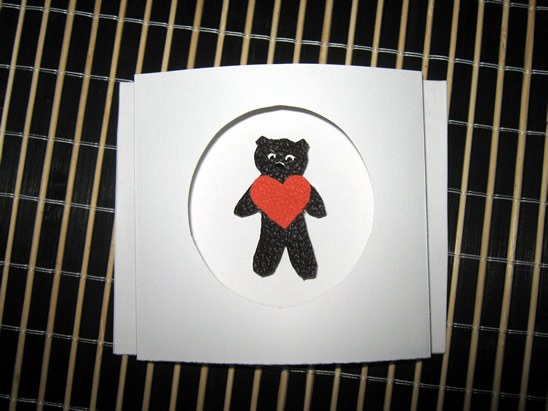
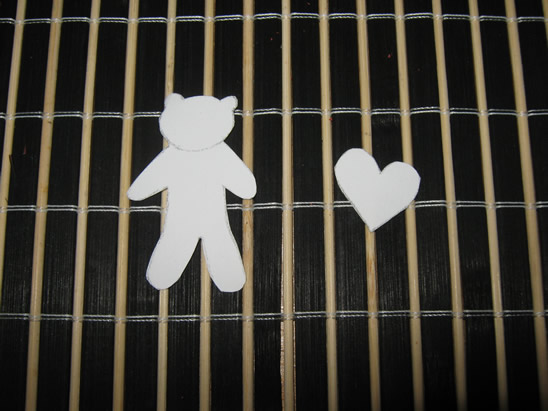
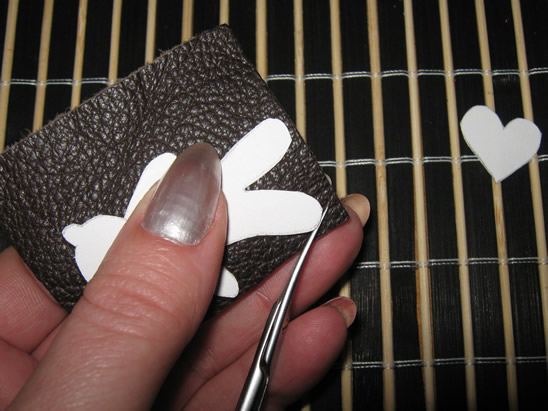
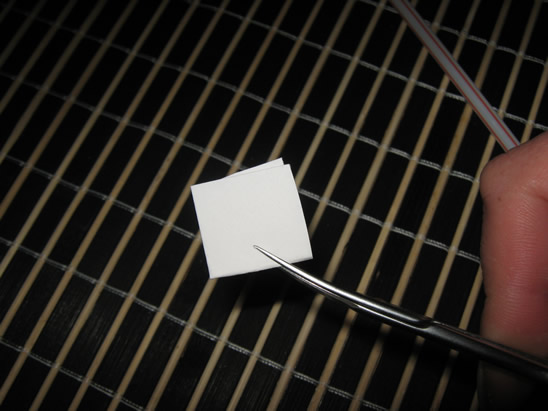
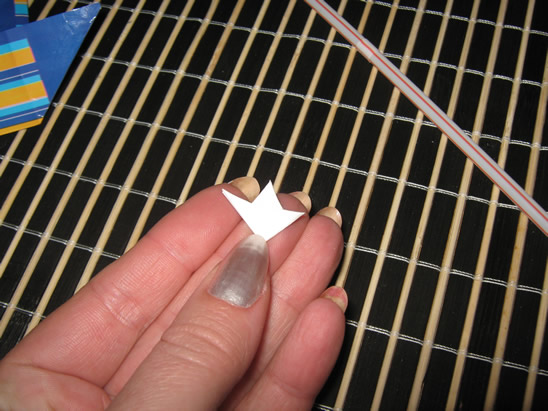
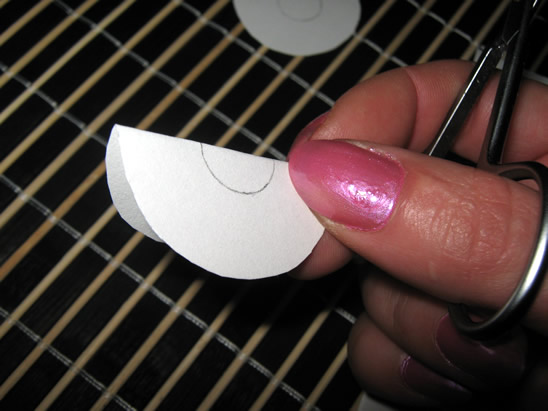
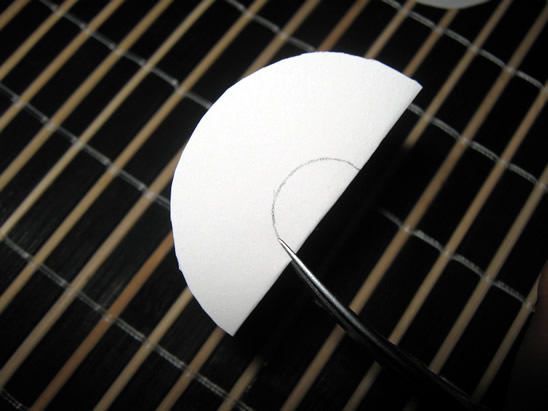
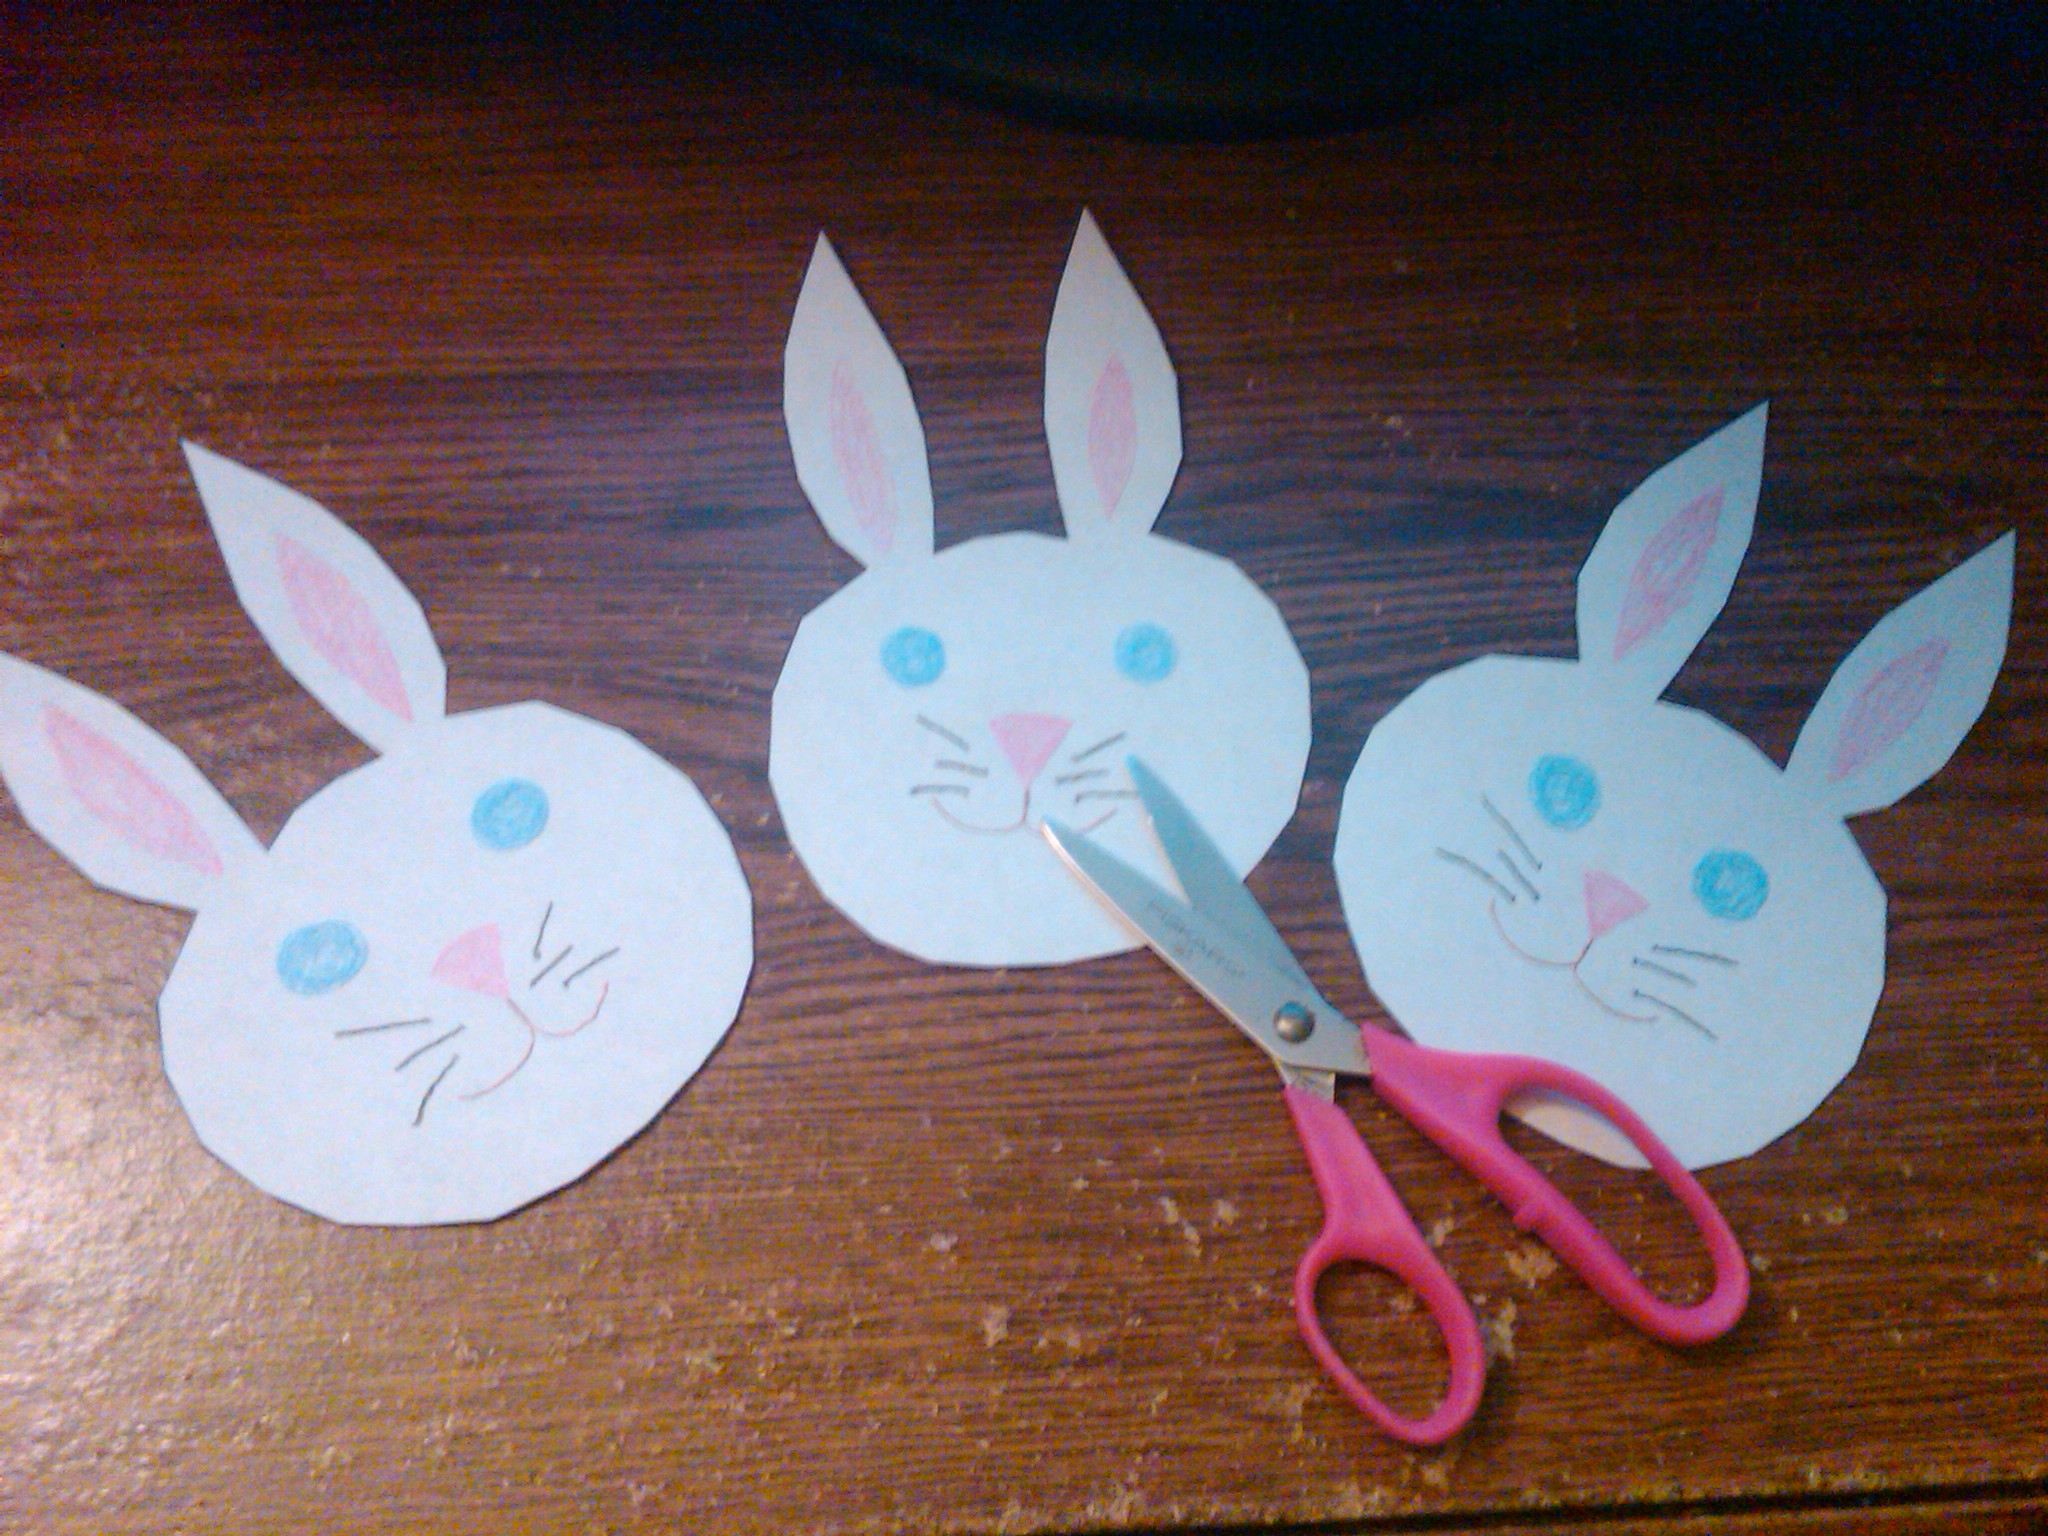
STEP 3 – CUT OUT RABBITS
Using your safety scissors (or ask an adult to use sewing scissors) cut out all three rabbit faces.
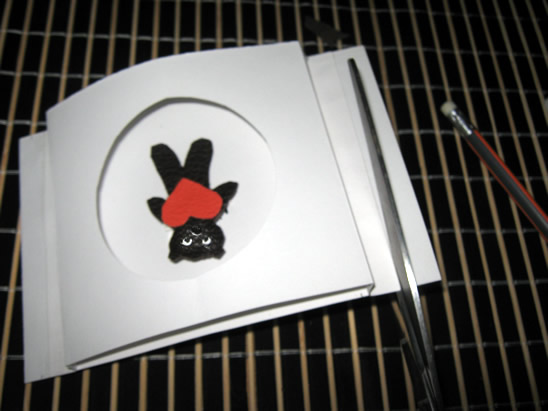
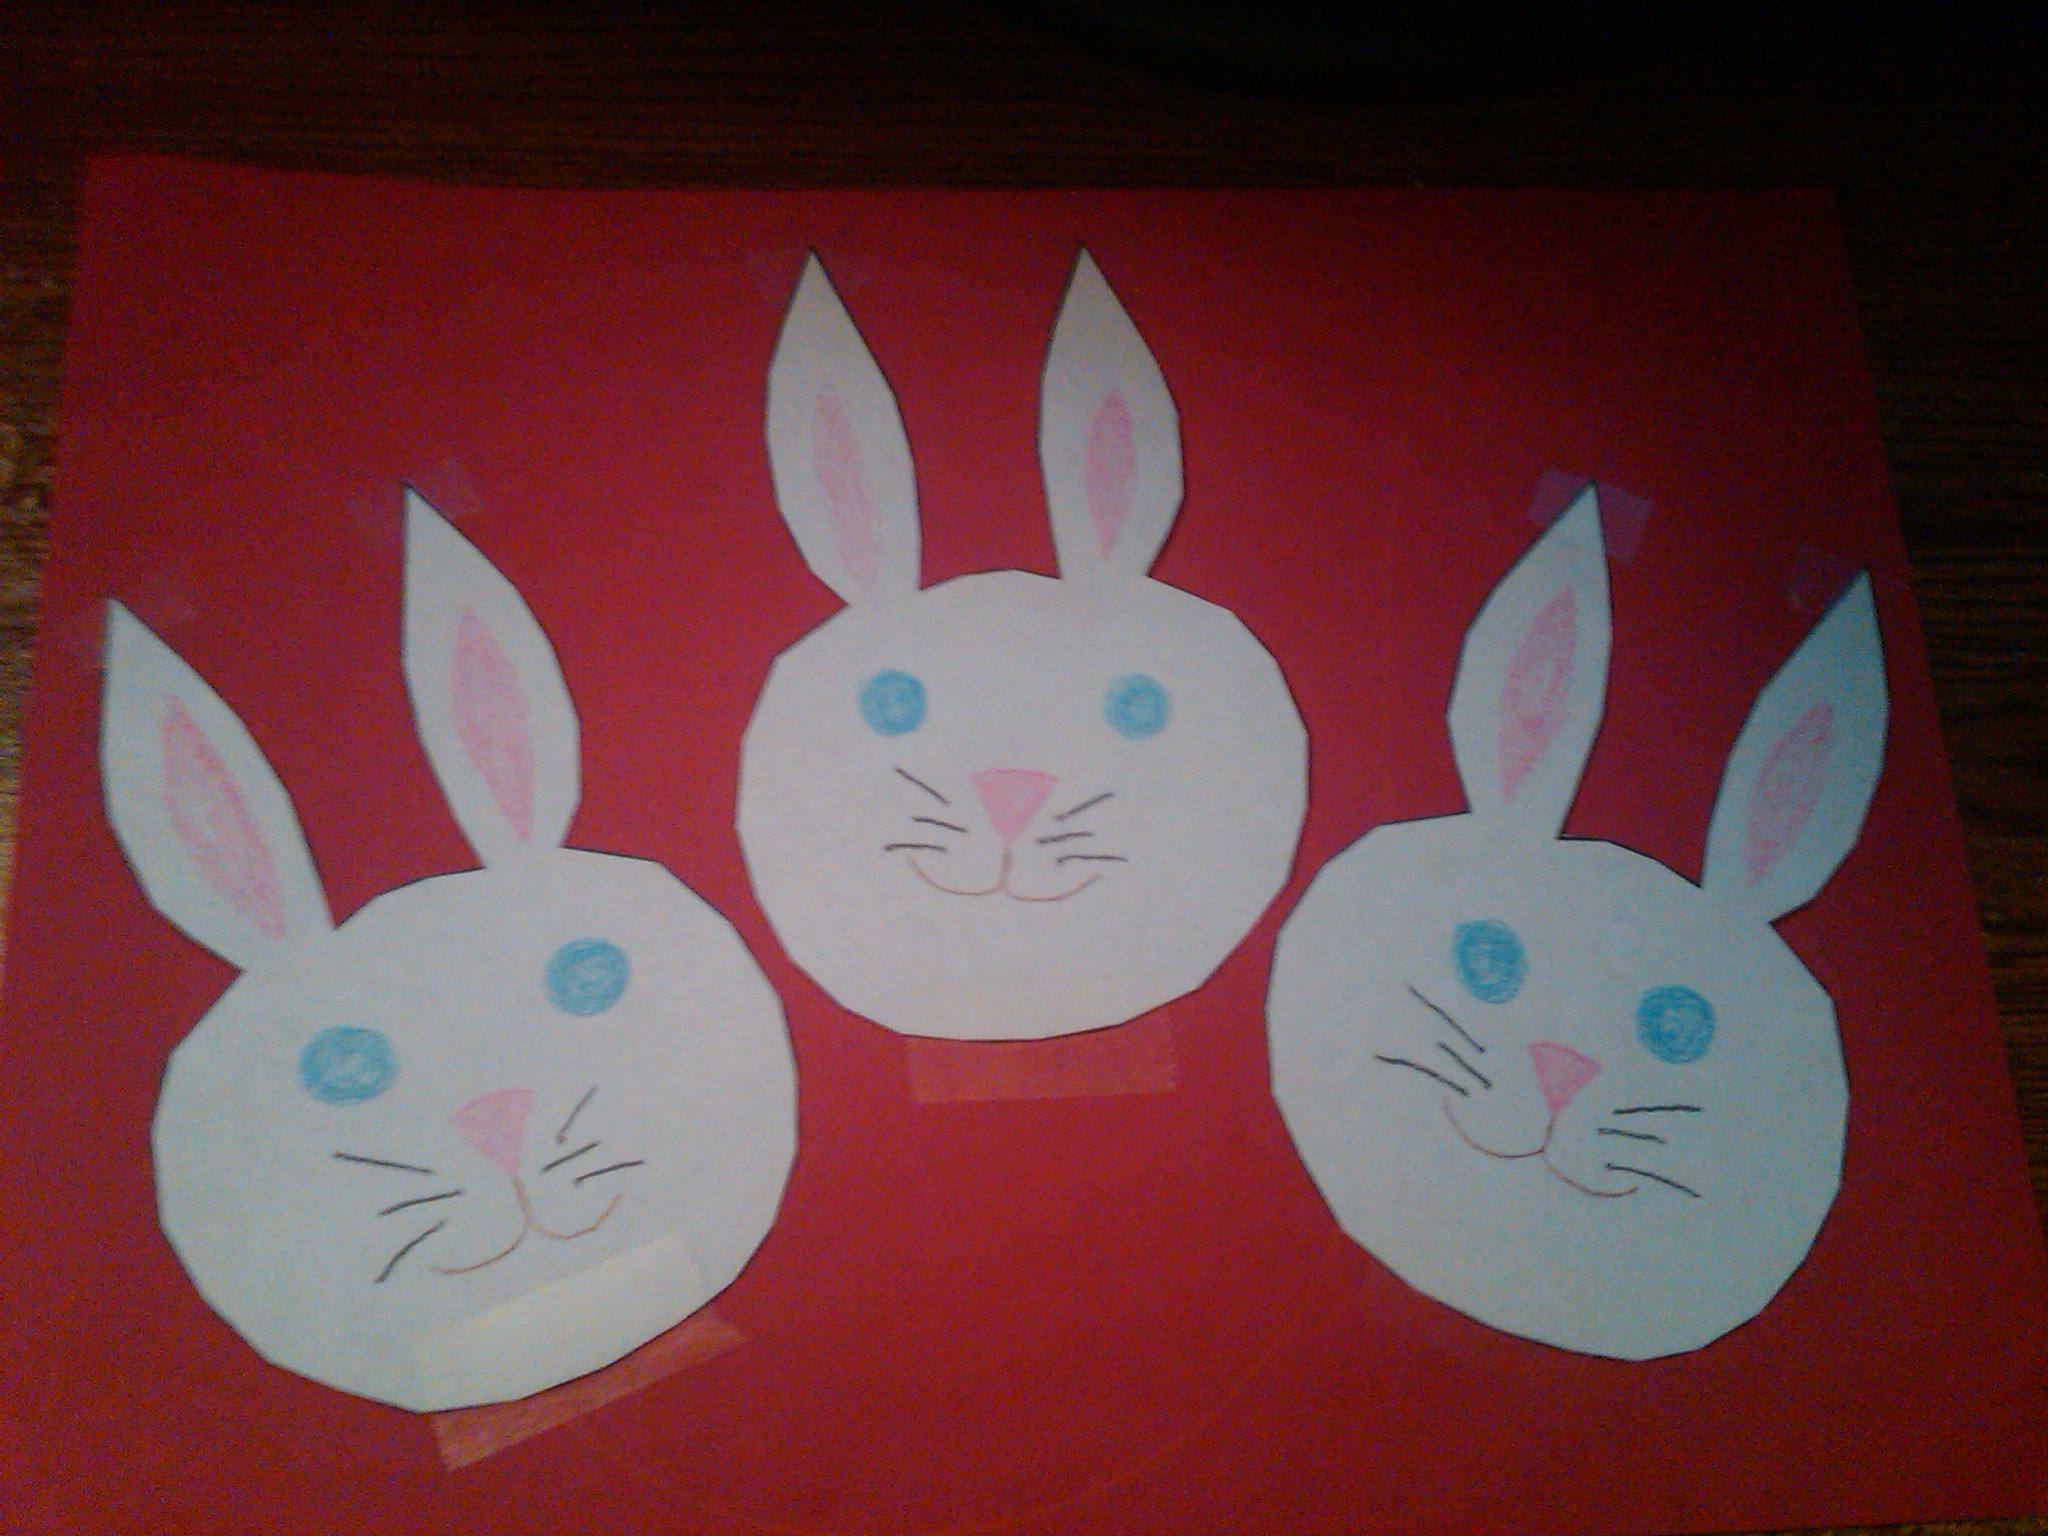
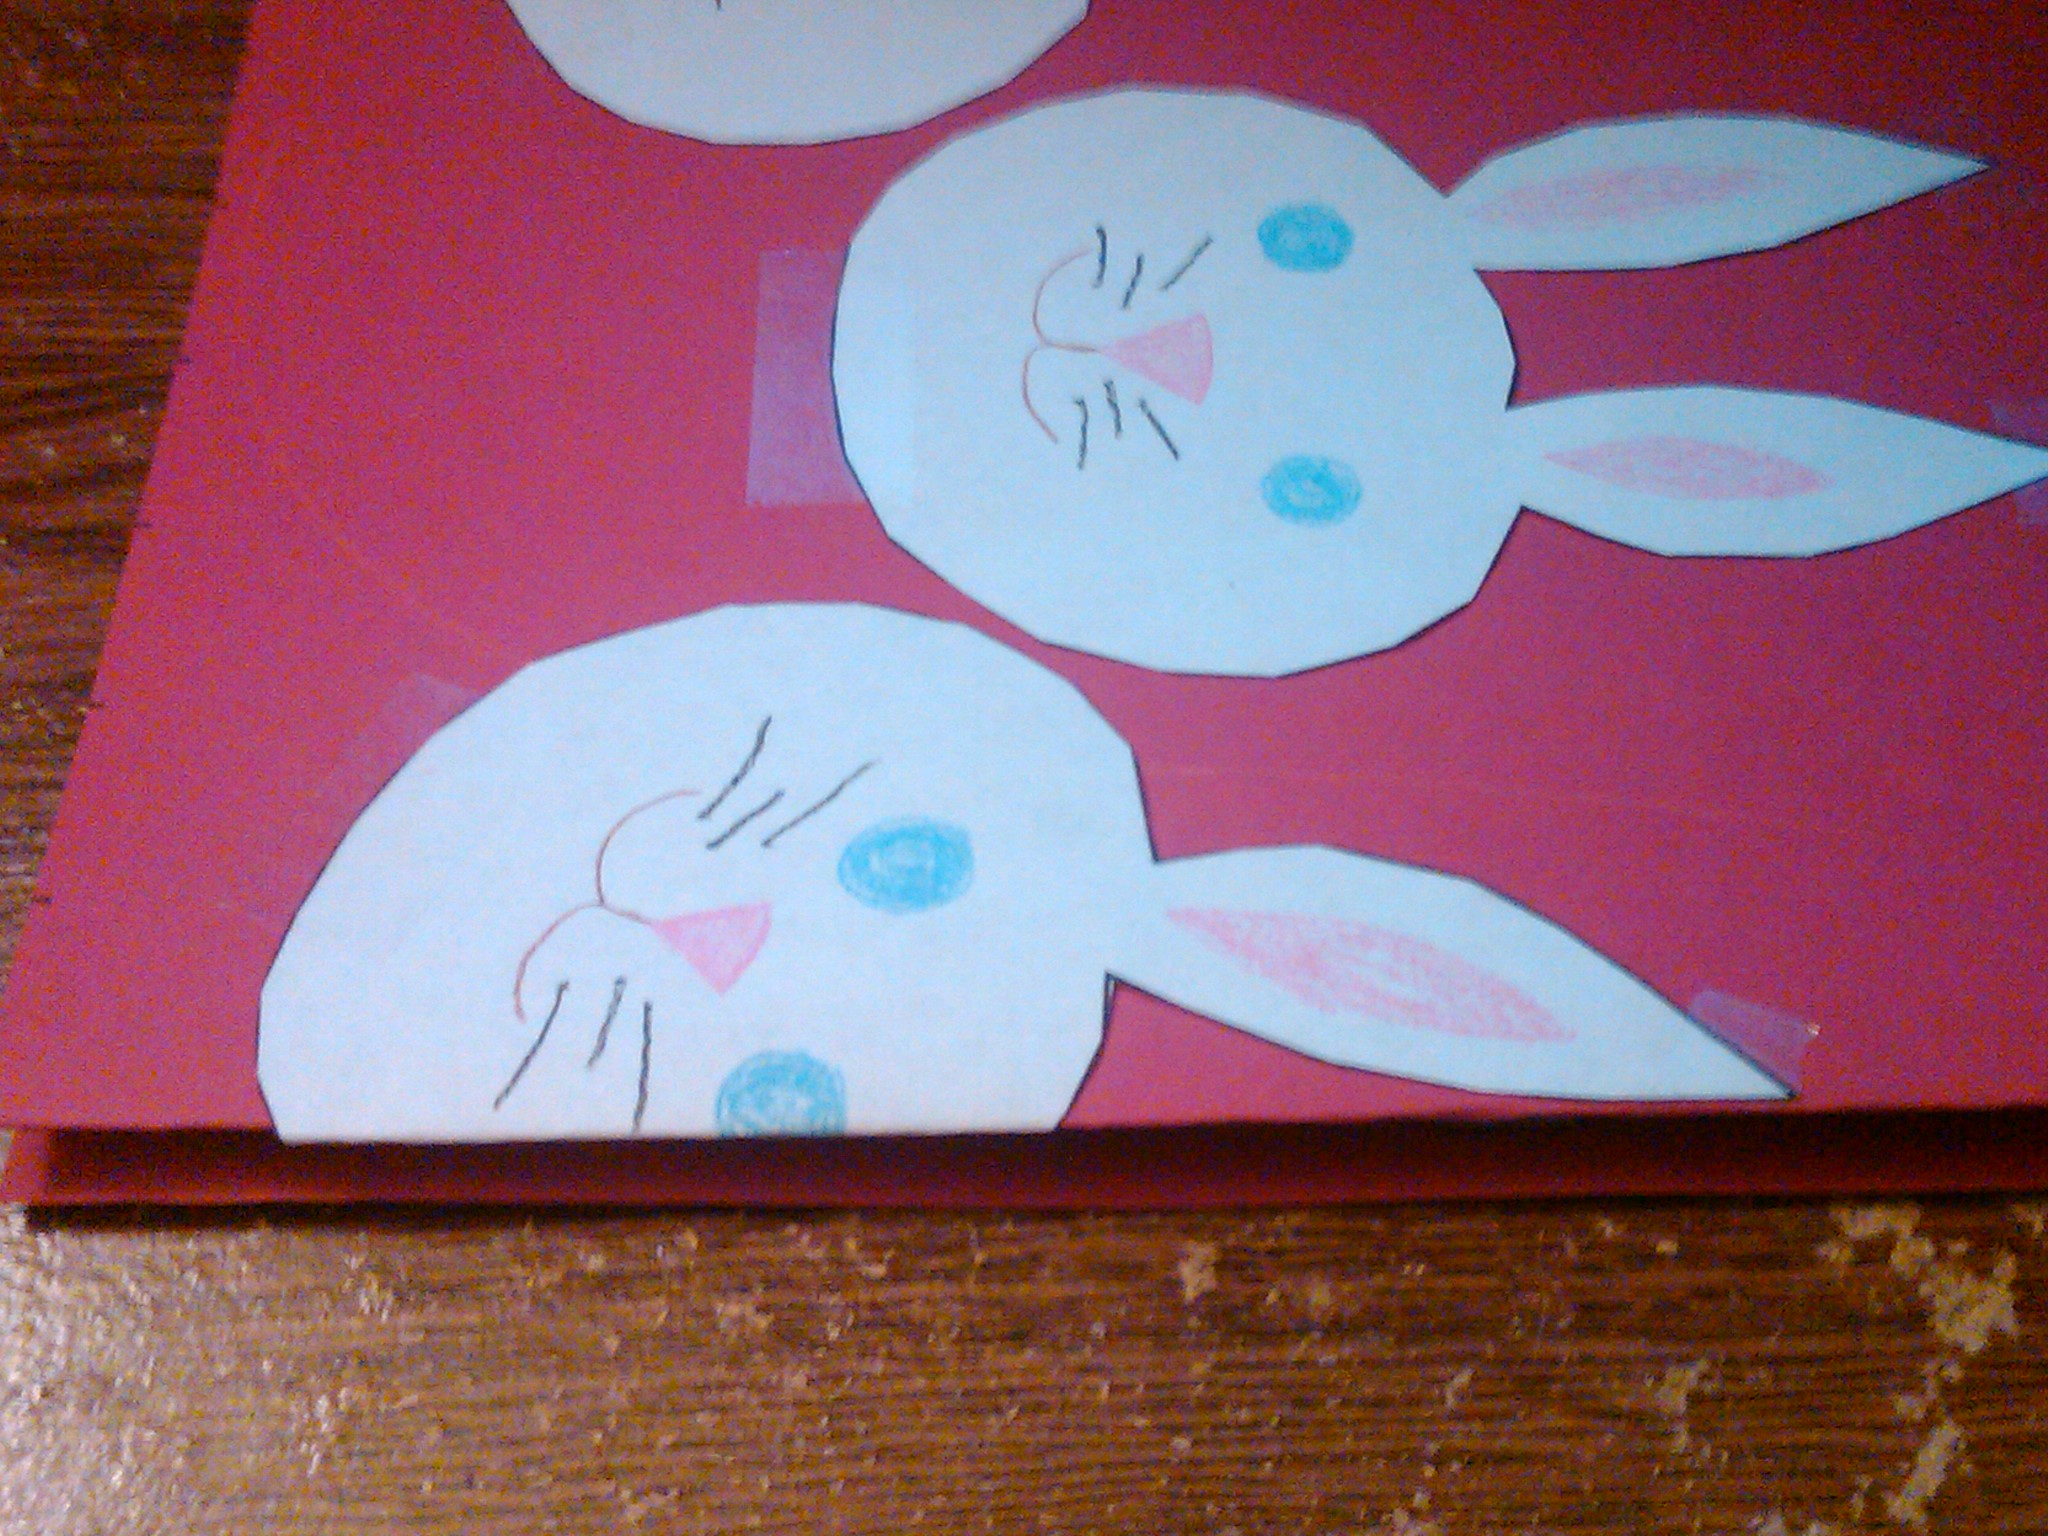
STEP 4 – TAPE RABBITS ON TO FAN
Arrange the rabbits on the construction paper and tape them down. For starters use one piece of tape on the bottom of the face, and one on the top of each ear. You will need more tape later.
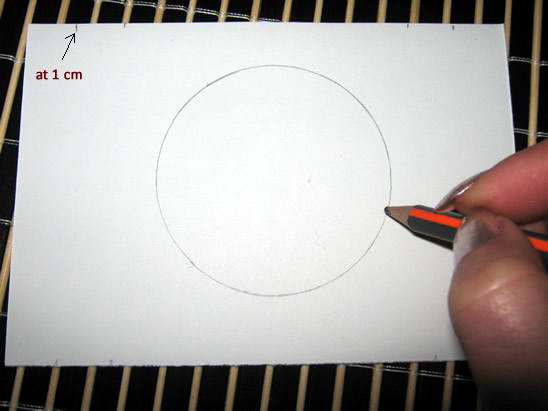
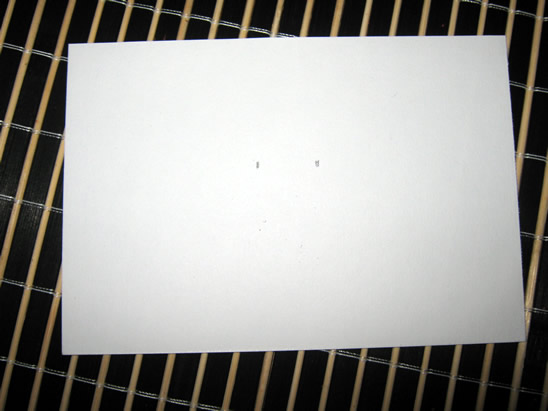
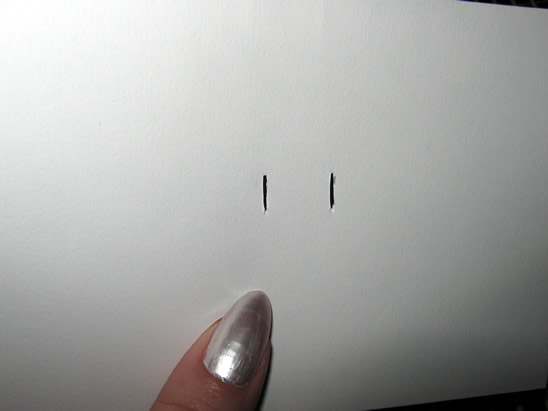
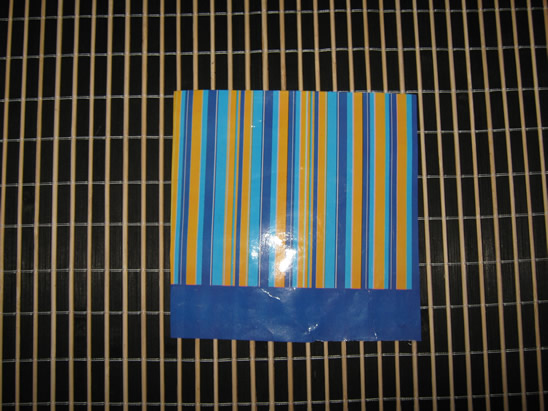
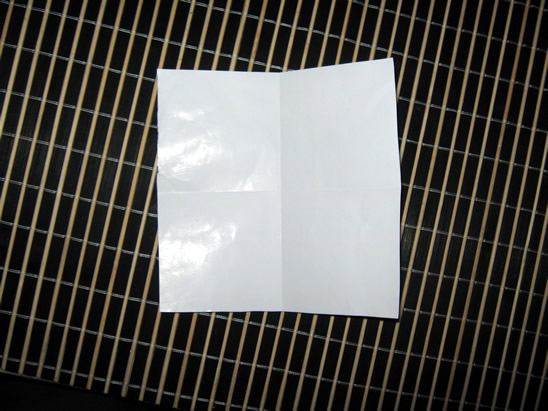
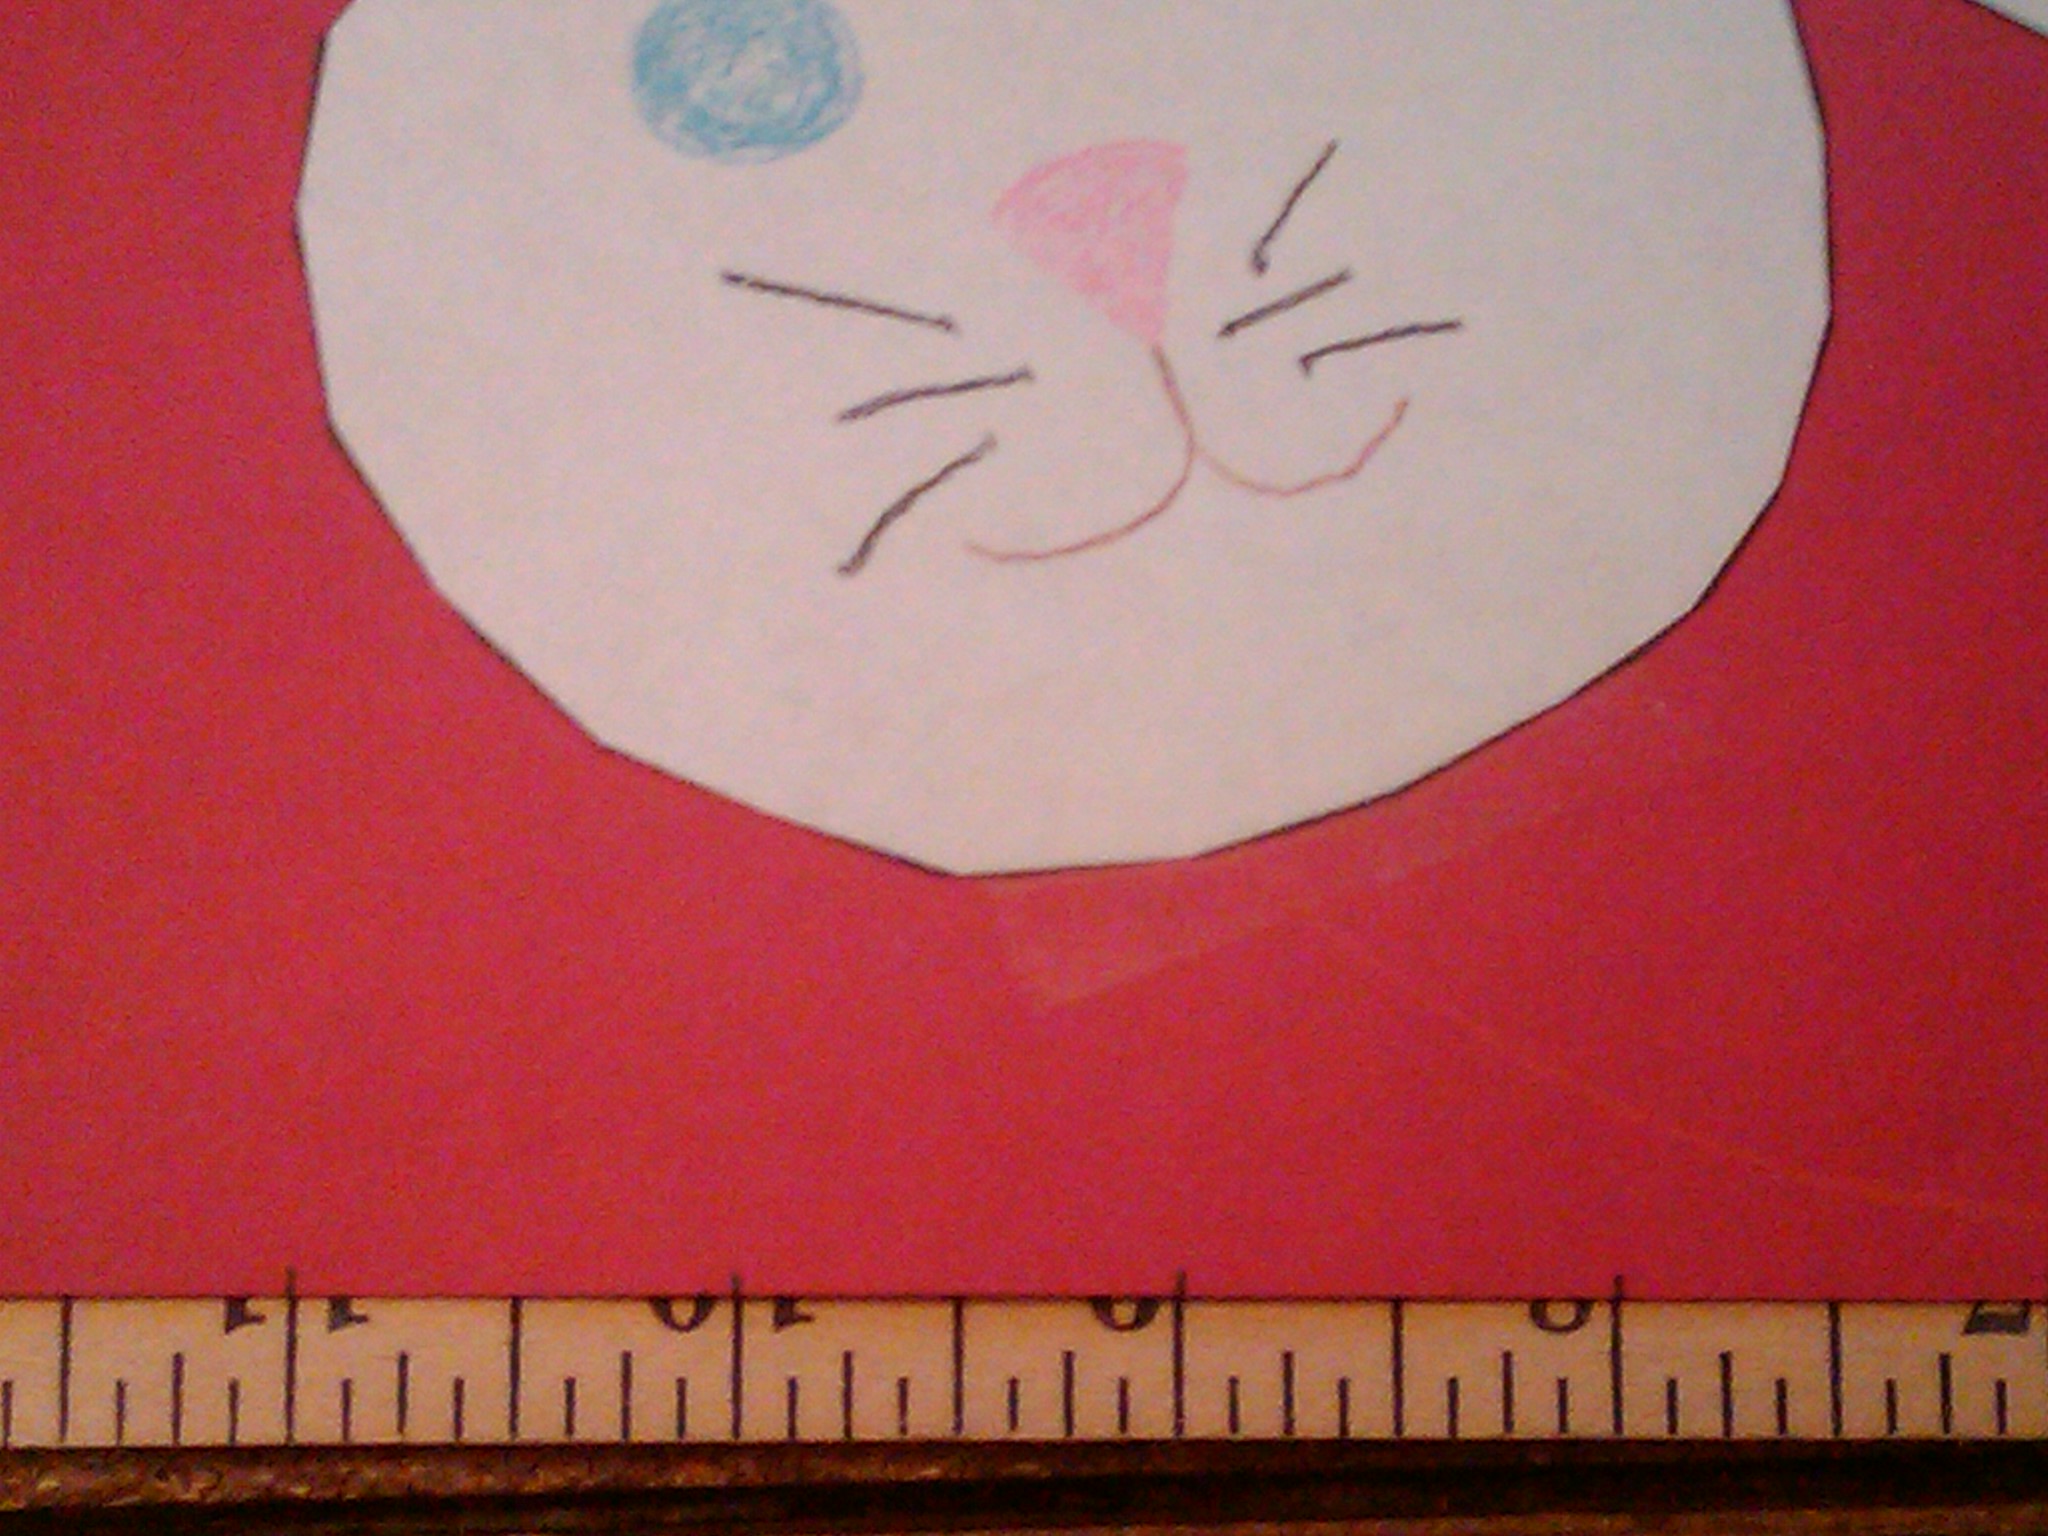
STEP 5 – MEASURE FOR FOLDS
Set your ruler down and lay your paper on top of it. Mark each inch on the bottom of the construction paper so you will know where to fold.
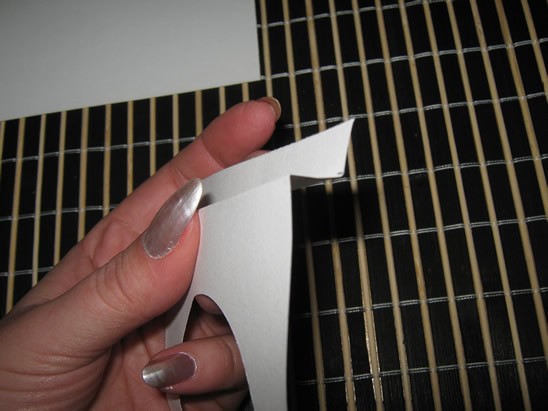
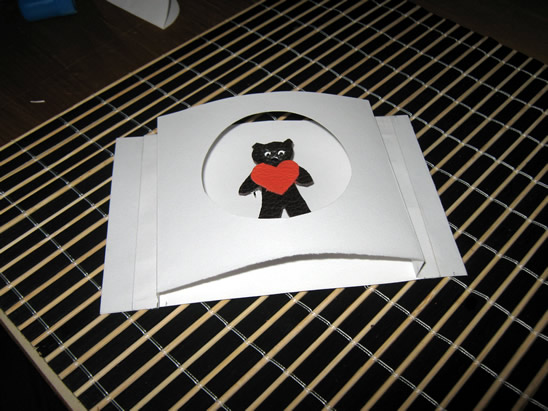
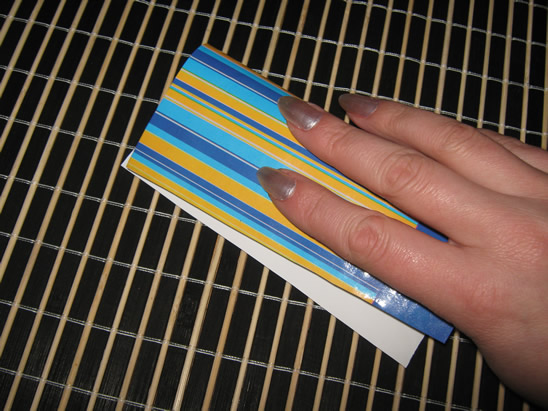
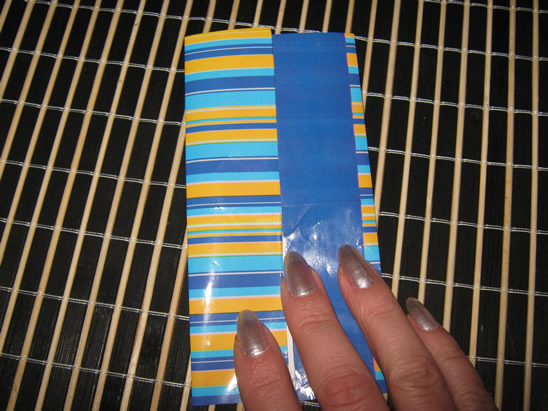
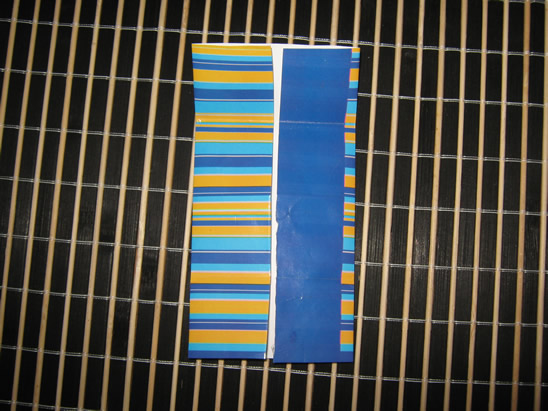
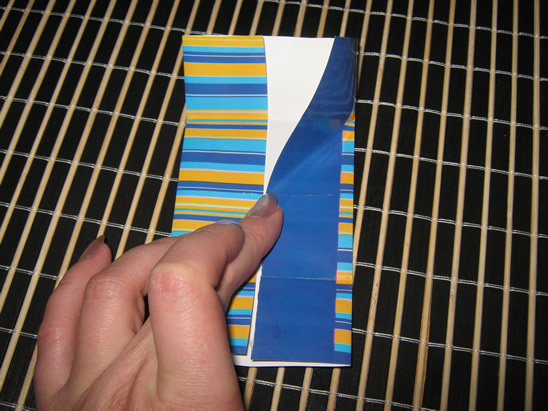
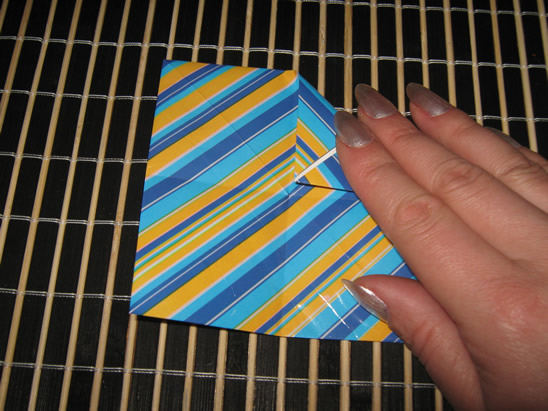
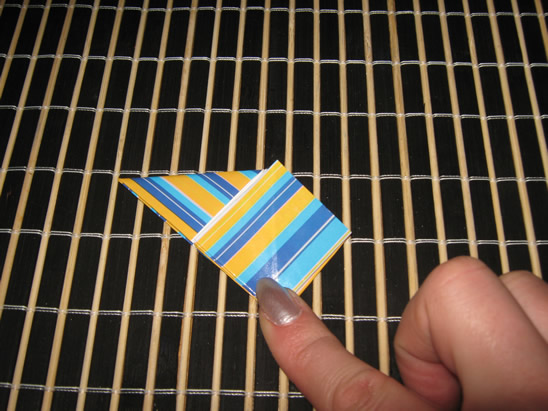
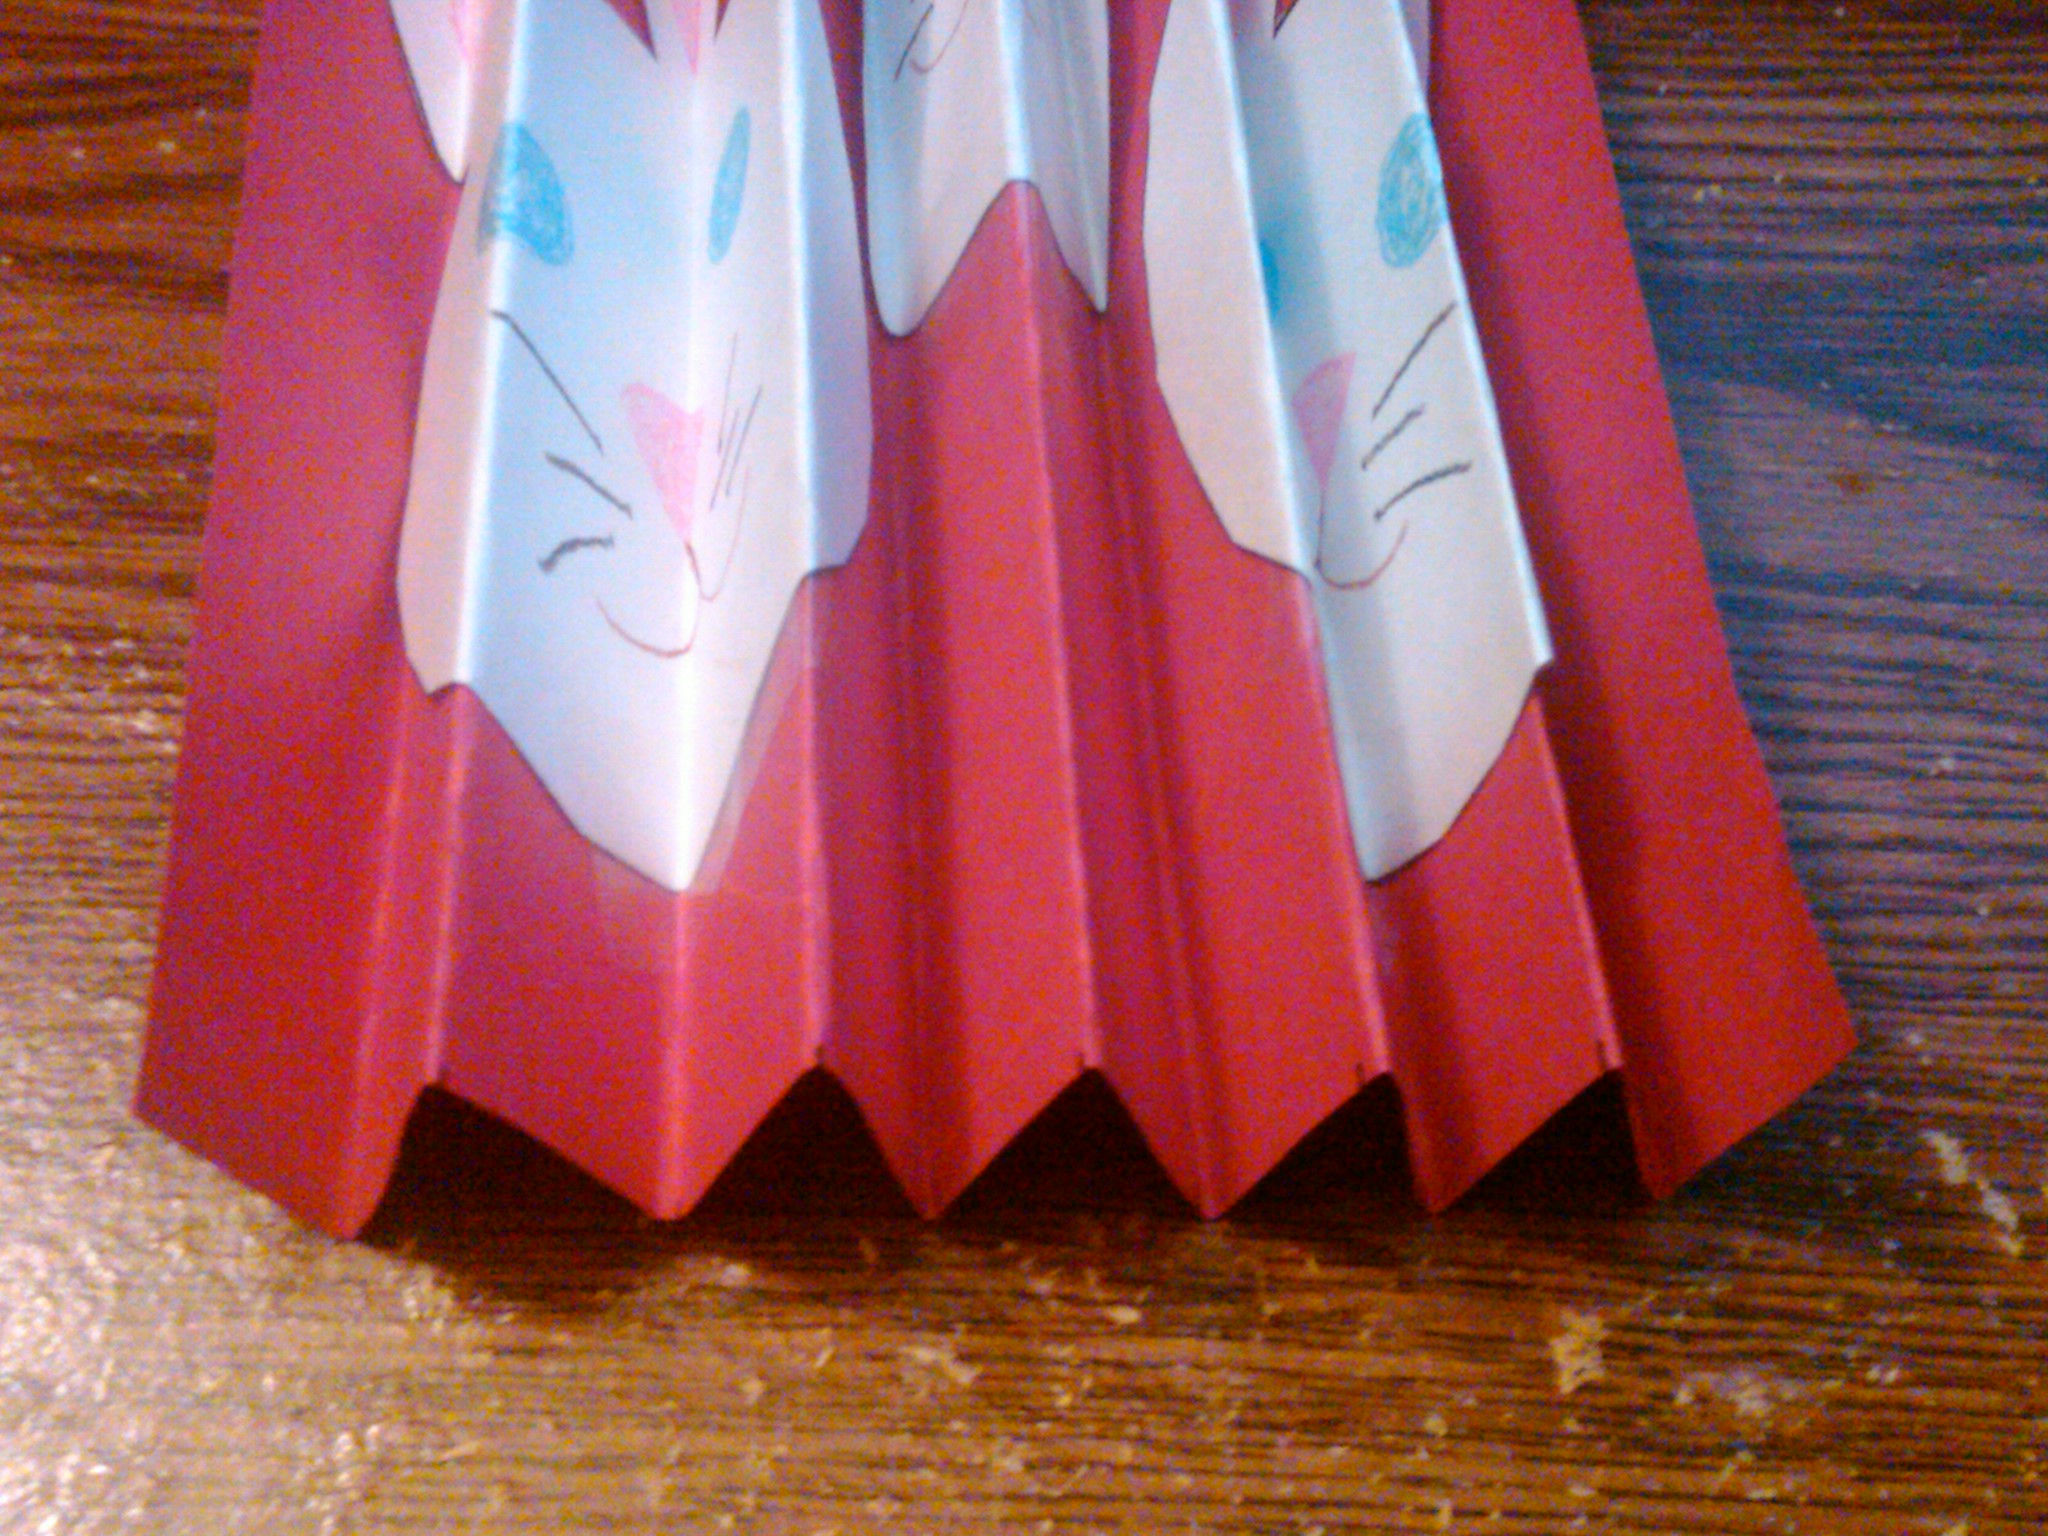
STEP 6 – FOLD THE FAN
Starting at the first inch mark fold the fan up and inward then crease the edge.
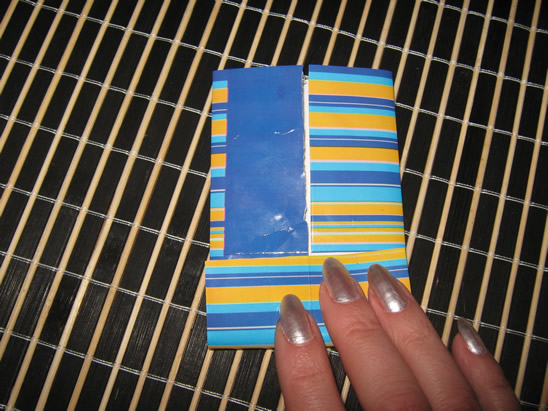
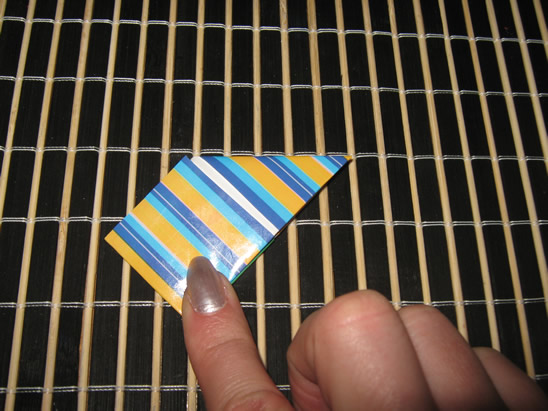
On the second inch mark fold backward and crease again.
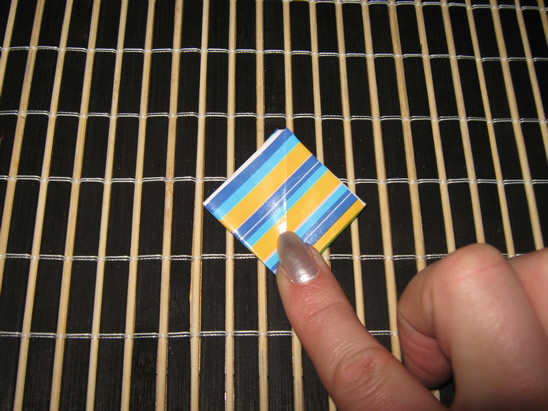
Keep going back and forth until you reach the end. Now you can tape down any parts of the faces that didn’t fold down.
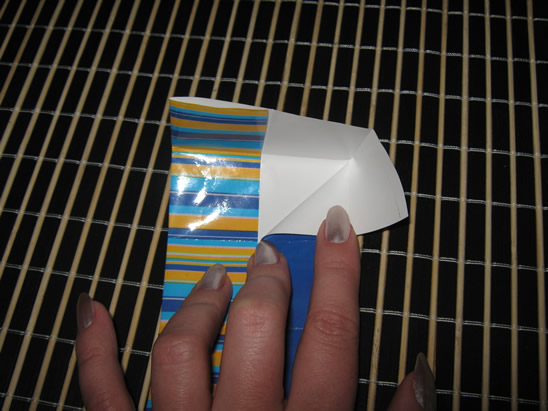
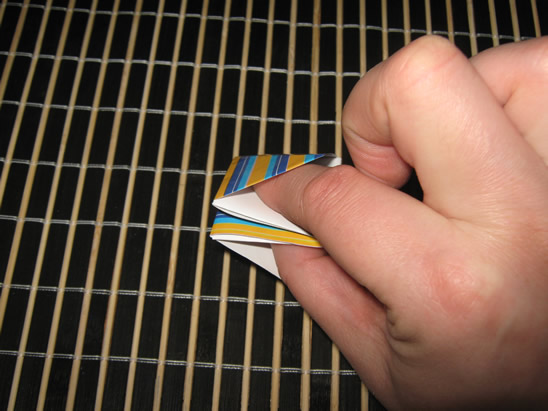
STEP 7 – SECURE BASE
Hold the bottom of the fan together and secure with a few pieces of tapes.
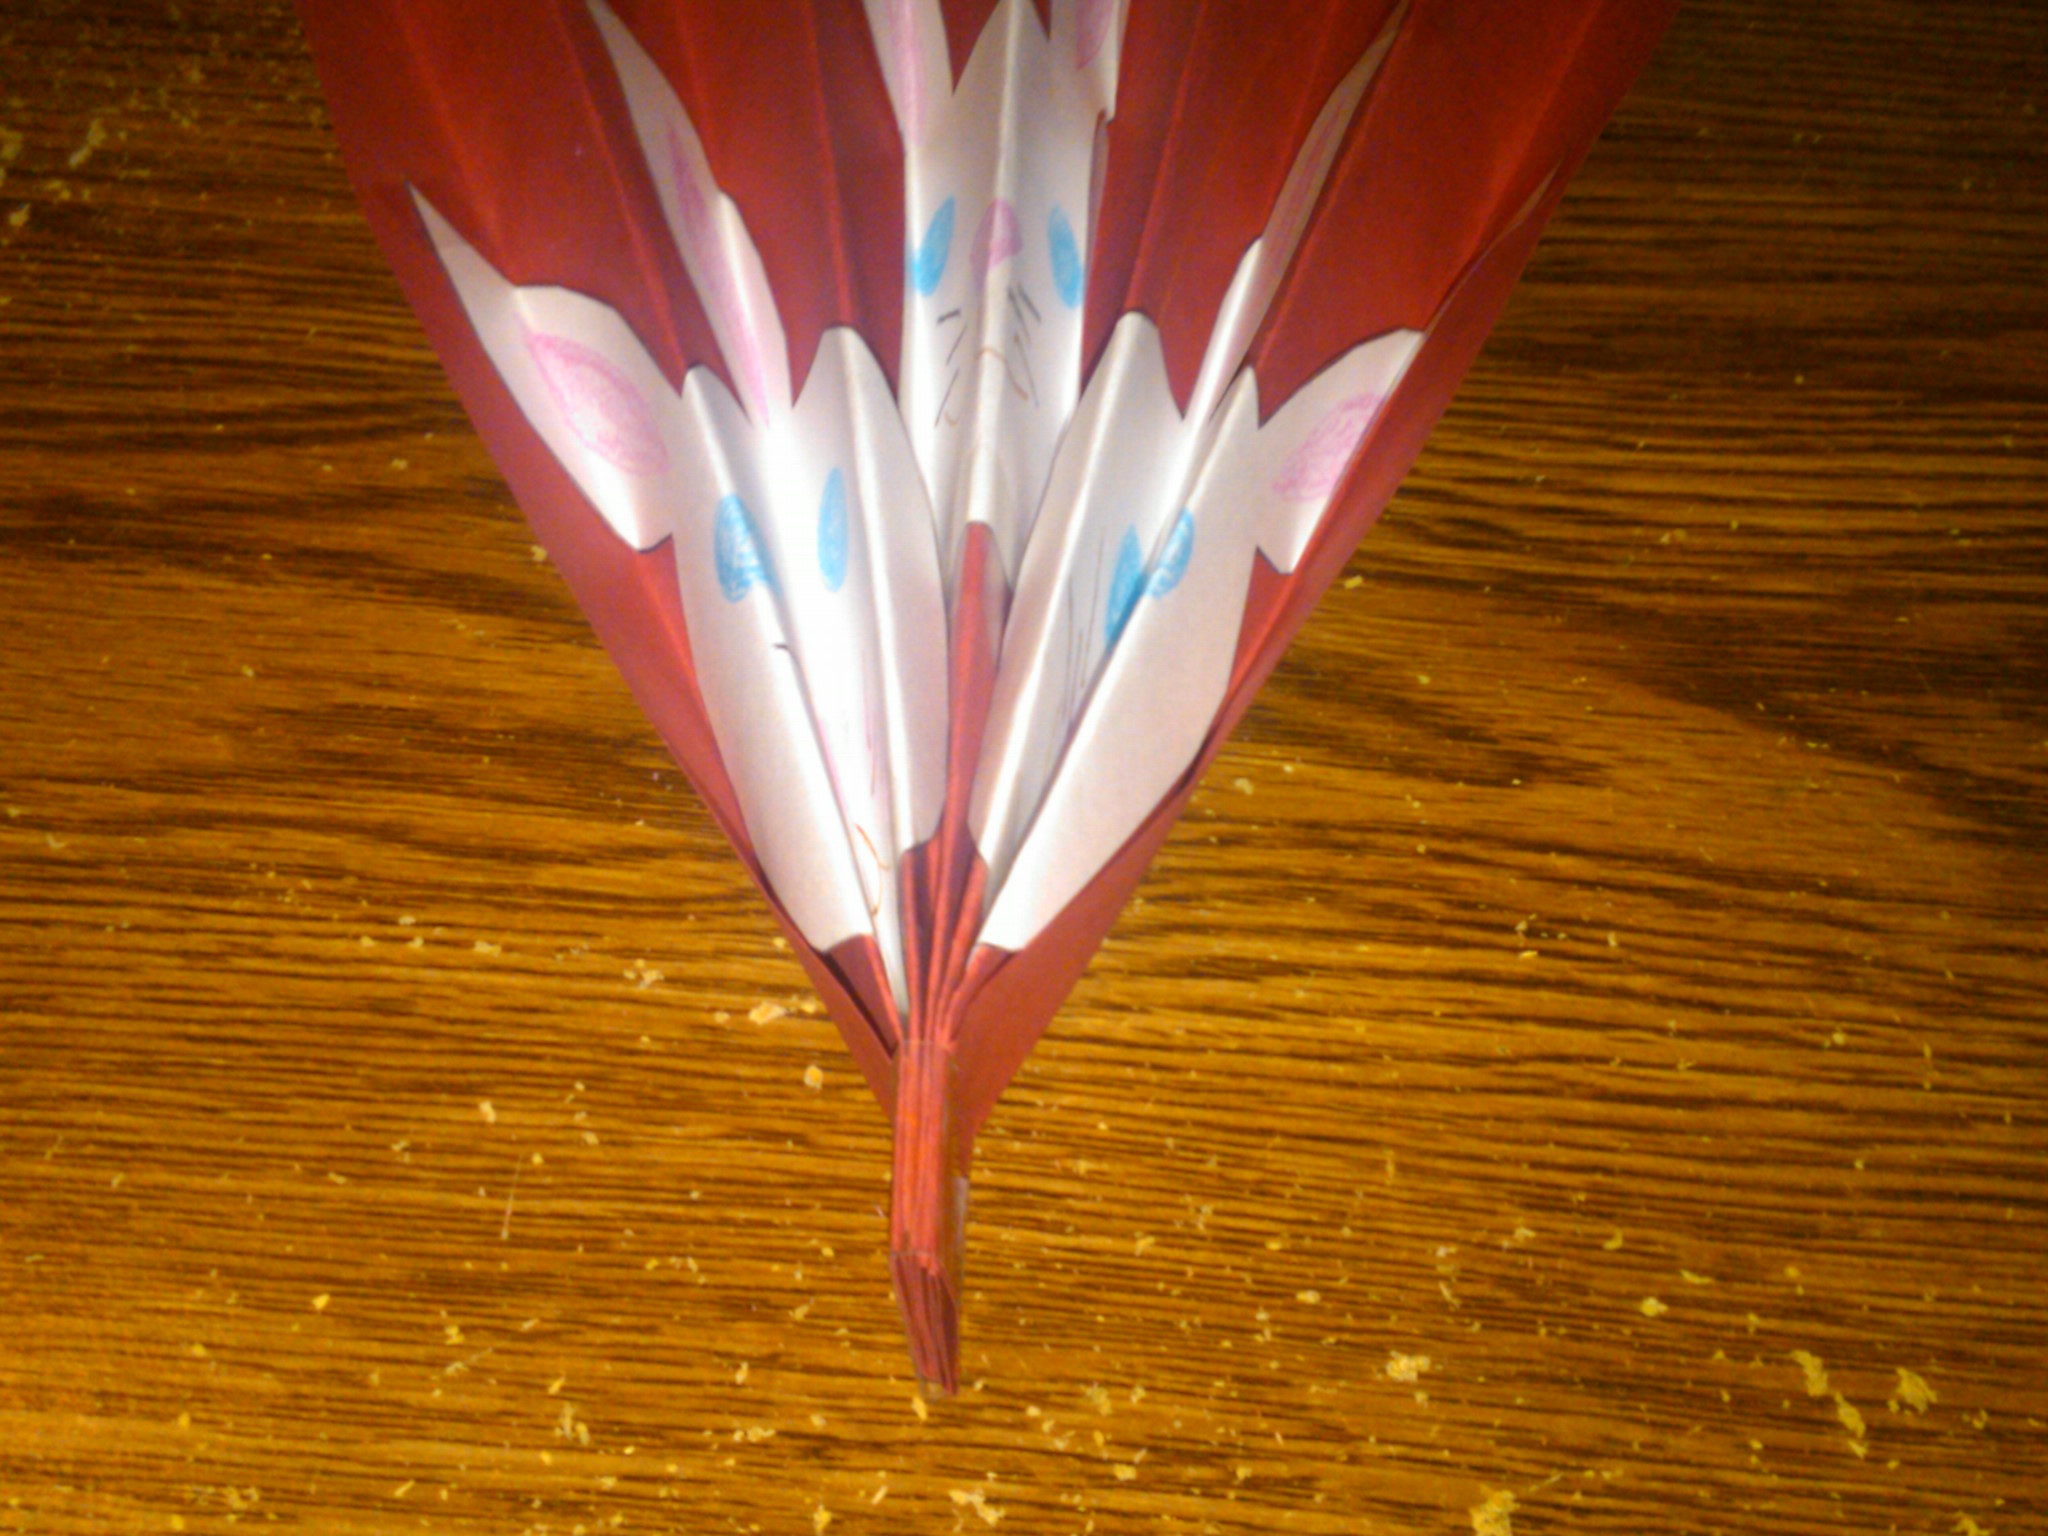
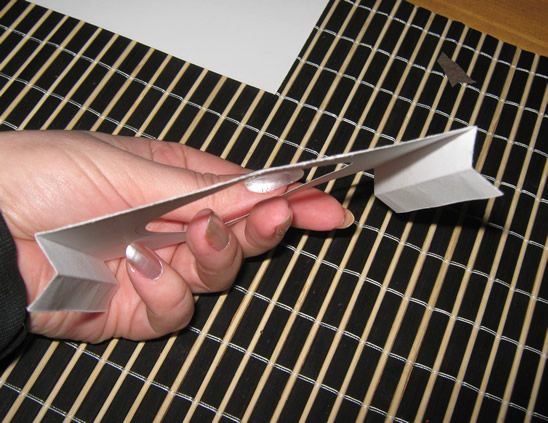
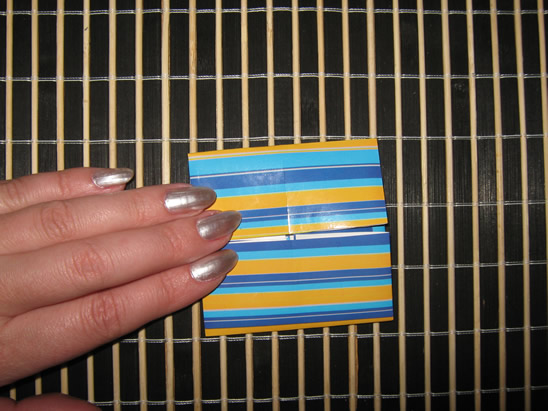
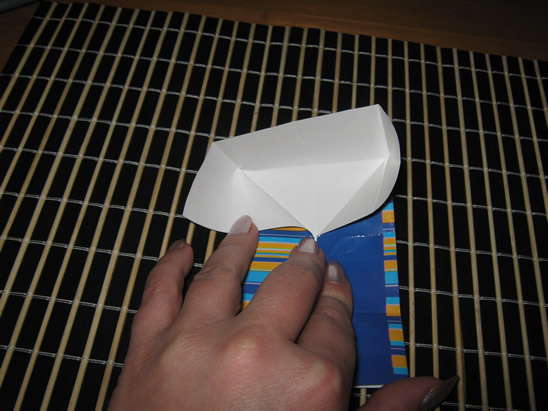
STEP 8 – FINISHING OFF
Pull the fan open as far as you can, and starting in the middle fold the top of the fan forward by about half an inch to and inch. Work your way out to the edges of the fan. This fold should keep the fan open for display.
Here are Even More Chinese New Years Crafts
Technorati Tags: chinese new year, chinese new year crafts, chinese fans, making chinese fans, make chinese fans, rabbit fans, rabbit crafts, making chinese crafts, making chinese rabbits, paper fan crafts, paper fans, kids crafts, crafts for kids