Today we will show you how to make stuffed puppy dogs out of socks and rubber bands. This craft will probably take less than 10 minutes for you…it is that easy. These are no-sew stuffed animals…that is right…no sewing necessary at all. If you like sock monkeys, but you were too lazy to make them, then this arts and crafts project is for you. Have fun.
You Might Like Our No-Sew Baby Doll Craft
You Might Like Our Other No-Sew Crafts

How to Make No-Sew Stuffed Puppy Dog Animal Toy with Socks & Rubber Bands
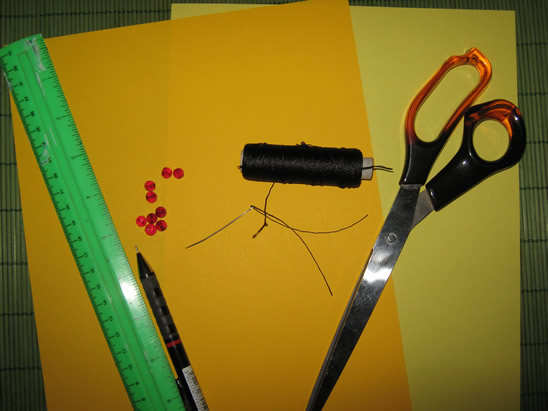
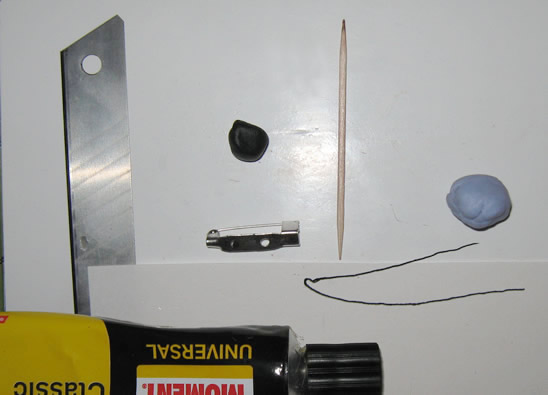
Crafts Materials Needed
– Stretchy Socks – I used Knee High Girls Socks
– Small Rubber Bands or Yarn
– Buttons or Sharpie Marker or Fabric Markers or Needle and Thread
– Stuffing
-Scissors
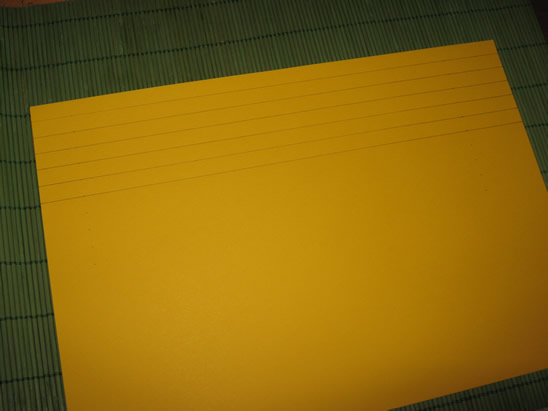
Step 1

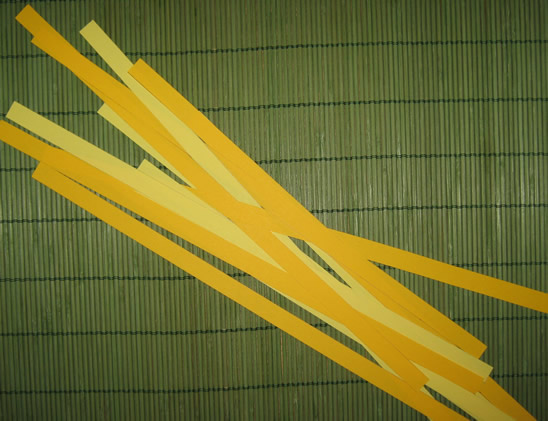
Take out your sock….preferably socks that are stretchy and ones that have an interesting pattern or color.
Step 2

Put your stuffing in to your sock…put it all the way down to the tip of the sock.
Step 3
[ad#ahc]

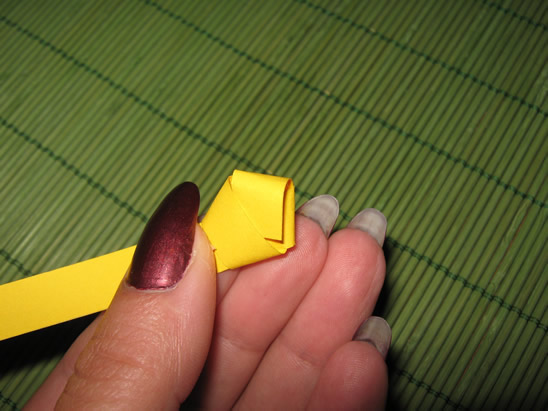
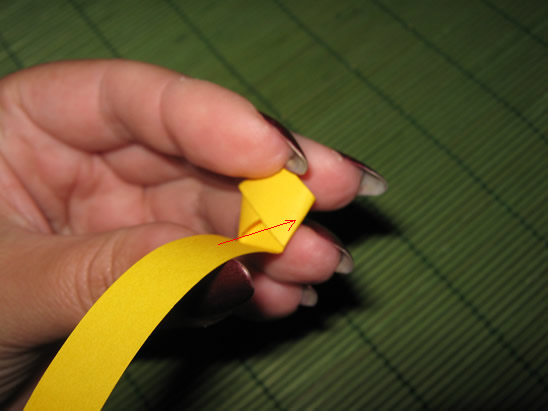
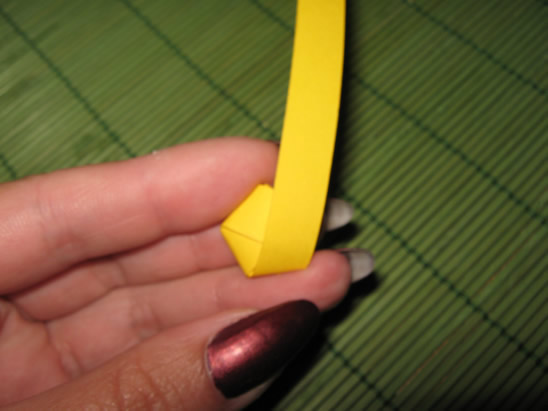
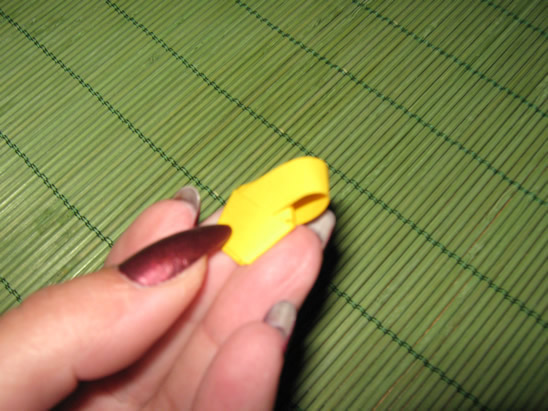
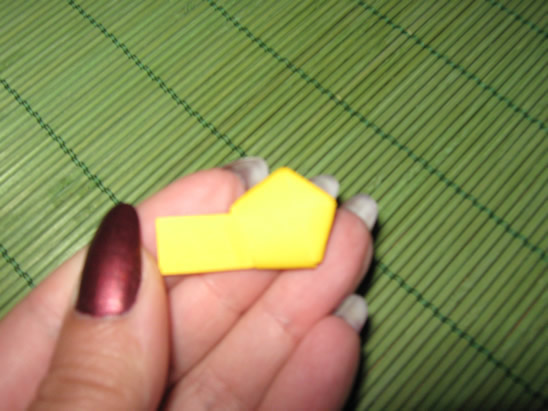
Now on the side ‘A’ (pictured above), form a ball by making sure that some of the stuffing is at that corner and then just pushing down with your thumbs to form a ball.
Step 4

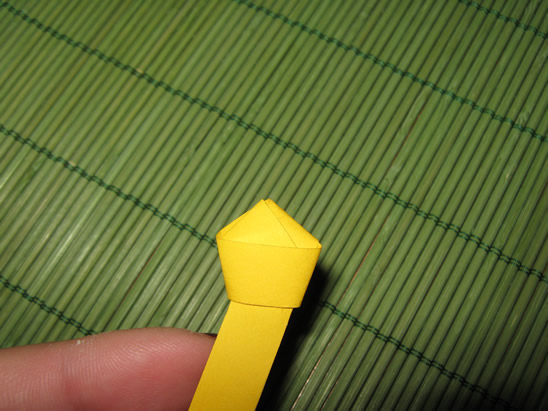
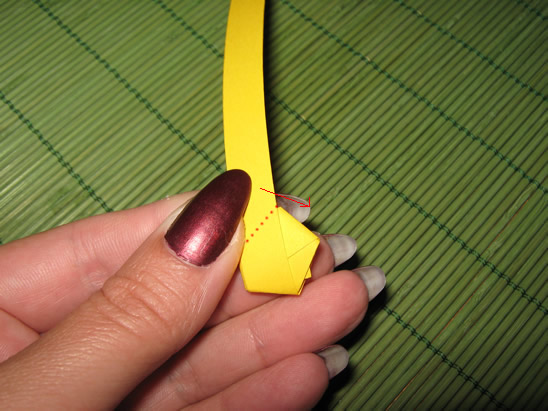
If this stuffed dog is being made for a younger child (under 3 or 4 of age) you should use yarn instead of a rubber band, just in case it comes off…you never know what a child will put in his or her mouth and chock on. If you use a rubber band just put the rubber band around the ball until it is tight. If you are using yarn, wrap it around that ball-shape and tie knots and wrap it around more and tie more knots…then cut it off.
Step 5

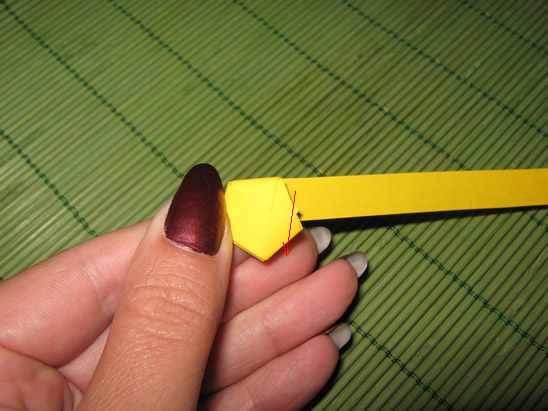
Now you should do the same thing for the other dog paw, side B.
Step 6

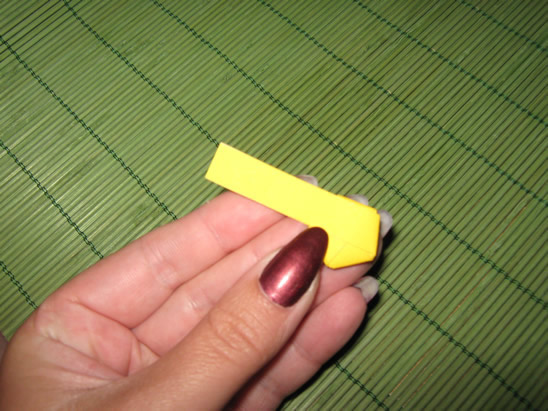
Now put stuffing above the paws for the puppy dog’s belly area.
Step 7

Now make 2 arms the same way that you made the paws.
Step 8

Tie the yarn or rubber band next for the neck.
Step 9

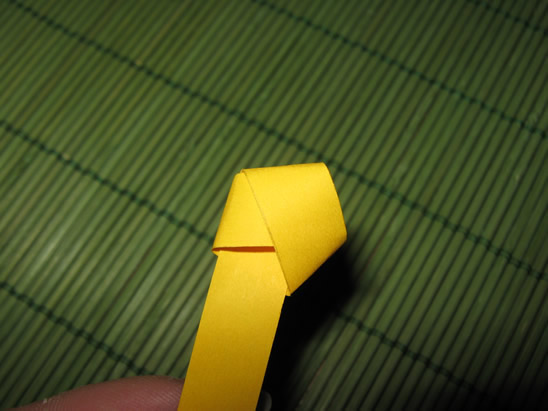
This is what the real thing looks like so far.
Step 10

Add stuffing to the sock for the puppy dog’s head and then again, tie off with rubber band or yarn.
Step 11

This is what the real puppy dog looks like so far.
Step 12

Now cut the remaining sock (the part above the head and rubber band) in the center….like you see above.
Step 13

Now on each side – there are 2 sides – cut in 3 slits. So basically you have 6 slits in all then.
Step 14

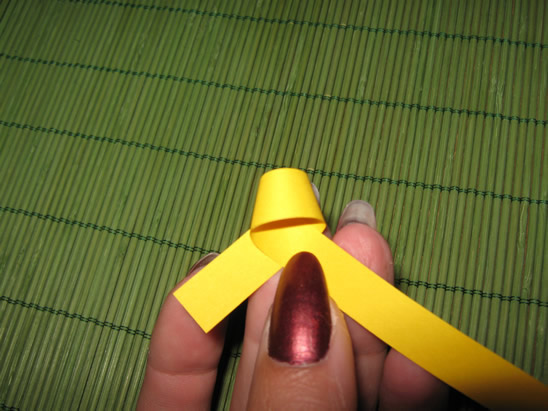
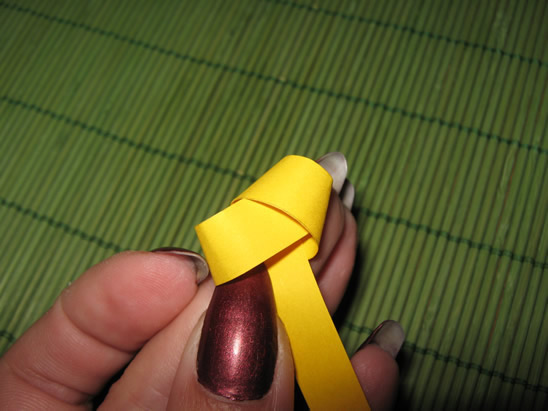
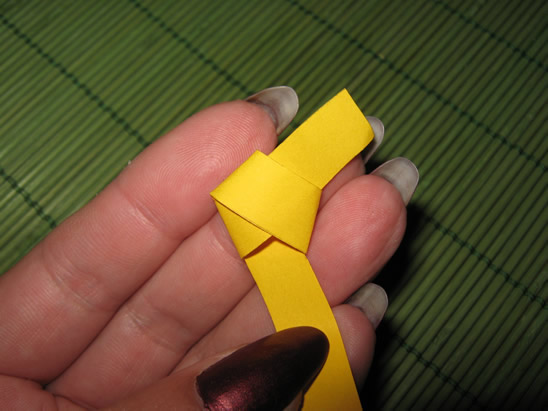
Now braid each side. If you don’t know how to braid…then visit the Wikipedia page on braiding.
Step 15

Now rubber band each side in a loop.
Step 16

Now rubber band both loops together in the center.
Step 17

Cut off the excess that was on the top of the 2 loops (you will be cutting off the rubber bands too from step #15)
Step 18

Now this is what your doggy will look like.
Step 19

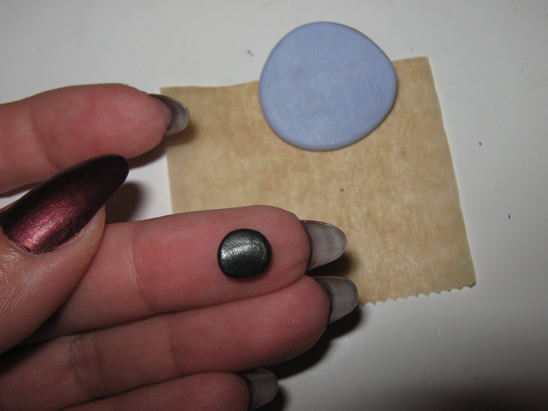
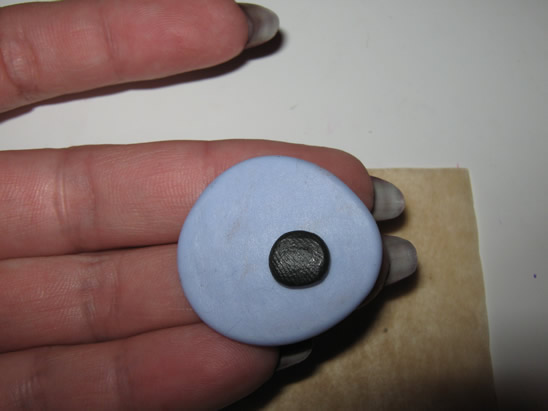
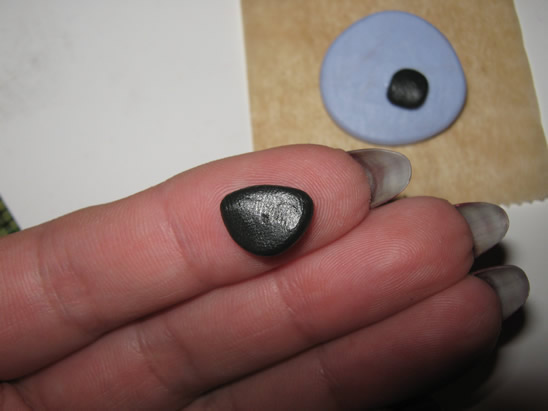
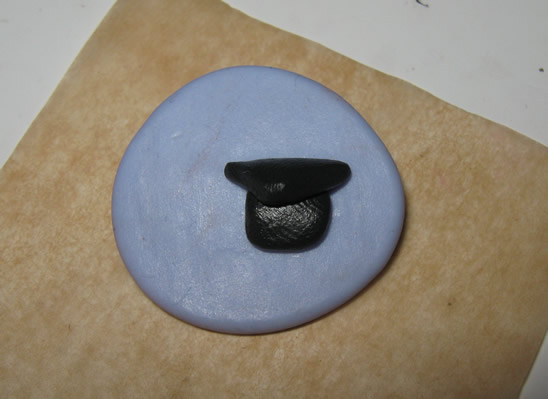
If you want to…glue on button eyes and nose. If your parents are around, ask them to hot glue them on, otherwise use fabric glue. If you have a sharpie or paint, make the dog’s mouth too.
I hope that you had a lot of fun.
You Might Like Our No-Sew Baby Doll Craft
You Might Like Our Other No-Sew Crafts
Technorati Tags: no-sew crafts, no-sew dolls, no-sewing dolls, easy to make dolls, dogs, doggy, puppy, puppies, stuffed dog, stuffed puppy, doll crafts, making dolls, sock monkeys, sock dolls, sock animals, no-sew sock dolls, no sewing necessary, no sew crafts, no sewing crafts, kids crafts, crafts for kids


