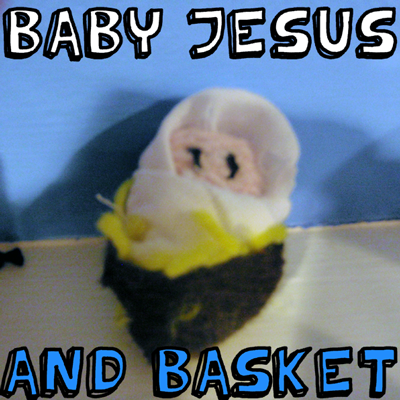
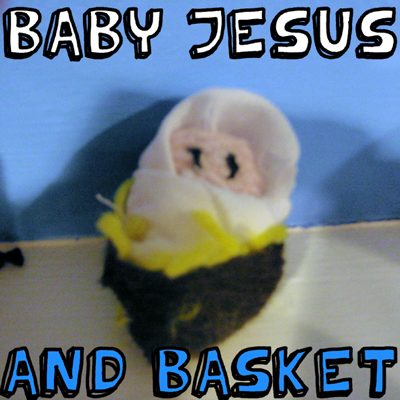
Yesterday I showed you how to Weave the 3 Wise Men for a Nativity Scene…. well, today I’m going to continue the weaving fun by showing you how to Weave a Baby Jesus and Cradle. Imagine how proud you will be to have made an entire Nativity Scene yourself… so proud!! So, let’s get started.
Check out our other Christmas Crafts.
Materials Needed
2 Pieces of Cardboard Measuring 3 inch x 1 1/2 inch
Ruler
Scissors
Tape
String or Yarn (Brown, Yellow & Skin Color Yarn like Pink, Tan, Brown, etc.)
Needle
Black String or Thread
Cotton or other Filler
Burp Cloth or Similar Fabric
Fork
Step 1
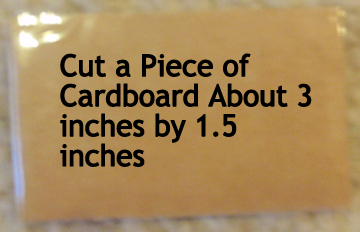
We will start by making a cardboard loom to weave the basket with. Cut a piece of cardboard about 3 inches x 1.5 inches.
[ad#ahc]
Step 2
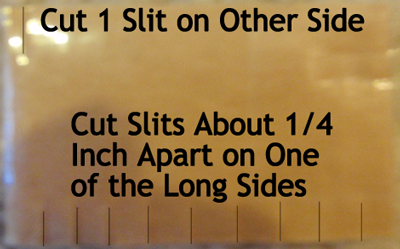
Cut slits about 1/4 inch apart on one of the long sides. Cut one slit on the other side.
Step 3
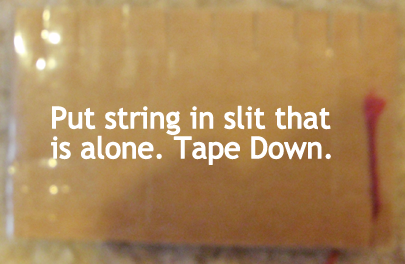
Put string in slit that is alone. Tape down.
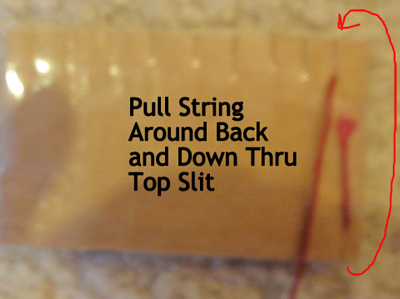
Step 4
Pull string around back and down thru top slit.
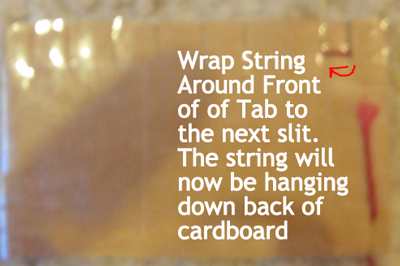
Step 5
Wrap string around front of tab to the next slit. The string will now be hanging down back of cardboard.
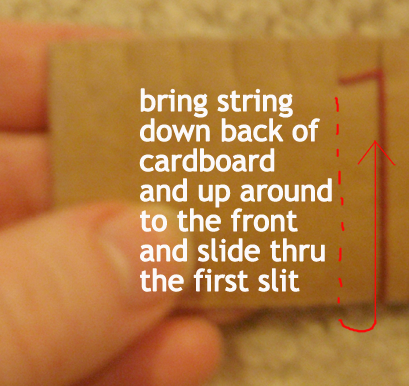
Step 6
Bring string down back of cardboard and up around to the front and slide thru the first slit.
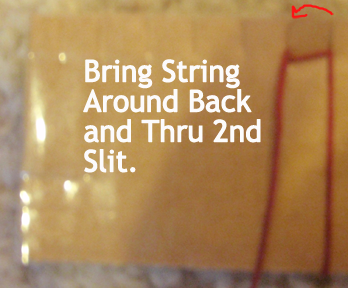
Step 7
Bring string around back and thru second slit.
Step 8
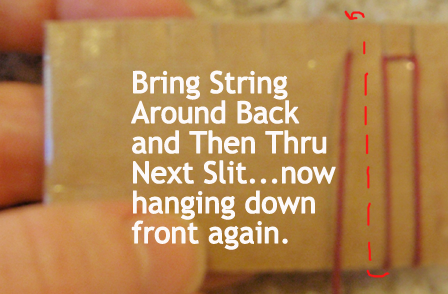
Bring string around back and then thru next slit… now it’s hanging down front again.
Step 9
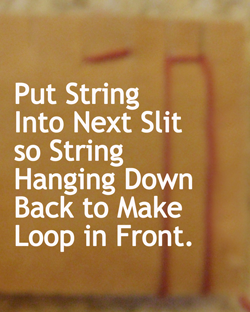
Put string into next slit so string hanging down back to make loop in front.
Step 10
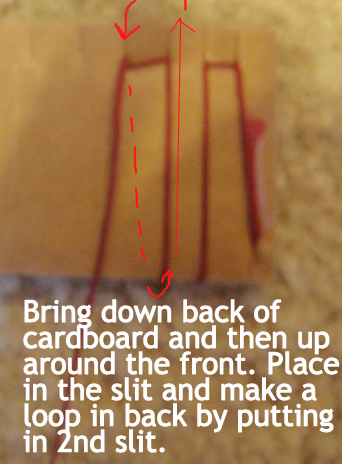
Bring down back of cardboard and then up around the front. Place in the slit and make a loop in back by putting in 2nd slit.
Step 11
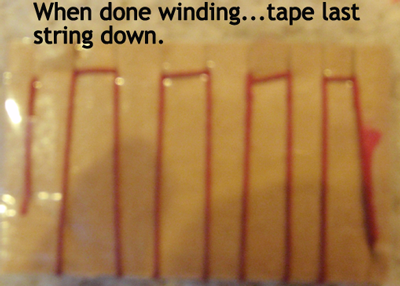
When done winding… tape last string down.
Step 12
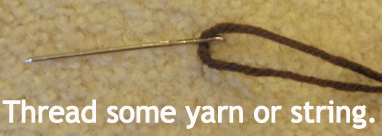
Thread some yarn or string.
Step 13
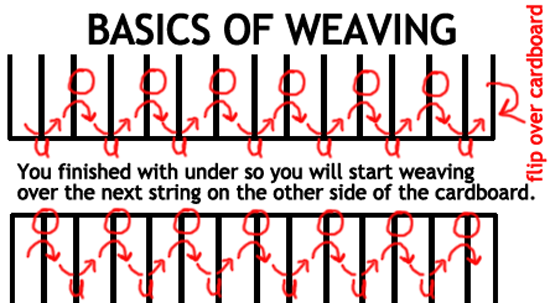
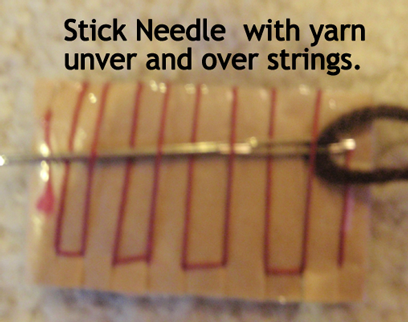
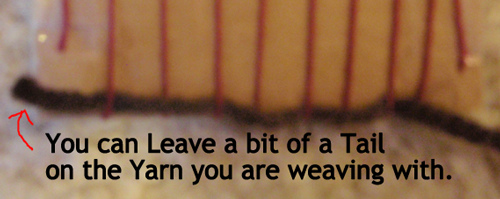
We will now start weaving. Above in the illustration, O is over and U is under. Basically, put the needle under and over the strings. For the first string, you can pull the yarn all the way through, leaving just a bit of yarn left under the first string. When you get to the edge of cardboard, turn over the cardboard. Then start weaving again. if you ending going under the last string on the other side, then this time go over.
Stick needle with yarn under and over strings.
You can leave a bit of a tail on the yarn you are weaving with.
Step 14
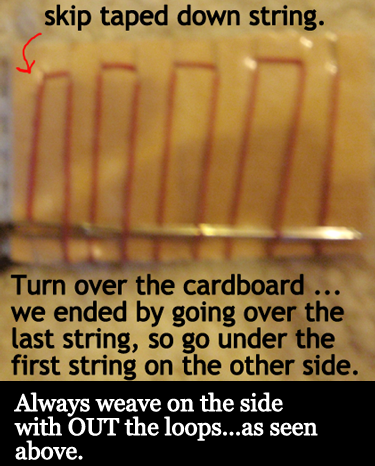
Turn over the cardboard… we ended by going over the last string, so go under the first string on the other side. Make sure to skip taped down string. ***Always weave on the side with OUT the loops… as seen above.
Step 15
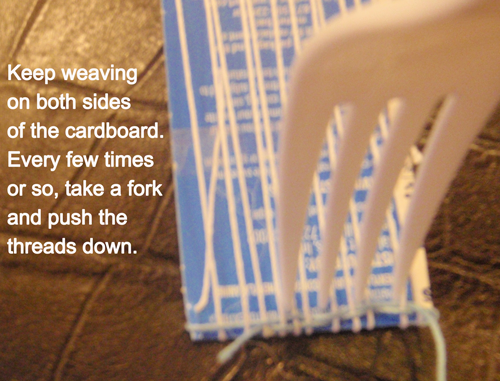
Keep weaving on both sides of the cardboard. Every few times or so take a fork and push the threads down.
Step 16
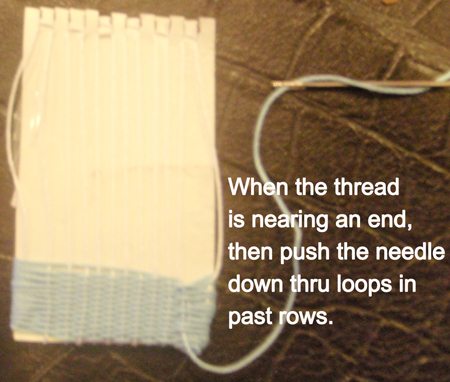
When the thread is nearing the end, then push the needle down thru loops in past row.
Step 17
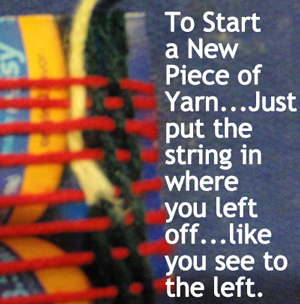
To start a new piece of yarn… just put the string in where you left off… like you see in the image above.
Step 18
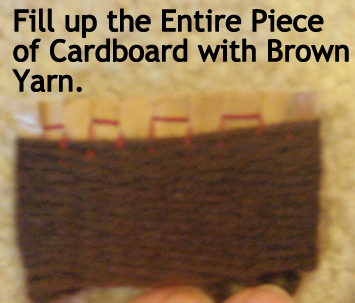
Fill up the entire piece of cardboard with brown yarn.
Step 19
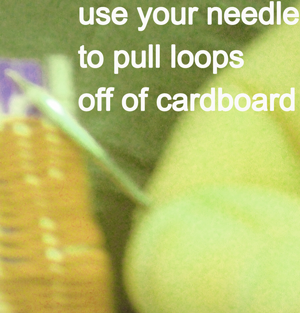
Use your needle to pull loops off of cardboard…
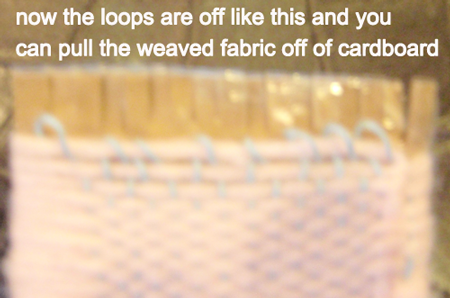
… Now the loops are off like this and you can pull the weaved fabric off of cardboard.
Step 20
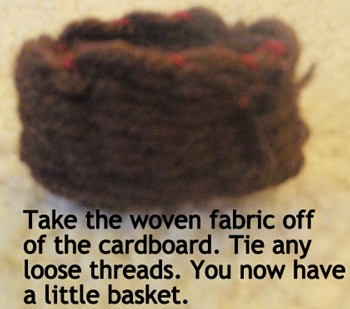
Take the woven fabric off the cardboard. Tie any loose threads. You now have a little basket.
Step 21
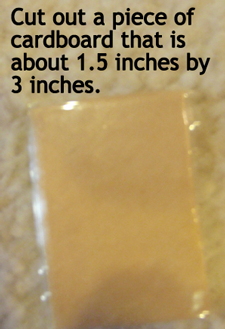
Cut a piece of cardboard that is about 1.5 inches by 3 inches.
Step 22
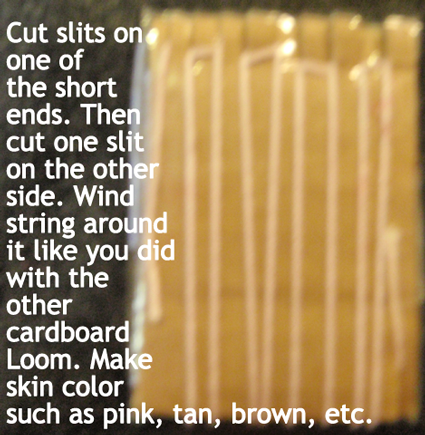
Cut slits on one of the short ends. Then cut one slit on the other side. Wind string around it like you did with the other cardboard loom. Make skin color such as pink, tan, brown, etc.
Step 23
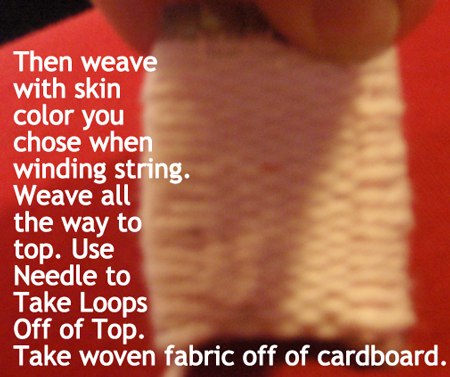
Then weave with the skin color you chose when winding string. Weave all the way to the top. Use needle to take the loops off of top. Take woven fabric off of cardboard.
Step 24
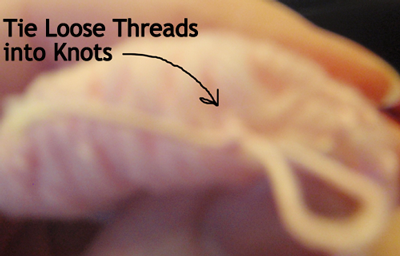
Tie loose threads into knots.
Step 25
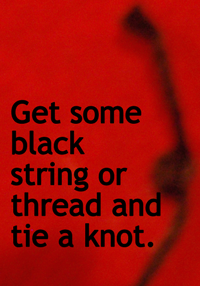
Get some black string or thread and tie a knot.
step 26
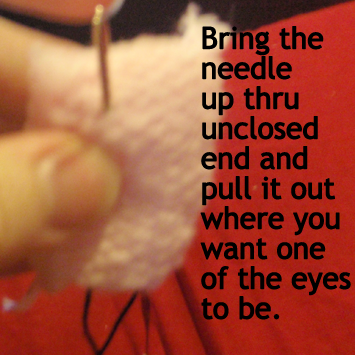
Bring the needle up thru unclosed end and pull it out where you want one of the eyes to be.
Step 27
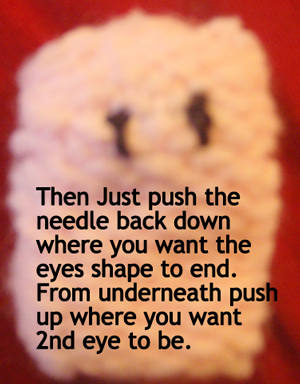
Then just push the needle back down where you want the eyes shape to end. From underneath push up where you want 2nd eye to be.
Step 28
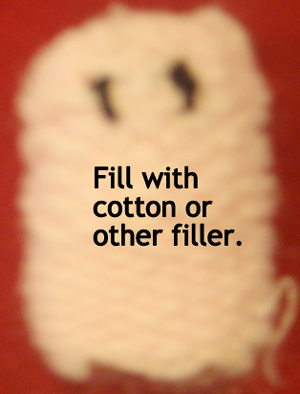
Fill with cotton or other filler. Then sew the bottom of the figure shut with skin colored yarn that you used previously.
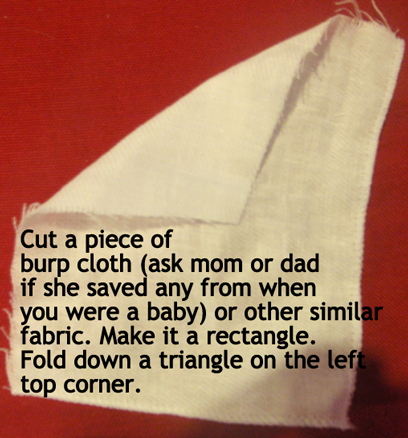
Step 29
Cut a piece of burp cloth (ask Mom or Dad if they saved any from when you were a baby) or other similar fabric. Make it a rectangle. Fold down a triangle on the left top corner.
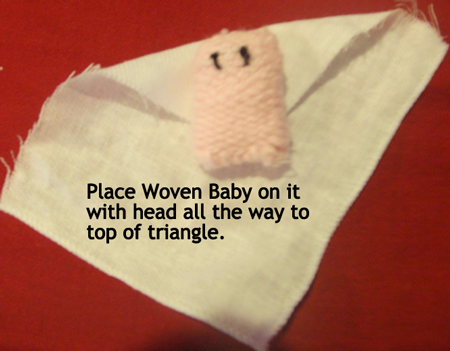
Step 30
Place woven baby on it with head all the way to top of triangle.
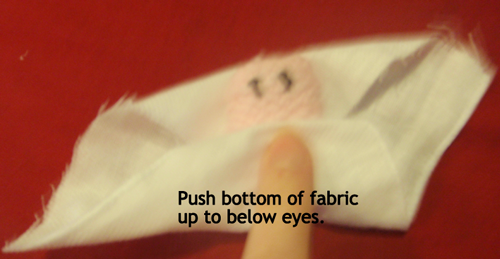
Step 31
Push bottom of fabric up to below eyes.
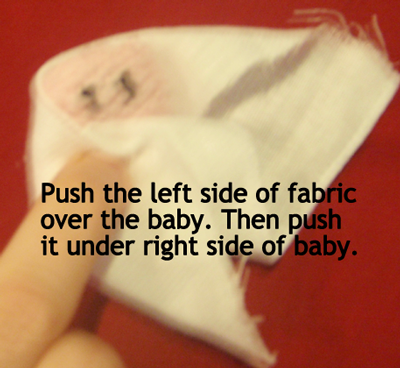
Step 32
Push the left side of fabric over the baby. The push it under right side of baby.
Step 33
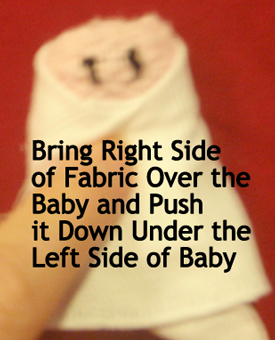
Bring right side of fabric over the baby and push it down under the left side of baby.
Step 34
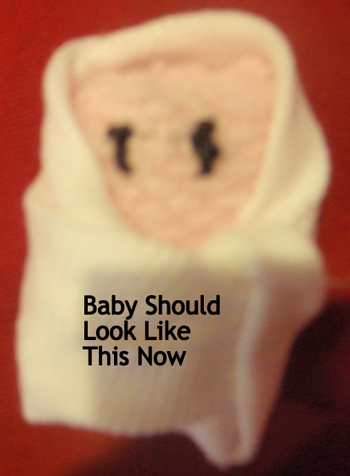
Baby should look like this now.
Step 35
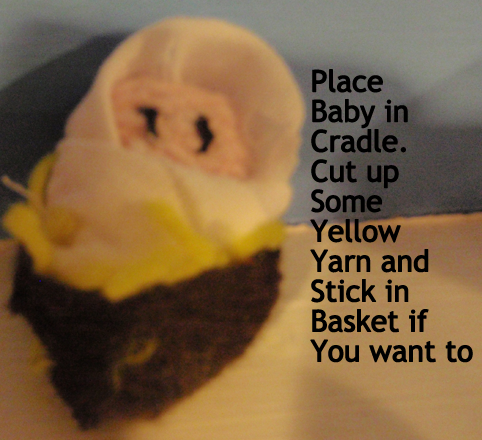
Place baby in cradle. Cut up some yellow yarn and stick in basket if you want to.
And, there you have it…. you finished weaving a Baby Jesus and Cradle for a Nativity Scene. Awesome job!! This woven Baby Jesus goes perfectly with the woven 3 Wise Men we made yesterday. Make sure to also do the Mary & Joseph craft, Yarn Clothespin Sheep craft and the Yarn Clothespin Donkey craft to complete your Nativity Scene.
Technorati Tags: Christmas crafts, xmas crafts, Christmas activities, xmas activities, December crafts, Holiday crafts, Holiday activities, decorations, Christmas decorations, Christmas decoration crafts, nativity scene, nativity scene crafts, Baby Jesus Crafts, Jesus Crafts, nativity activities

Leave a comment