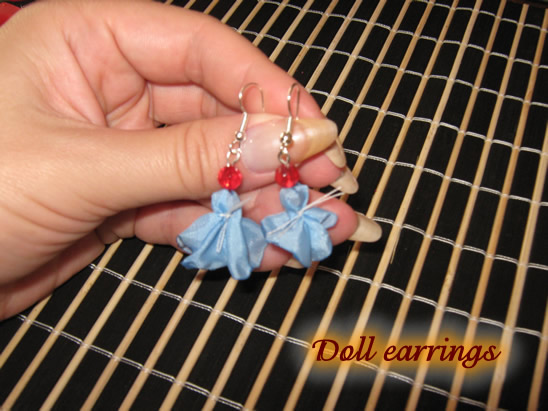
I have a fun craft for the girls today. I’m going to show you how to make a Pair of Doll Earrings. These earrings turn out so cute…. they really are fun and playful. These earrings are simply made from a few pieces of ribbon, some crystals and a few other materials. They are simple, but trust me the craft is fun. The Doll Earrings turn out looking like little tiny rag dolls…. just adorable. So, grab the materials needed and meet me back here so we can get started.
Check out our other Jewelry Crafts.
Laura from Dacian Moon Handmade will show this tutorial step-by-step.
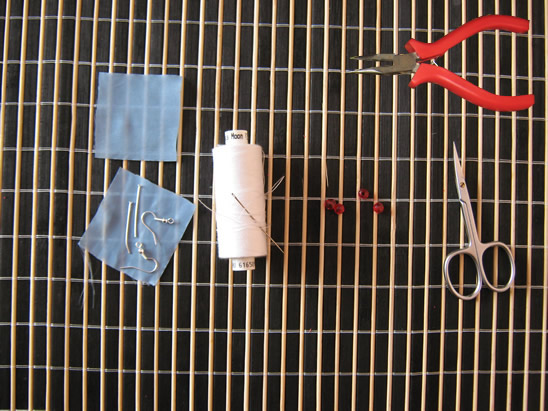
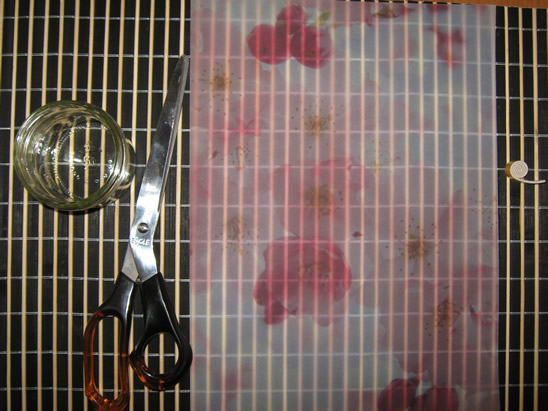
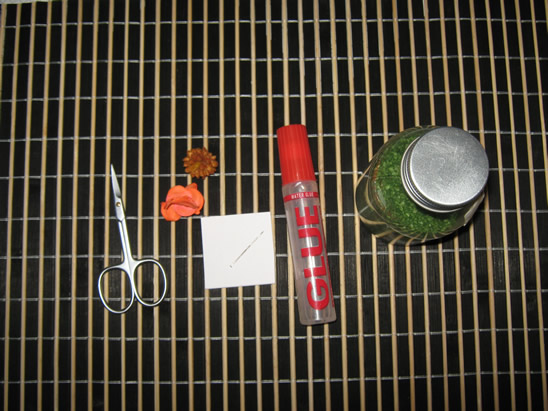
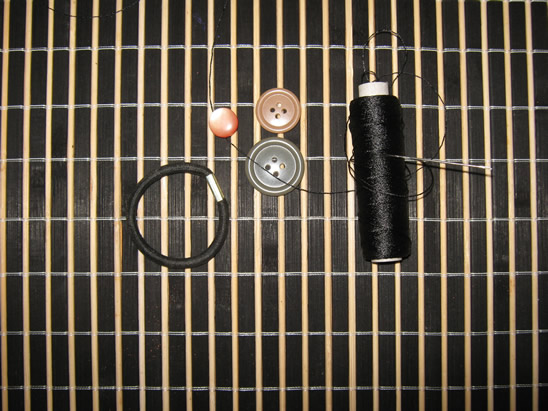
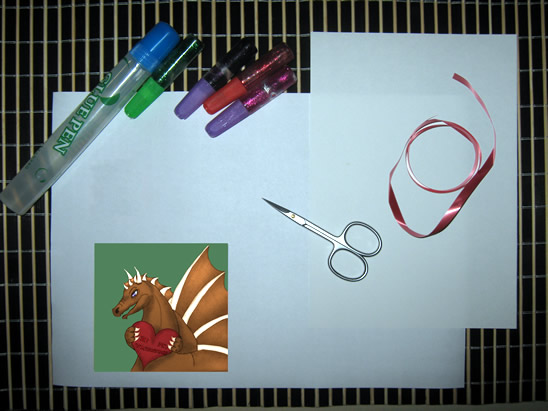
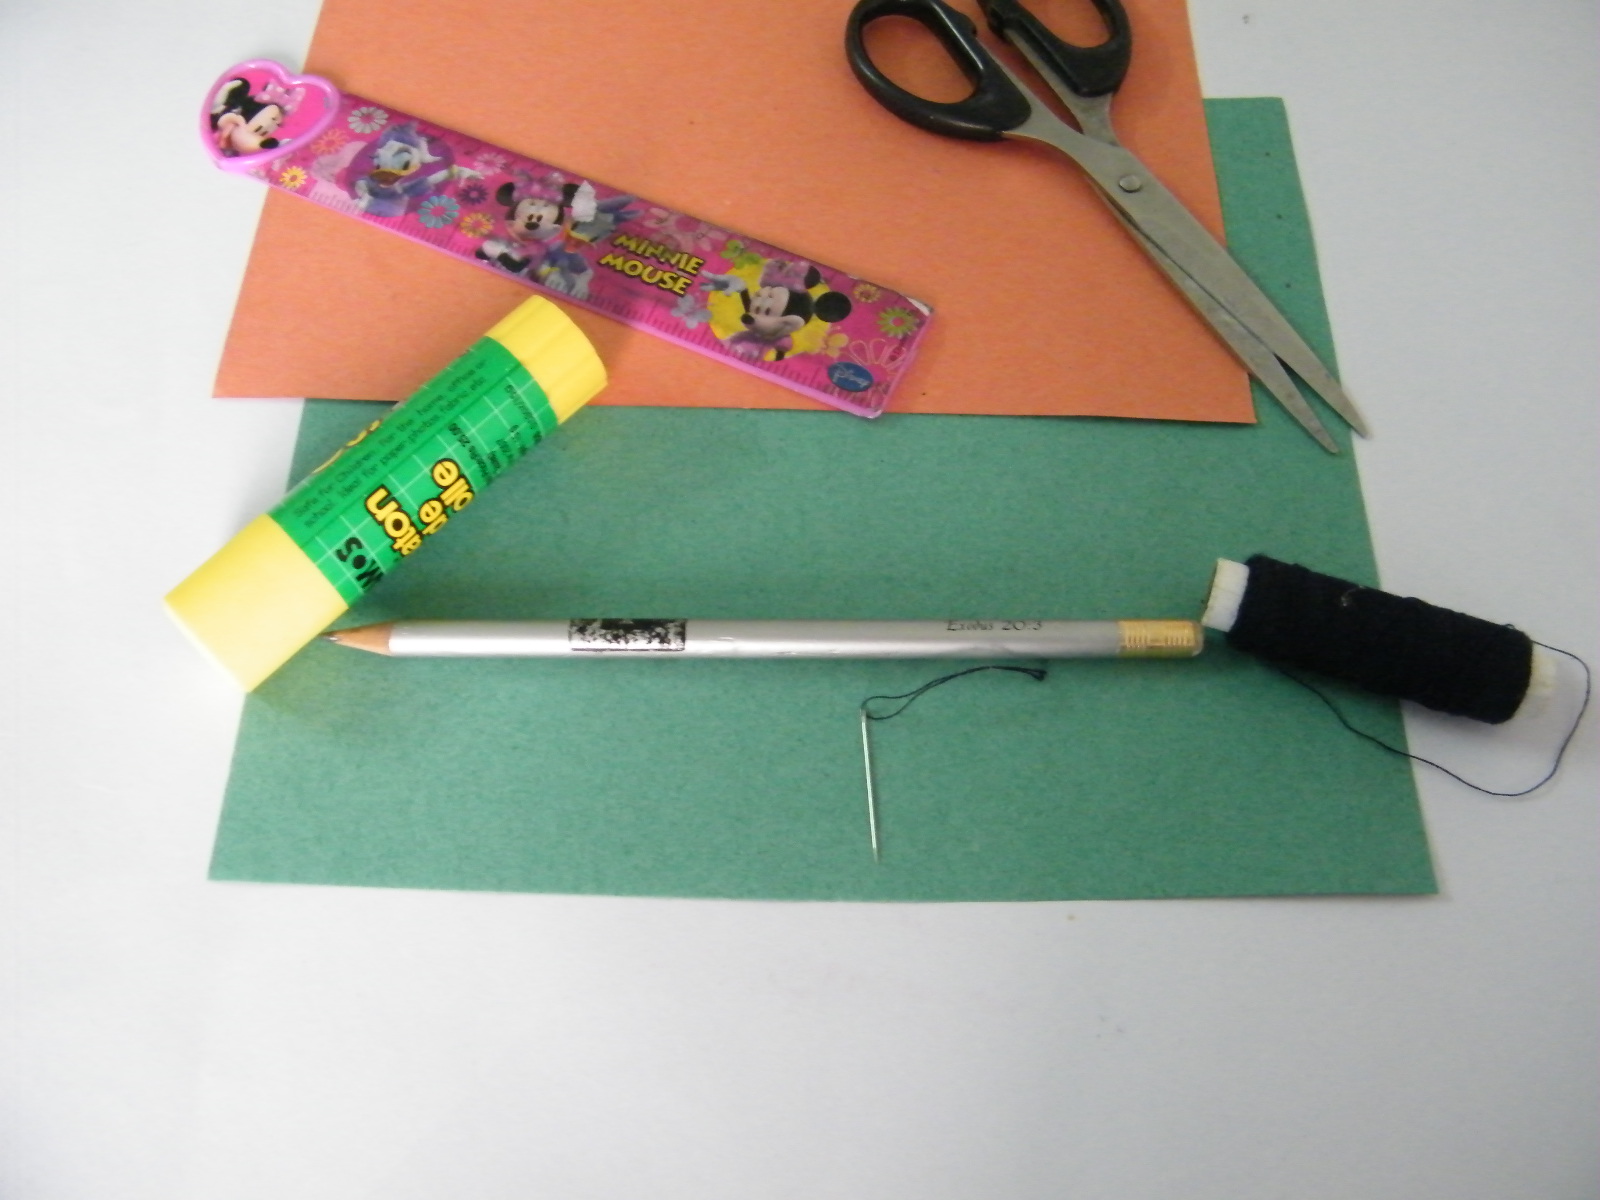
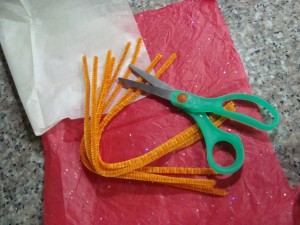
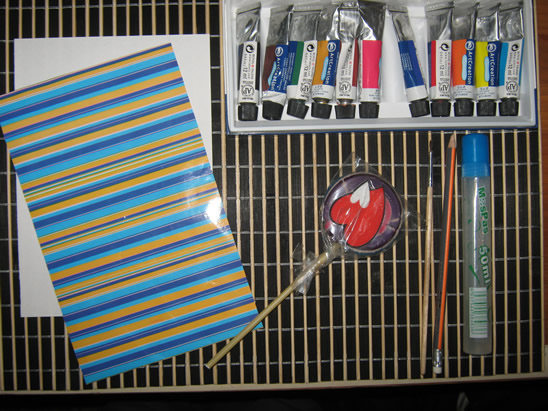
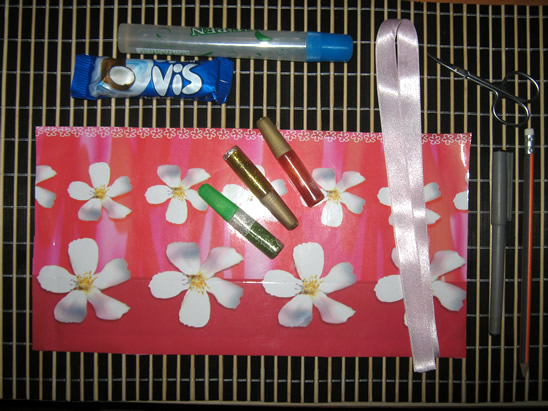
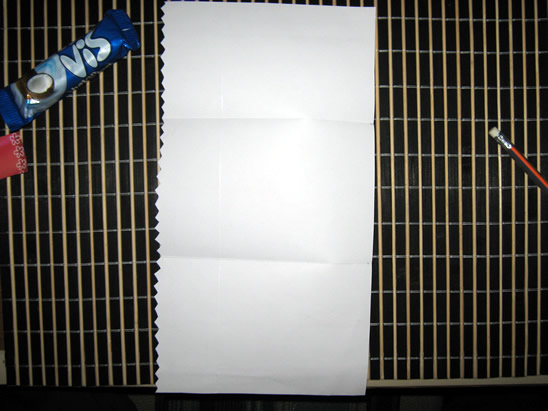
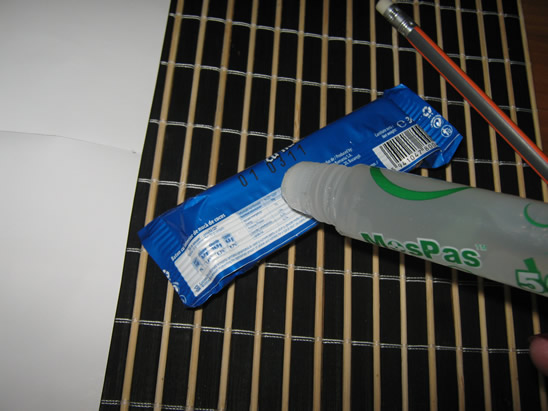
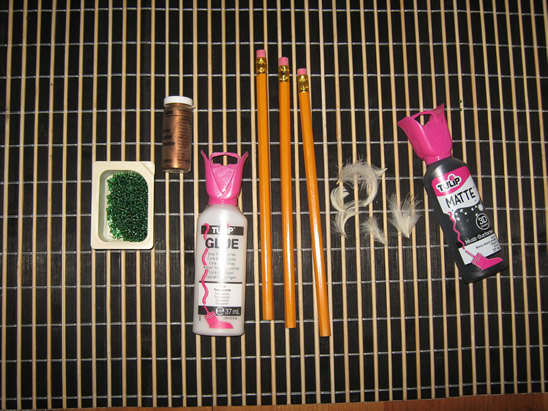
Materials Needed
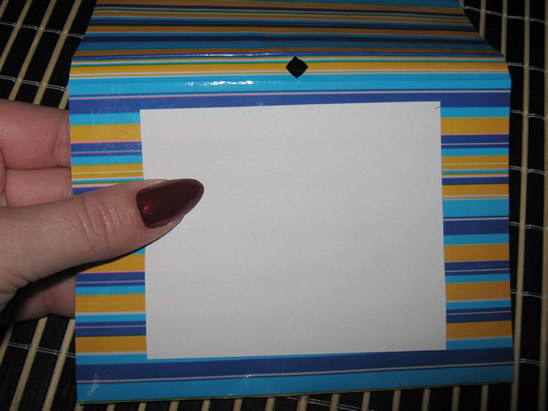
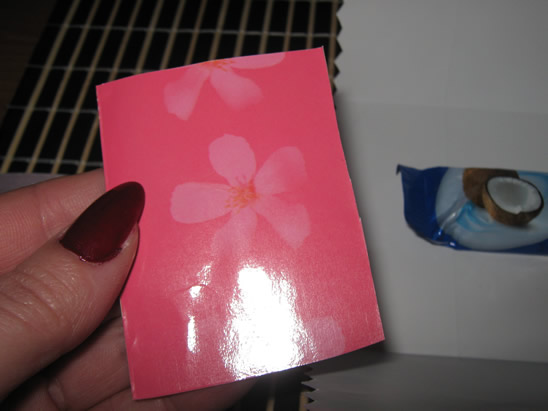
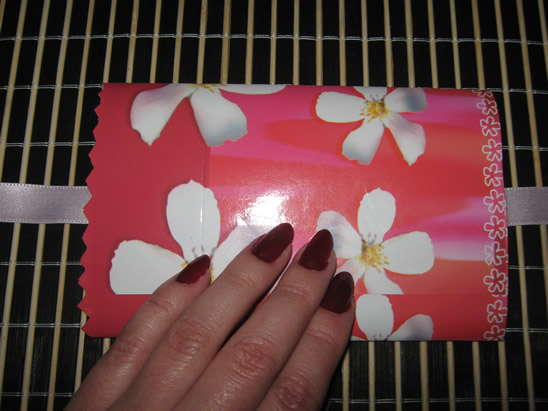
– 2 small rectangles of ribbon (about 3 cm x 3 cm)
– thread and needle
– scissors
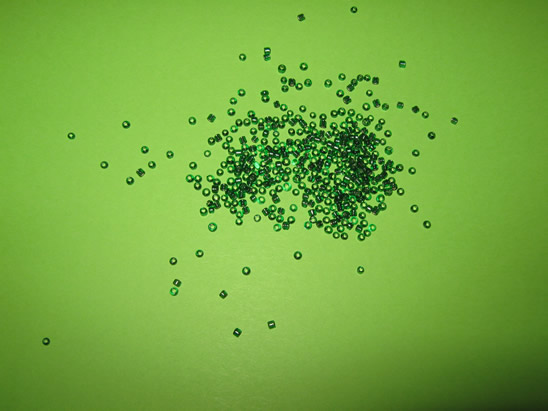
– 4 crystals
– 2 earring hooks
– 2 head pins
– round nose pliers
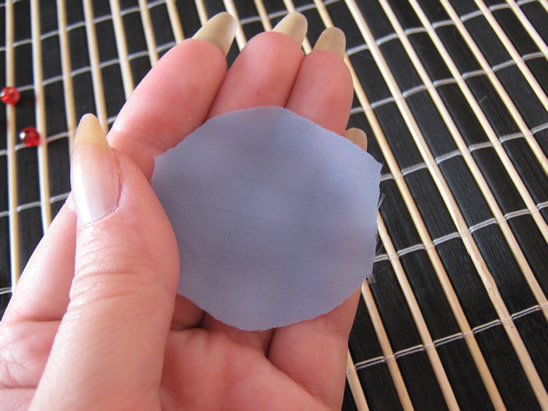
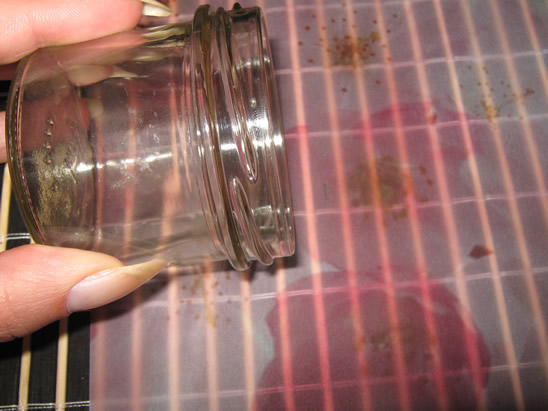
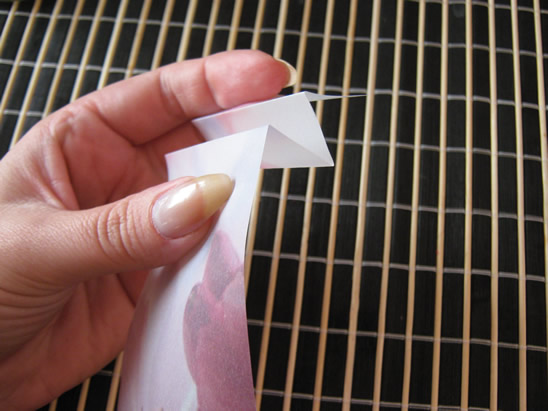
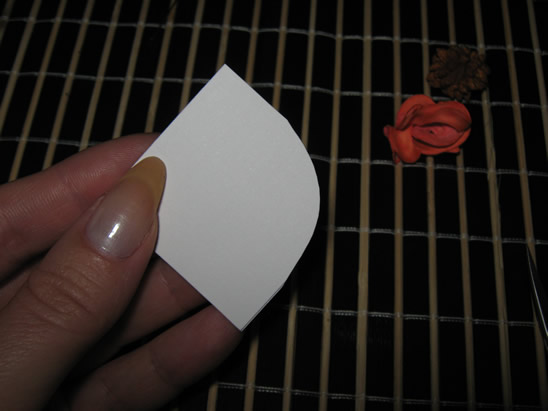
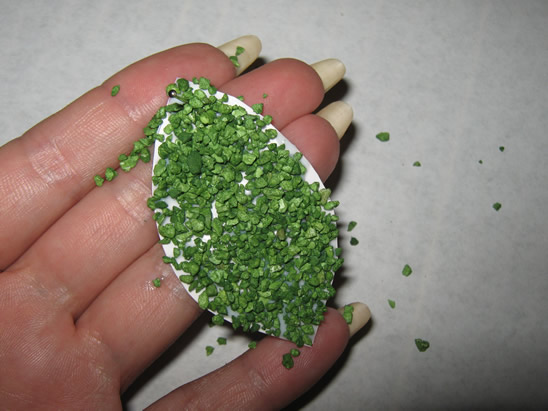
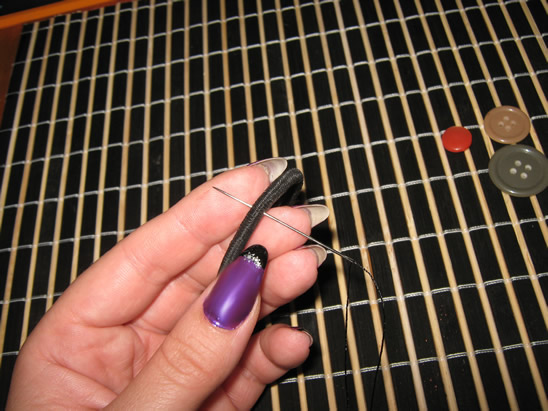
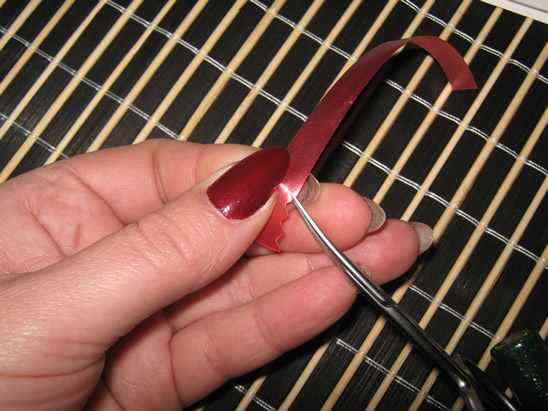
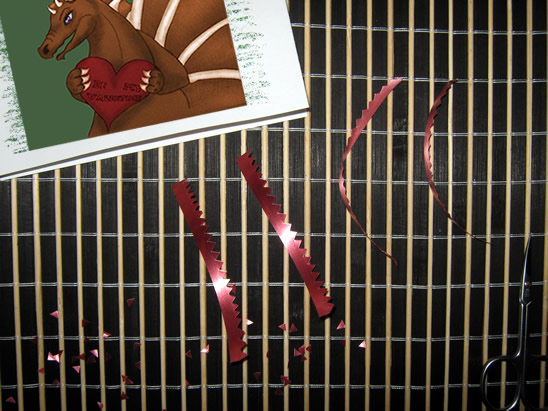
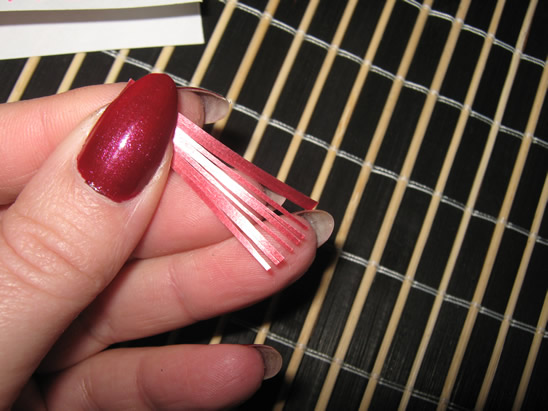
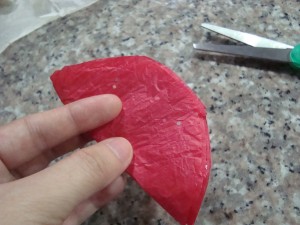
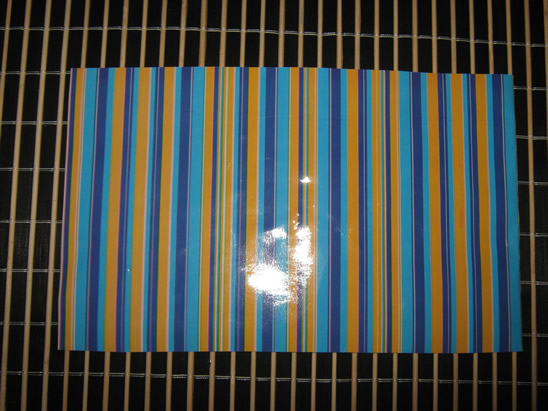
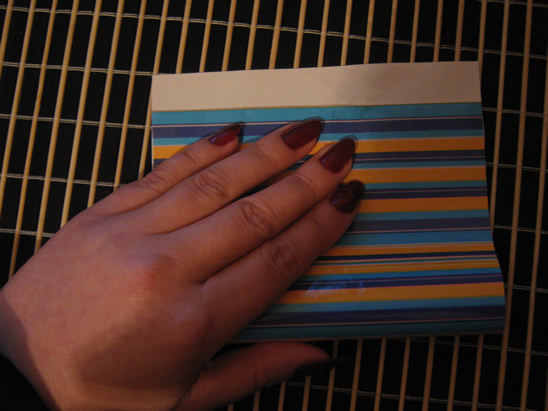
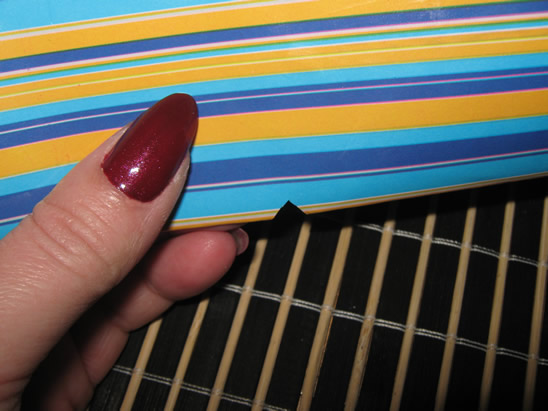
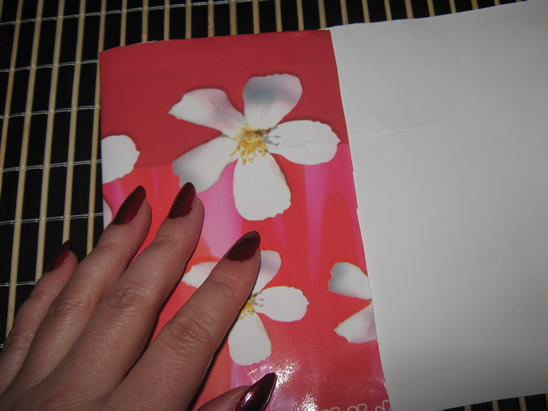
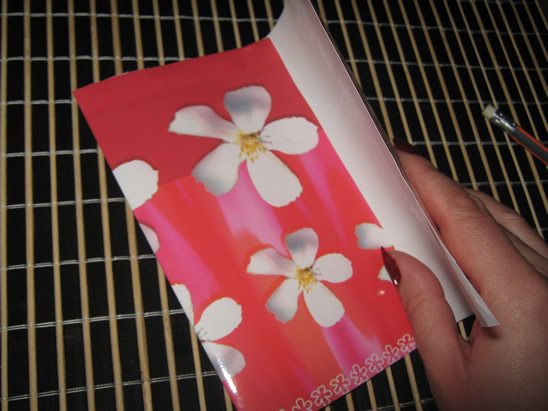
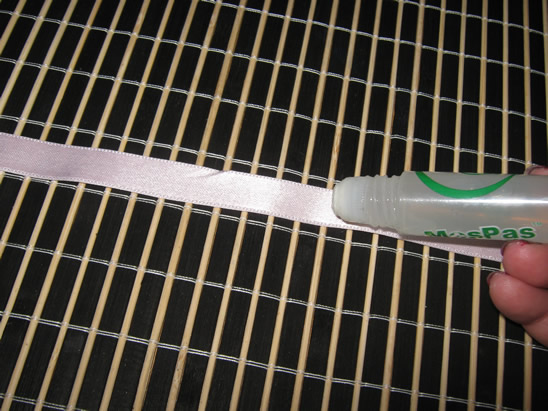
Step 1
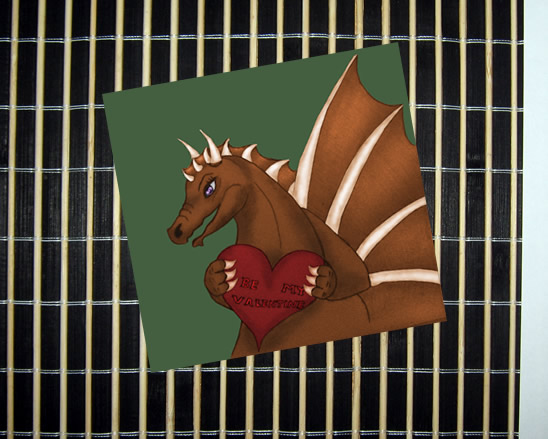
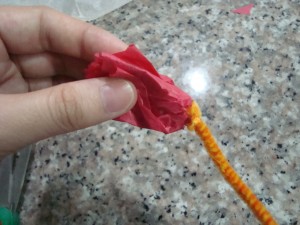
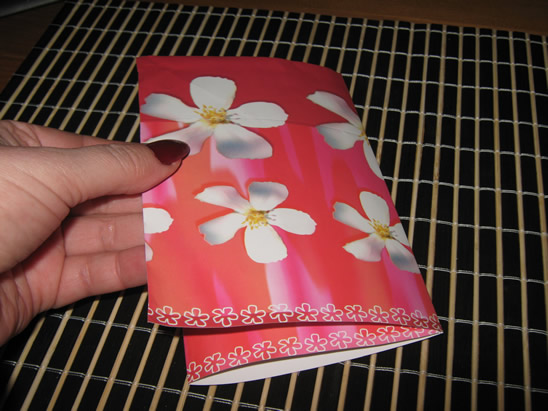
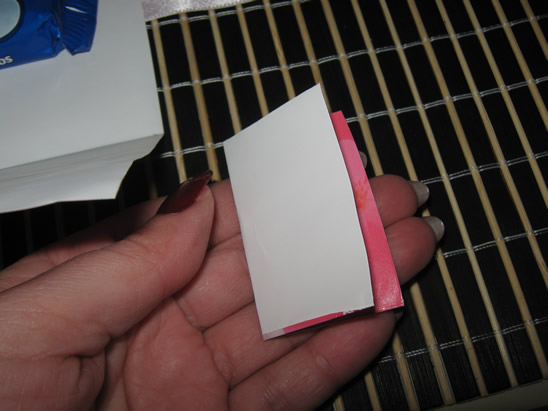
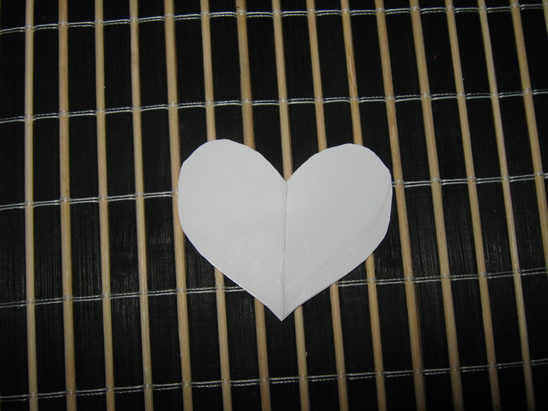
Take a rectangle and fold it in half…
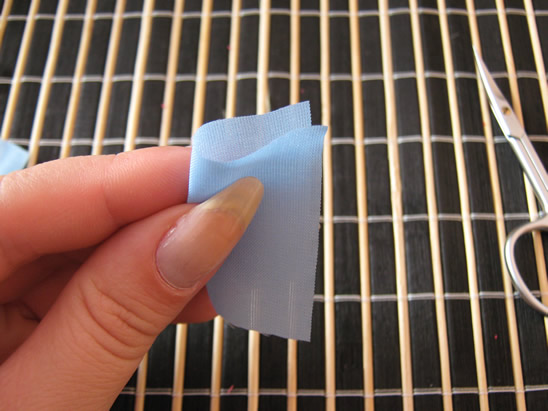
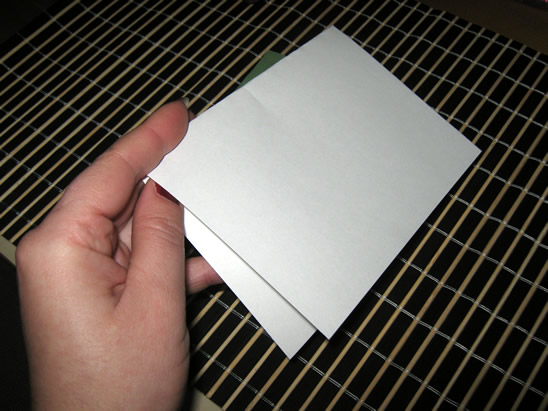
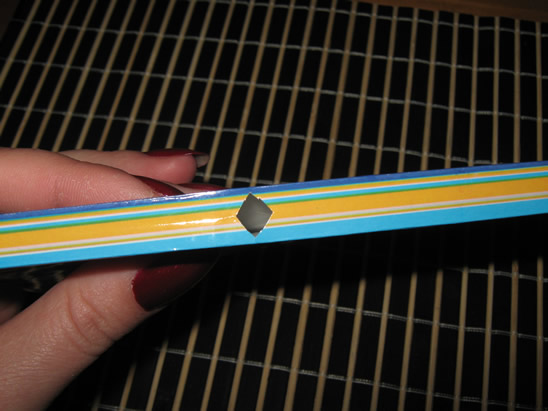
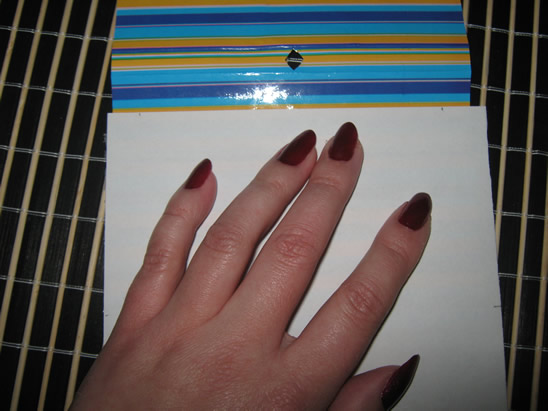
… then again in half, to obtain a small rectangle.
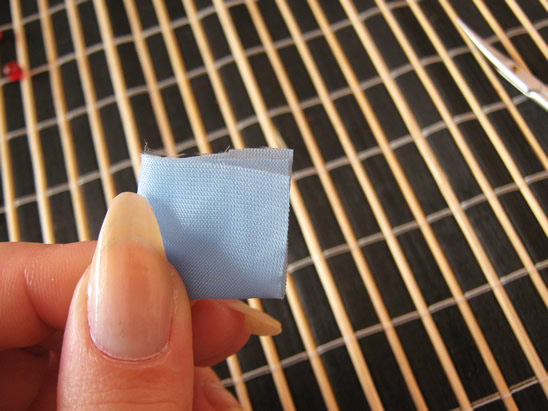
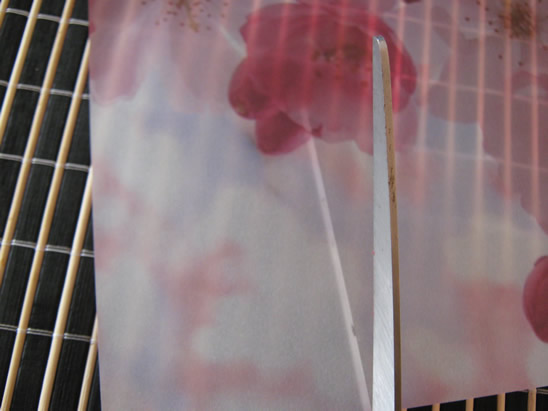
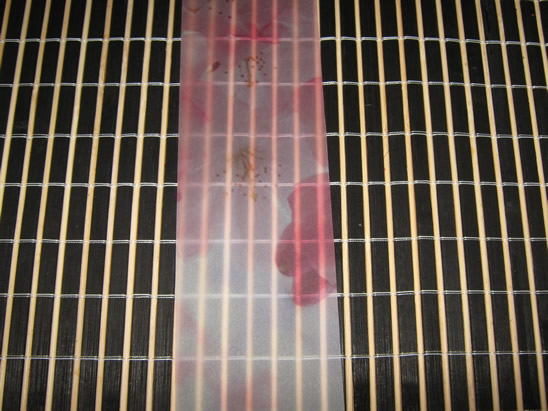
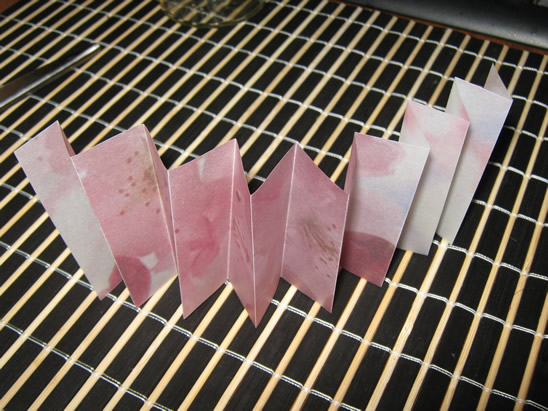
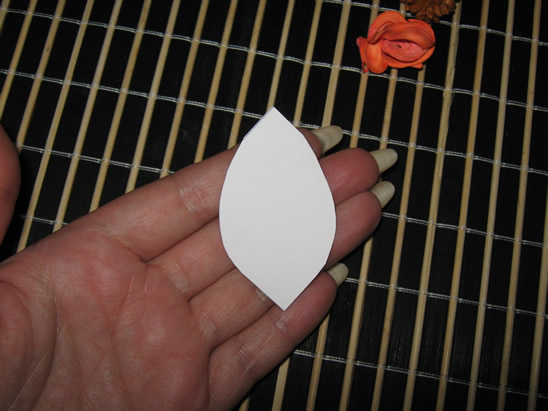
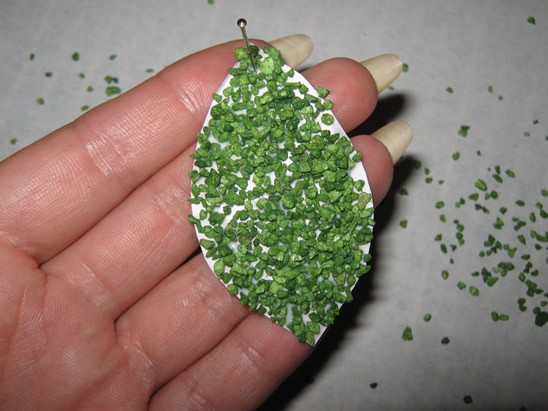
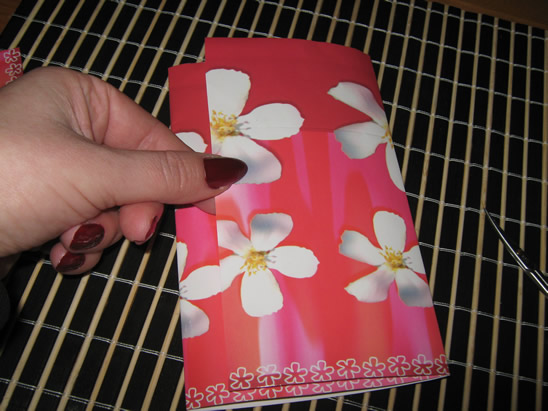
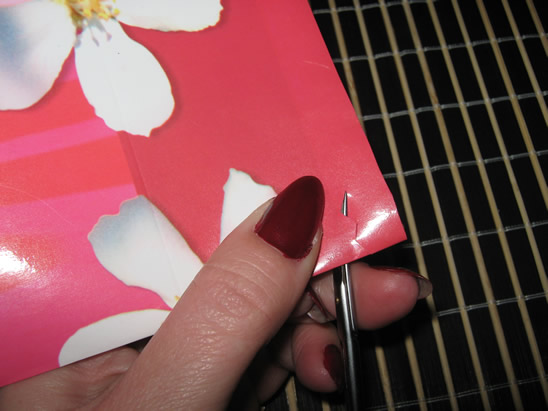
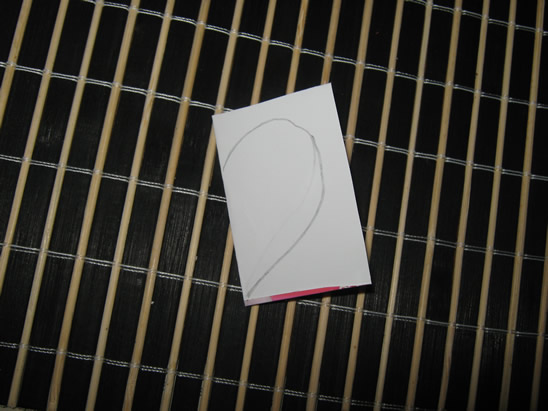
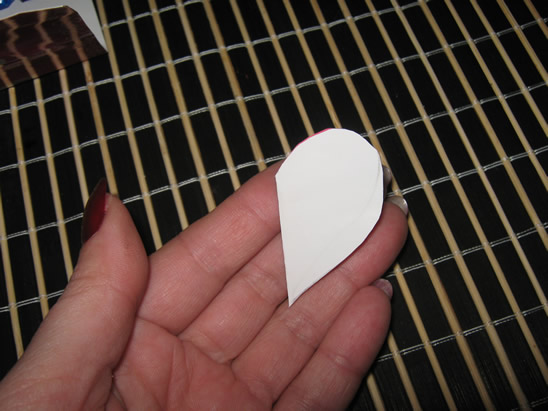
Round cut the corner. Unfold. It will look like that.
[ad#ahc]
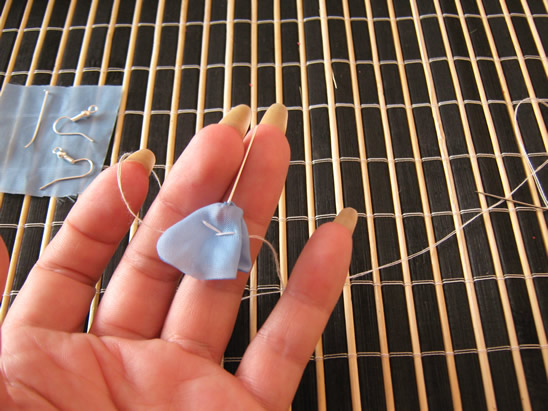
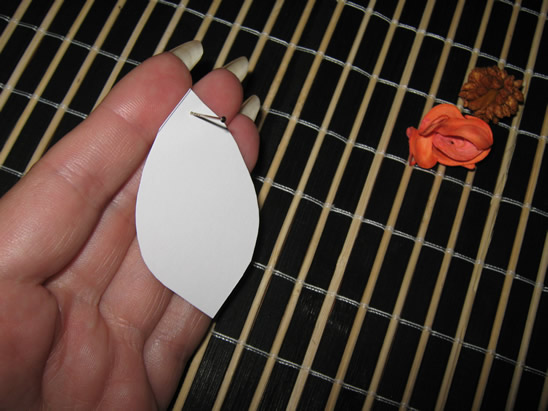
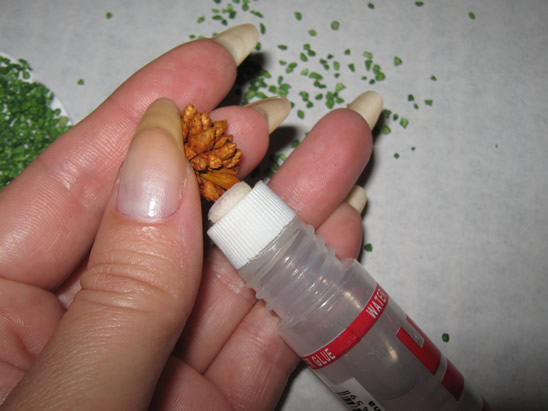
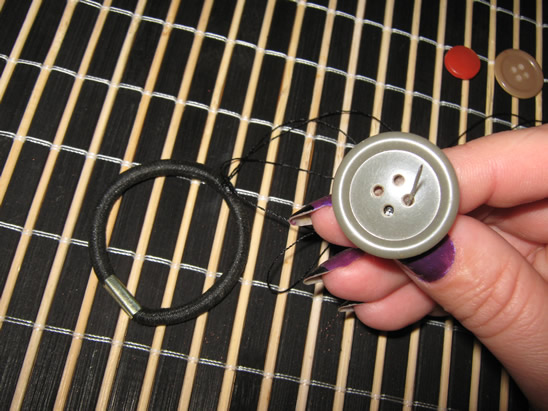
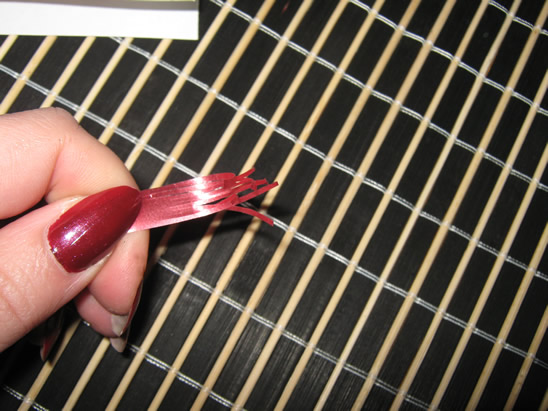
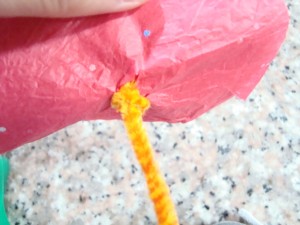
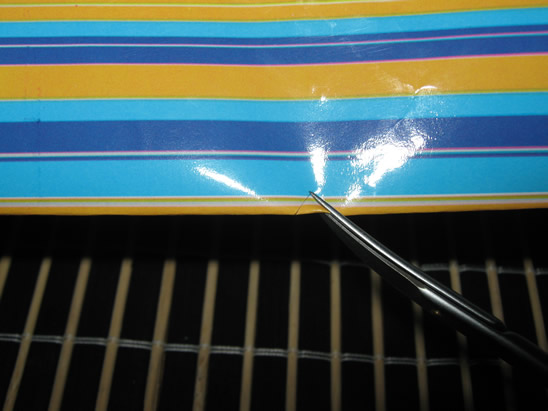
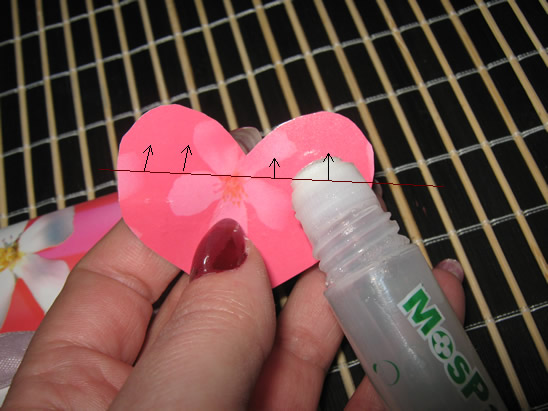
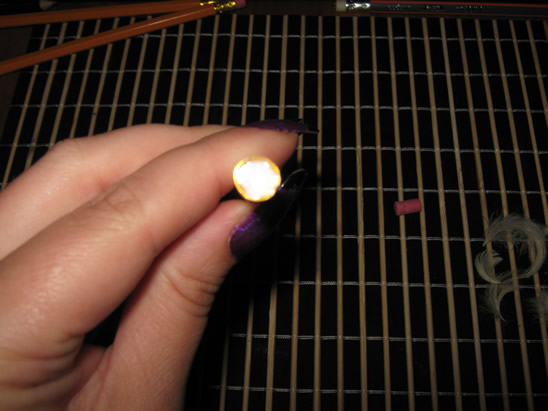
Step 2
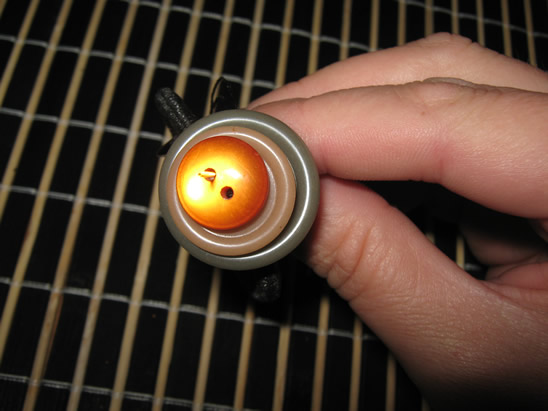
Place one crystal on one pin…
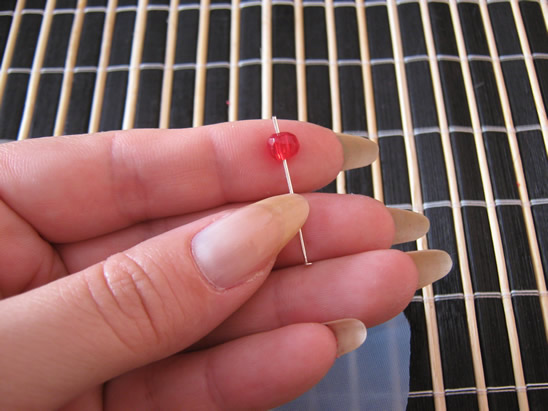
… then put it through the middle of the ribbon (it may be necessary to make a LITTLE hole with the scissors)
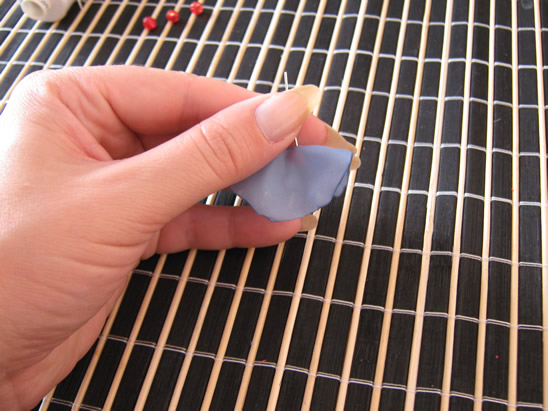
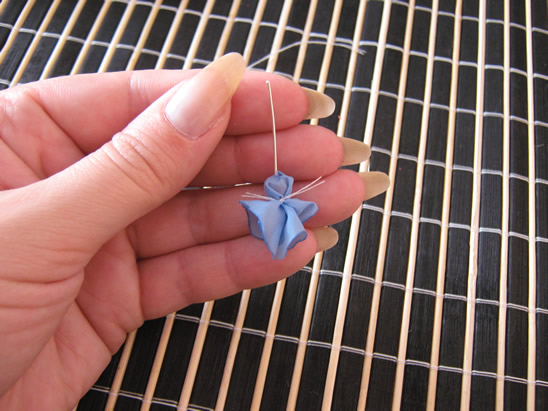
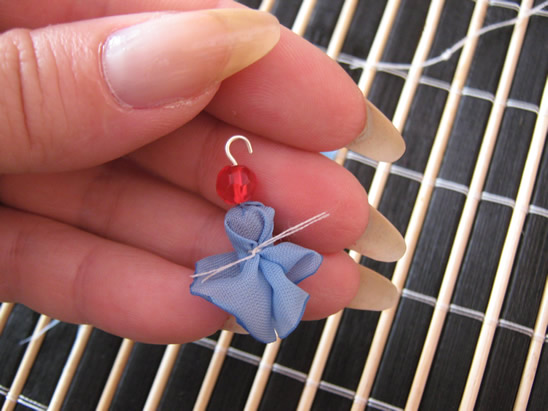
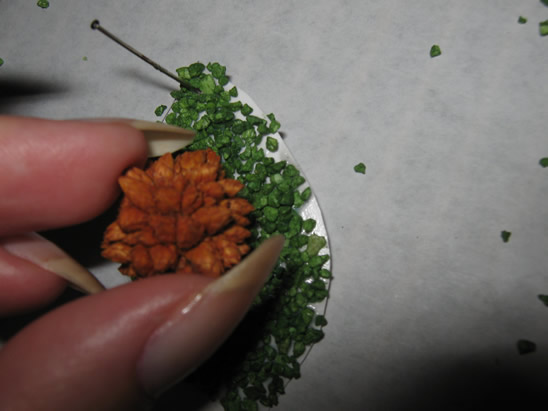
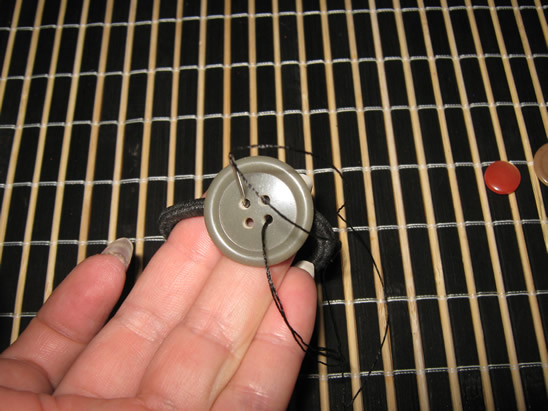
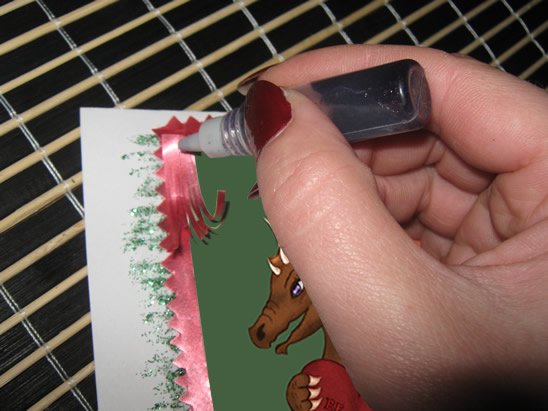
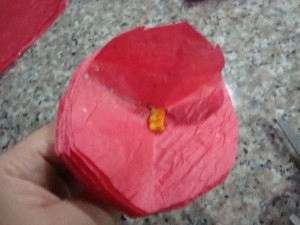
Step 3
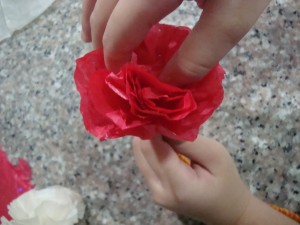
Using the thread and needle sew under the crystal…
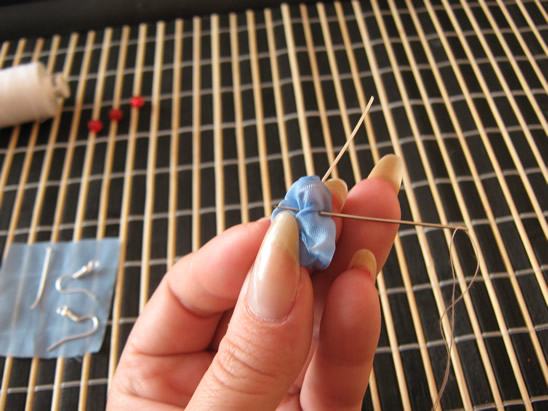
… like this…
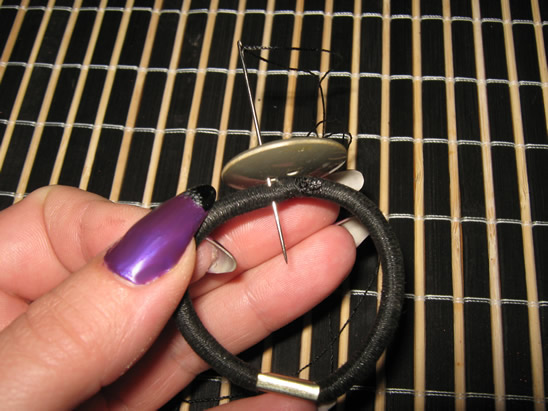
… letting enough thread on both sides to tie it.
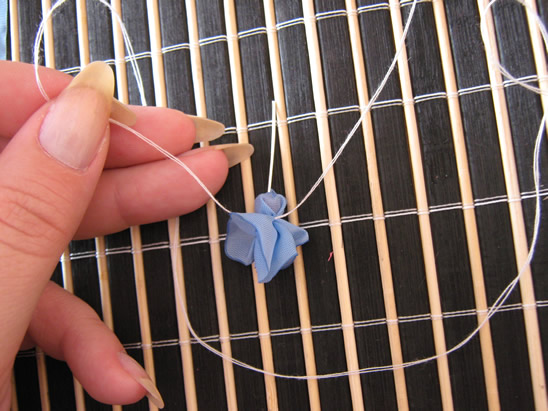
Cut the extra thread.
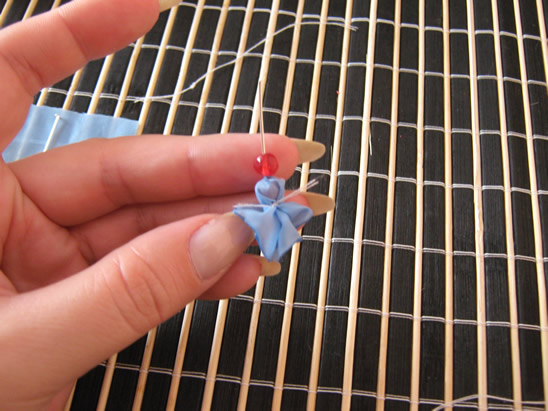
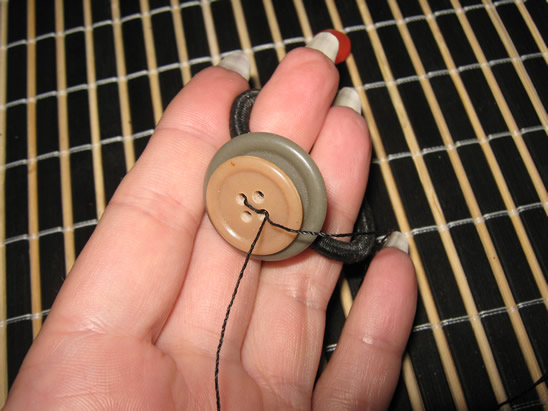
Step 4
Place another crystal on top of it.
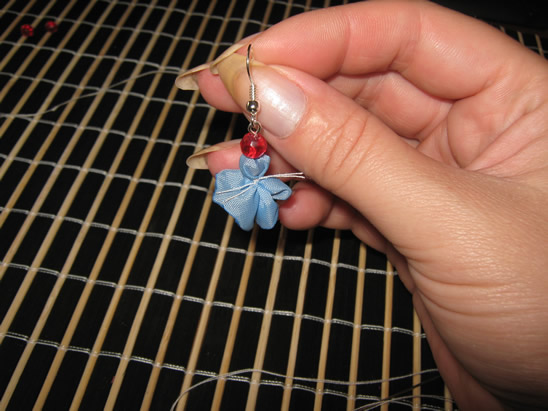
Step 5
Using the round nose pliers, make a loop on top of the crystal…
… place the hook in it then close the loop.

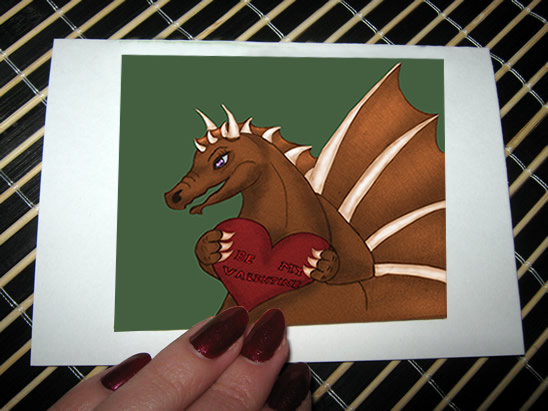
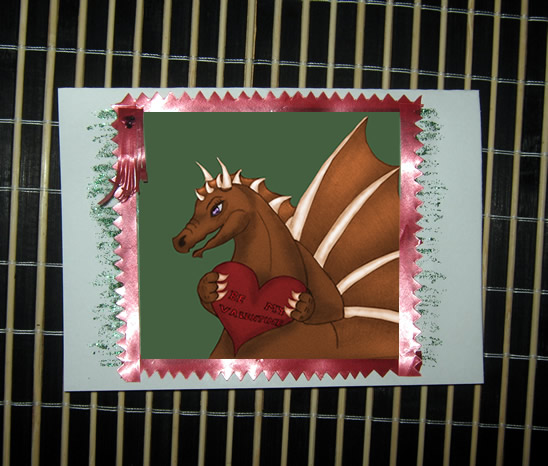
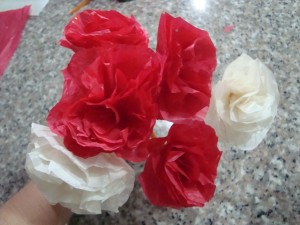
This is the finished earring.
Repeat all the steps to make the second earring.
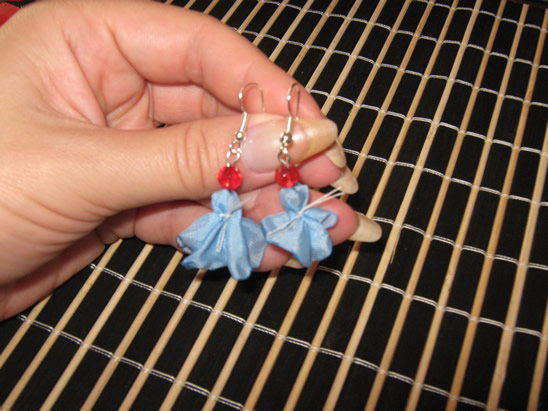
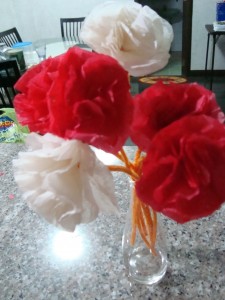
And, there you have it… your finished pair of Doll Earrings. Aren’t they super cute?! How did your earrings turn out? Let me know in the comments below. And, take a picture of the earrings and share them in the comment as well…. I’d love to see them.
Technorati Tags: earrings, earring crafts, jewelry, jewelry crafts, jewelry crafts for kids, earring crafts for kids, doll crafts, novelty earring crafts, pair of earrings crafts


