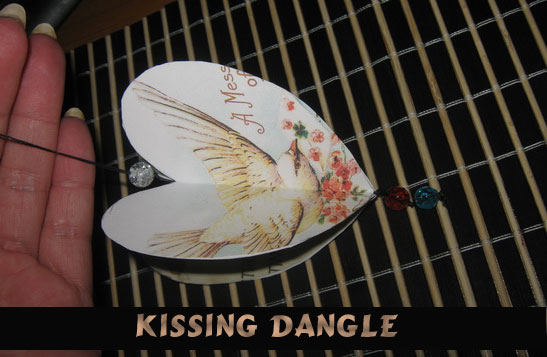
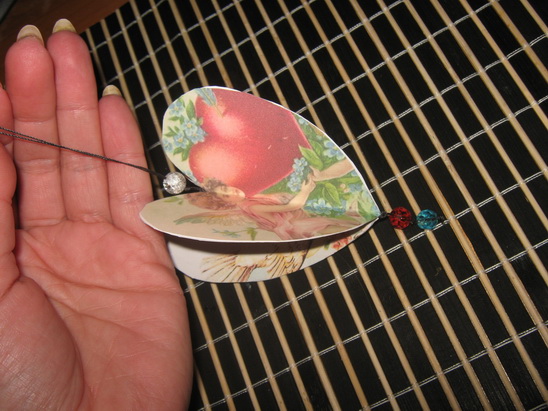
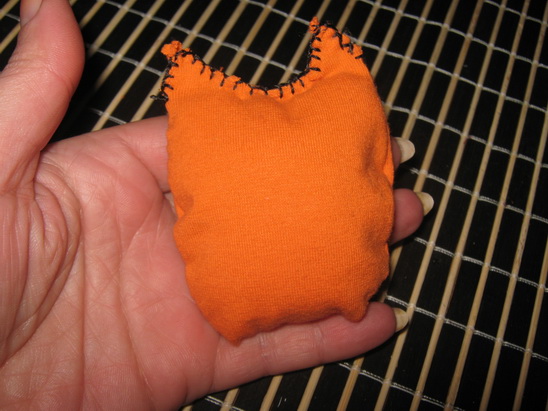
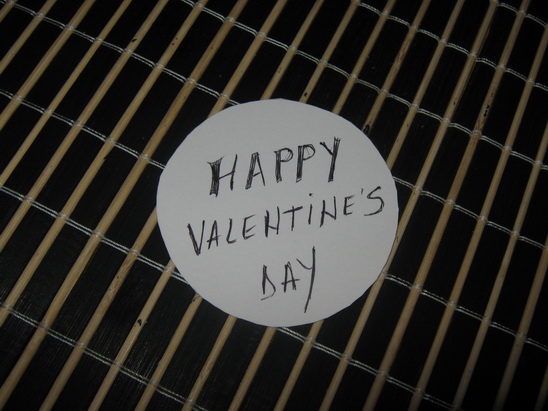
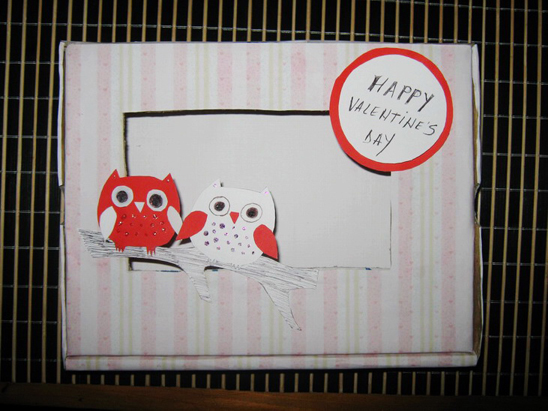
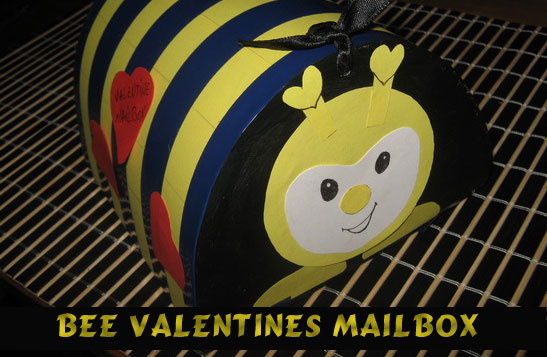
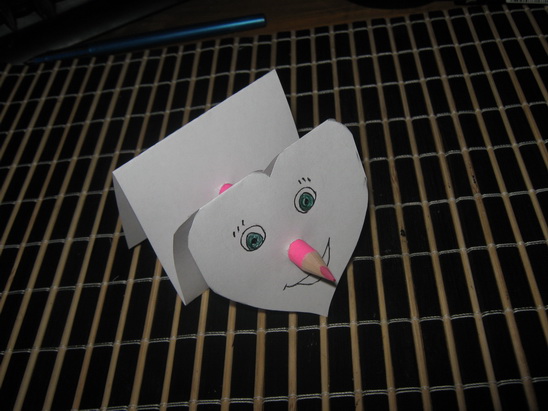
Today I have a fun craft to do with your left over Valentines Day Heart Shaped Box. I’m going to show you how to make a Fish out of a Heart Valentines Day Box. This craft is not only a lot of fun, but it is a great way to recycle those used Valentines Day Boxes…. so you don’t have to just throw them away. And, the fish not only turns out totally cute, it also gives you a secret storage box to store your small secret things in. Now, that is fun!! So, grab the materials needed and let’s get started.
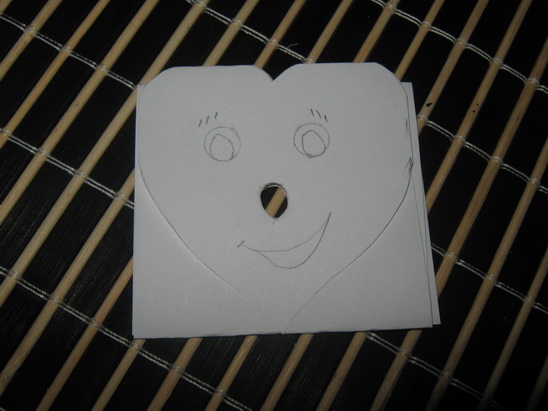
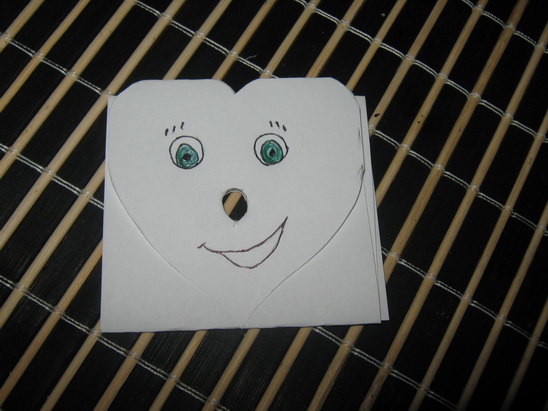
Check out How to Make a Kitty Cat out of a Heart Valentines Day Box.

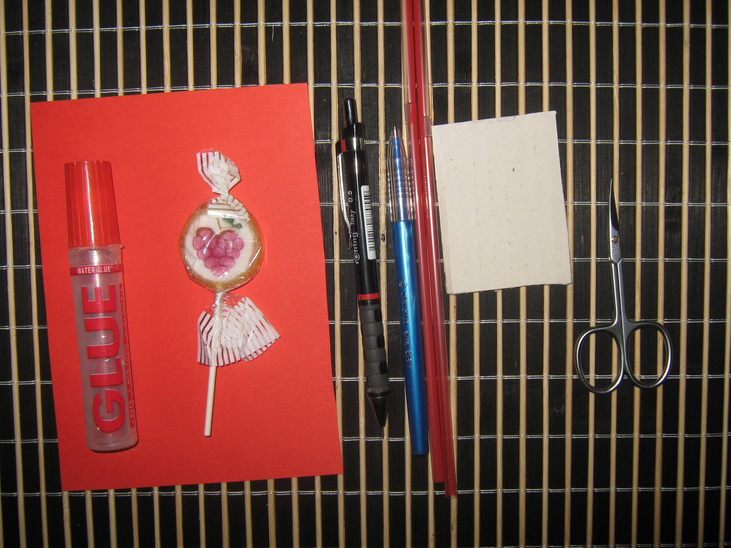
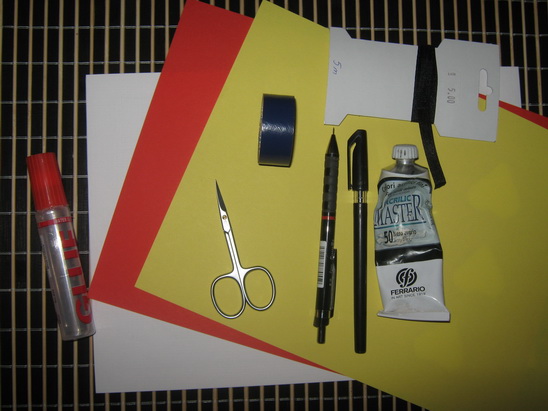
Materials Needed
Valentines Heart Box
Black Marker
Red Craft Foam, Felt or Paint
White & Black Craft Foam
Colorful Tissue Paper (2 different colors)
Pencil
Scissors
Glue Stick
Lid or Bowl (for tracing)
Paper Plate
Paper
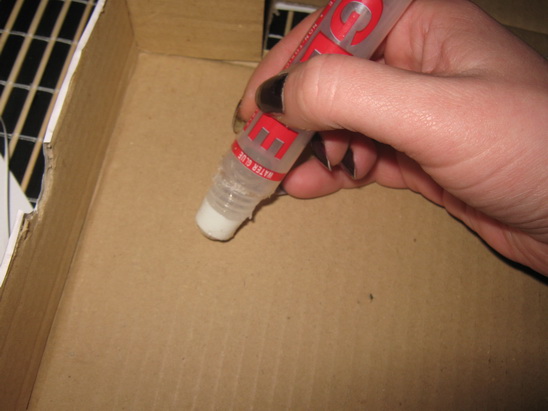
Glue
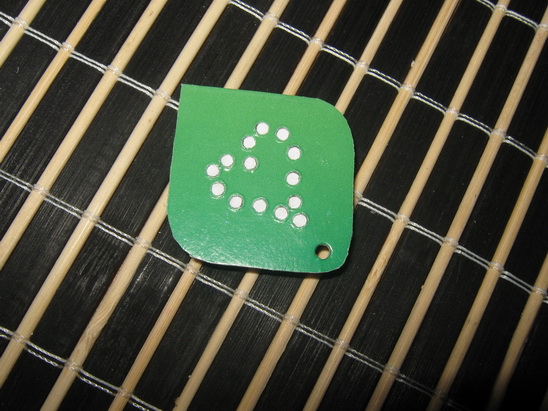
Step 1

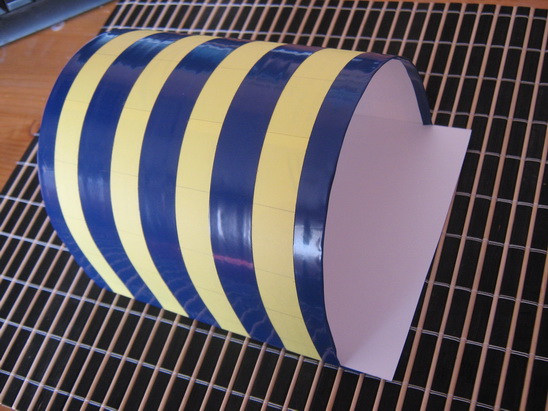
Get your chocolate hearts box.
[ad#ahc]
Step 2

Draw lips with backwards E shape.
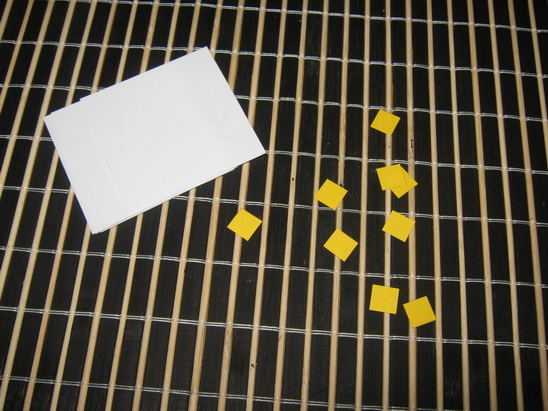
Step 3

I used sticky craft foam square tiles and filled in space in the lips. Use anything that you want to use though…. even paint or felt.
Step 4

Draw an outline around the lips. Draw curved rectangles for white highlights.
Step 5

Fill curved rectangles with white craft foam.
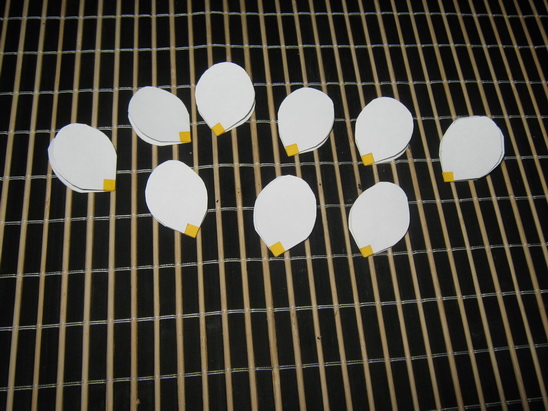
Step 6

Use colorful tissue paper for next part.

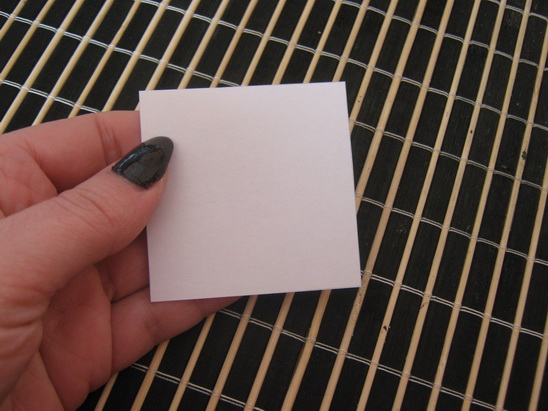
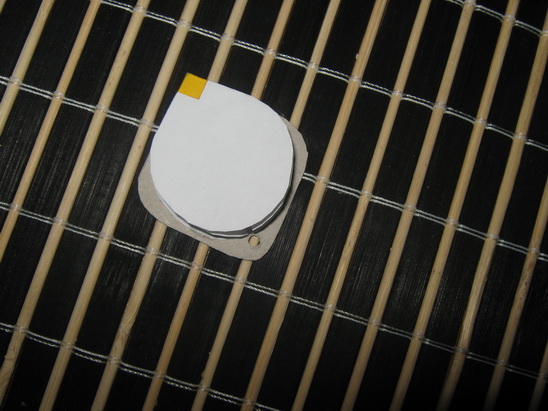
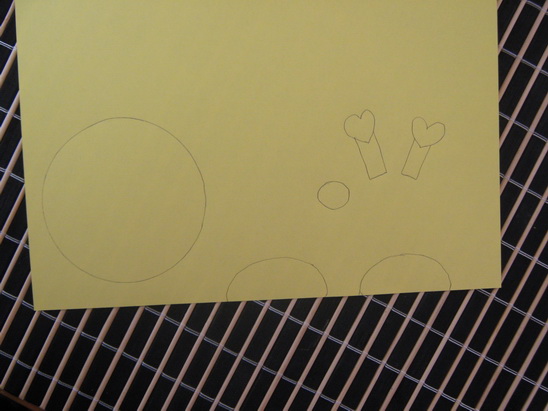
Draw circle on a stack of square tissue paper.

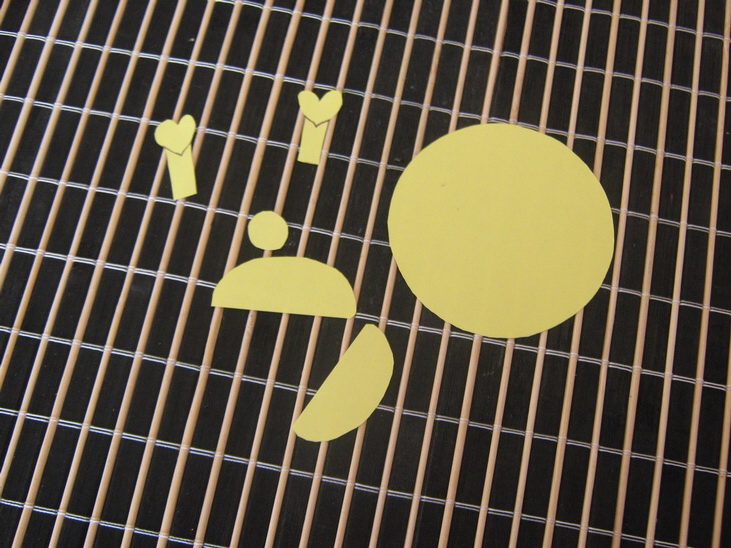
Cut out circles.
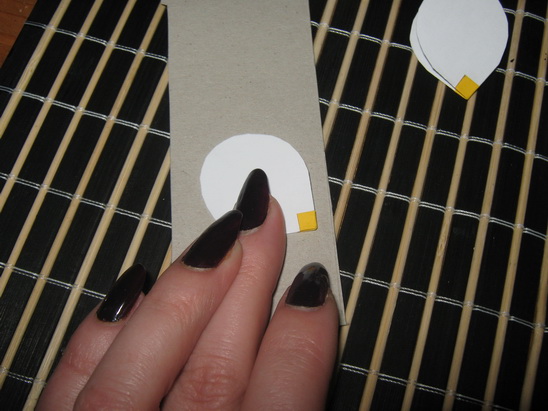
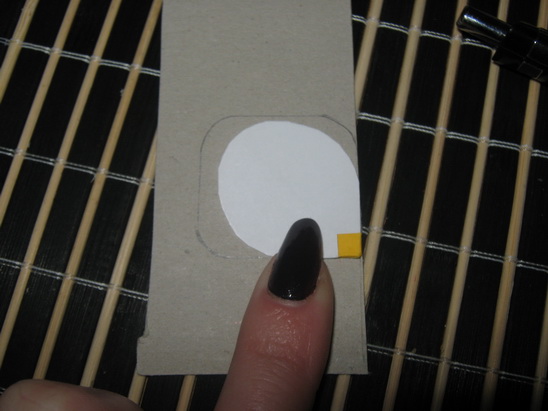
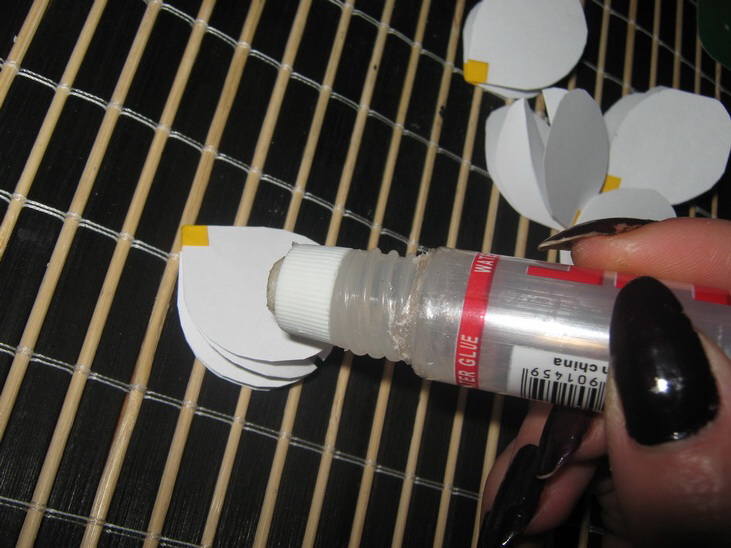
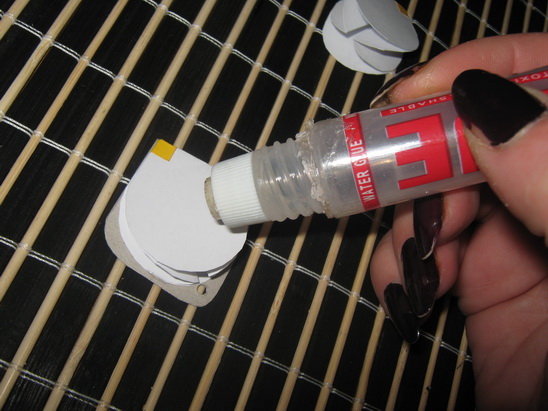
Step 7

Dot glue all over the rest of heart.

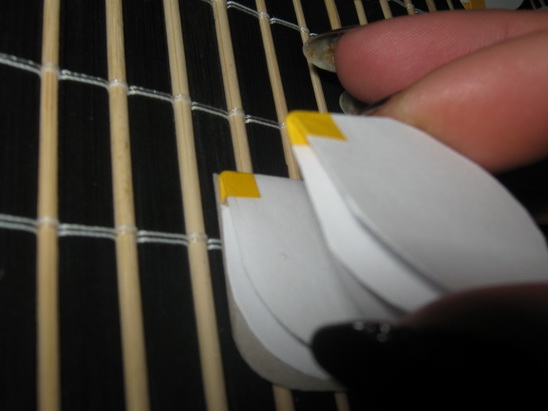
Layer circles on top of box and on top of each other.

Until it looks like this.
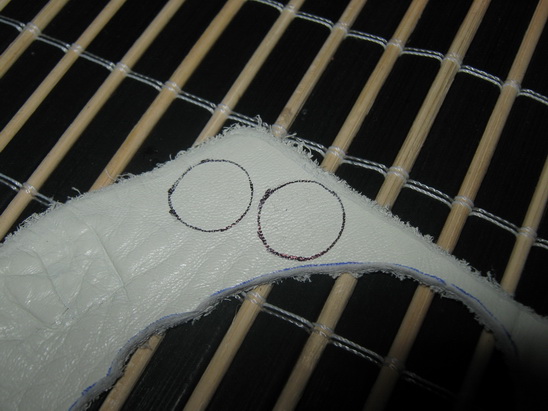
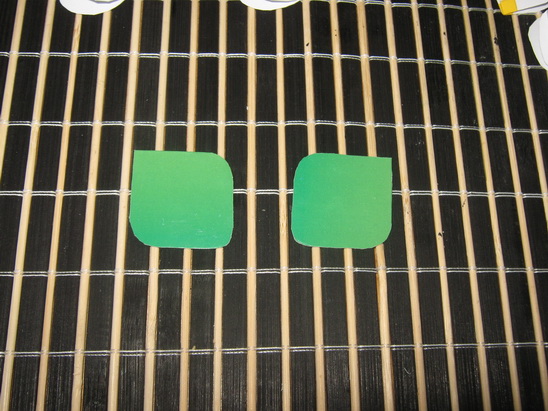
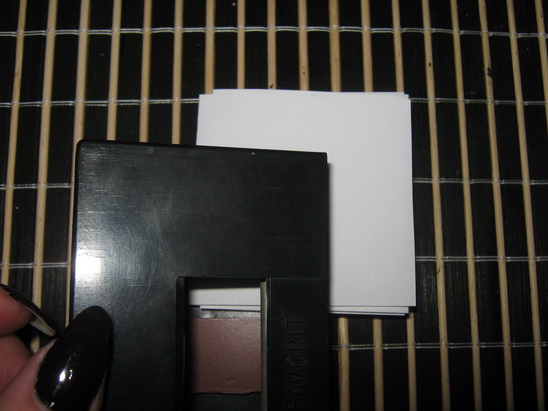
Step 8

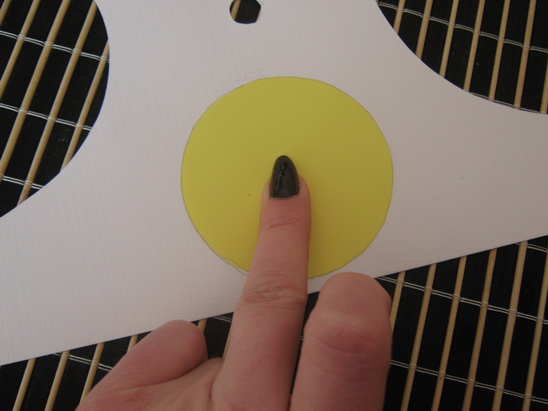
Use a lid or bowl to trace a big circle on white foam.

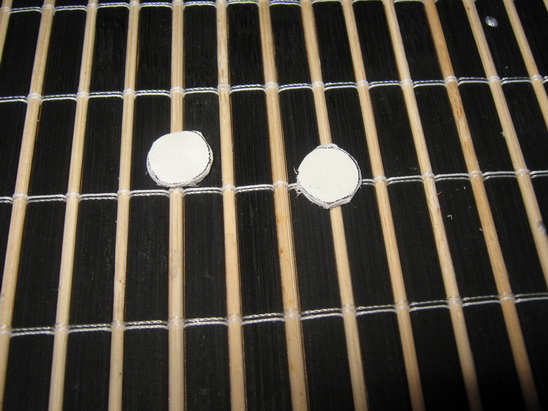
Trace a smaller circle on black craft foam.

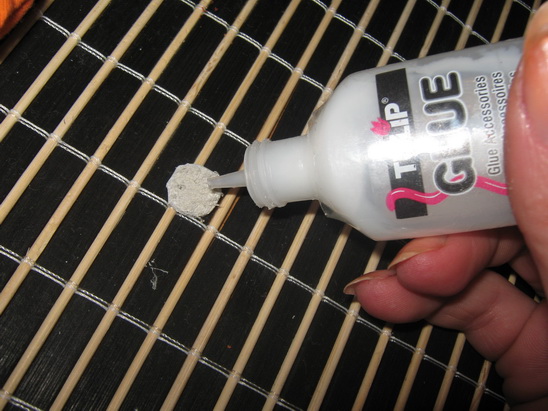
Cut out 2 small white circles and glue together like this.
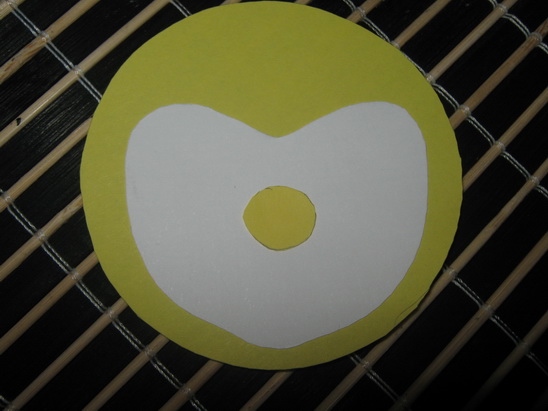
Step 9

Glue eye on fish face.
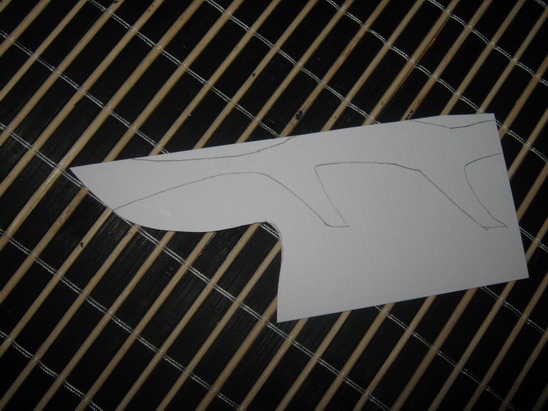
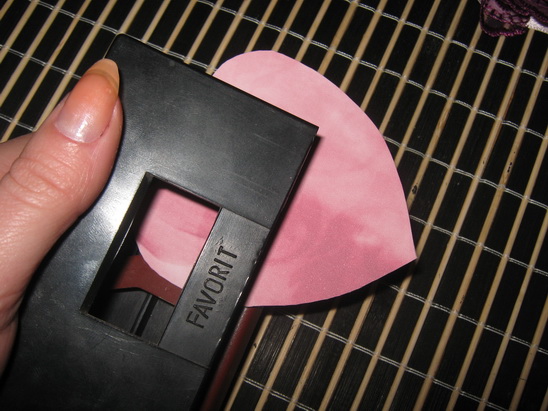
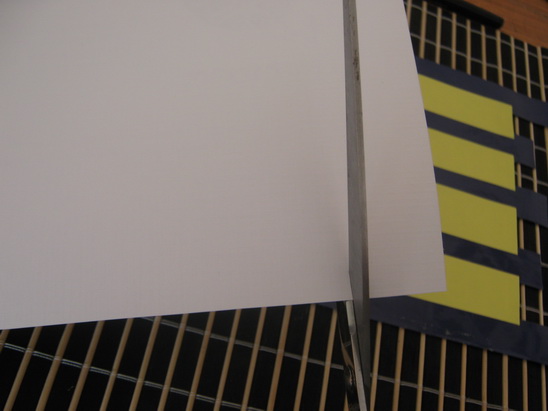
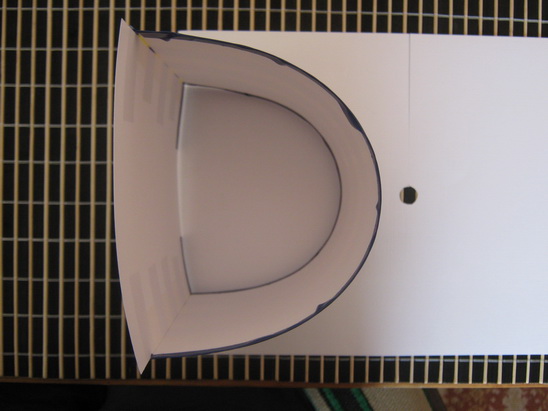
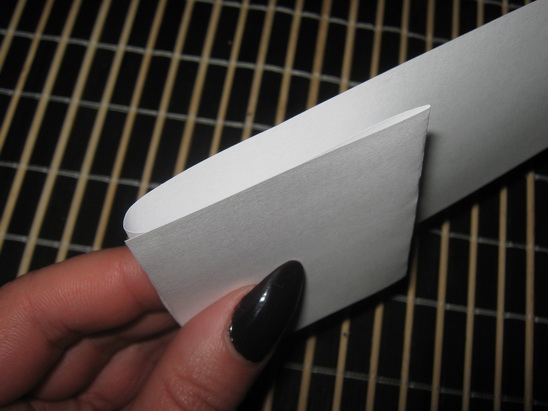
Step 10

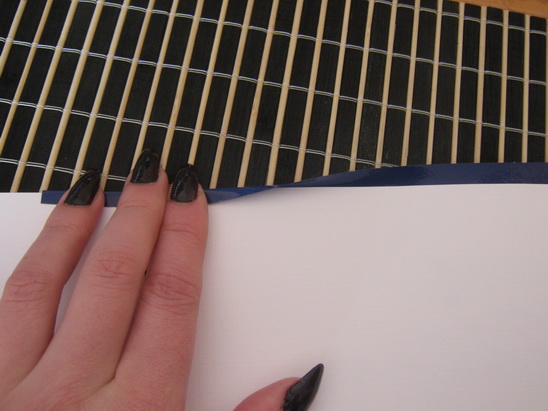
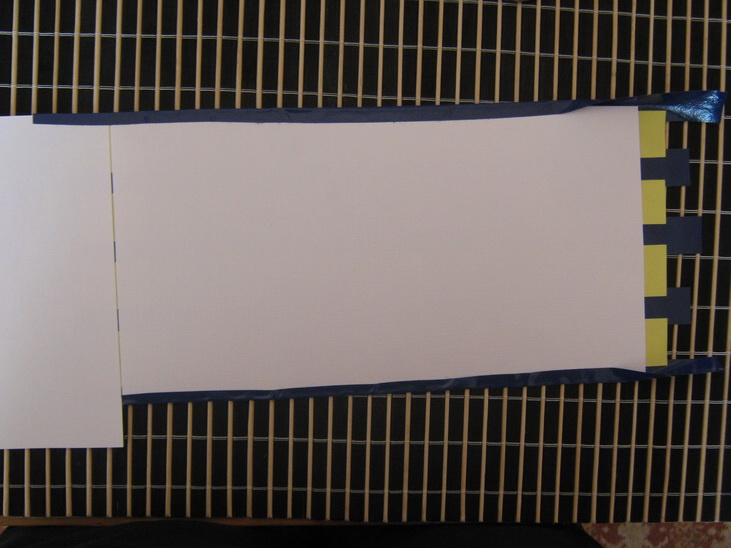
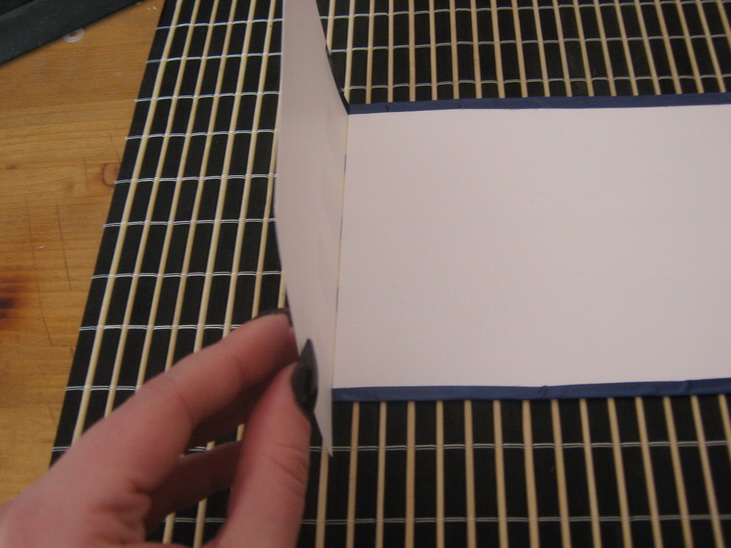
Draw a heart with a rectangle on left….. do this on a paper plate.

Bend and glue rectangle on to side of heart box furthest from lips.

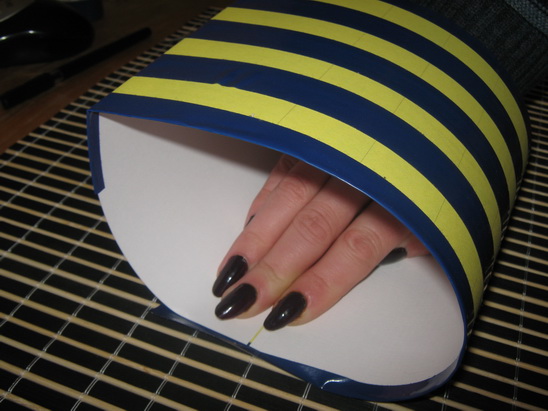
Now fish should look like this.
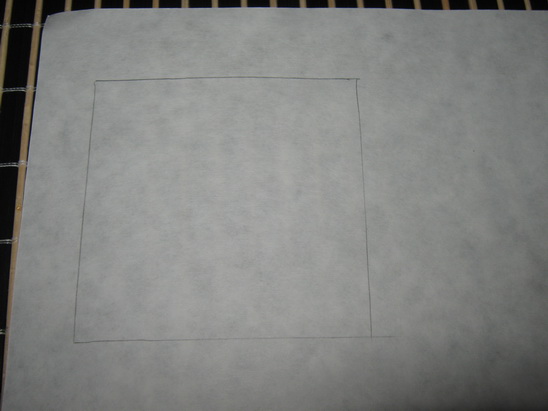
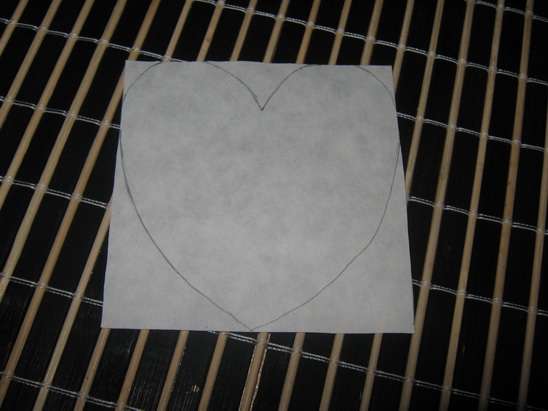
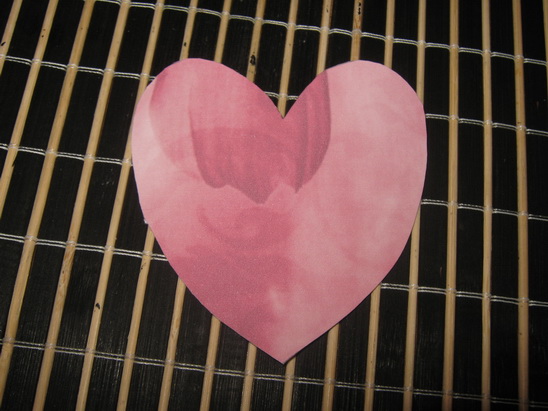
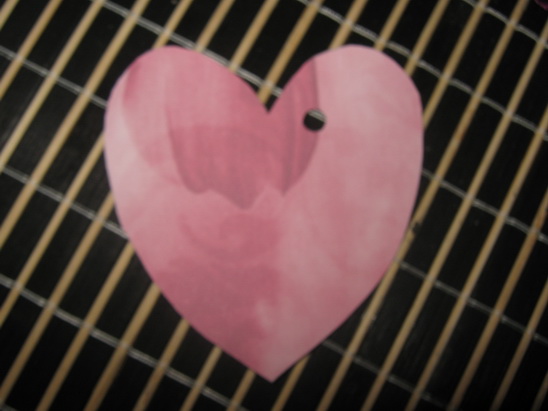
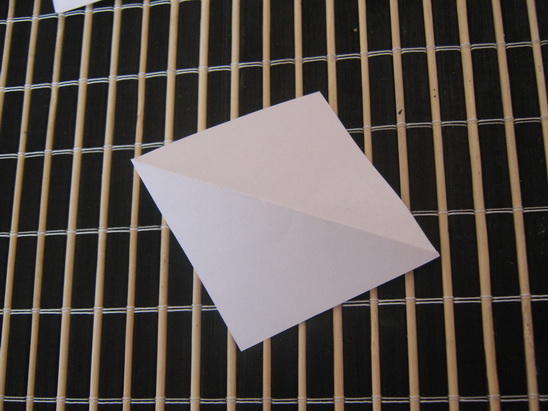
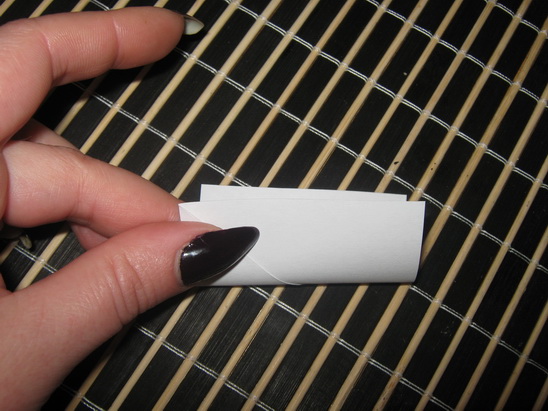
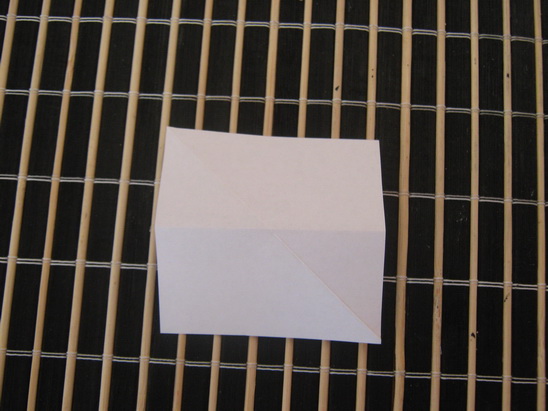
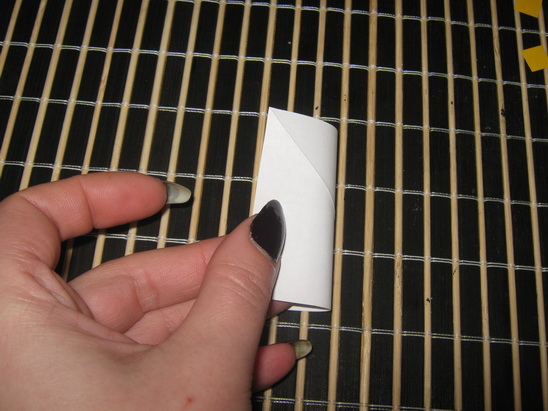
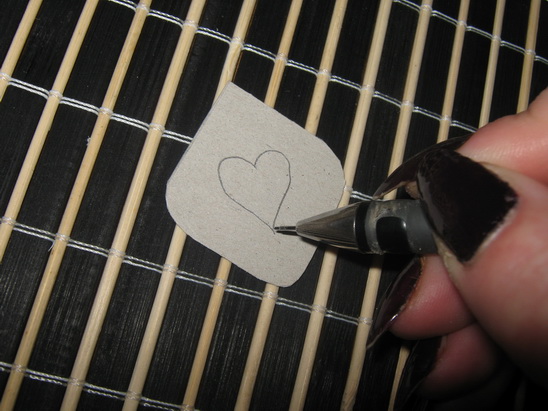
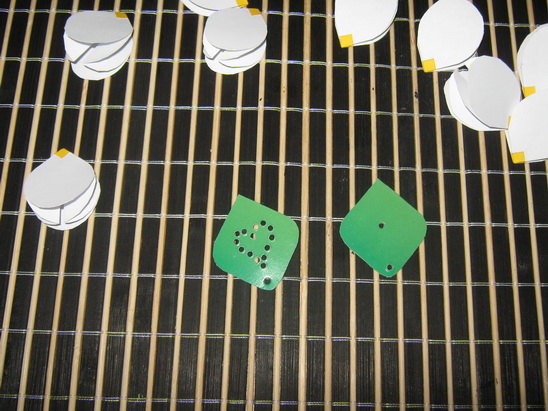
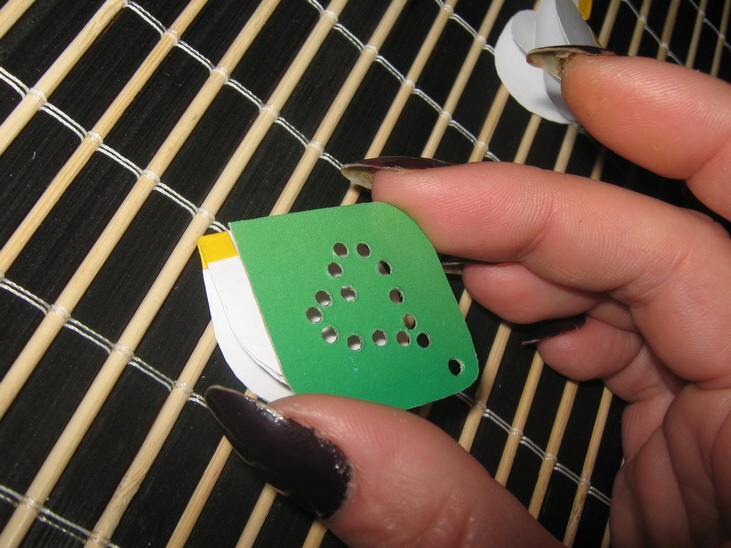
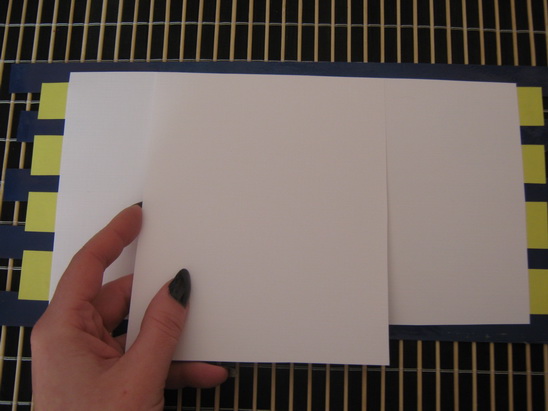
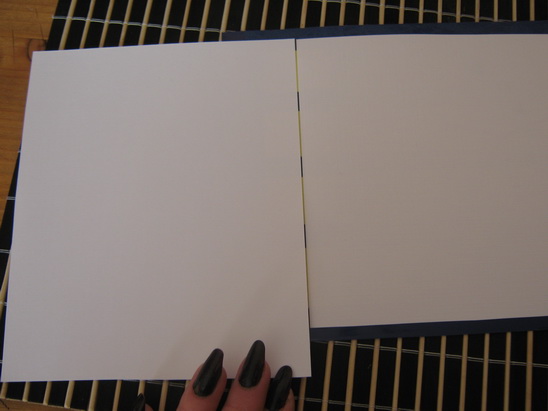
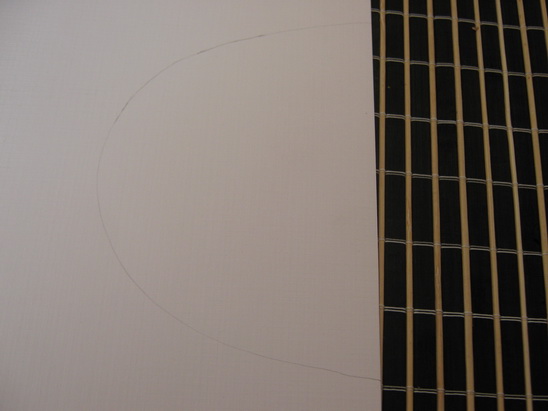
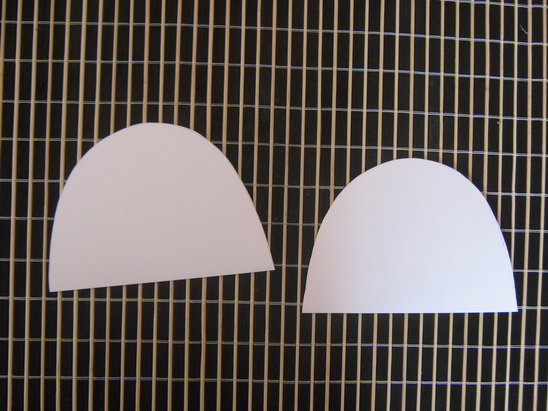
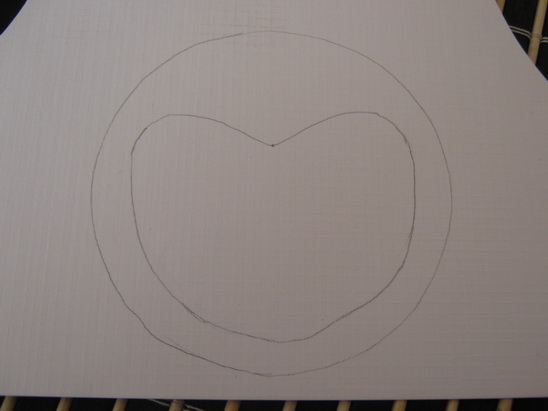
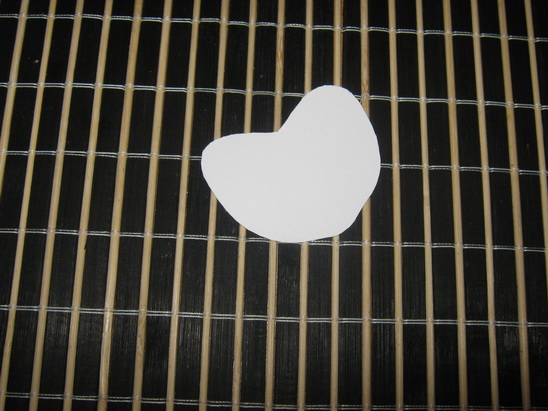
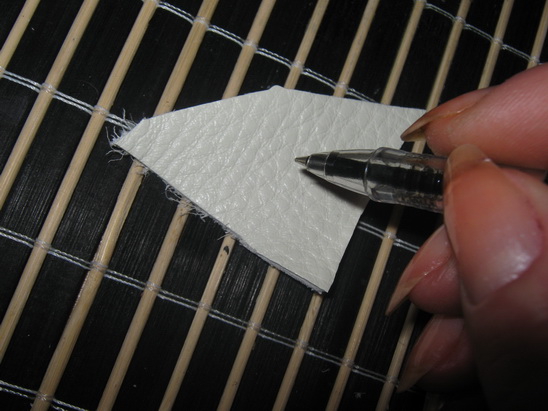
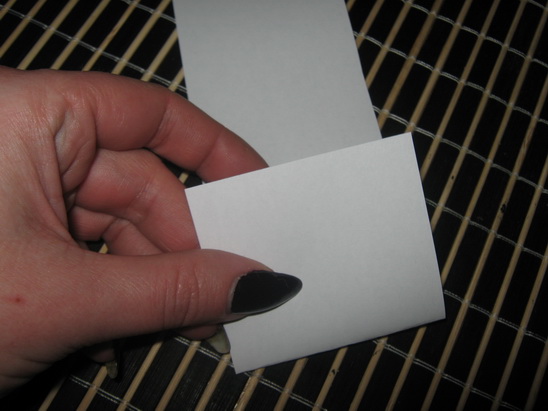
Step 11

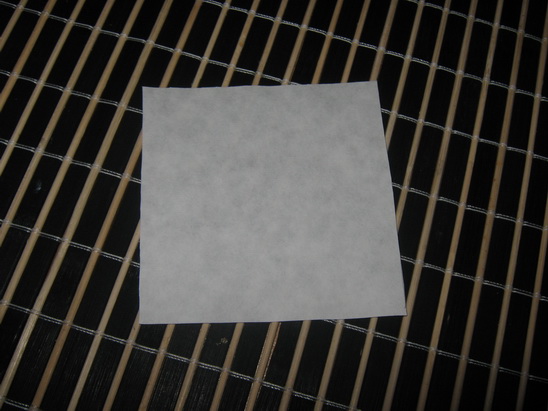
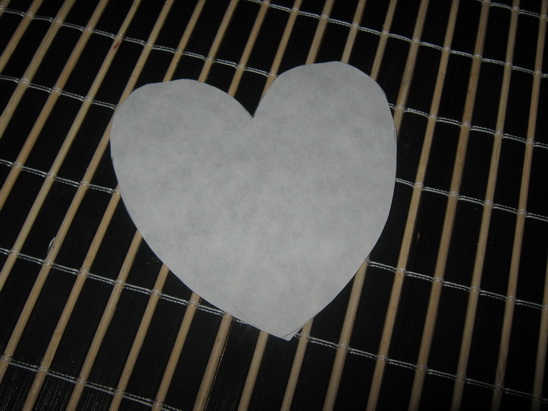
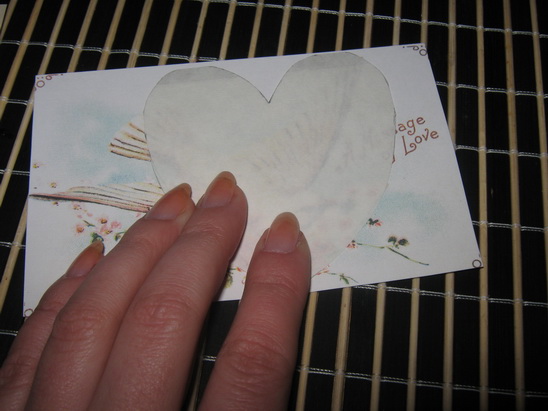
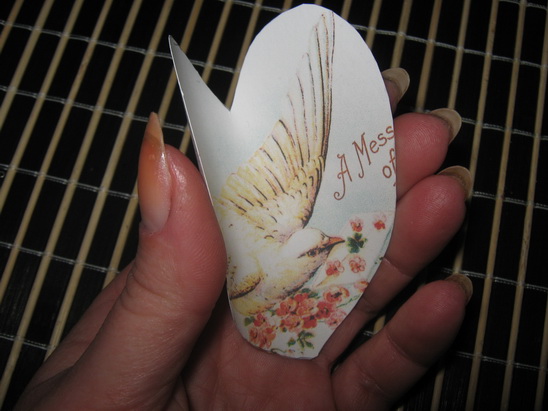
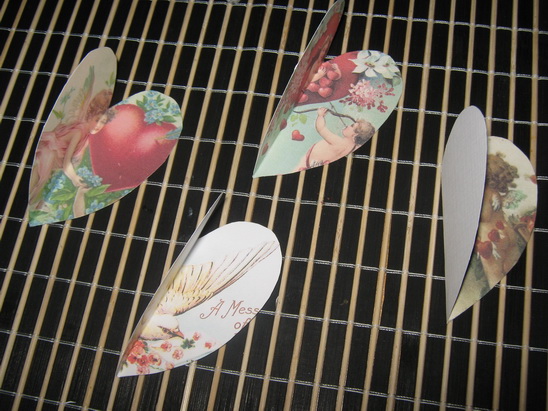
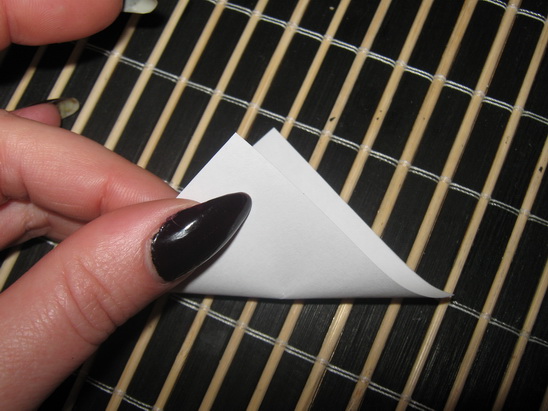
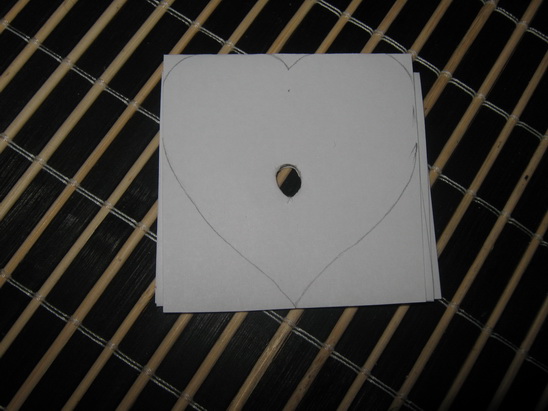
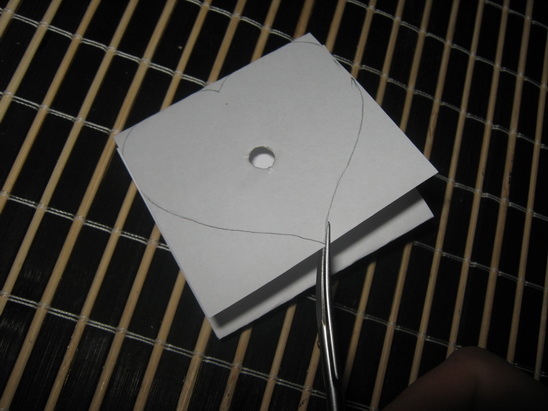
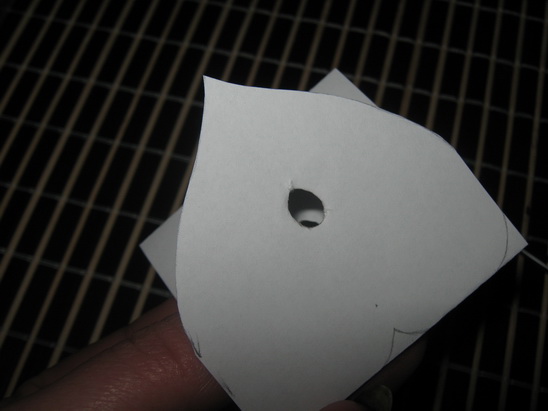
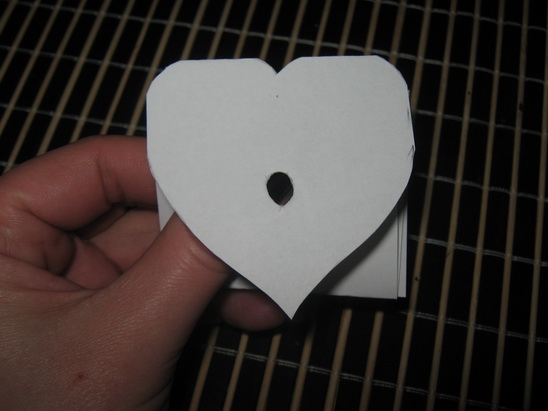
Draw half of a heart on folded paper.

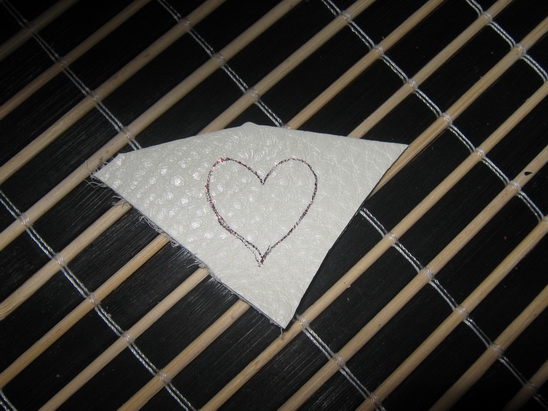
Cut out heart.

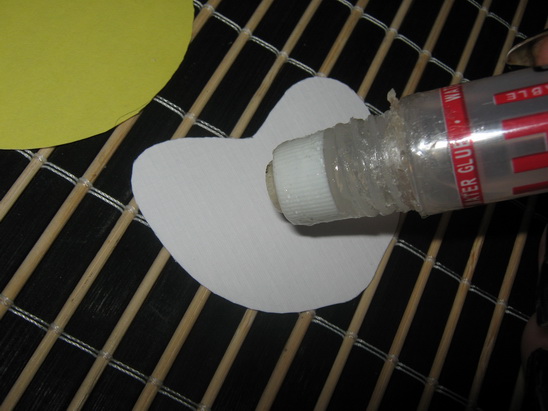
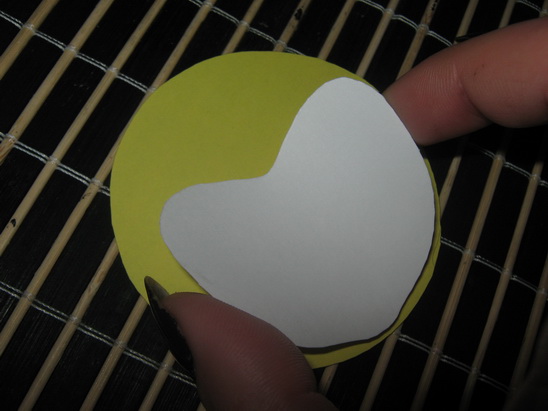
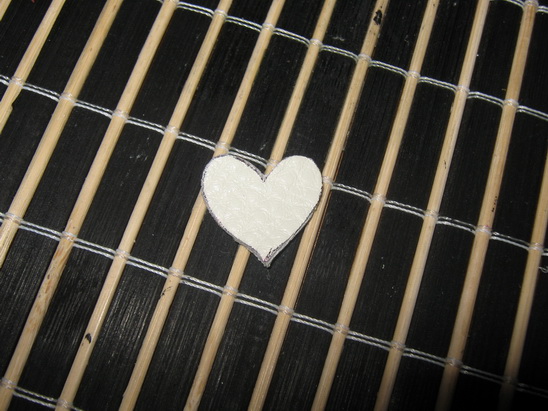
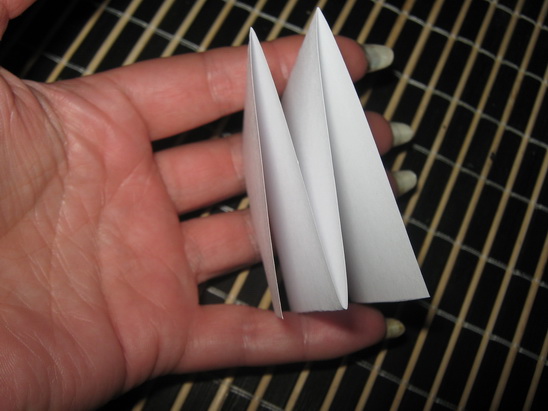
Cover with tissue paper circles too. Make two of these.
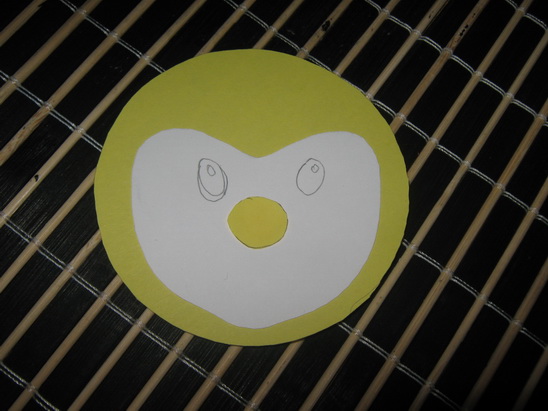
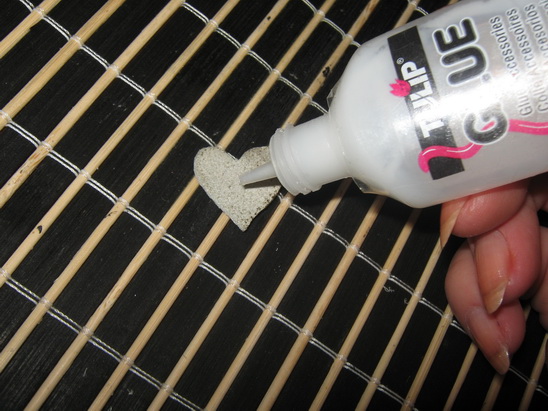
Step 12

Glue fin to fish face.
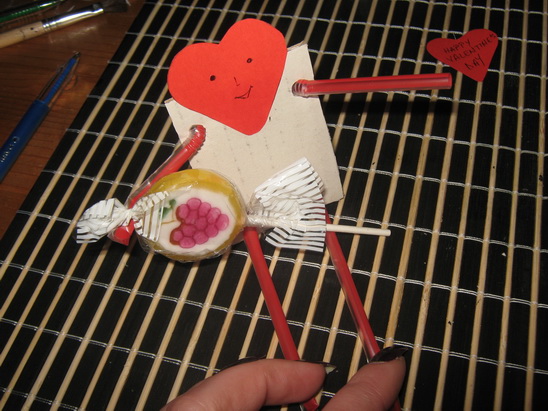
And, your fish is now done. Wasn’t that fun? Now, you have a secret storage box that is decorated as a fish. The real question is now ….. what are you going to fill your secret box with? Enjoy.
Technorati Tags: Valentines Day crafts, Valentines Day heart crafts, old valentines day boxes, recycled valentines day boxes, old valentines day box crafts, recycled valentines day box crafts, fish crafts, box crafts, secret boxes, secret box crafts, after valentines day crafts