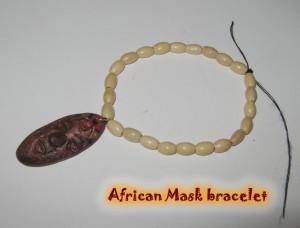
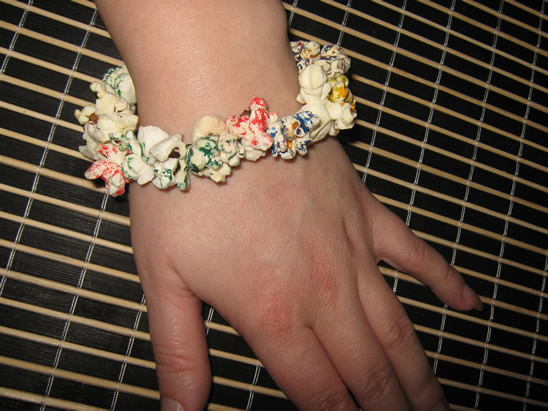
Black History Month will be coming to a close in the next couple of days. With that being said…. I thought we could use this opportunity to make a craft for Black History Month. Today I’m going to show you how to make a Wooden Beads Bracelet with an African Mask Charm. The bracelet turns out just absolutely beautiful…. it truly does. And, when using the ochre paint it ages the charm to give it an authentic look. Because we’ll use oven-hardening polymer clay for the mask, you’ll need a little help from an adult. So, grab the materials needed and let’s get started.
Check out our other Jewelry Crafts
Laura from Dacian Moon Handmade will show you how to make this craft.
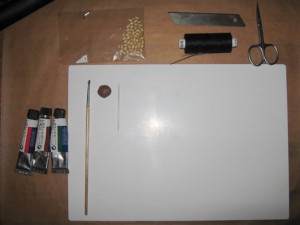
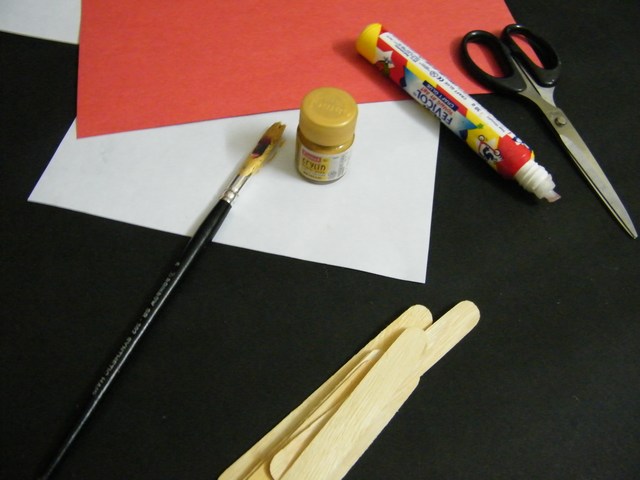
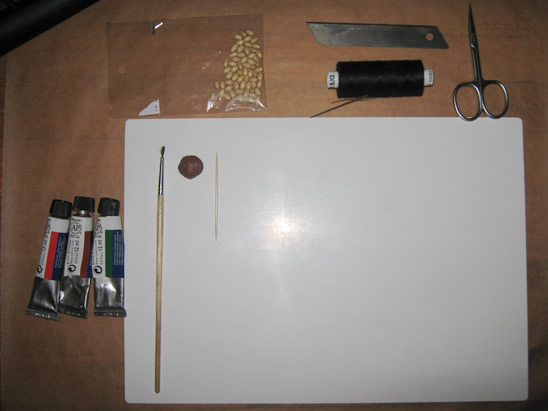
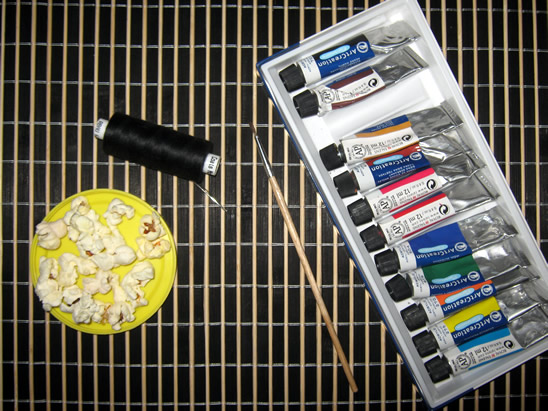
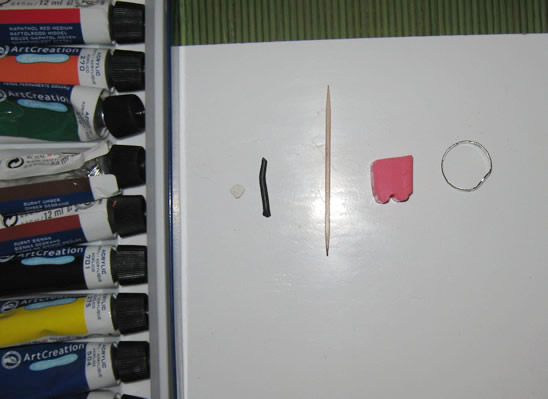
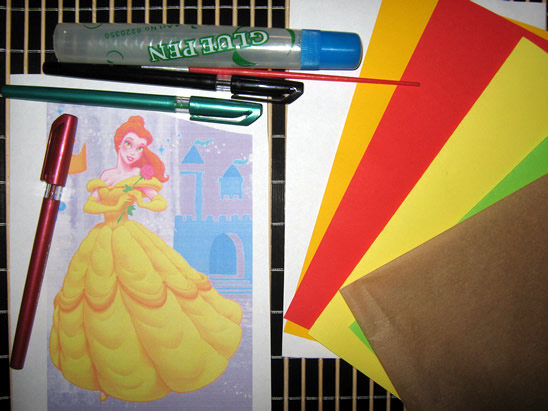
Materials Needed
– toothpick
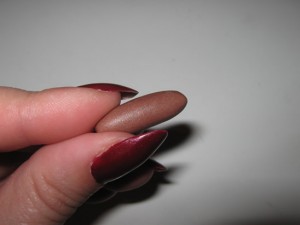
– brown polymer clay (I placed the toothpick beside it to show you how much polymer clay you’ll need)
– thread and needle
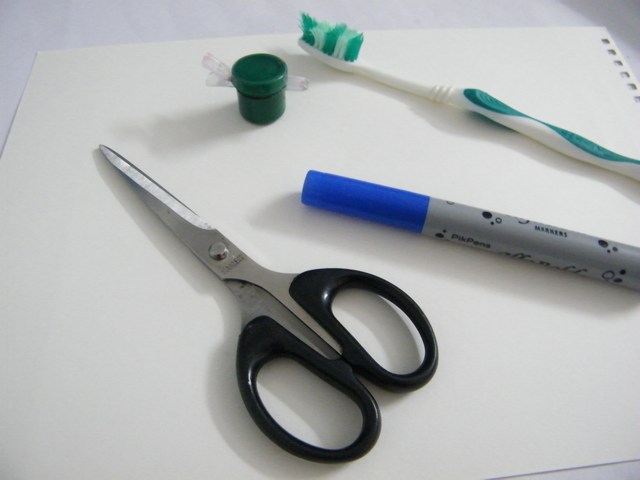
– scissor
– wooden beads
– paints (ochre, red and green)
– paintbrush
– baking paper
– baking tray
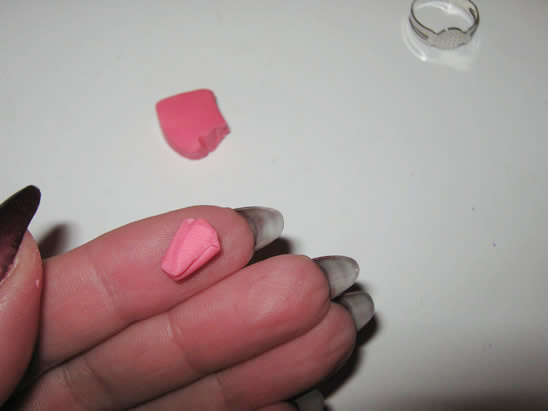
Step 1
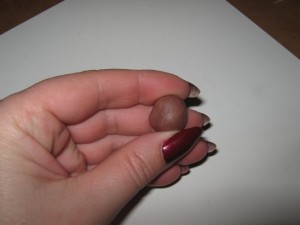
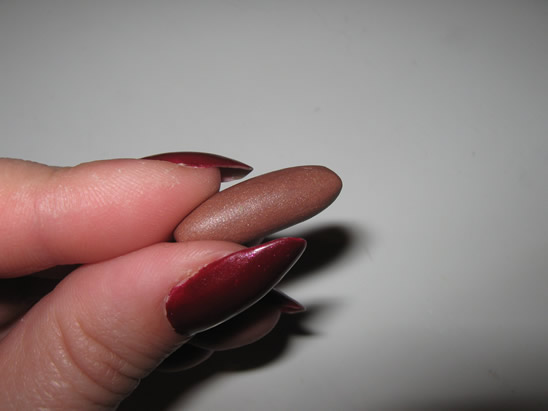
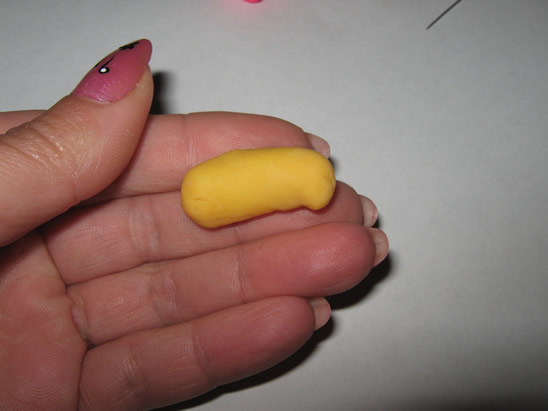
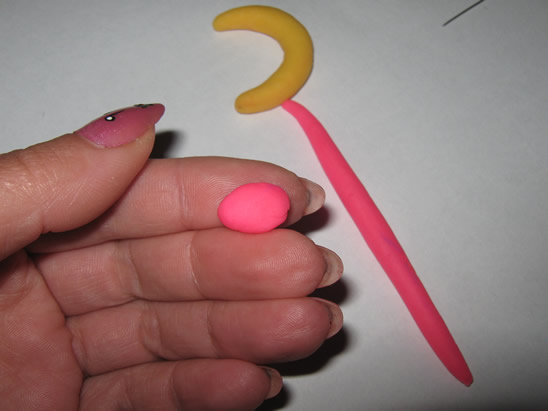
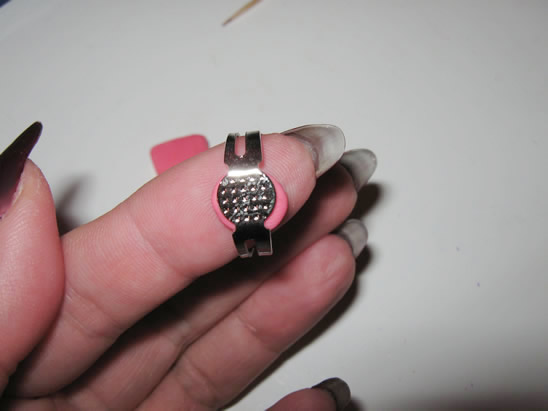
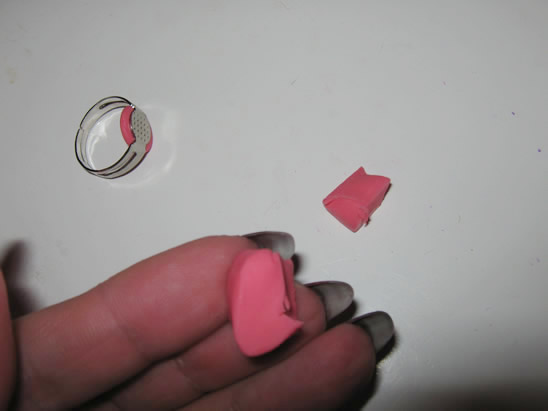
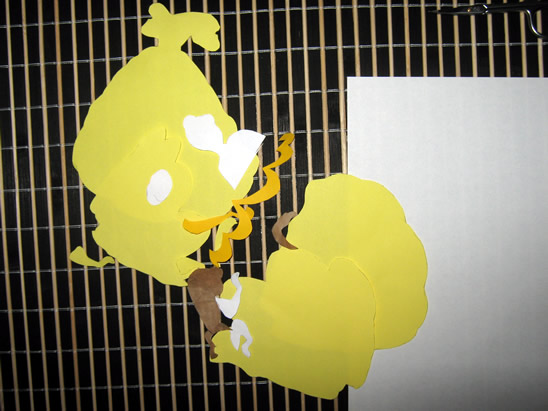
Condition polymer clay by hand, simply mix it and squish it with your fingers. You may want to roll it into a log between your palms, fold it in half, and then roll again. Part it in two: a small part and a bigger part.
[ad#ahc]
Step 2
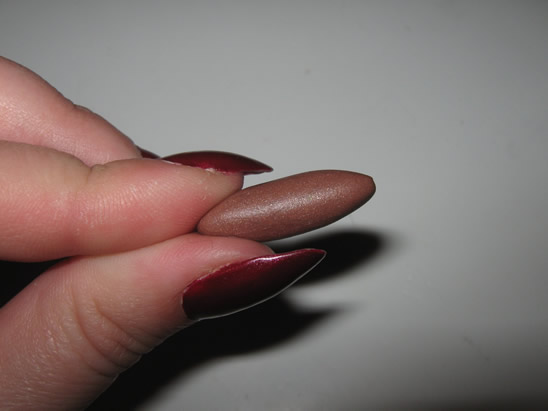
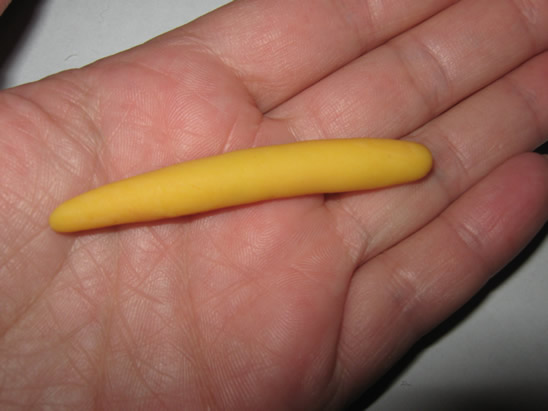
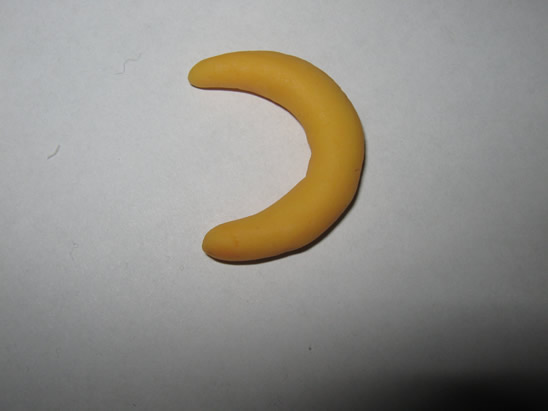
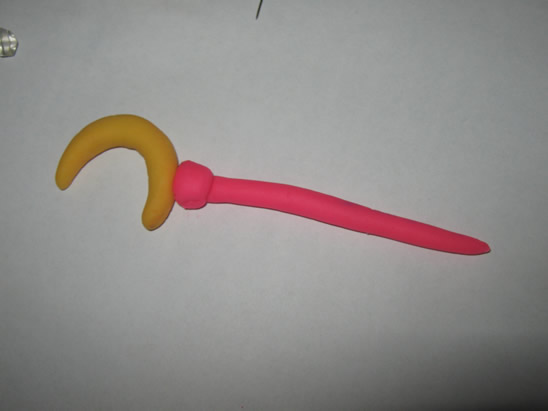
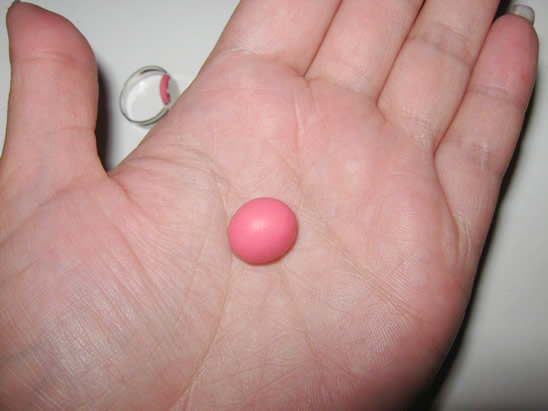
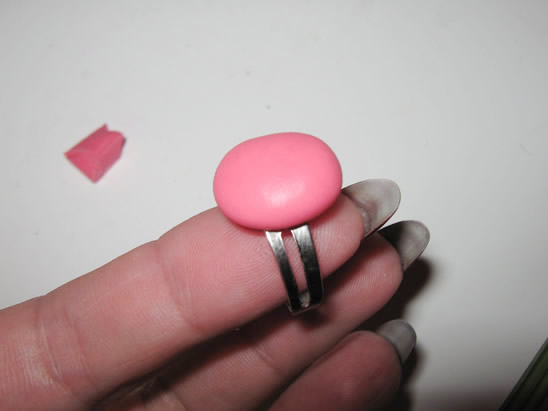
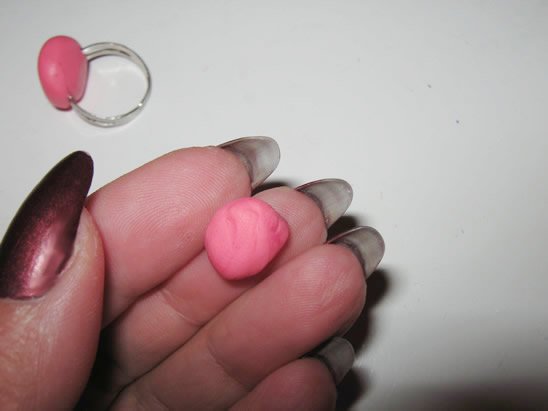
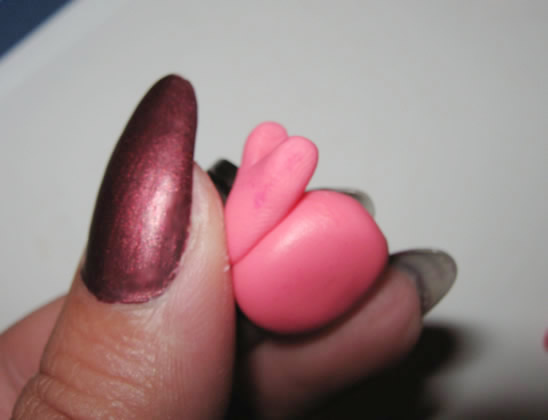
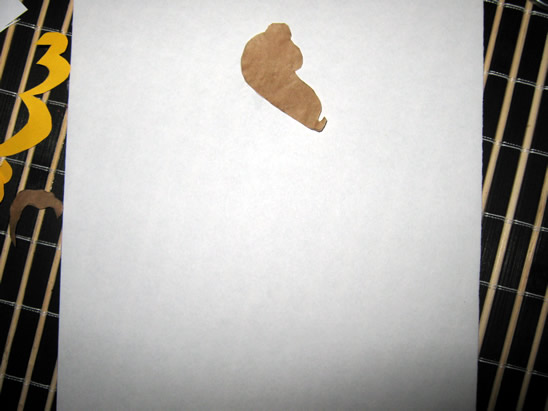
Take the bigger part and make a roll with it.
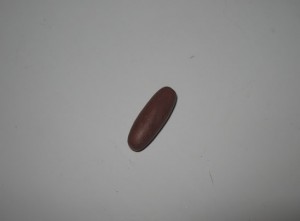
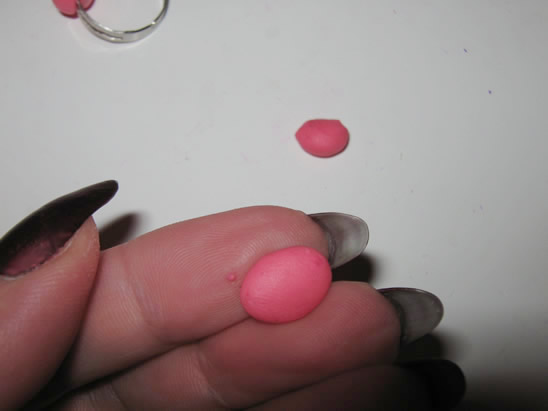
Gently squish one part, to have a pointy end.
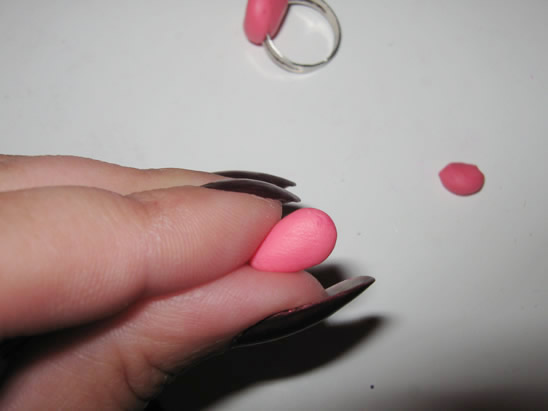
Do the same with the other part.

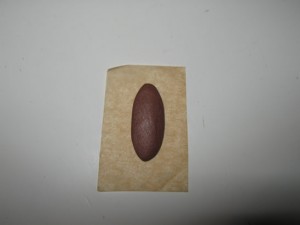
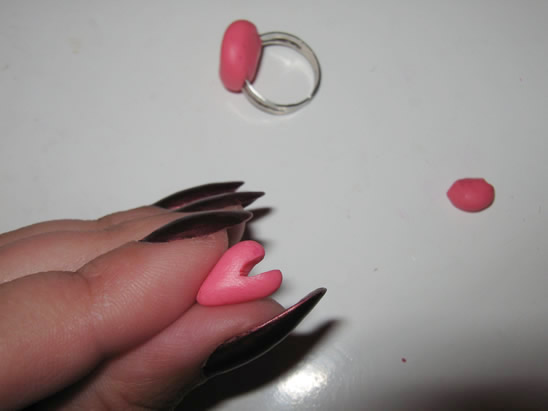
Step 3
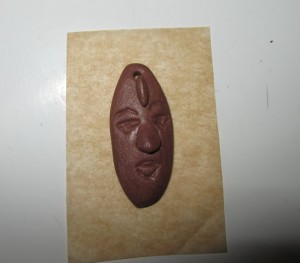
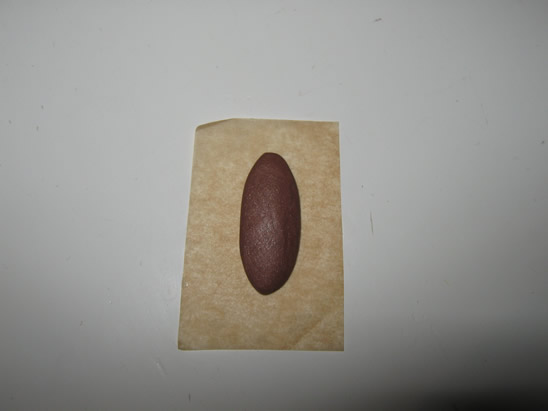
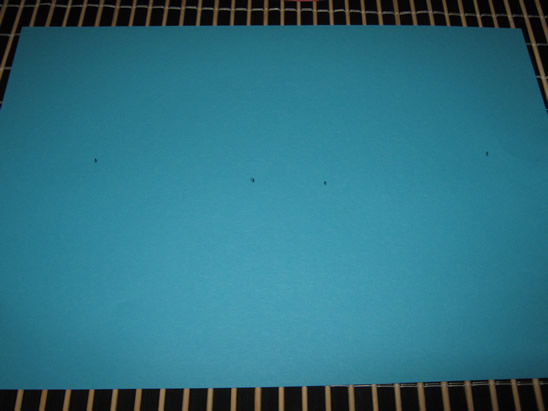
Place it on a piece of baking paper and flatten it.
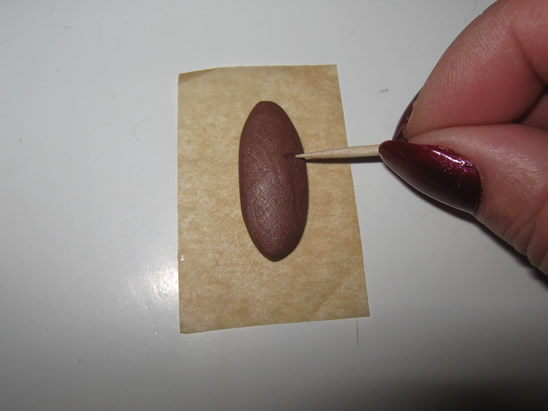
Step 4
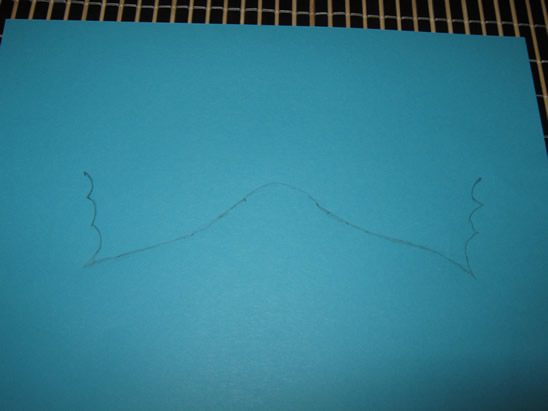
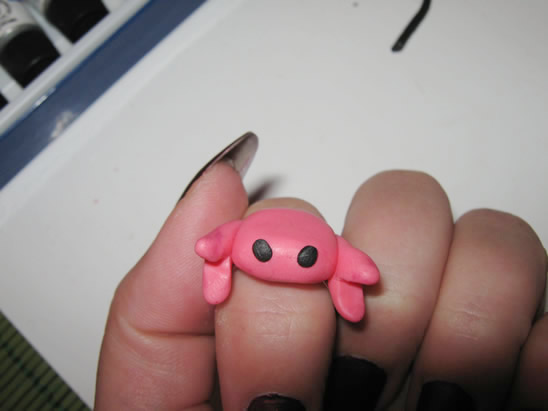
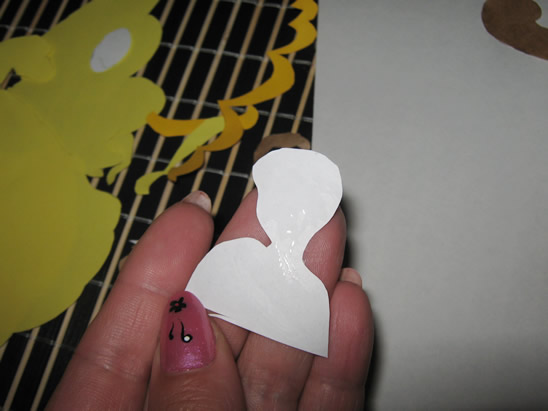
Using the toothpick, start to sculpt the eyes…
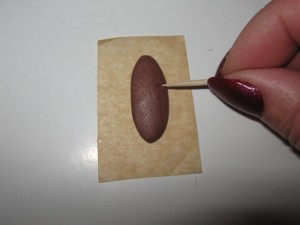
… like this.
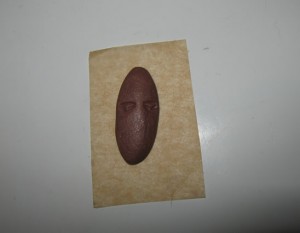
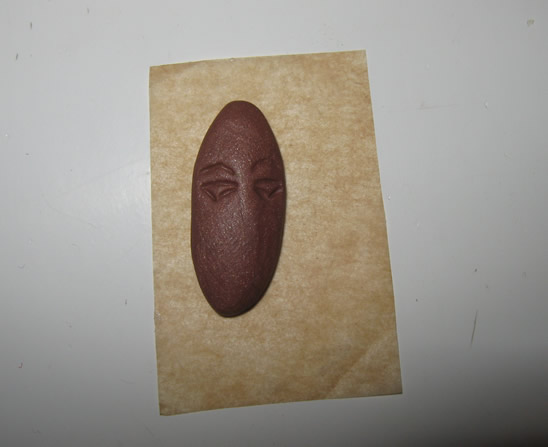
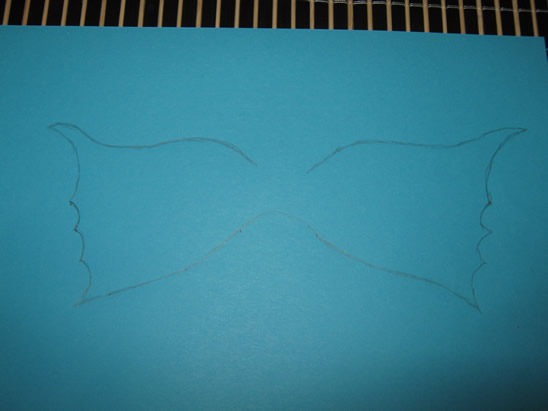
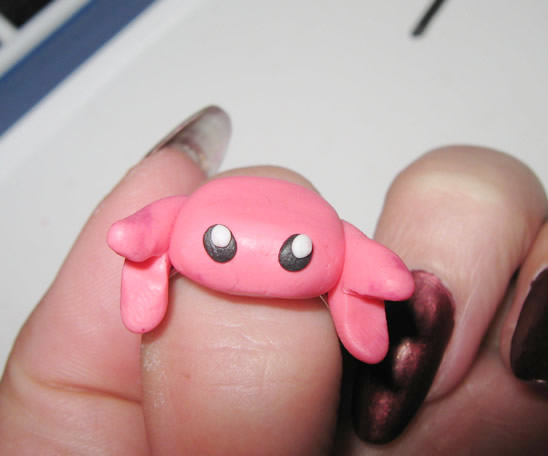
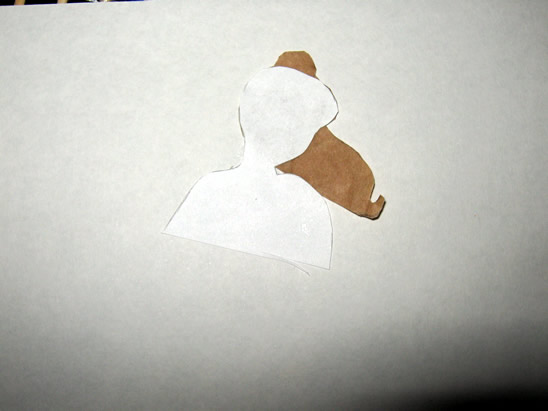
Add eyebrows.
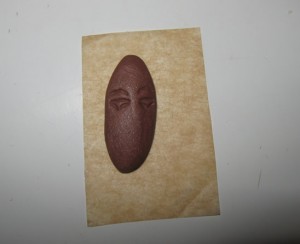
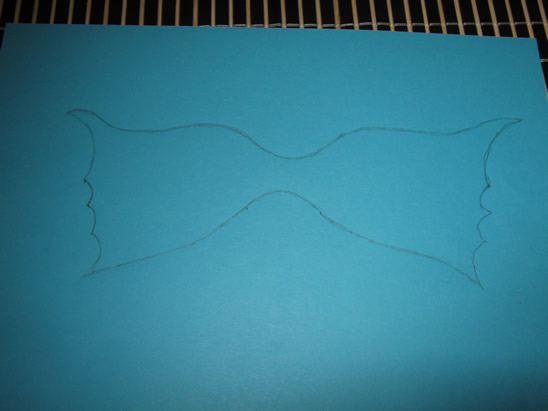
Make an outline of a nose.
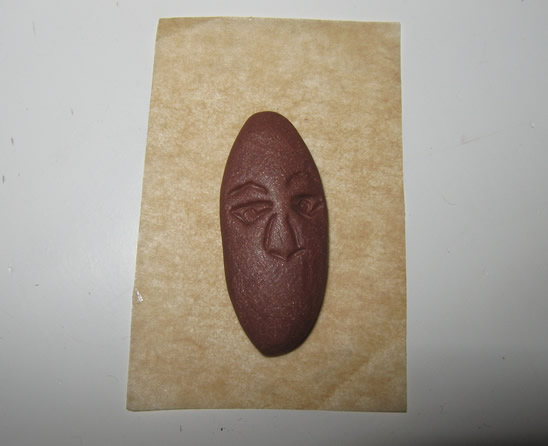
Step 5
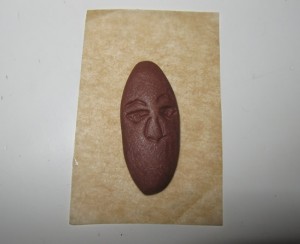
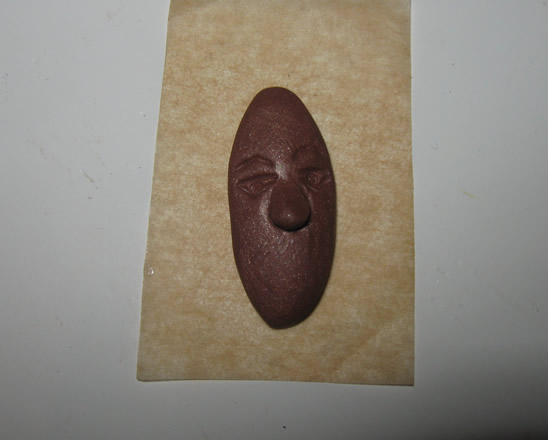
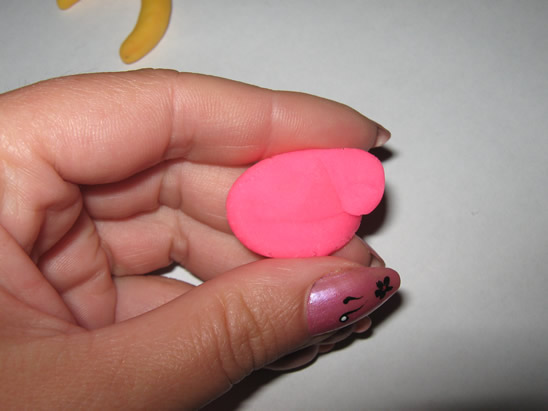
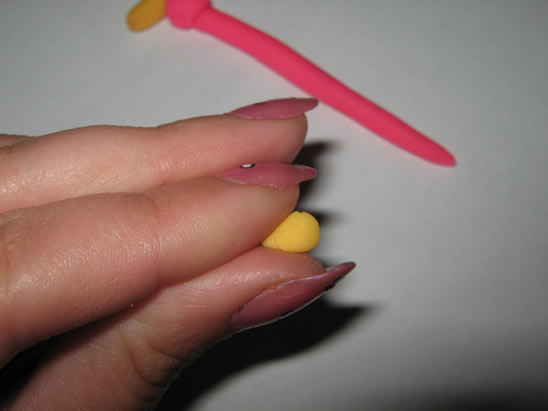
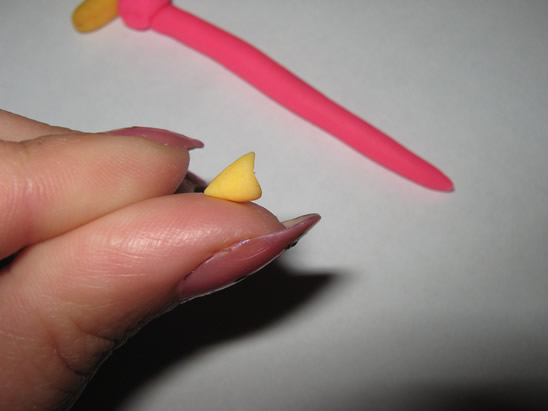
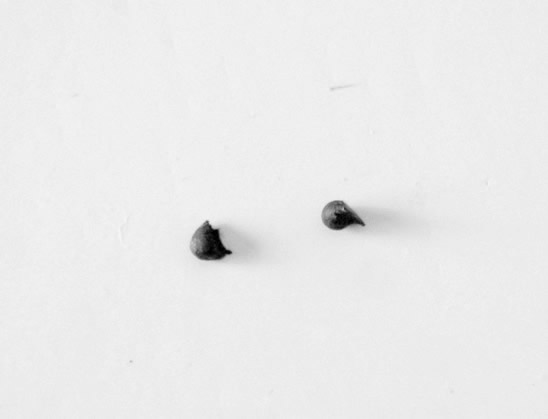
Take a small part of polymer clay and make it as a shape of a tear.

Place it inside the nose markings. Press gently to “glue” it.

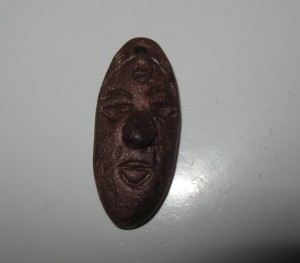
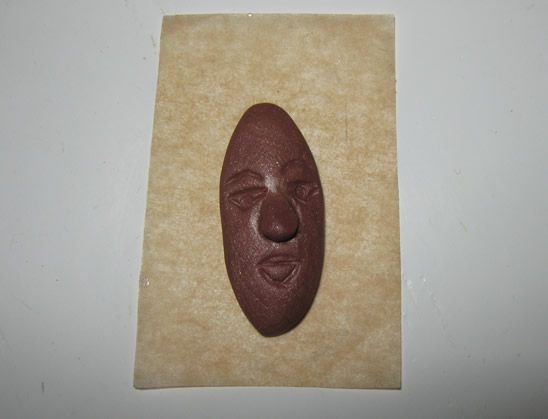
Step 6
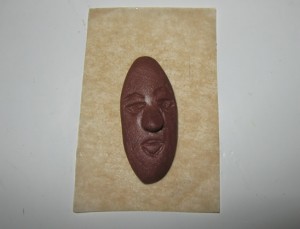
Sculpt the mouth.
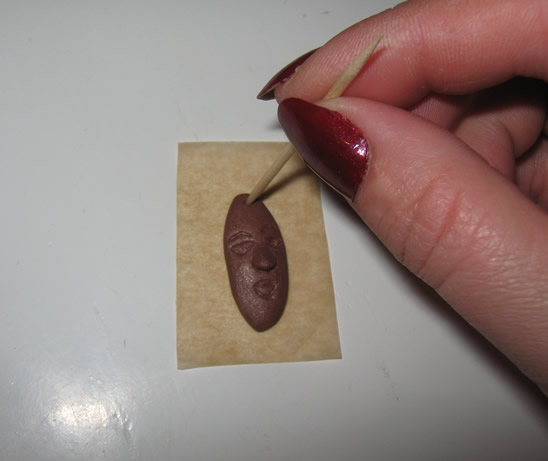
Step 7
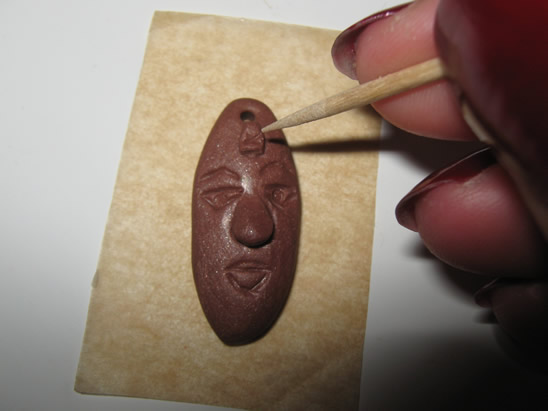
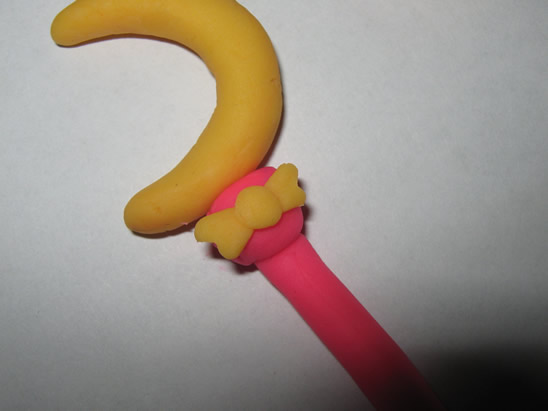
With the toothpick make a hole in the upper part of the mask.

Take care that the toothpick goes through the mask and gets out on the other side.

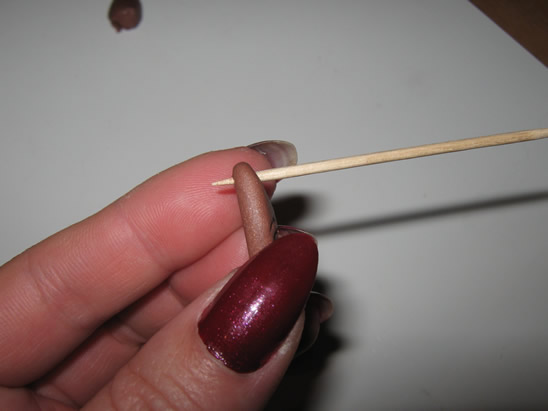
Step 8
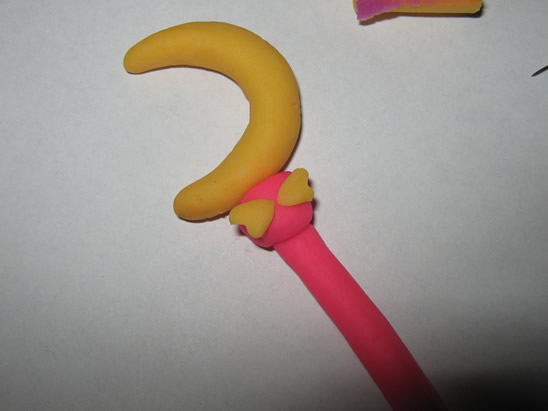
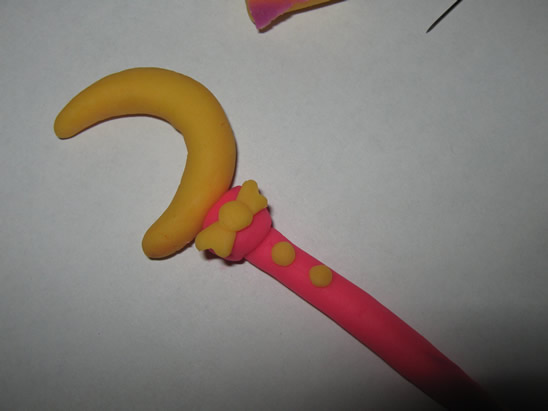
Place the mask on the baking paper again and take another small part of polymer clay.
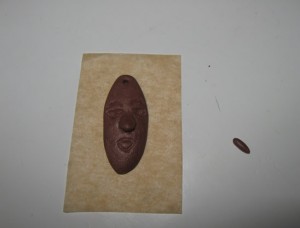
Roll it and place it under the hole.
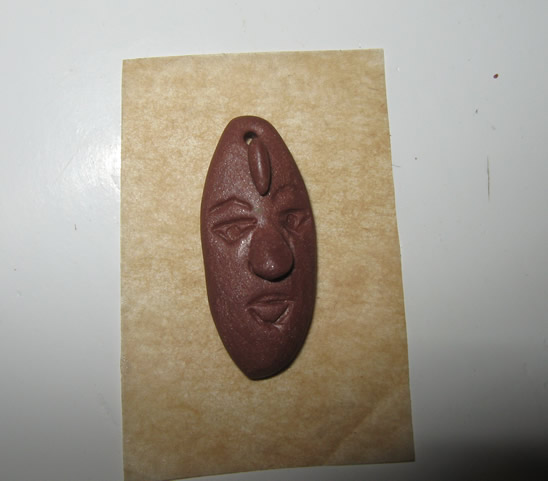
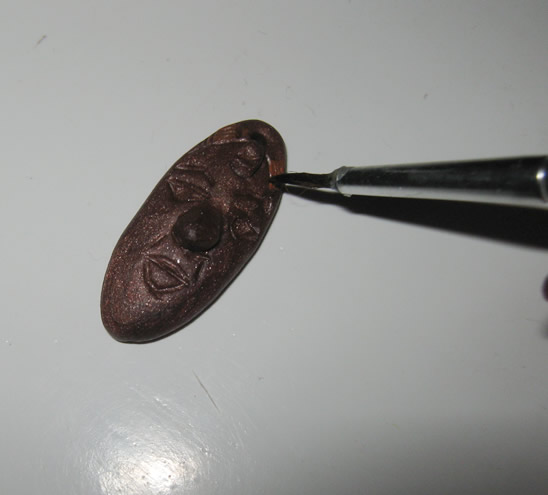
Flatten it and make an “x” on the lower part of it.

Step 9
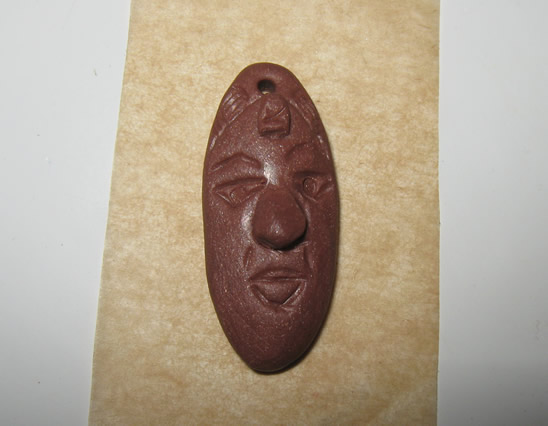
Sculpt the markings on the forehead, like in the picture.

Step 10
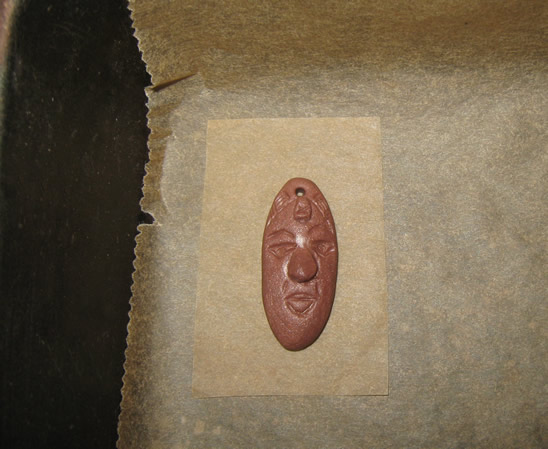
Now you’ll need the help from an adult. Place the mask (with it’s piece of baking paper) on the baking tray, and bake it according to the instructions on the polymer clay package (they depend on the brand you use: fimo, cernit, sculpey…, but usually it is one half of hour at 230 F or 110 C).

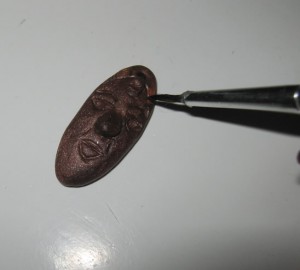
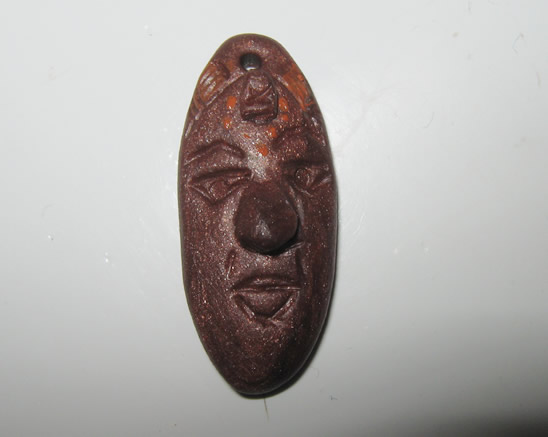
Step 11
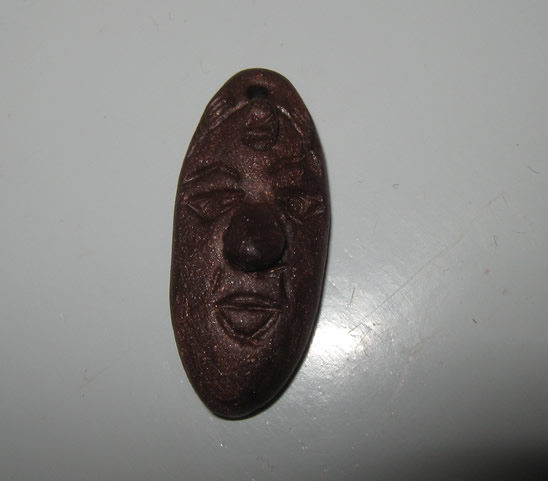
Let it cool down.
Step 12
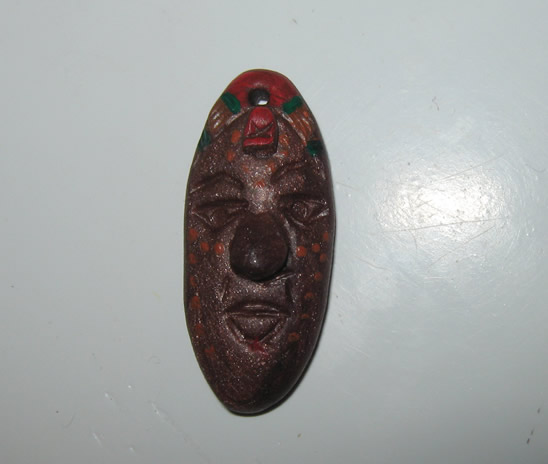
With the ochre paint… coat the markings on the sides.
Make points around the bar on the forehead…

… and on the face, like this:

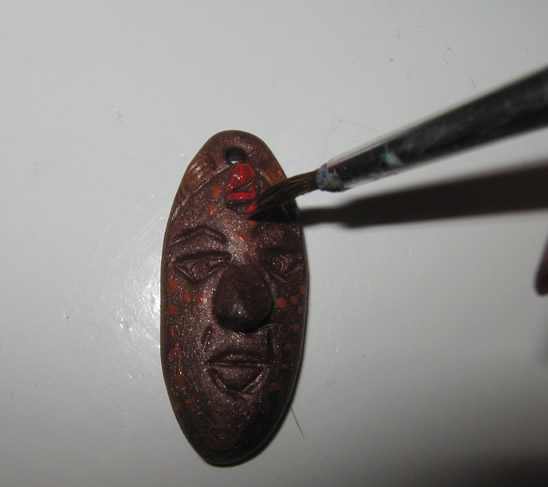
Step 13
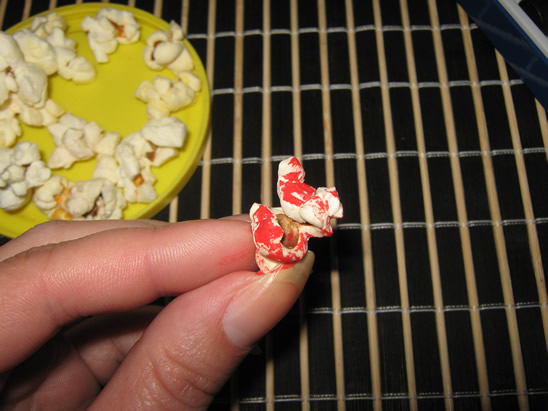
With red paint coat the upper part …
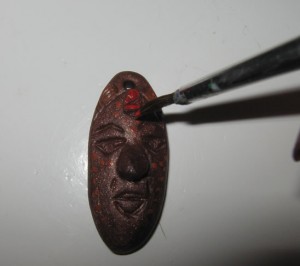
… and add a line on the middle of the lower lip.
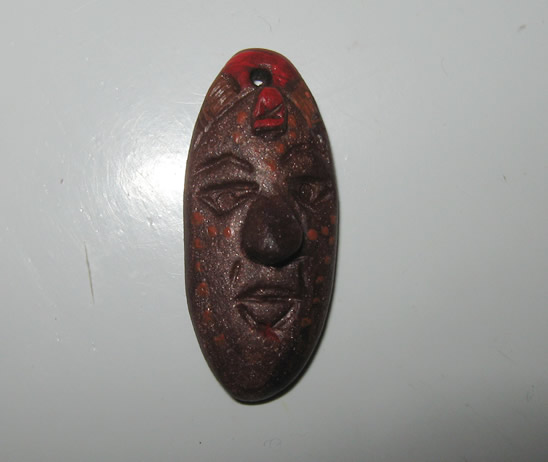
Step 14
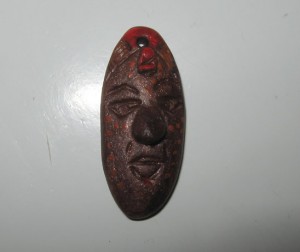
With green paint mark the lines between the red and ochre. Let it dry.

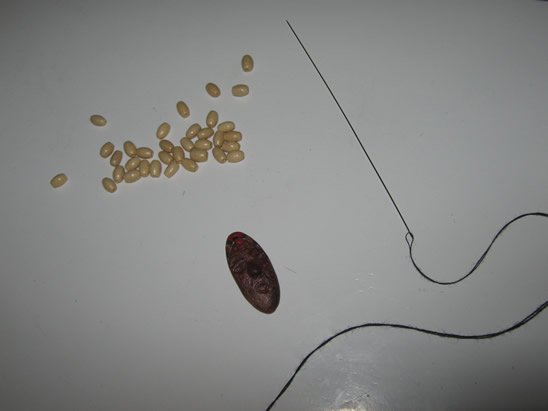
Step 15
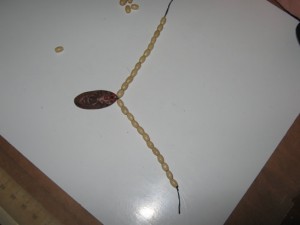
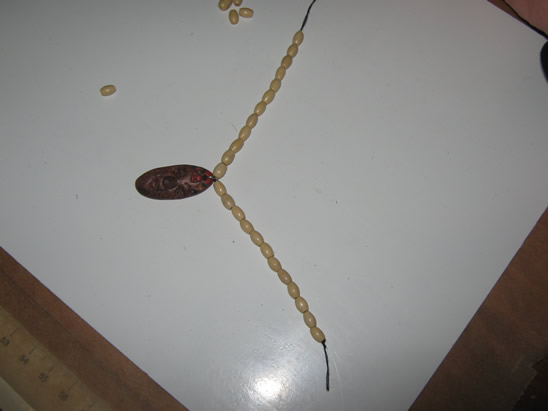
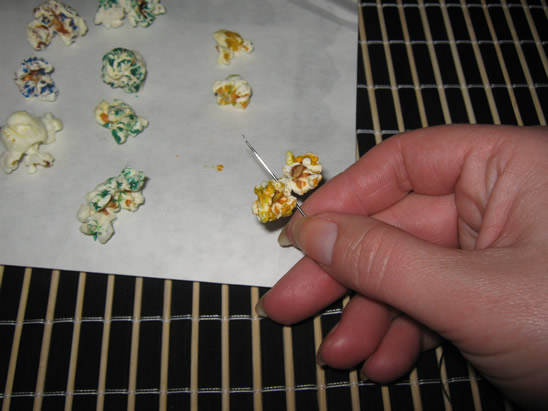
Now we’ll need the beads, needle and thread and the mask.

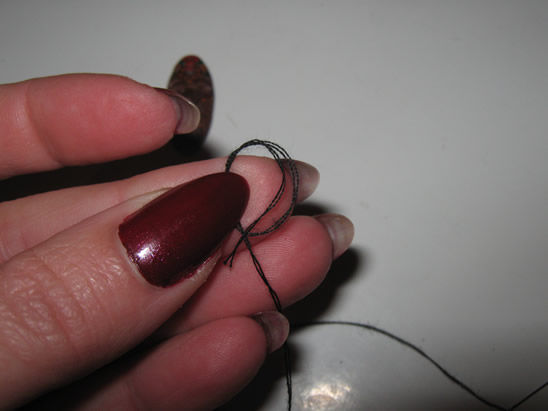
Make a knot near the end of the thread…
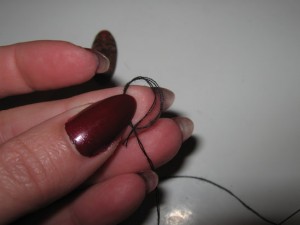
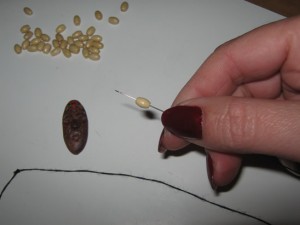
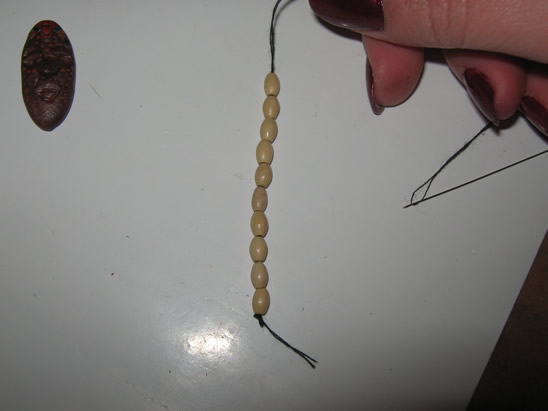
… and start adding beads on it (using the needle, of course).
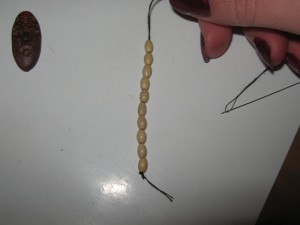
Step 16
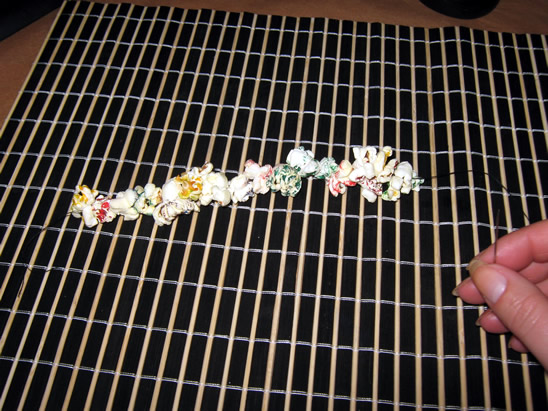
Measure on your hand to know when you are at the middle of the bracelet.
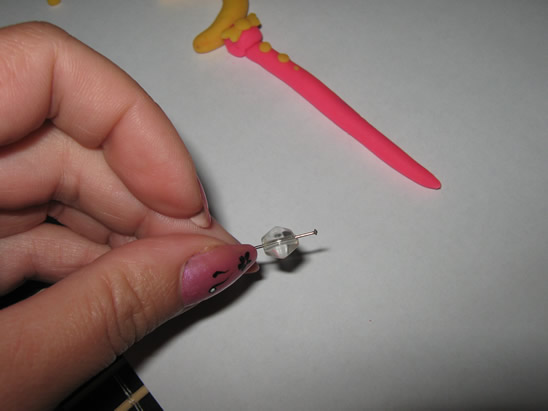
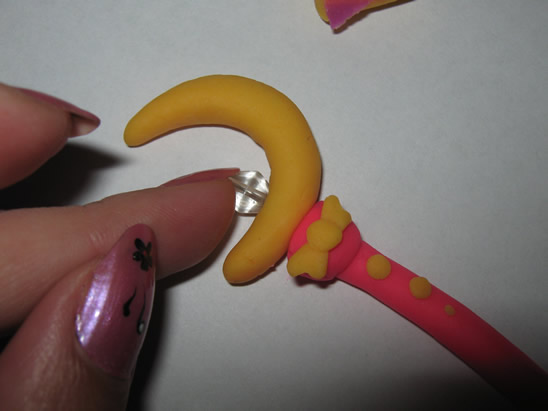
Put a jump ring on the mask and put it on the thread too (or just knot it on the thread).

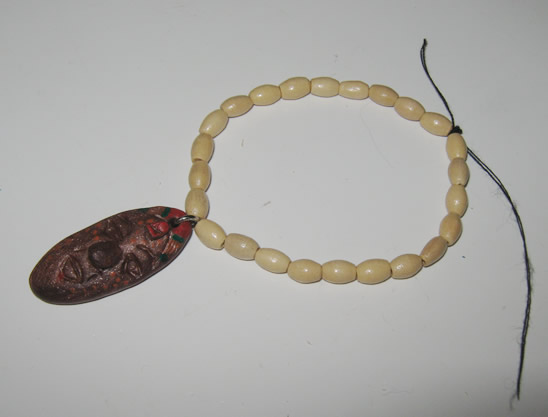
Step 17
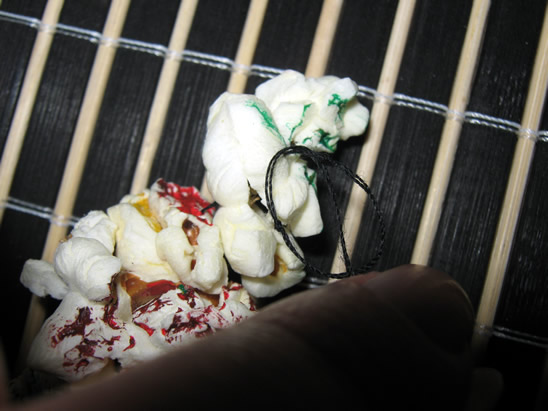
Continue to add wooden beads to complete the other half of the bracelet, then make a knot.
Now, you can wear your bracelet.

Isn’t this bracelet just absolutely gorgeous? The ochre paint makes this African Mask Charm look very old, doesn’t it? Just like it should. I hope you had fun making it…. now enjoy wearing it.
Technorati Tags: jewelry, jewelry crafts, jewelry crafts for kids, polymer crafts, polymer clay crafts, clay crafts, jewelry crafts for girls, sculpting, sculpting crafts, sculpting crafts for kids, girl crafts, clay crafts for kids, bracelet crafts, charm bracelet crafts, Black History Month, Black History Month Crafts


