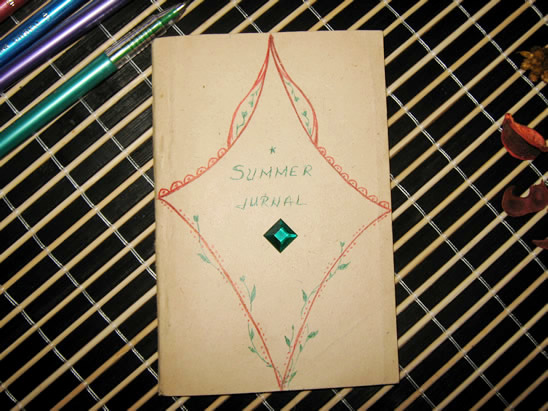
Mother nature is absolutely beautiful….. just breathtaking. Did you ever wish you could hold some of nature in a jar so you can look at it whenever you want? Well, today I’m going to show you how to do just that. In this post I’m going to show you how to make a Nature Treasure Bowl. Simply take a walk in a park or in the woods and collect some of the things you find along the way like acorns, stones, pine cones…. whatever you want to place in a jar. So, let’s get started.
Laura from Dacian Moon Handmade will show you how to make this decorative bowl step by step.
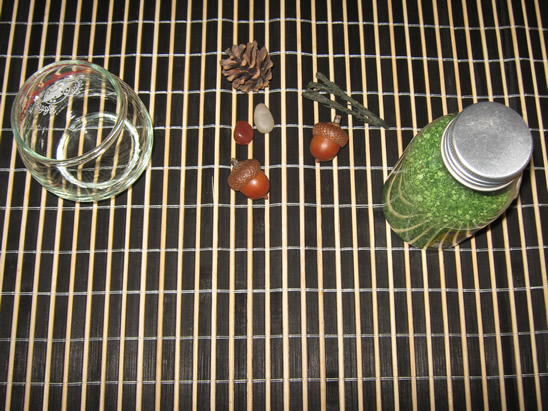
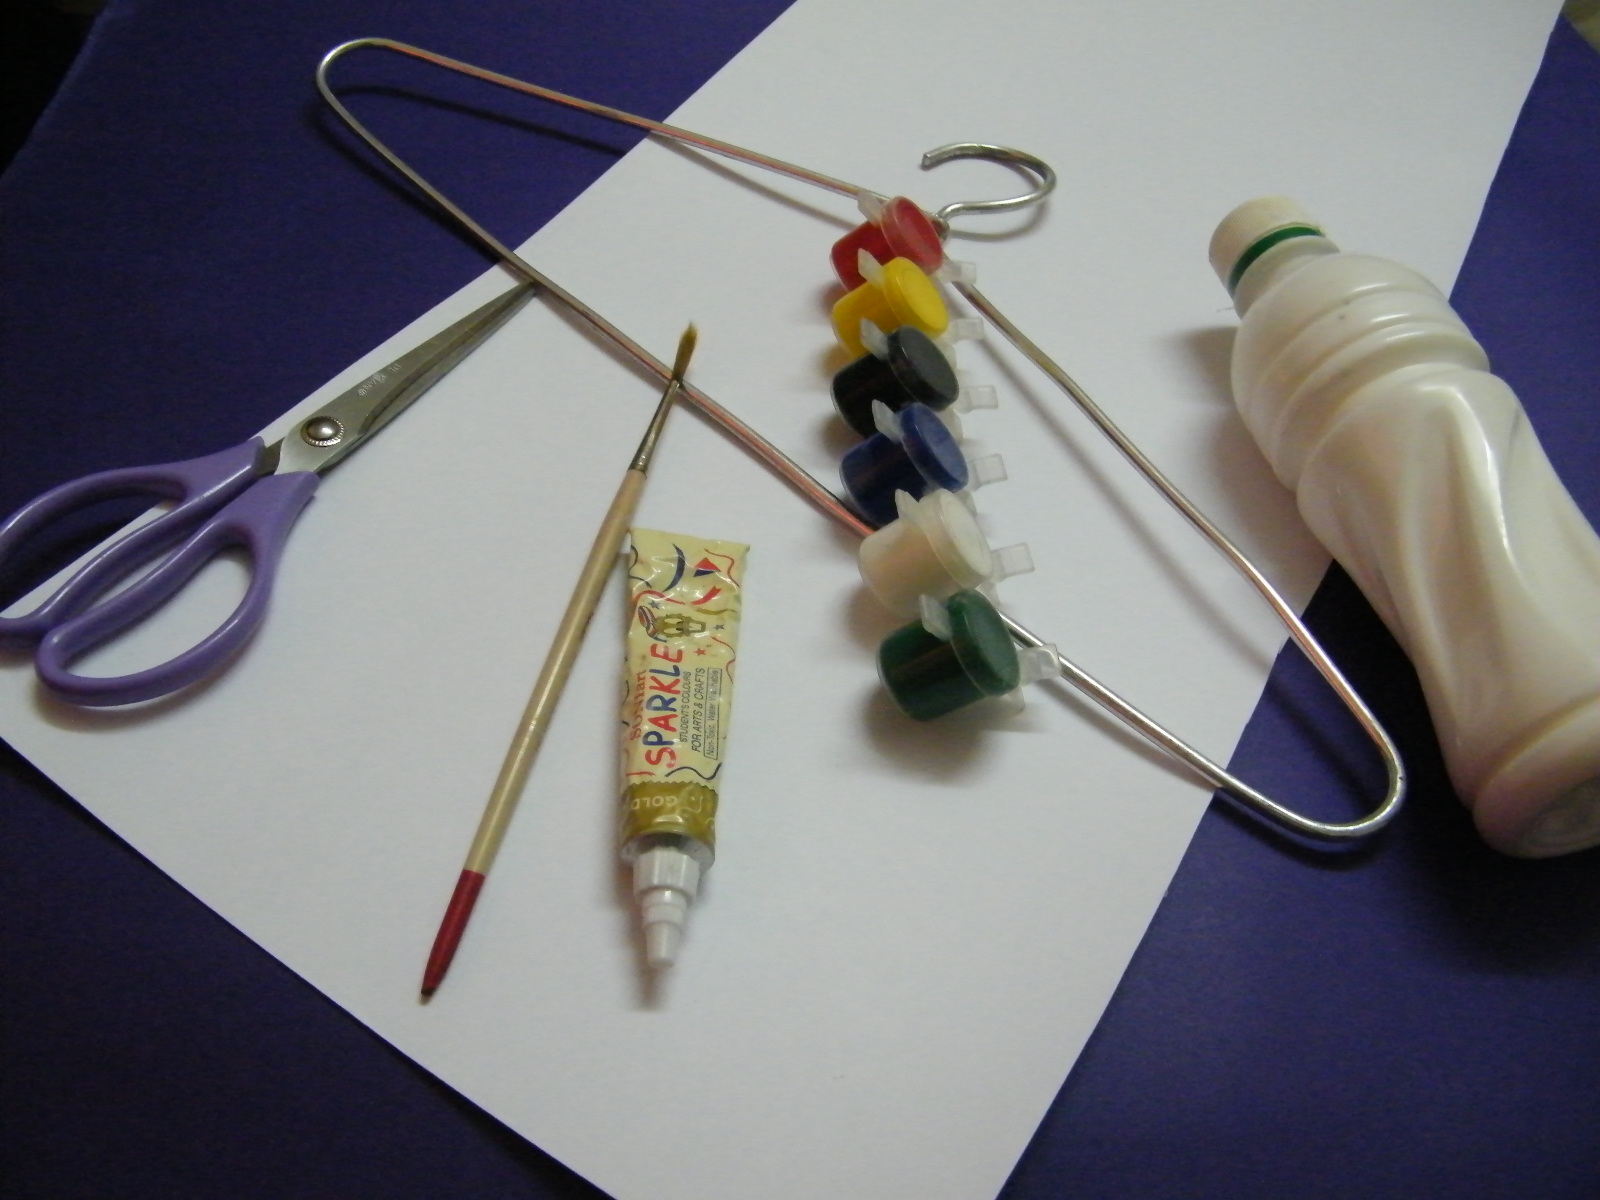
Materials Needed
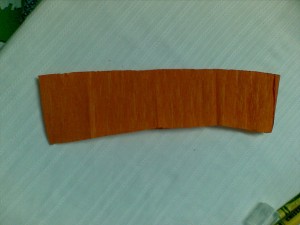
– transparent bowl
– moss – or you can use decorative green scented sand from the store, like me.
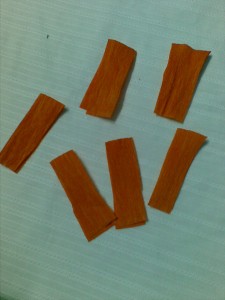
– 2 acorns
– 2 stones
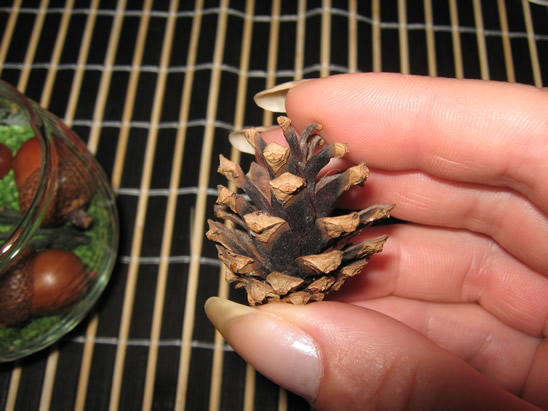
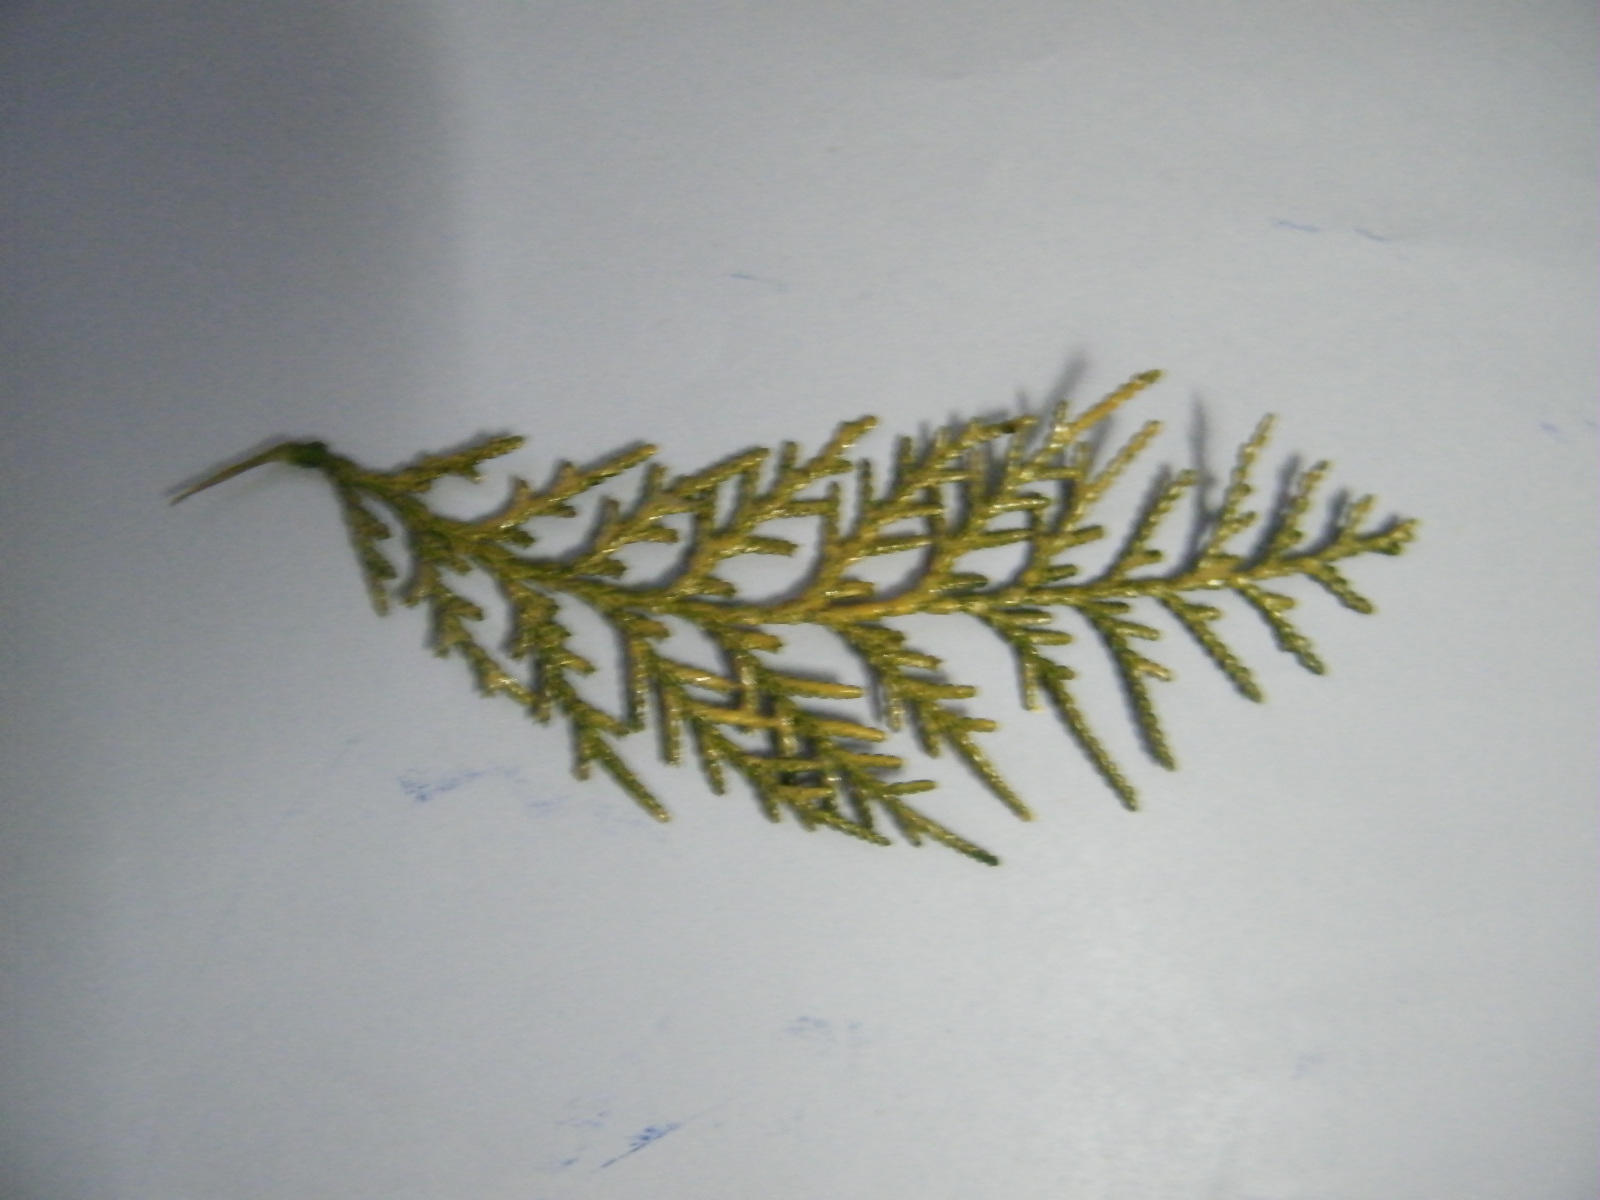
– 1 pine cone
– 1 little twig
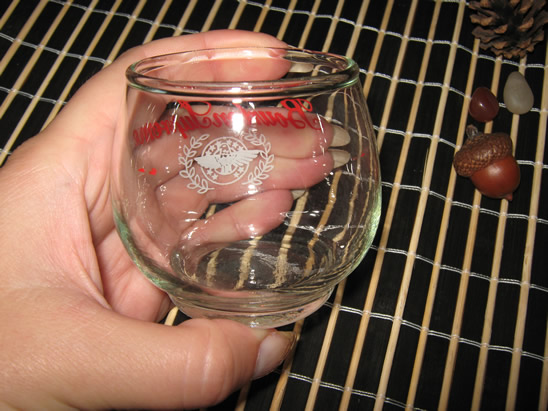
Step 1
Take the transparent bowl …
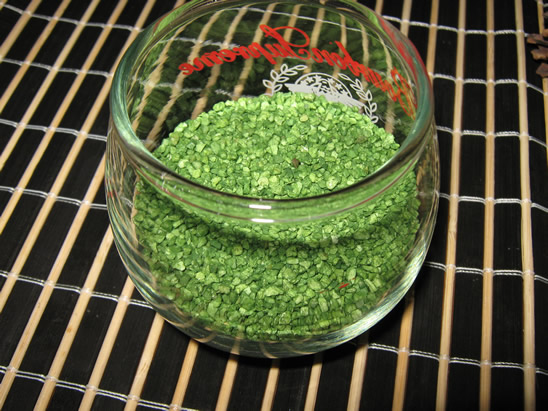
… and place the moss / green sand in it (about a half of bowl)
[ad#ahc]
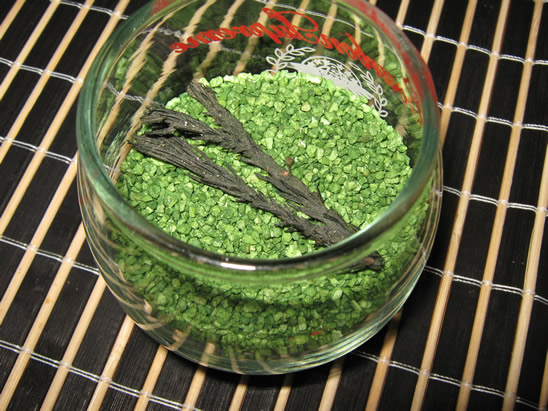
Step 2
Let’s start with the twig.

It should be in the middle and we’ll decorate around it.
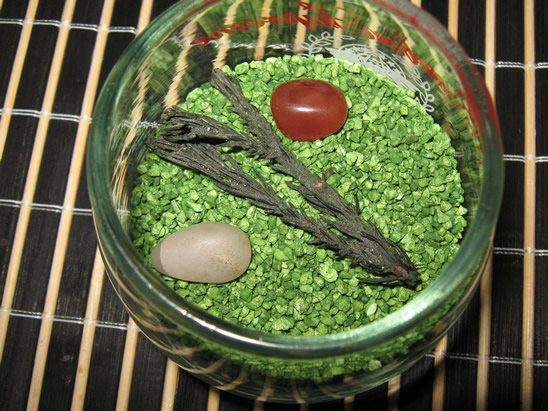
Step 3
Place the stones on the sides of the twig.
Step 4
Add the acorns…
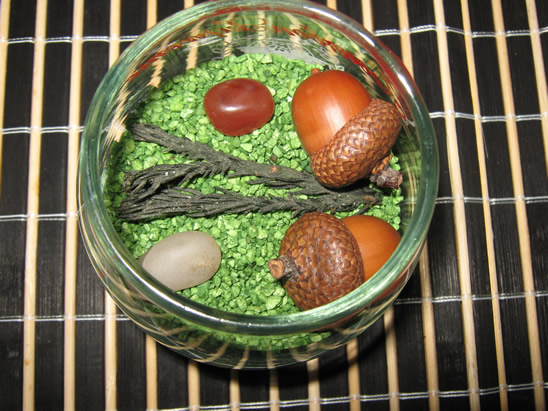
And in the middle of it place the pine cone.
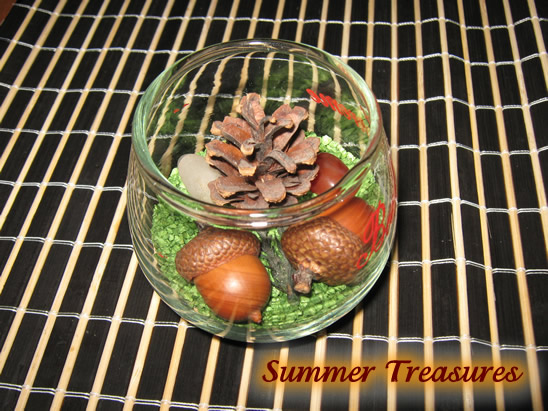
Now it looks complete. You have a little piece of the woods in your home.
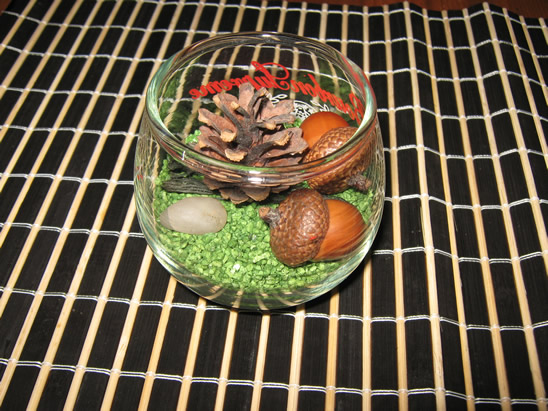
Feel free to use your own creativity to make your Nature Treasure Bowl how you see fit. You can even do this project using normal sand, shells, starfish… to bring the sea home to you.
Technorati Tags: nature, nature crafts, plant crafts, flower crafts, pine cone crafts, leaf crafts, treasure bowl, treasure bowl crafts, mother nature crafts, nature crafts for kids, plant crafts for kids, pine cone crafts for kids


