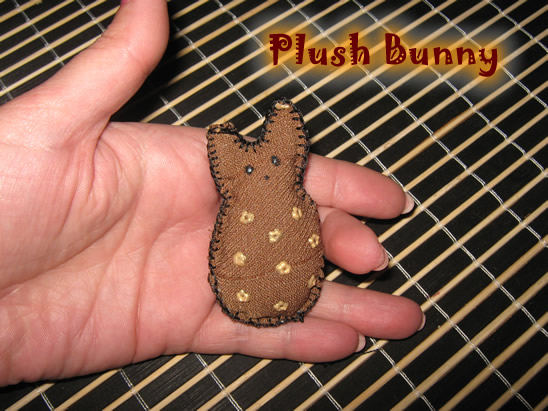
I have a fun craft for you today. In this post I’m going to show you how to make a Sock Baby Doll. That’s right…. it’s a baby doll made out of a sock. This craft is a great way to put to use those socks that no longer have a match. Plus, you probably have all the materials needed for this craft in your house… so no need to buy any more materials. Give this sock baby doll to your best friend…. or better yet keep it for yourself. The choice is yours. So, let’s get started.
Check out our other Sock Crafts or Doll Making Crafts.

Materials Needed
Sock
Scissors
Needle & Strong Thread
Stuffing
Black Marker (optional)
Step 1

Cut a sock where you see dashed lines… to look like this…

After cutting, the above pieces are what you should see.
[ad#ahc]
Step 2

Turn sock so top hole is in the front as in image B.

Sew front and back of each leg together as shown.
Step 3

Stuff the legs and sew hole closed.
Step 4

Turn doll around so that sewn up hole is in the back. Gather and draw in with strong thread the section shown in the image above.
Step 5

Draw or sew a face on.
Step 6

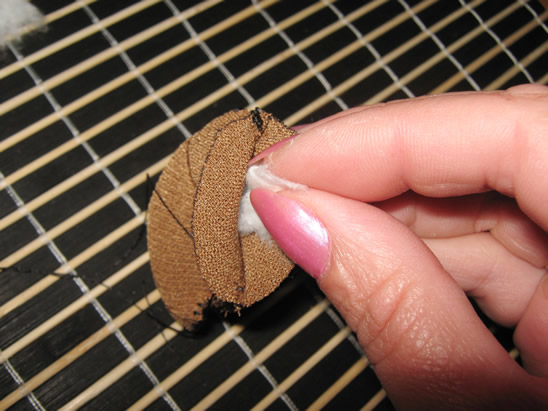
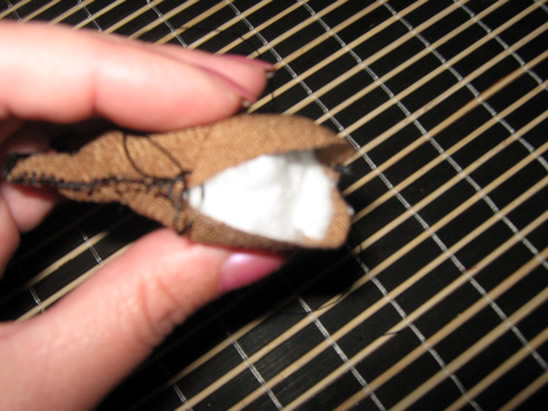
Fold each square in half.

Sew sides with dashed lines.

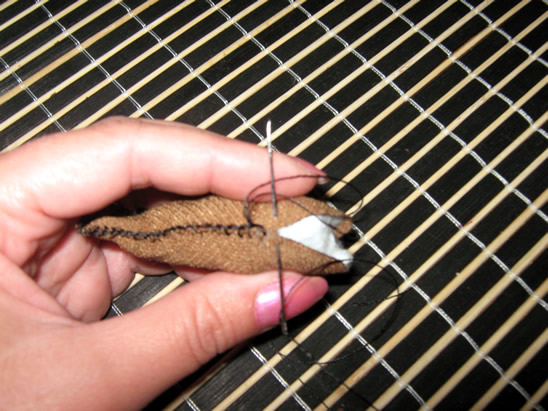
Fill with stuffing.

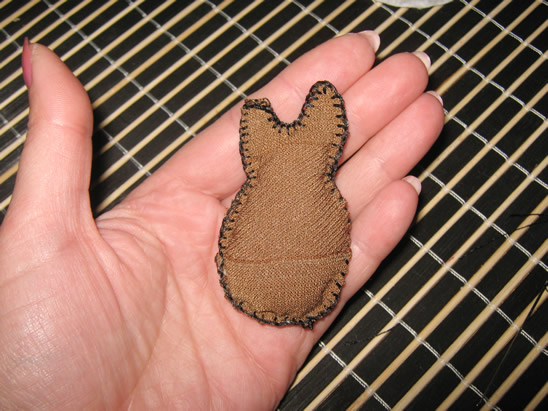
Sew shut.
Step 7

Sew on arms.
Awesome job…. you just finished making your Sock Baby Doll. How did your baby doll turn out? Let me know in the comments below. Also, take a picture of your sock baby doll and add that to your comment as well… I’d love to see it.
Technorati Tags: sock crafts, crafts with socks, crafts made with socks, sock activities, doll crafts, how to make a doll, baby doll, baby doll crafts, kids crafts, crafts for kids