In this post I’m going to show you how to make a fun and cheerful lunch box. School has just started and one of the kids favorite times of day is lunch time. You know what would make it more memorable for them is to make this lunch box craft with your child. Your child will be so proud to take their homemade lunch box to school with them. Plus, there will surely be no other person with a matching lunch box. So, grab the materials needed and let’s get started.
Check out our other Back to School Crafts.
Laura from Dacian Moon Handmade will show you, step by step, how to make this cheerful and girlish lunch box.
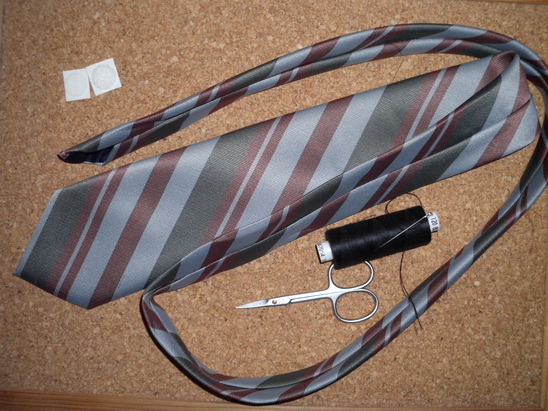
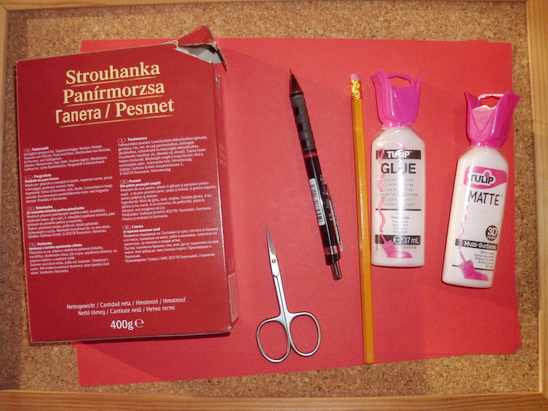
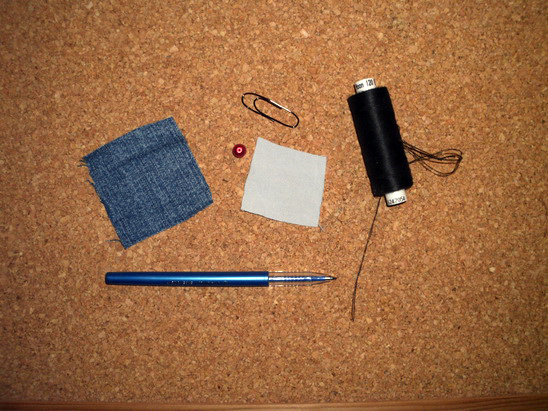
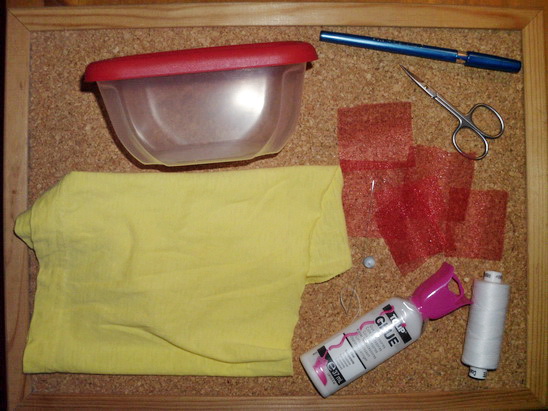
Materials Needed
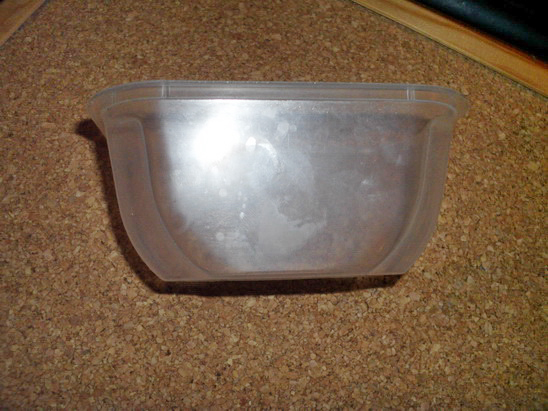
– recycled box
– cotton cloth
– pen
– craft glue
– scissors
– tulle pieces
– bead
– needle and thread
– auto-adhesive crystal bead
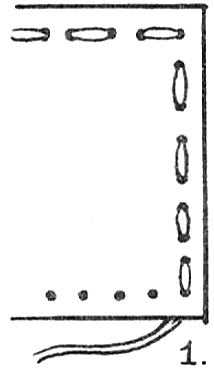
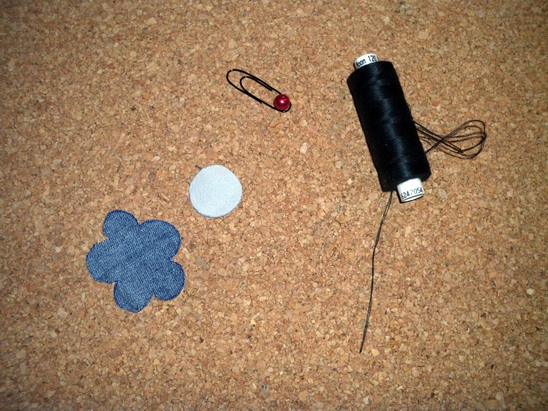
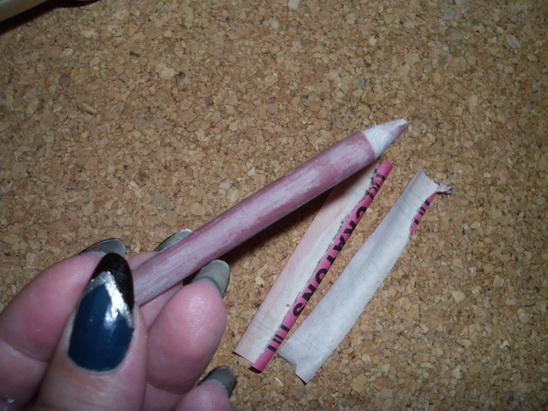
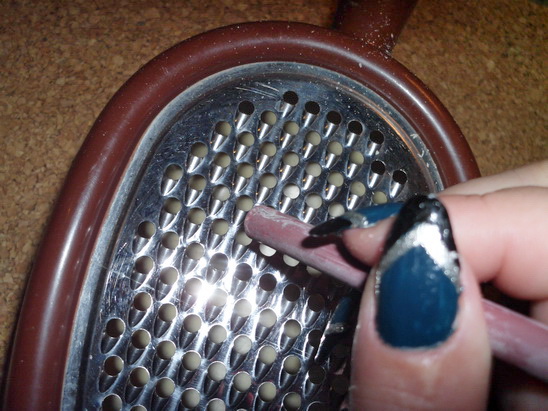
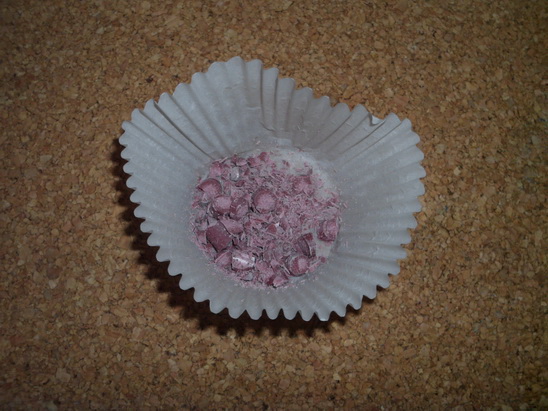
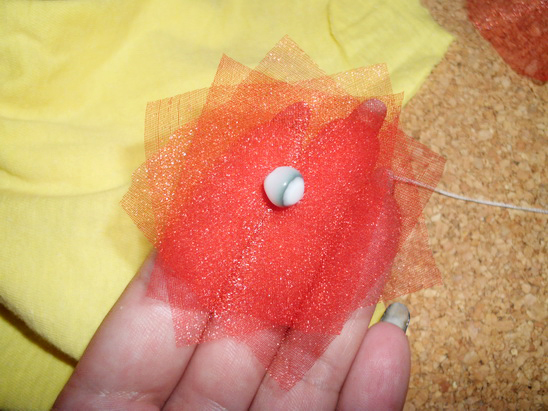
Step 1
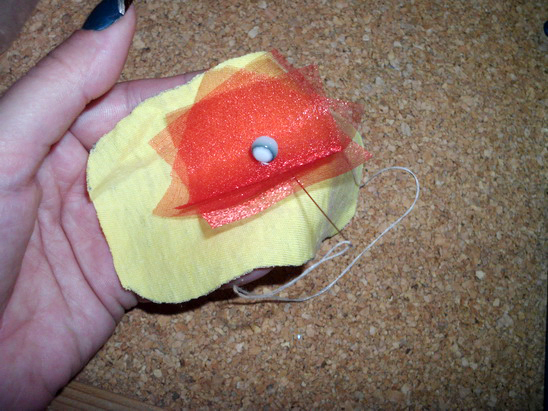
Cut 3 squares of tulle…
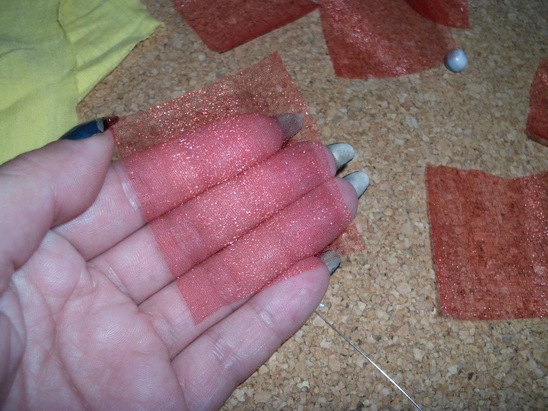
… place one on top of the other…
… and sew the bead on the middle…
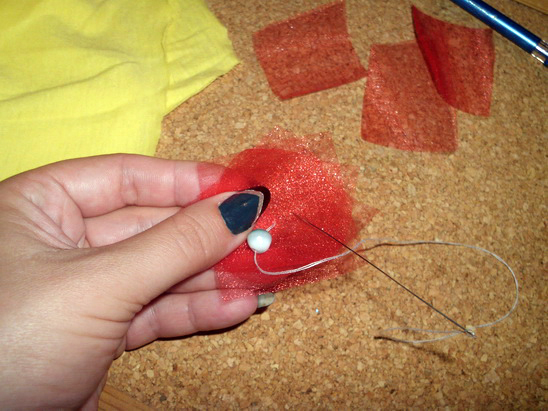
… like this.
[ad#ahc]
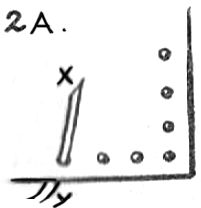
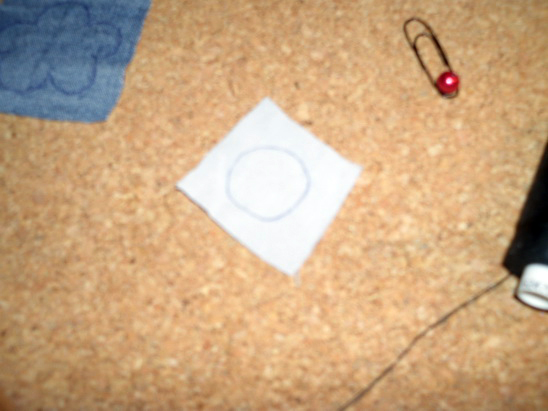
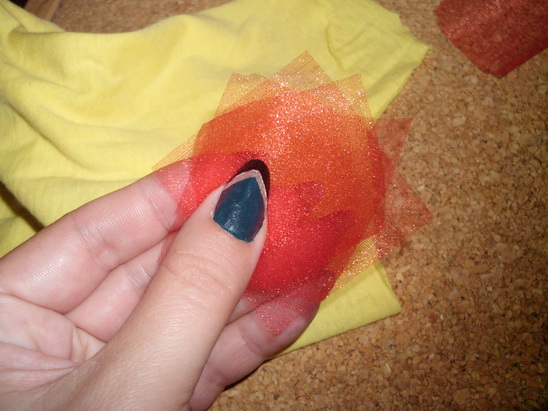
Step 2
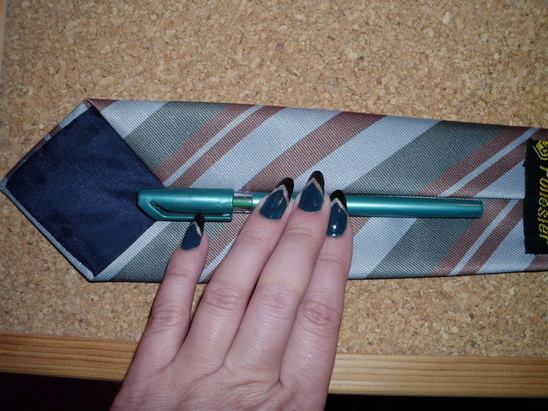
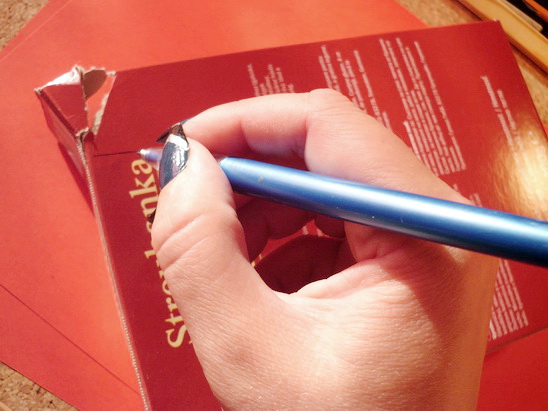
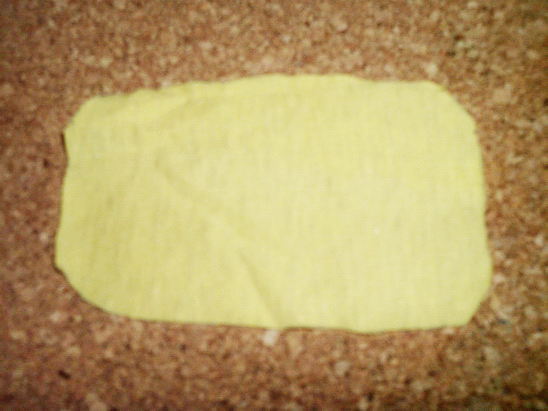
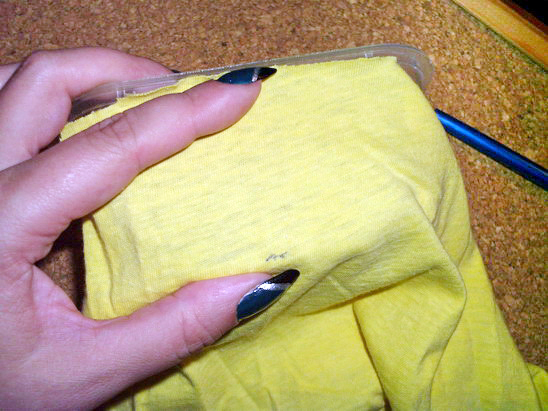
Place the cloth over the box lid and mark the contour.
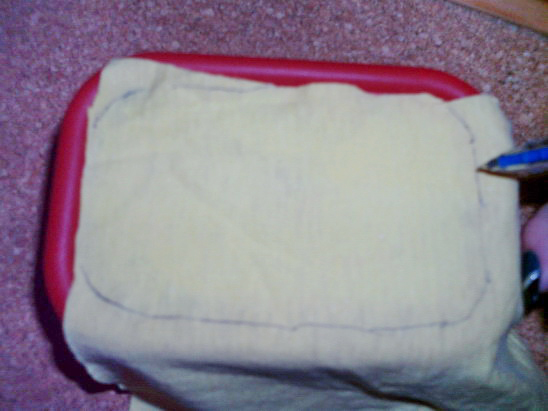
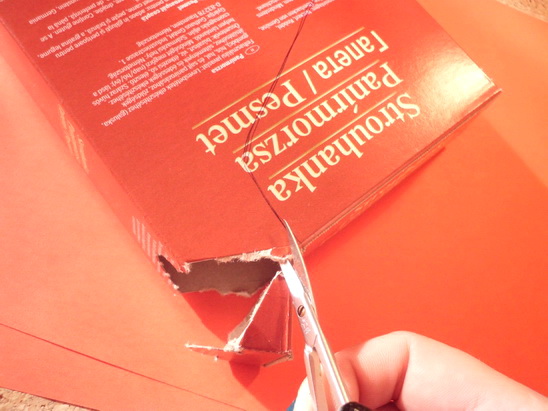
Cut it out…
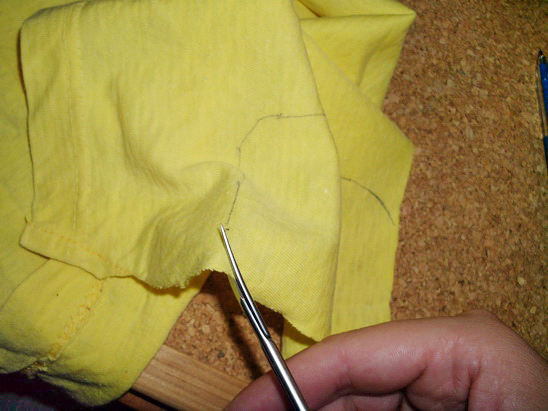
… like this.
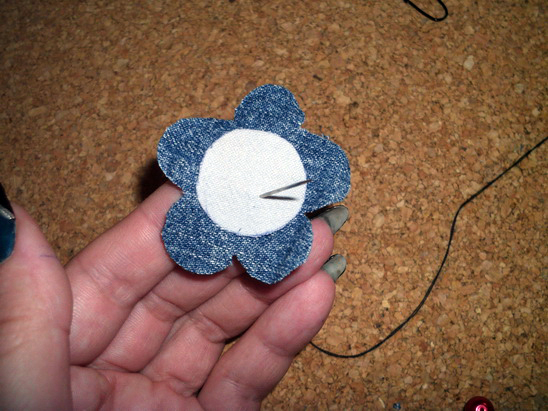
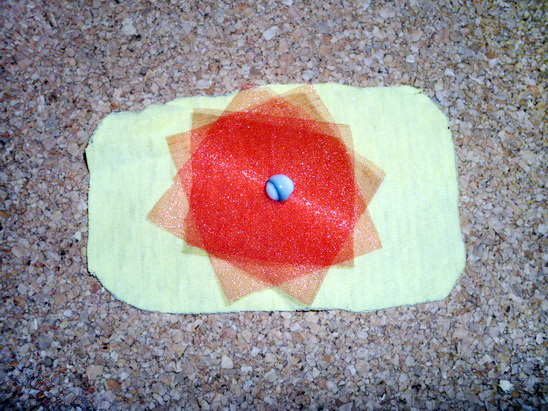
Sew the tulle flower on the middle of it…
… like this.
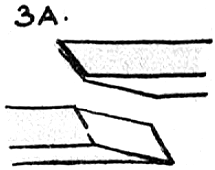
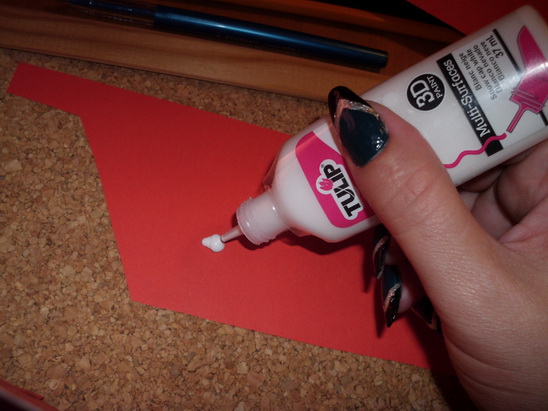
Step 3
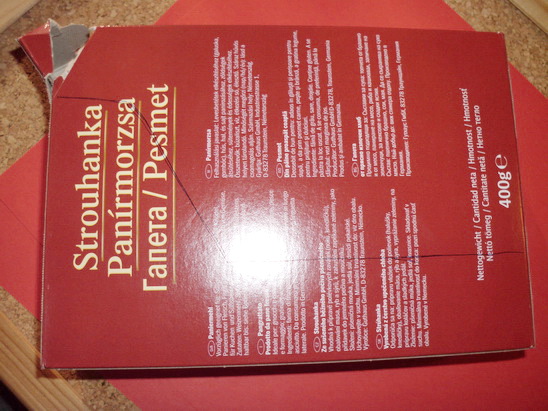
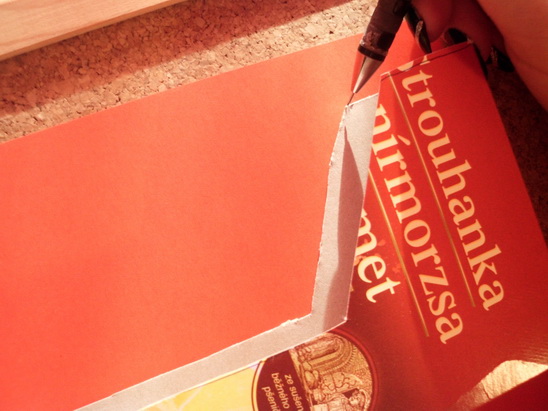
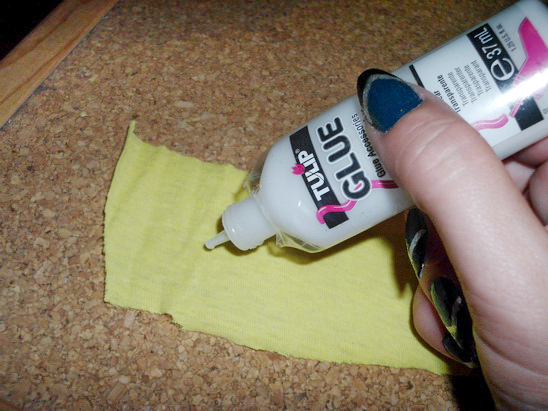
Remove (as much as you can) the label on the lid, then add glue on it…

… like this…
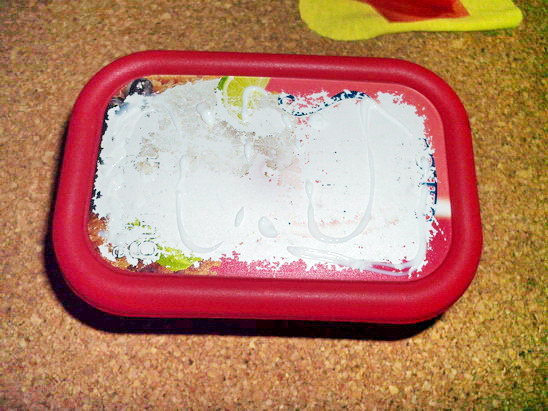
… and place the decorated cloth on it.
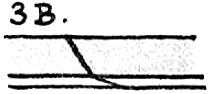
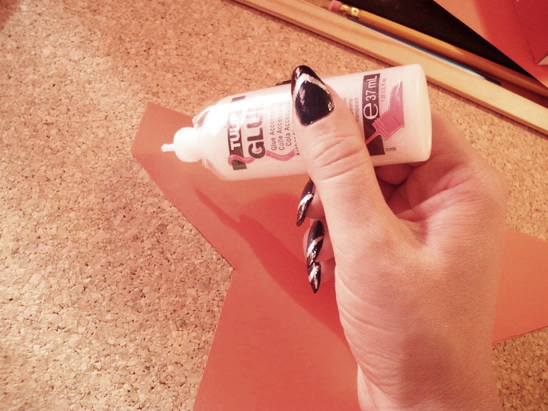
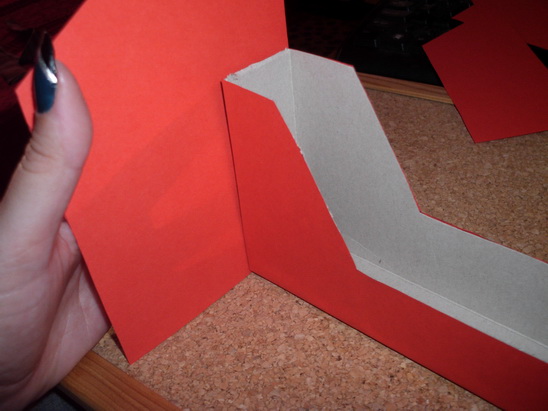
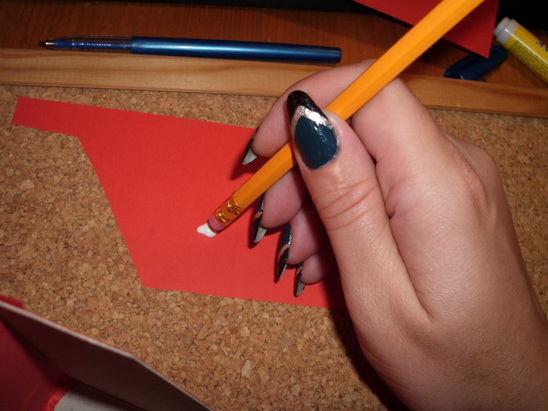
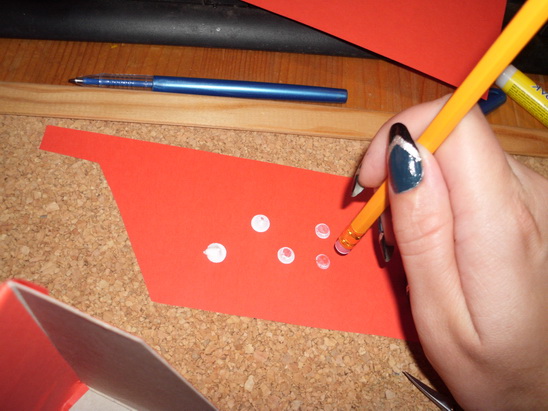
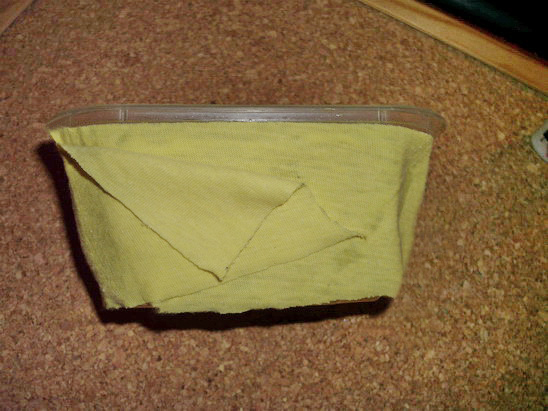
Step 4
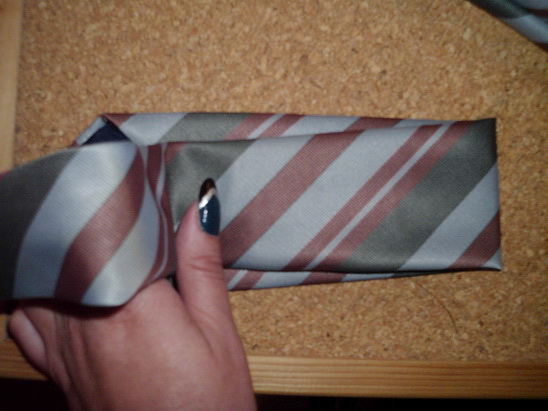
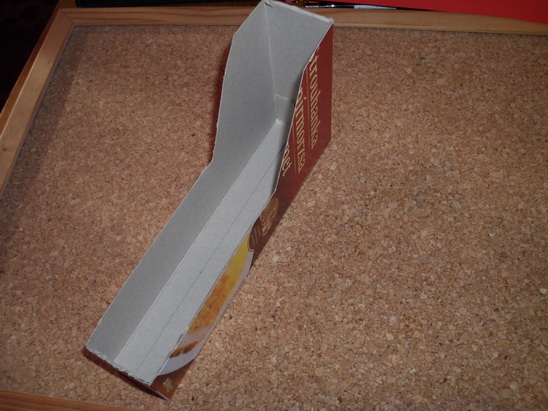
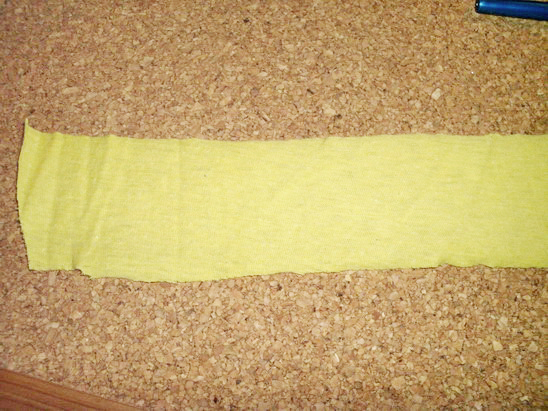
Now, that the lid is ready, is time to decorate the box.
Place the cloth over it and measure the height.
Cut a strip that measures that height.
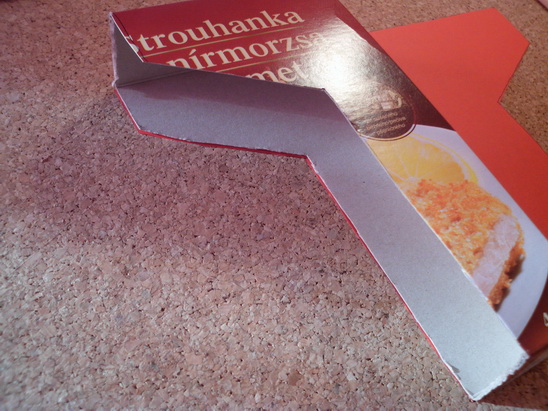
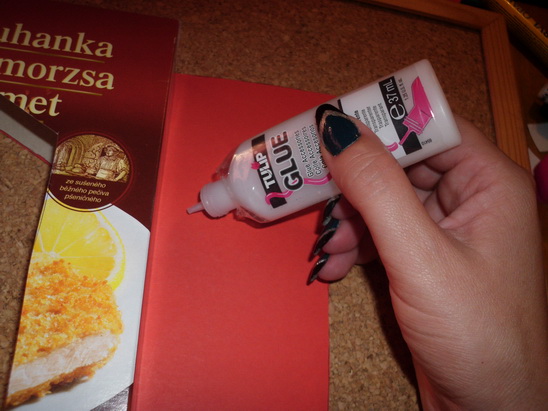
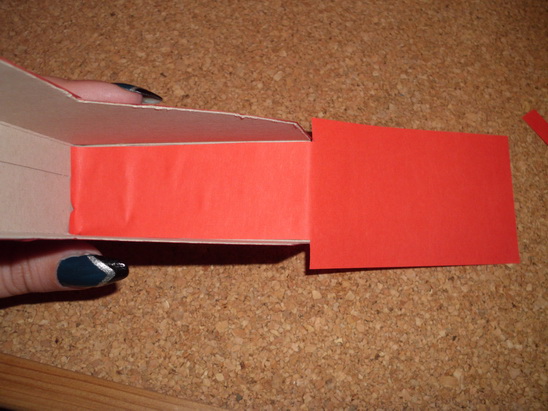
Apply a layer of glue on it…
… and cover the box. I made some folds on the front to make it less plain.
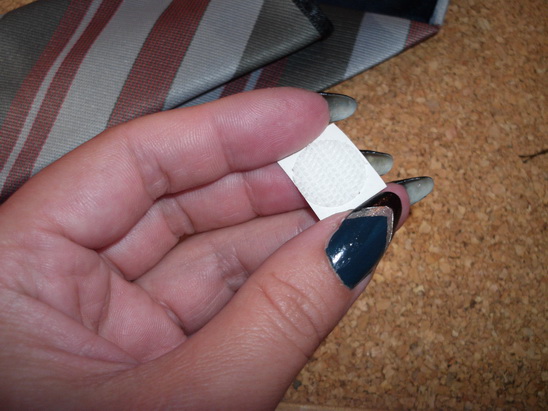
Take the auto-adhesive crystal…
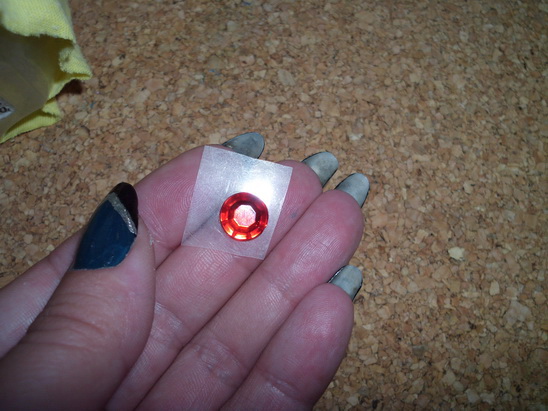
… and use it to highlight the folds.

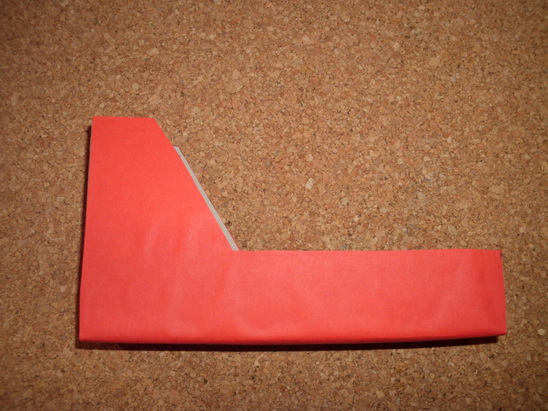
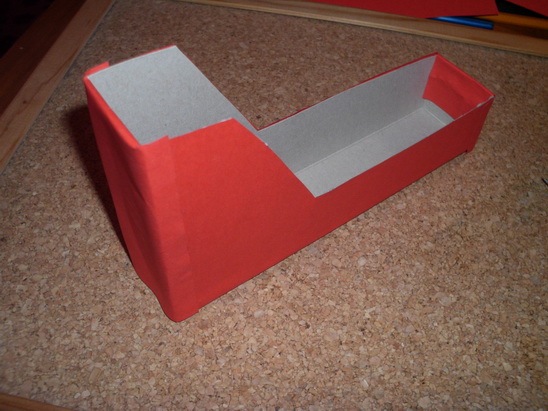
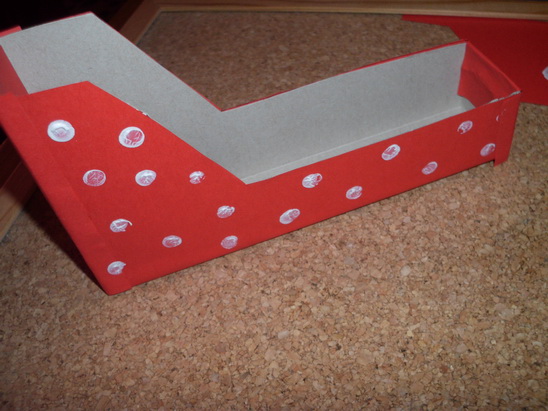
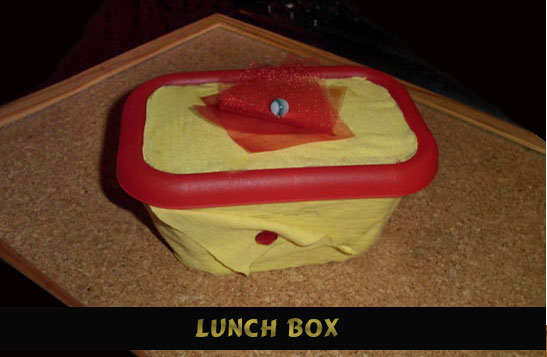
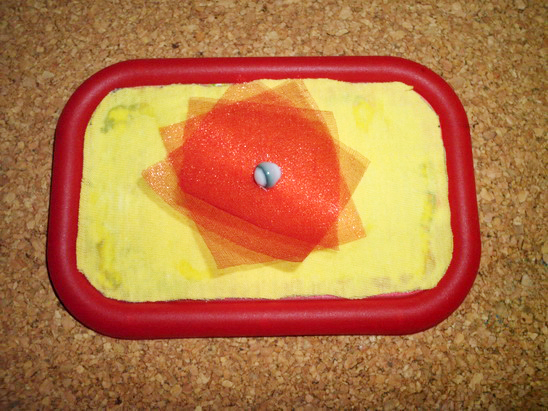
Now the decorated lunch box is ready.
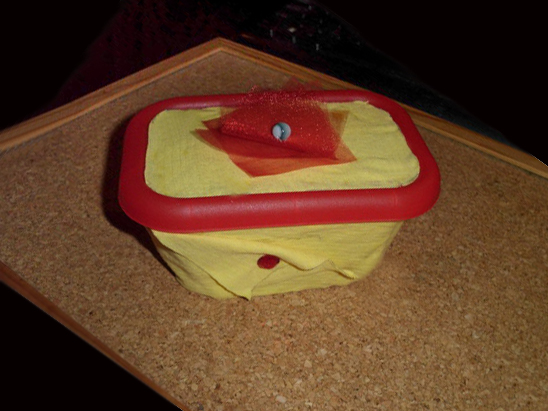
Now you have no ordinary lunch box. You have a very girly and fun lunch box that no other person will have. Enjoy it!!
Technorati Tags: back to school, back to school crafts, back to school crafts for kids, container crafts, lunch box, lunch boxes, lunch box craft, how to make a lunch box, how to make a lunch container