I have a scary little craft for you today. I am going to show you how to make a Skeleton out of Q-Tips. This craft will be an awesome Halloween decoration this season and the kids will love to make it. It’s not difficult, but comes out looking super creative and it’s a lot of fun.
Check out our other Halloween Crafts.
Materials Needed
Q-tips
Printer
Black Paper
Glue
Scissors
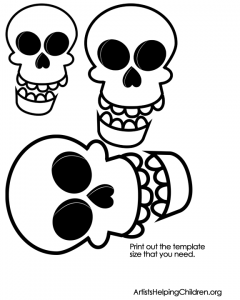
Print the template below to make the skeleton’s head.
CLICK ON IMAGE TO OPEN IT UP BIGGER TO PRINT.
Step 1
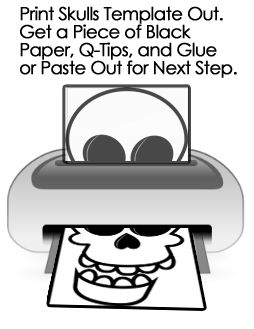
Print skulls template out. Get a piece of black paper, Q-tips and glue/paste out for next step.
[ad#ahc]
Step 2
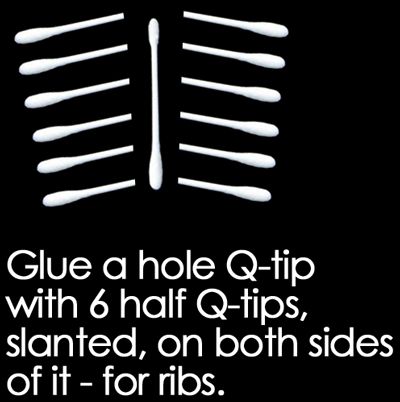
Glue a whole Q-tip with 6 half Q-tips, slanted, on both side of it – for ribs.
Step 3
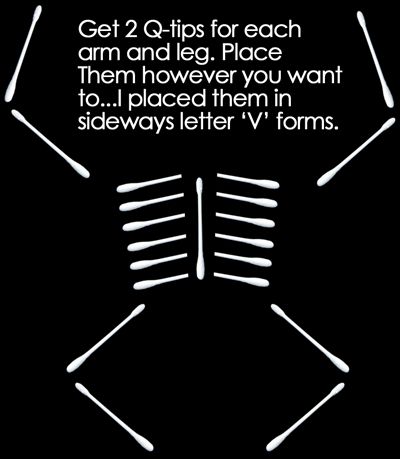
Get 2 Q-tips for each arm and leg. Place them however you want to… I placed them in sideways letter ‘V’ forms.
Step 4
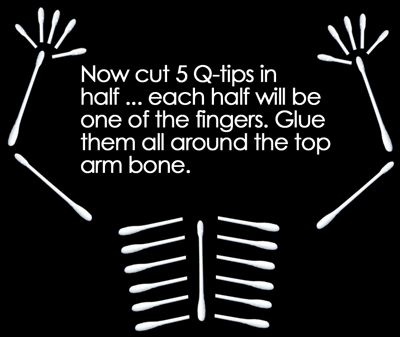
Now, cut 5 Q-tips in half… each half will be one of the fingers. Glue them all around the top arm bone.
Step 5
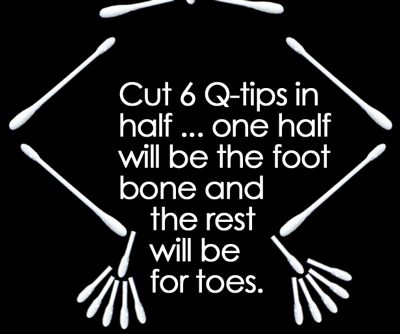
Cut 6 Q-tips in half…one half will be the foot bone and the rest will be for the toes.
Step 6
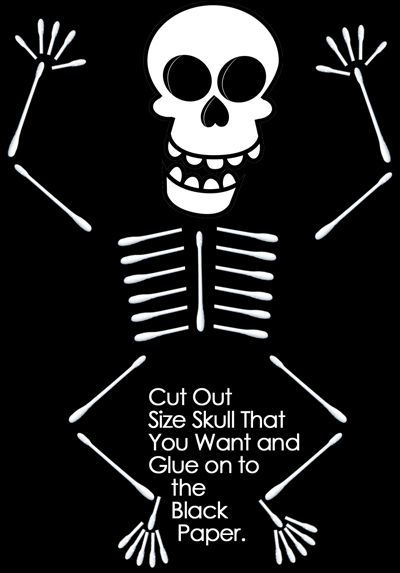
Cut out the size skull you want from the template and glue on to the black paper.
That is one cool skeleton, huh?! And, what is even more cool about it is that you could find the materials for this Halloween craft around your house. There was no need to go out and buy anything. If you are looking for other Skeleton types of crafts check out our Skull Flashlight Cover and our Skull Trick or Treat Basket.
Here is our video on How to Make a Q-Tip Skeleton for Halloween
Technorati Tags: Halloween, Halloween Crafts, Skeleton, Skeleton Crafts, Halloween Decorations, Halloween Decoration Crafts



you could pre-cut the q-tips too, and use it as a counting lesson!
Awesome I am 14 and didn’t know this wow I am gonna get a +A cuz of u thanks 😀
It’sh me again and u know u can make a frankinstien thing on the door what u need -2 green neon posters -2 paper plates -glue of course – 4 pieces of black construction paper -sissors and something else…………….. XD