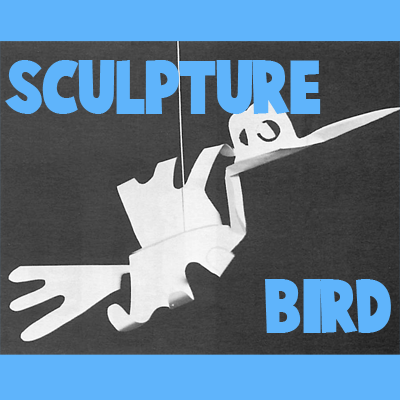
Today I have a fun craft for you. I’m going to show you how to make a Paper Sculpture Bird. When made correctly the birds are 3 dimensional and look so cool hanging from a ceiling. These Paper Sculpture Birds can be used to decorate a classroom or child’s bedroom. A great number of birds and animals can be made by using this technique…. so feel free to use your imagination, Grab the materials needed and let’s get started.
Check out some other Paper Folding Activities.
Materials Needed
8 1/2″ x 11″ typewriting or mimeograph paper
Scissors
Ruler
Pencil Paper punch
Thread
Step 1
8 1/2 x 11″ typewriting paper is folded in half and a freehand cut is made to suggest the bird form.
A paper punch is used to make the eyes.
[ad#ahc]
Step 2
Unfolding the paper reveals a symmetrical design.
Step 3
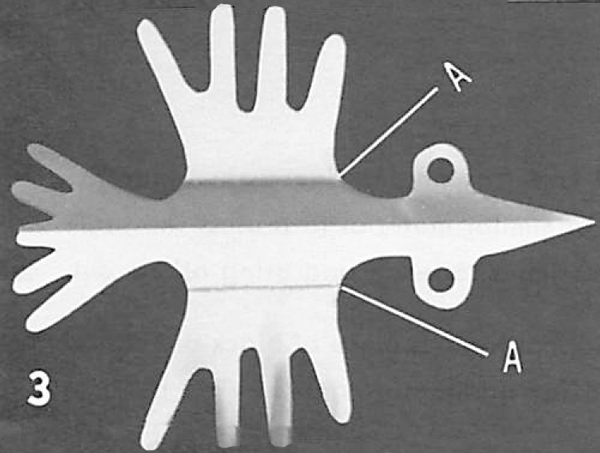
Using a ruler as a straight edge, fold upward the wings of the bird at points “A”.
Step 4
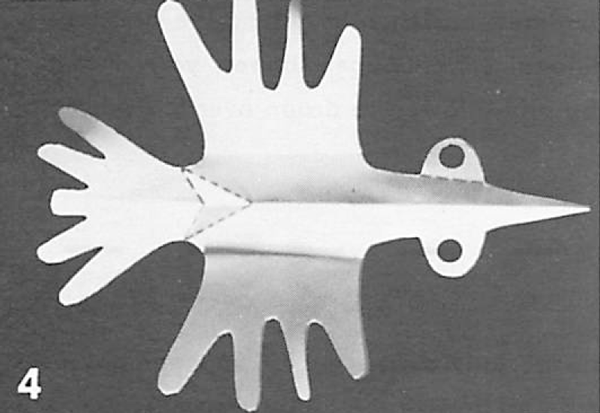
In making the pleat, draw two triangular peaks lightly with pencil as shown in Figure 4. Carefully fold the pleats down; this will bring the tail of the bird up.
Step 5
The wing tips are curled by rolling them tightly around a pencil.
Step 6
In Figure 6 another pleat is made at the neck; and the bird is suspended from the ceiling with thread.
And, there you have it…..you just finished making a Paper Sculpture Bird. This Paper Sculpture Bird would look so cool hanging from your bedroom ceiling. Where are you going to hang your bird?
Technorati Tags: crafts for kids, paper folding, paper arts, crafts for children, paper folding crafts, paper folding art, bird crafts, paper bird crafts, paper crafts for kids, paper bird crafts for kids, paper animals, paper birds, hanging crafts


