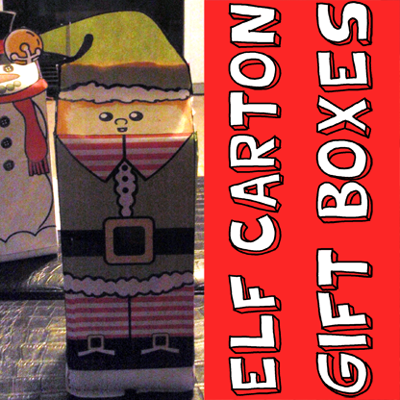
Christmas is just around the corner. Surely, you have an idea of the gifts you are giving your friends and family. But, have you figured out the gift box you will be placing your gift in? Well, don’t worry too much about it…. I have the perfect craft for you. Today I’m going to show you how to make an Elf Milk Carton Gift Box perfect for any gift you are giving this Holiday Season.
Check out our other Christmas Crafts.
Materials Needed
Printer & Paper
Milk Carton
Tape
Scissors
Glue Stick
Step 1
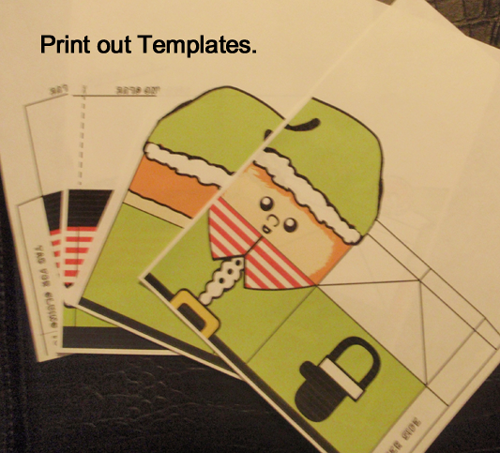
Print out Templates. Click on this link to open up a new web page to templates and to print off.
[ad#ahc]
Step 2
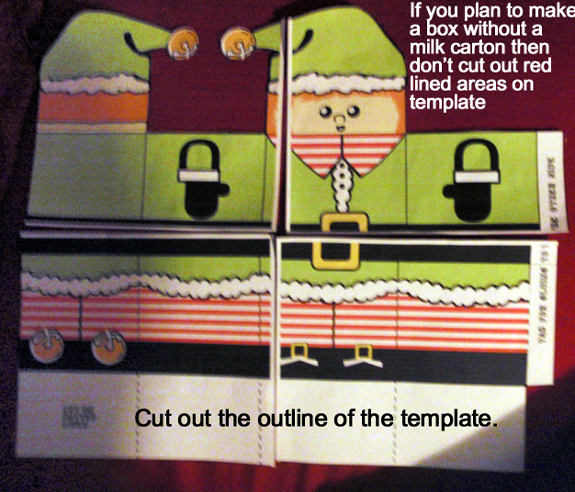
Cut out the outline of the template. If you plan to make a box without a milk carton then don’t cut out red lined areas on template.
Step 3
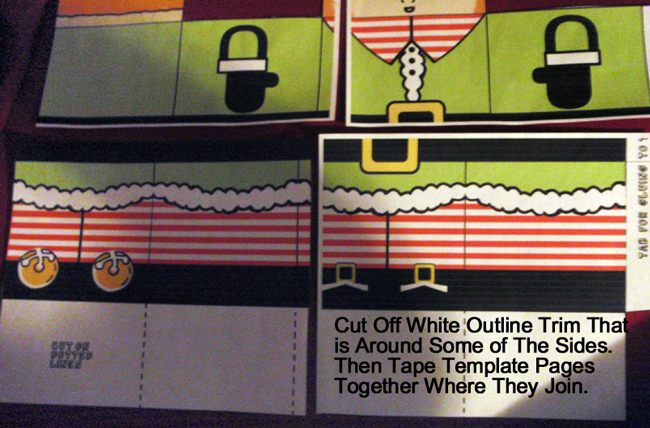
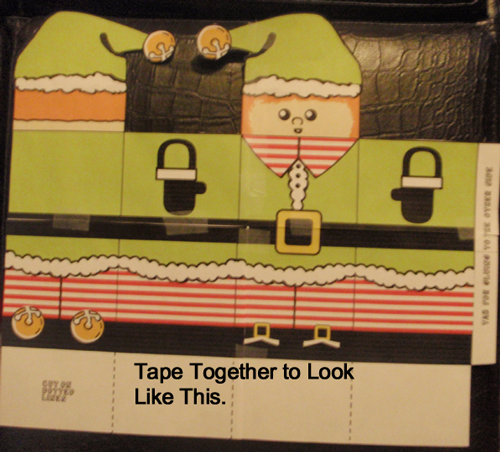
Cut off white outline trim that is around some of the sides. Then tape template pages together where they join.
Tape together to look like this.
Step 4
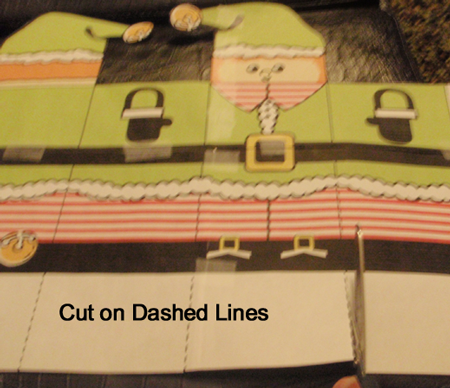
Cut out on dashed lines.
Step 5
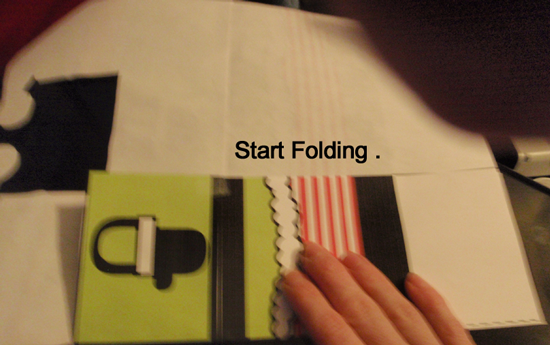
Start folding.
Step 6
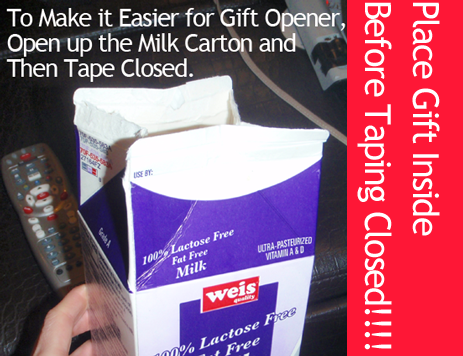
To make it easier for gift opener, open up the milk carton and then tape closed. ***Place gift inside before taping closed.
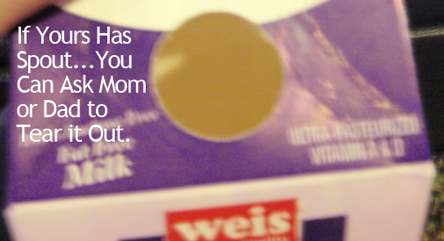
If your milk carton has a spout… you can ask Mom or Dad to tear it out.
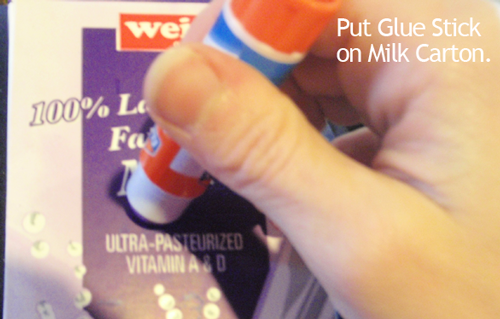
Put glue stick on milk carton.
Step 7
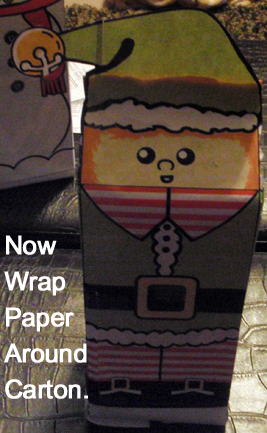
Now wrap paper around carton.
Step 8
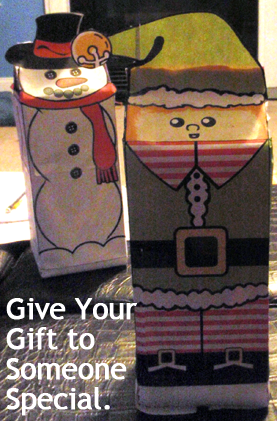
There you have it…. you just finished your Elf Milk Carton Gift Box. Now, give your gift to someone special. They are sure to love the gift box almost as much as they will love the gift inside.
Technorati Tags: Christmas crafts, xmas crafts, Christmas activities, xmas activities, December crafts, Holiday crafts, Holiday activities, gift boxes, gift box crafts, milk carton crafts, Christmas milk carton crafts, elf crafts
