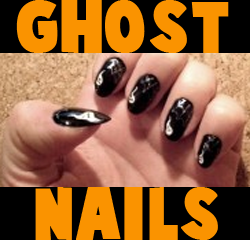
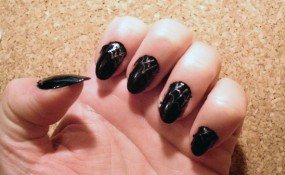
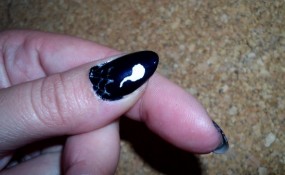
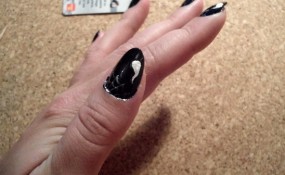
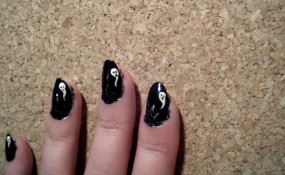
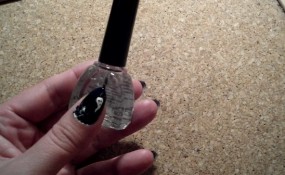
If you want to be unique around Halloween time, you will love this idea for painted on ghost nails. This is a perfect nail decoration for Halloween: and these nails glow in the dark! . Laura from Dacian Moon Handmade will show you, step by step, how to paint them.
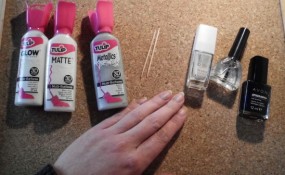
CRAFTS MATERIALS NEEDED:
– protective base (nail shield )
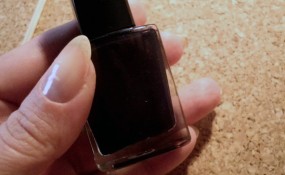
– very dark blue nail polish
– clear lacquer
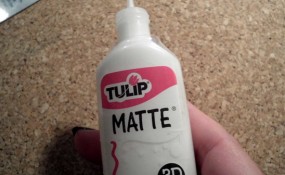
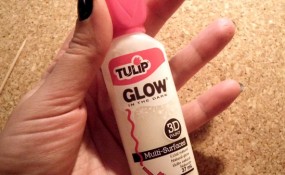
– acrylic paints – silver, opaque white, white glow
– toothpick
Step 1.
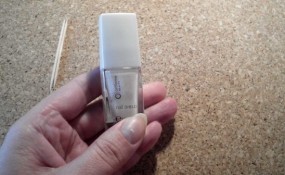
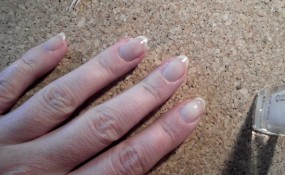
Apply a protective layer on your nails using the base…
Like this. Let it dry.
Step 2.
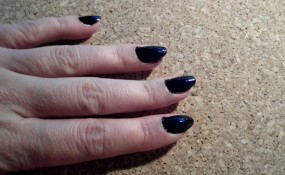
Apply a layer of dark nail polish and let it dry well.
[ad#ahc]
If color is not uniform, apply another layer. Let it dry well.
Step 3.
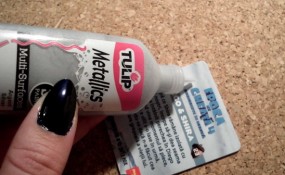
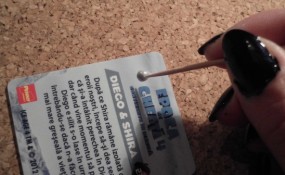
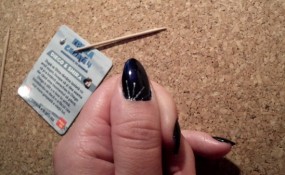
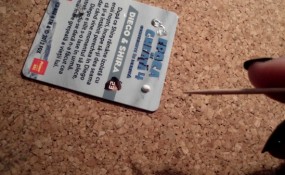
Put a drop of silver paint on a cardboard.
We will apply it using a toothpick.
Draw 3 lines from a corner…
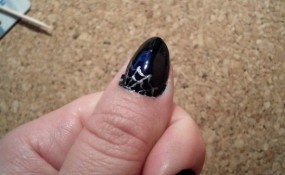
… then connect them with curves. Like this.
Add a new row of curves and the spider web is ready.
Draw this spider web on every nail.
Let it dry.
Step 4.
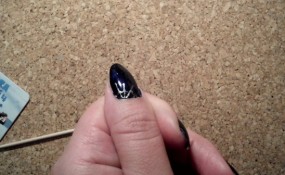
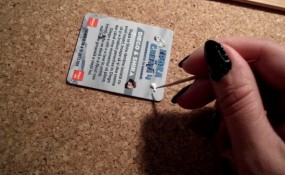
Next we add ghosts using opaque white.
I will show on the cardboard what to do. Put a small drop of paint.
Using toothpick pull down a little to make her tail. Like this.
Let it dry a bit, then with the other end of the toothpick make the eyes and mouth. Like this.
If you can’t make the eyes and mouth this way, use a little black paint to draw them, once the white paint is dry.
So, do that on your nails, on the opposite corner.
Repeat for all the nails.
Step 5.
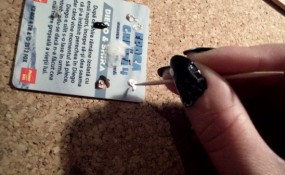
Add a layer of glow in the dark paint on the ghost. You can apply it with a toothpick or a cotton stick. Let it dry.
Take care if you will use black paint for the eyes and mouth, the glow in the dark layer should be applied before that.
Your nails are almost ready.
Step 6.
To protect your manicure, apply a coat of clear lacquer.
Thus colors will not fade with water. In order to remove them, use nail polish remover.
Technorati Tags: ghosts, ghost, ghost crafts, nails, nail art, halloween, halloween crafts, halloween nails, ghost nails
