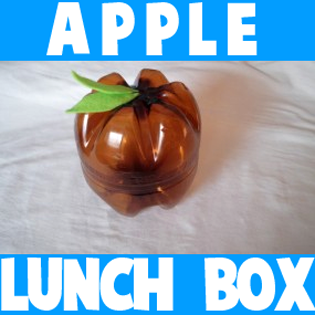
This project is perfect as a “back to school” project. It is very simple and fun, as well as a great way to store your packed lunch. This is also a great way to recycle / upcycle plastic soda bottles. Laura from Dacian Moon Handmade got inspiration for this craft from Creative Jewish Mom. Laura will show you, step by step, how to make this new lunch box.
CRAFTS MATERIALS NEEDED:
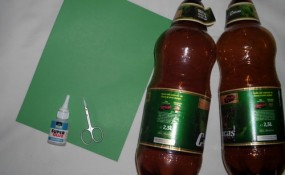
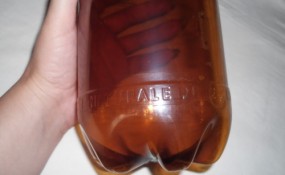
– two 2.5l plastic bottles (the sort where the bottom looks a bit like a flower with five petals)
– scissors
– instant glue
– green felt
– pen
Step 1.
Clear the bottles – remove the labels.
Step 2.
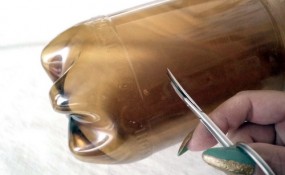
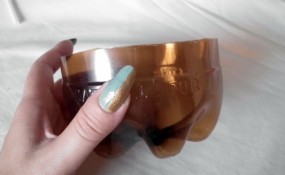
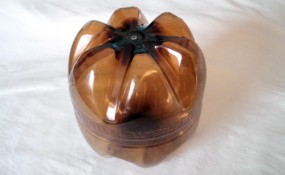
Use the scissors to cut off the end of one bottle.
Like this.
[ad#ahc]
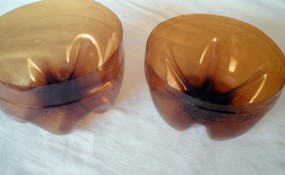
Cut also the end of the other bottle .
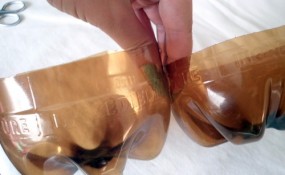
Take care to cut one a centimeter taller than the other…
… so you could overlap them and they stick together.
Like this.
Step 3.
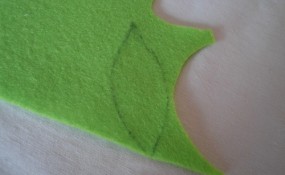
Draw two leaves on the felt…
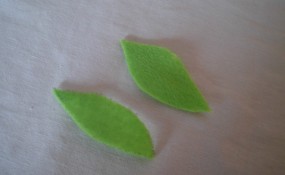
… then cut them out.
Step 4.
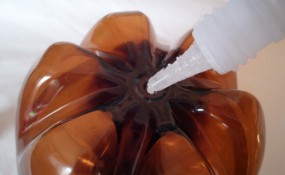
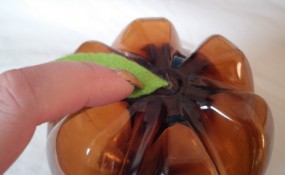
Add a bit of glue on the middle of one “flower”…
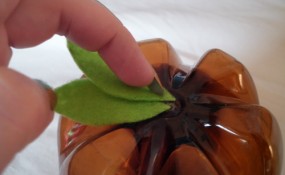
… and place one leaf on it.
Add the second leaf.
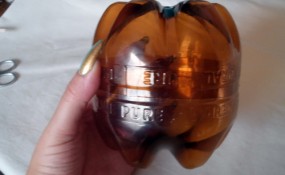
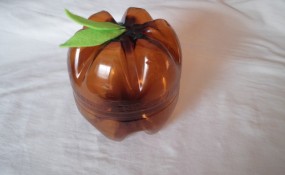
Let it dry and you have an apple lunch box 😉
Technorati Tags: soda bottle crafts, plastic bottle crafts, apple crafts, back to school crafts, back to school, lunch box crafts, bottle crafts
