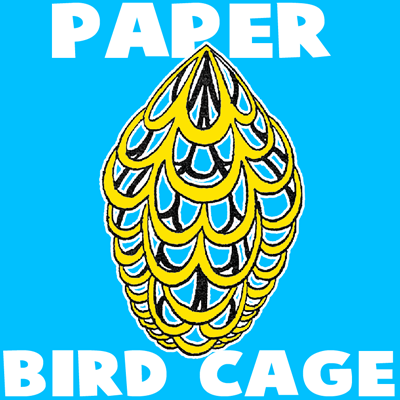
This is another fun paper craft that would be fun to make on a rainy day. These foldable paper bird cages turn out so beautifully, you can even give them away as gifts.
NOTE: The steps might seem simple, but they need to be followed carefully. Don’t be discouraged if you need to try this more than once to get it just right.
Crafts Materials Needed:
Paper
Scissors
Step 1
Start with a square piece of paper or cut down a piece of paper into a square. Then fold the lower right corner inward and upward to the upper left.
Step 2
Now you have a triangle. Now fold its lower left corner inward and upward to the upper right corner.
[ad#ahc]
Step 3
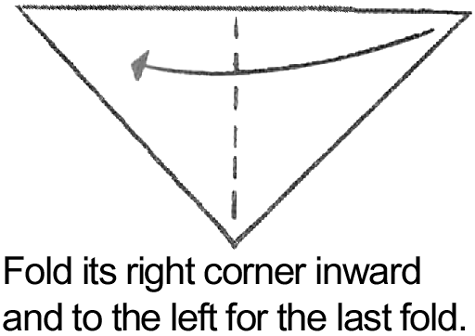
You now have a smaller triangle. Fold its right corner inward and to the left, as a final fold.
Step 4
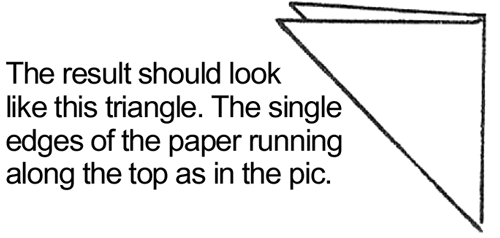
The result should look like this triangle. The single edges of the paper running along the top as in the picture above.
Step 5
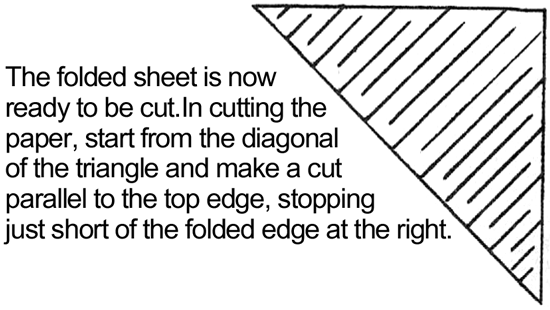
The folded sheet is now ready to be cut. Cut the paper the way you see it in the above picture. If you need me to verbalize how it is being cut…I have told you below.
(In cutting the paper, start from the diagonal of the triangle and make a cut parallel to the top edge, stopping just short of the folded edge at the right. Then cut from the folded edge back toward the diagonal, stopping short of the diagonal. Continue with these alternating cuts.)
Step 6
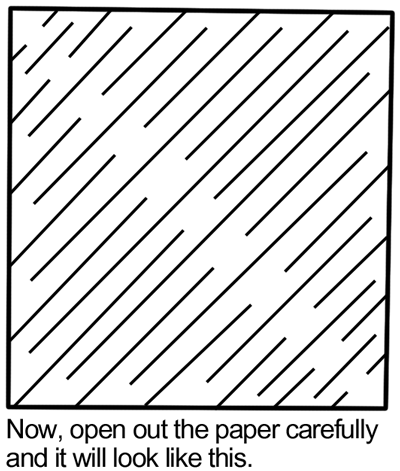
Now, open out the paper carefully and it will look like this.
Step 7
Gather the corners of the paper and shake the center downward. By twisting the corners, or setting them together with tape or a rubber band, you form the fancy paper cage as shown in the picture.
Technorati Tags: papercrafts, papercraft, paper crafts, paper bird cages, paper bird cage, paper tricks, tricks with paper, paper crafts for kids, paper crafts for children
