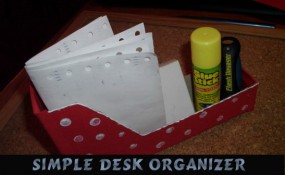
There is not much worse than doing your homework on a cluttered unorganized desk. Who wants to hunt for the homework supplies you need on a messy desk? Well, you don’t have to worry about that anymore. Today I’m going to show you how to make a Simple Desk Organizer. It will be perfect to hold on to some paper, pencils, erasers, and pretty much anything else you want to keep organized on your desk. So, grab the materials needed and let’s get started.
Check out our other Back to School Crafts.
Tutorial offered by Laura from Dacian Moon Handmade .
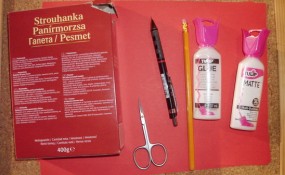
Materials Needed
– recycled box
– white paint
– scissors
– pencils (one with eraser head)
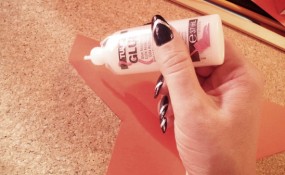
– paper glue
– red paper
Step 1
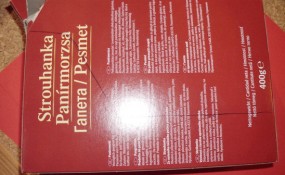
Take the box…
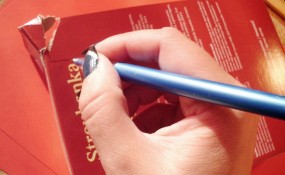
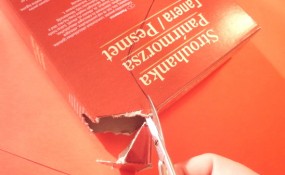
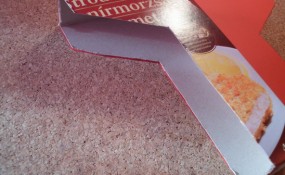
… and draw the contour of our organizer on it, like in the picture.
Cut on the line.
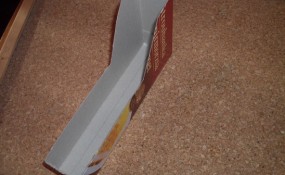
It will look like this.
[ad#ahc]
Step 2
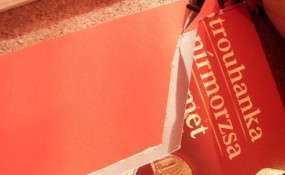
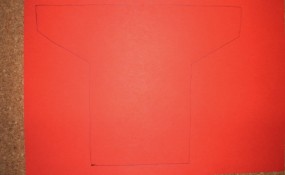
Place the box on its side on the paper and draw the contour.
Turn it on the other side and continue the contour. It will look like this.
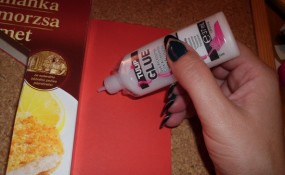
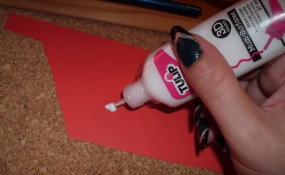
Apply a layer of glue on half of the paper…
… and place the box on it.
Then glue the other half.
Like this.
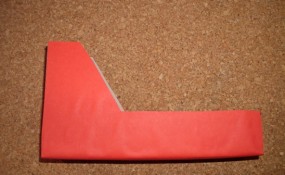
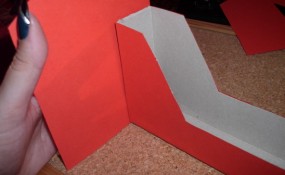
Continue covering the sides of the box.
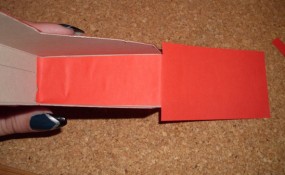
You can cover the inside of the sides too.
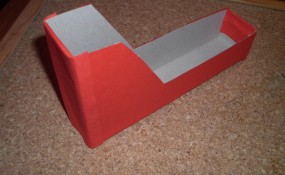
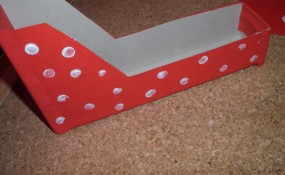
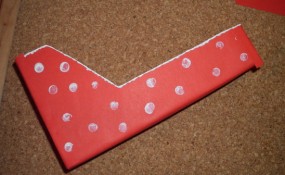
It will look like this.
Step 3
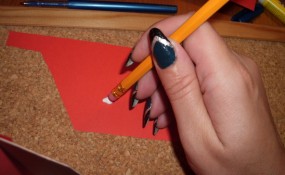
Put a little bit of paint on a piece of paper…
… and use the pencil with eraser head…
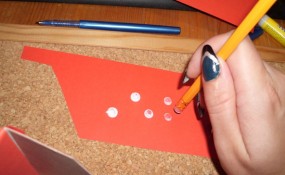
… to make white dots.
Decorate the box with white dots.
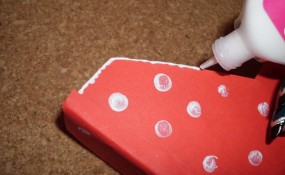
Finally, let’s add a thin band of paint on the edges.
Let it dry well.
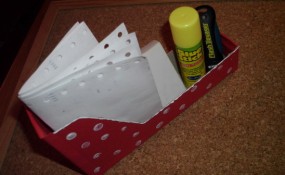
Now you can use the organizer.
Isn’t this a great Desk Organizer? And, it was so simple to make. Now, you have a great way to organize your desk perfect for doing your homework. Enjoy!!
Technorati Tags: crafts for kids, organizers, organizer crafts, organizer crafts for kids, desk organizer, get organized, pencil holder, pencil holder crafts, cardboard crafts, cardboard organizers, crafts with cardboard, back to school crafts, declutter crafts
