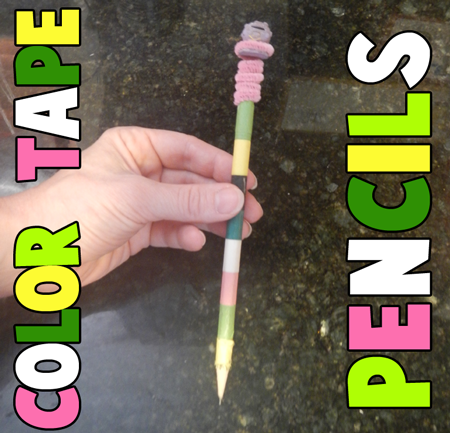
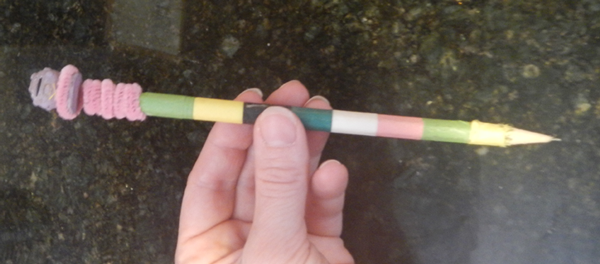
School is about ready to begin again. And, what is the item you use most often at school? A pencil, of course. So, for today’s craft I’m going to show you how to take an everyday pencil and turn it into a Color Tape Decorated Pencil perfect for using at school. Just grab a standard cheapo yellow pencil and some different color tape and you are good to go. The more different colored tape you have the better. So, grab the materials needed and let’s get this back to school craft started.
Check out our other Back to School Crafts.
Materials Needed
Pencil
Colored Tape (at least 2 different colors)
Glue Stick
Pipe Cleaner & Figure (optional)
Step 1
Wrap colored tape around pencil.
[ad#ahc]
Step 2
Wrap another color around next area.
Step 3
You only need 2 colors…. but the more the better. Alternate colors.
Step 4
Keep going until end of pencil.
Step 5
Apply glue to entire pencil. Let dry.
Step 6
Now there is a nice shiny coat.
Step 7
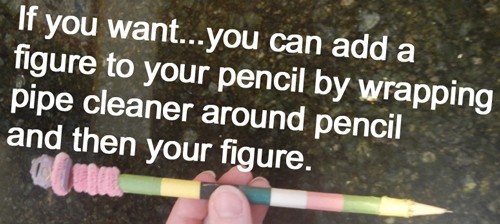
If you want…. you can add a figure to your pencil by wrapping pipe cleaner around pencil and then your figure.
Awesome job!!! You just finished your Color Tape Decorated Pencil. How did your pencil turn out? Let me know in the comments below. And, don’t forget to take a picture too and share that in the comment as well. I’d love to see it.
Here is our video on How to Make Color Tape Decorated Pencils
Technorati Tags: back to school, back to school crafts, back to school activities, pencils, pencil crafts, tape crafts, color tape crafts, electrical tape crafts, decorated pencils, decorated pencil crafts, how to decorate a pencil, pipe cleaners, pipe cleaner crafts, pipe cleaner activities


