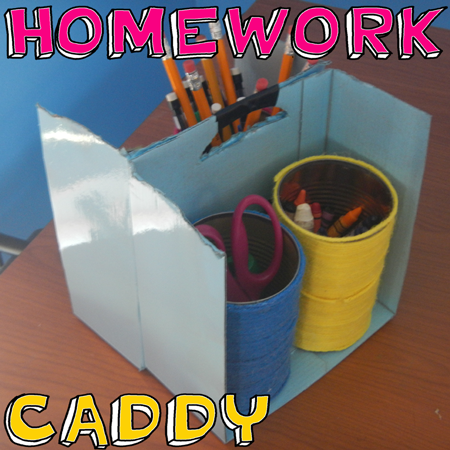
Did you ever feel like you were rummaging around to find your homework school supplies when it was time to do your homework? Well, I have a craft for you today that will fix this problem. In this post I’m going to show you How to Make a Homework Caddy. This is a perfect way to keep all your homework school supplies in one place when you are ready to do your homework. You can keep all your school supplies like crayons, pencils and scissors in once place and carry this caddy around where ever you want to do your homework. So, grab the materials needed and let’s get started.
Check out our other Back to School Crafts.
Materials Needed
4 Empty Cans
Glue
Yarn (4 different colors if you would like)
Cardboard Box (2 cans wide)
Scissors
Marker
Paint (optional)
Duct Tape
Step 1
Get 4 empty cans.
[ad#ahc]
Step 2
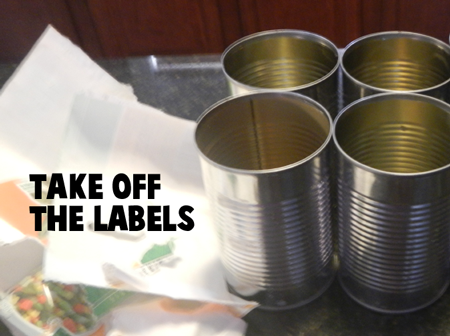
Take off the labels.
Step 3
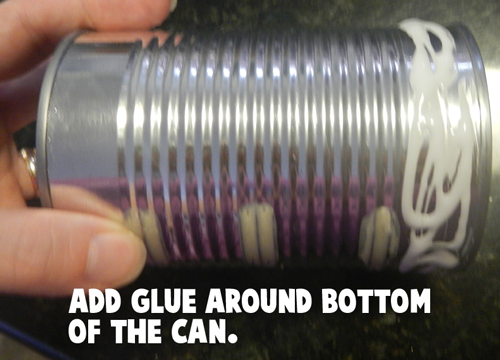
Add glue around bottom of the can.
Step 4
Start winding yarn around can.
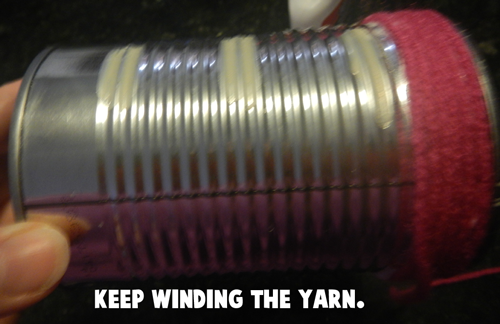
Keep winding the yarn.
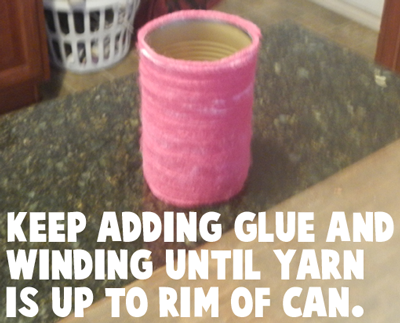
Keep adding glue and winding until yarn is up to rim of can.
Step 5
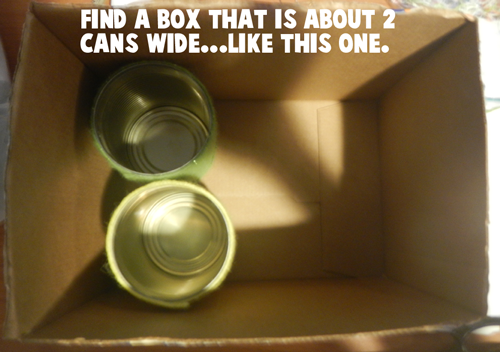
Find a box that is about 2 cans wide… like this one.
Step 6
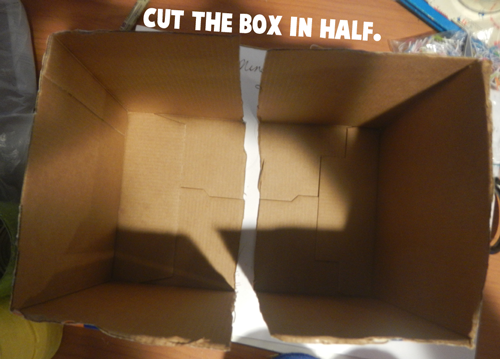
Cut the box in half.
Step 7
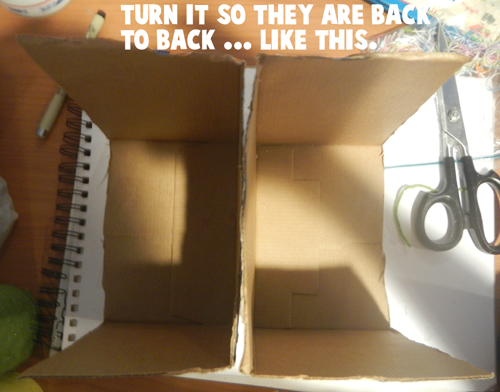
Turn it so they are back to back…. like this.
Step 8
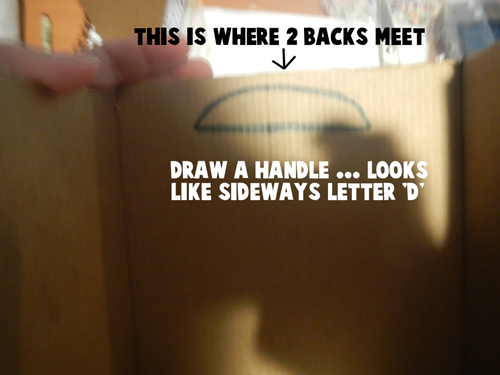
On the back of the box where the two boxes meet… Draw a handle. This handle looks like a sideways letter ‘D’.
Step 9
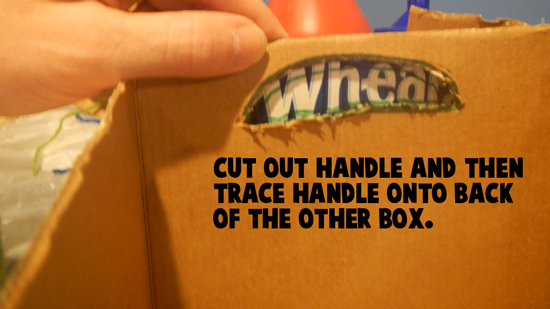
Cut out handle and then trace handle onto back of the other box.
Step 10
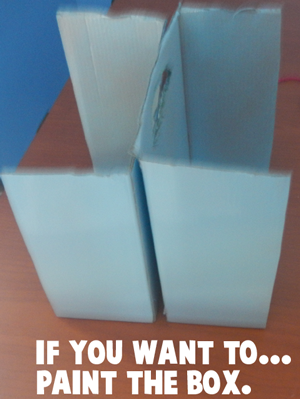
If you want to… paint the box.
Step 11
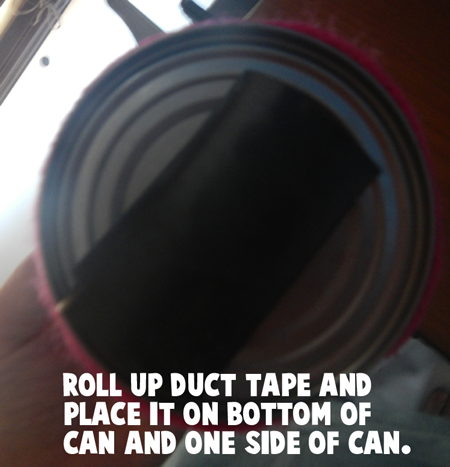
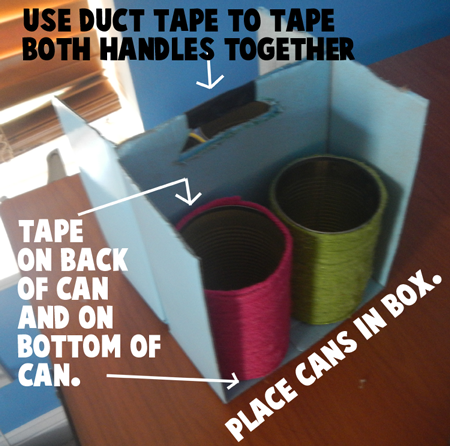
Roll up duct tape and place it on bottom of can and on one side of can.
Step 12
Place cans in box. Use duct tape to tape both handles together.
Now you have your homework caddy finished. You are all ready to carry your homework caddy anywhere you want to do your homework. Enjoy!!
Technorati Tags: back to school, back to school crafts, homework crafts, organization crafts, crafts to organize, yarn crafts, can crafts, homework caddy, back to school crafts for kids, box crafts, cardboard box crafts
