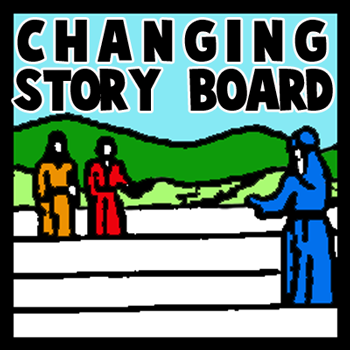
Today I’m going to show you how to make a changing story board. You can bring your stories to life by using your creativity and a little bit of imagination. As the story evolves you can change your story board to depict the story you are trying to tell to your family and friends. You will actually have moveable figures and changeable backgrounds for your story…. what better way to actually tell your story than to have visuals. So, grab the materials needed and let’s get started.
Materials Needed
2 poster boards
markers and / or poster paints
scissors
stapler and staples (optional)
glue or paste
tape
card stock to make figures
Step 1
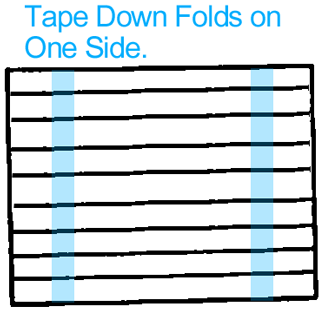
Fold one of the poster boards as seen in above. Basically folding forward and then fold backwards…then forwards…backwards…etc.
[ad#ahc]
Step 2
Tape folds on back of poster board.
Step 3
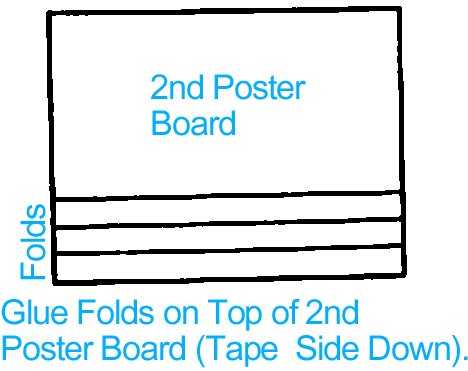
Glue folds onto bottom of the second poster board, as seen in the picture. You can cut off folds that you don’t want before you glue it down. along sides of board.
Step 4
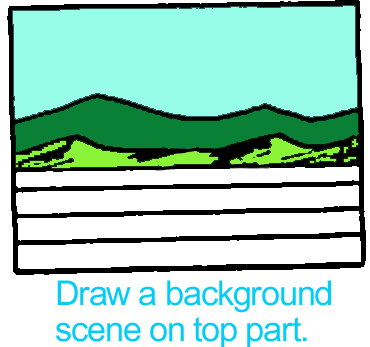
Draw a background that depicts your story. This should be drawn on on upper section (2nd poster board).
Step 5
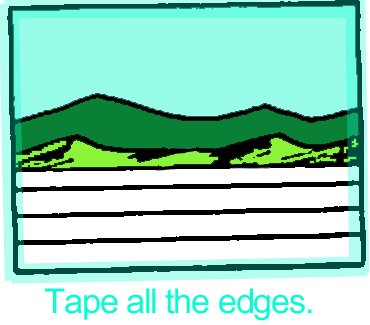
Bind edges with tape.
Step 6
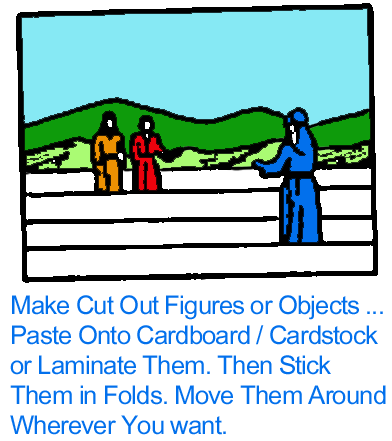
Make cut out figures or objects. Place figures in various folds as story is told.
Step 7
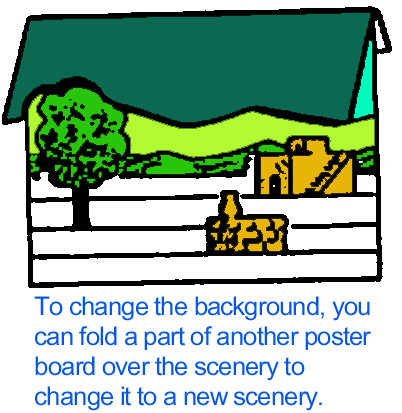
Scenes may be changed easily. Night or stormy sky may be added by drawing and coloring on another poster board and folding along top about 2 in from edge. Hang over top of board, as seen above. Cut the bottom of sky to show hills in background. Shrubs, houses, wells, etc. may be placed in folds.
And, that’s it. Use your imagination to make any story line you can come up with for your story board. Share your story with your family and friends…. they are sure to love it.
Technorati Tags: story boards, story board crafts, story boards for kids, how to make a story board, story board activities, story crafts, story activities, educational crafts, reading crafts, reading activities, educational activities


it’s ausome