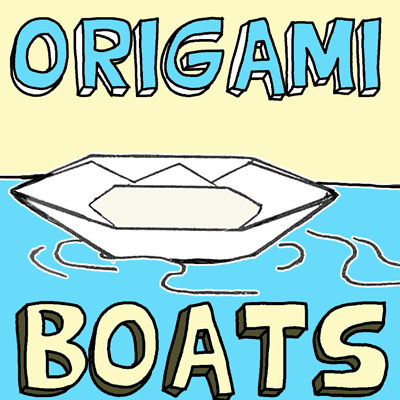
Today I’m going to show you how to make Origami Boats. When made with waterproof paper like waxed paper or cellophane these Origami Boats will actually float. Use them in the bathtub or in a puddle outside. Not only is this craft fun to make, but it is equally fun to play with the Origami Boat once made. You can even add toothpicks to the boat to give the illusion that the boat has oars. So, grab the materials needed for this craft and let’s get started.
Check out our other Origami Crafts.
Materials Needed
Waxed Paper, Cellophane, or Other Waterproof Paper
Toothpicks (optional)
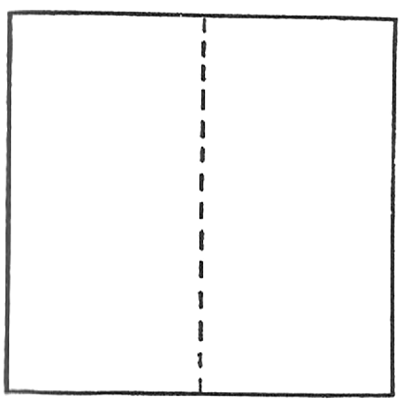
Step 1
Fold a square in half and crease…then unfold.
[ad#ahc]
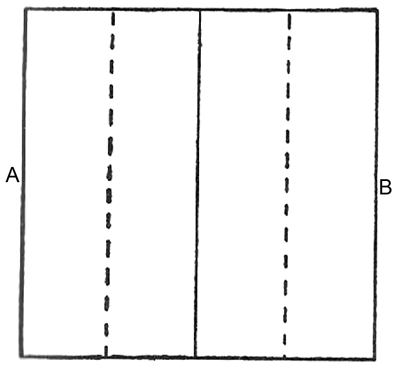
Step 2
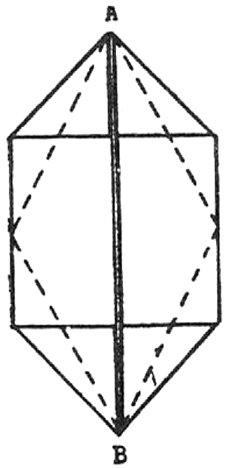
Bring lines A and B to center fold and crease.
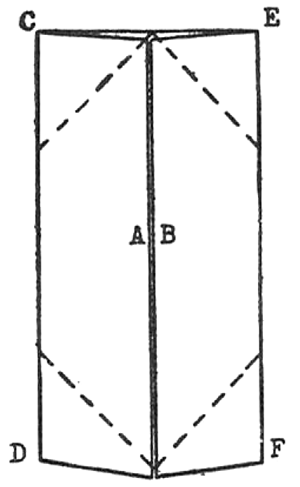
Step 3
Fold on diagonal dotted lines, bringing points C, D, E and F to the center line and crease.
Step 4
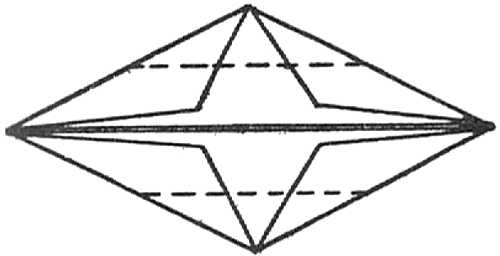
Fold on dotted lines.
Step 5
Fold again on dotted lines.
Step 6
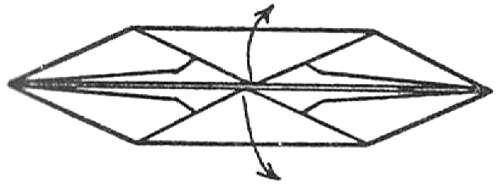
Turn boat inside out, holding folds carefully to prevent tearing.
Step 7
Finished boat, ready for the bathtub or after-rain puddle. If you wish, use the toothpicks to make the boat look more authentic…. the toothpicks can be the oars. Enjoy!!
Technorati Tags: crafts for kids, paper folding, paper arts, crafts for children, origami crafts, paper folding crafts, paper folding art, origami art, origami, paper boats, paper boats crafts, origami crafts for kids, paper folding crafts for kids
