Get ready for a fun and creative craft because I have just that for you today. In this post I am going to show you how to make a Glove Bunny for Easter. That’s right…. it’s an Easter bunny made out of a Glove. This is a great craft to do to actually use that glove that you no longer have the pair for. After stuffing the glove you have a nice, cuddly Easter Bunny that would be perfect as an Easter decoration or a nice cuddly friend. The choice is yours. So, let’s get started.
Check out our other Easter Crafts.
Materials Needed
Glove
2 Safety Pins
Stuffing
Glue
Clothespins or Clips
Cap
yarn
Construction Paper
Ribbon or Twist Tie
Cotton Ball
Step 1
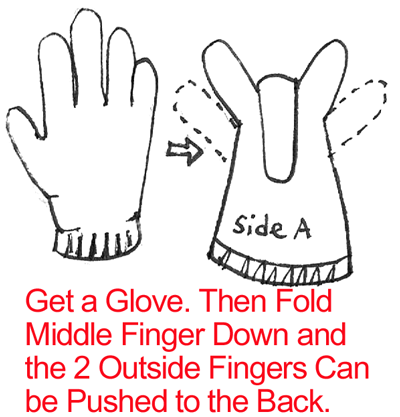
Get a glove. Then fold middle finger down and the two outside fingers can be pushed to the back.
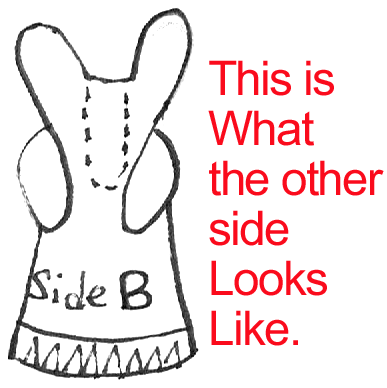
This is what the other side looks like.
[ad#ahc]
Step 2
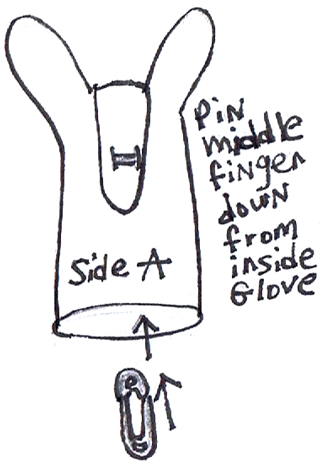
Pin middle finger down from inside of glove.
Step 3
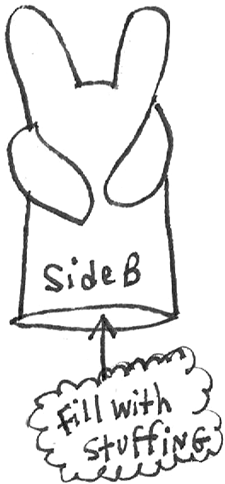
Fill with stuffing.
Step 4
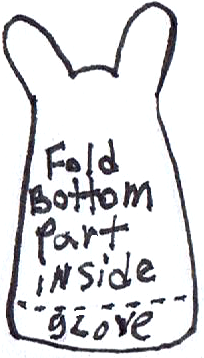
Fold bottom part inside glove.
Step 5
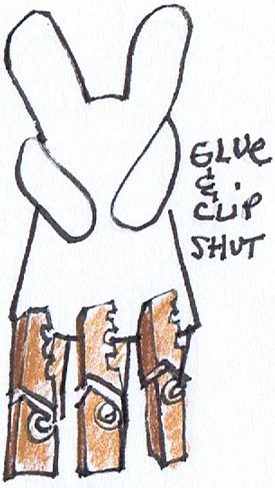
Glue and clip shut.
Step 6
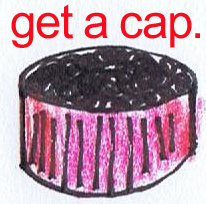
Get a cap.
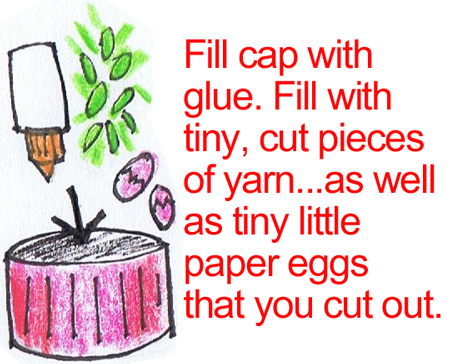
Fill cap with glue. Fill with tiny, cut pieces of yarn… as well as tiny little paper eggs that you cut out.
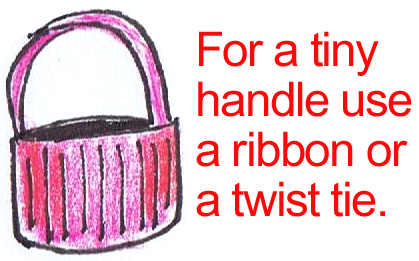
For a tiny handle use a ribbon or twist tie.
Step 7
Put tiny basket handle over one arm and then pin both arms together. Pin from behind arms.
Step 8
Glue cotton ball to back.
And, that’s it…. you just finished making your Glove Bunny for Easter. Isn’t he a cutie patootie?! Let me know how your Glove Bunny turned out in the comments below. And, take a picture of it too and post that with the comment as well…. I’d love to see it.
Technorati Tags: easter crafts, kids easter crafts, easter crafts for kids, easter activities, easter bunny, easter bunny crafts, stuffed easter bunny, stuffed easter bunny crafts, how to make a suffed bunny, bunny crafts, rabbit crafts

