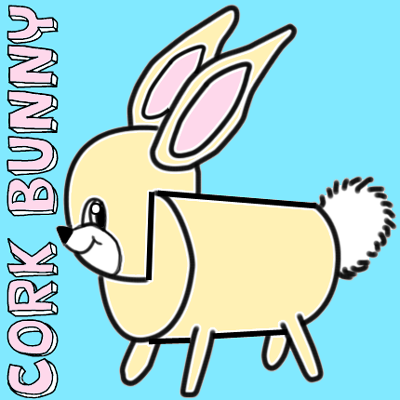
I have a fun and creative craft for you in this post….. today I’m going to show you how to make a Cork Bunny. Made from a cork, toothpicks and a template this craft turns out really cute. It is a perfect craft for Easter. Make a few and decorate your house in time for Easter. You will need some help from an adult as there is a part in this craft that a knife is needed. An Adult should do this section of the craft. So, grab the materials needed and let’s get started.
Check out our other Easter Crafts.
Materials Needed
Cork
Knife (for adults only)
Printer & Paper
Cardboard
Scissors
Glue
Cotton Ball or Pom Pom
2 Toothpicks
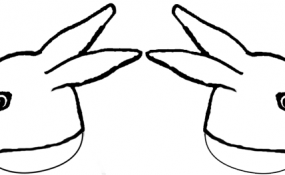
Click on template image to make larger and to print.
Step 1
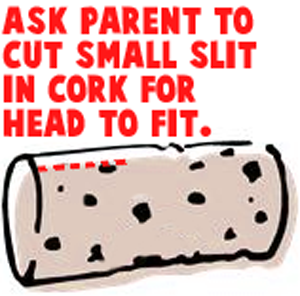
Ask parent to cut small slit in cork for head to fit.
[ad#ahc]
Step 2
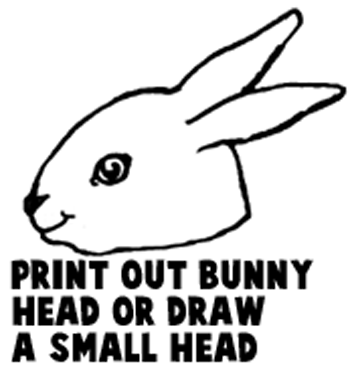
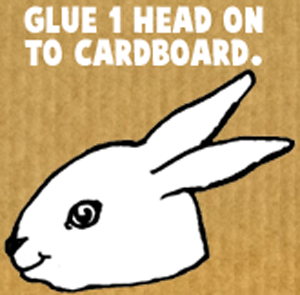
Print out bunny head or draw a small head.
Step 3
Glue 1 head on to cardboard.
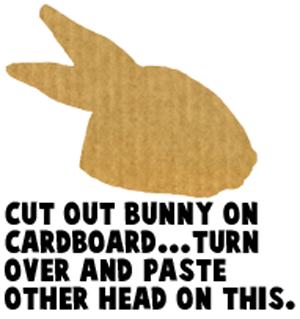
Cut out bunny on cardboard… turn over and paste other head on this.
Step 4
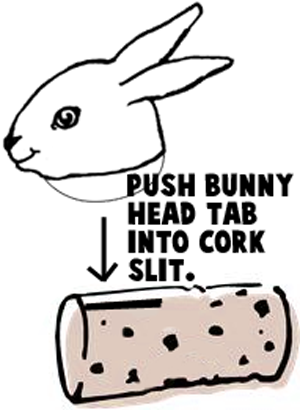
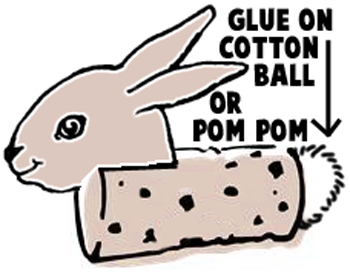
Push bunny head tab into cork slit.
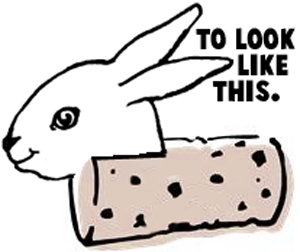
To look like this.
Step 5
Glue on cotton ball or pom pom.
Step 6
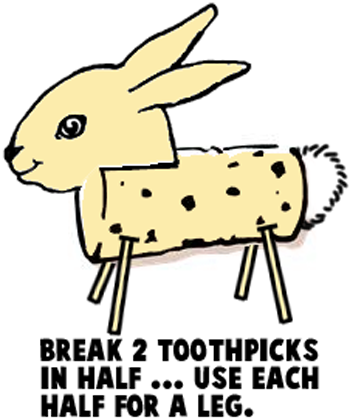
Break 2 toothpicks in half… use each half for a leg.
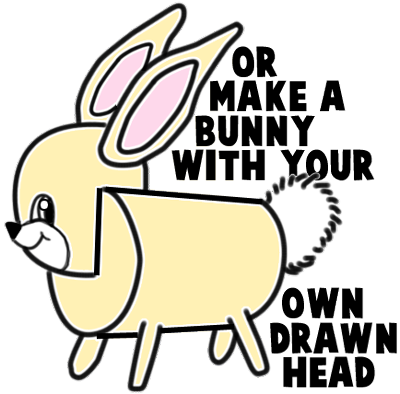
Remember you can make a bunny with your own drawn head…. or use the template.
And, that’s it…. you just finished your Cork Bunny. Doesn’t he look cute?! Make a few and decorate your house for Easter. Let me know how your Cork Bunny turned out… take a picture of it and leave it with your comment in the comments section below.
Technorati Tags: easter crafts, kids easter crafts, easter crafts for kids, easter activities, easter decorations, easter decoration crafts, cork crafts, cork crafts for kids, bunny crafts, rabbit crafts, how to make a bunny, how to make a rabbit
