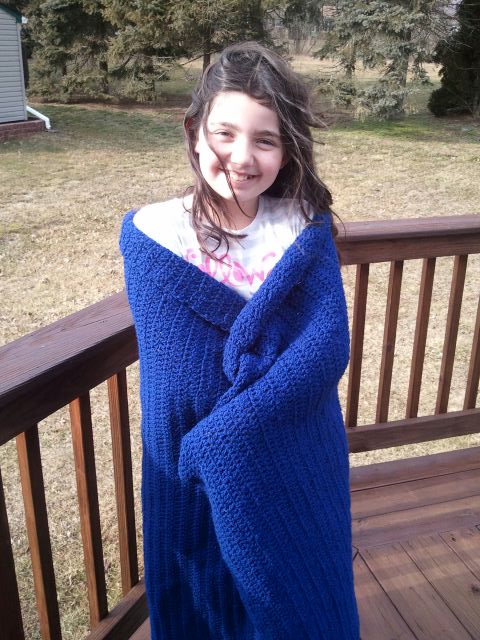
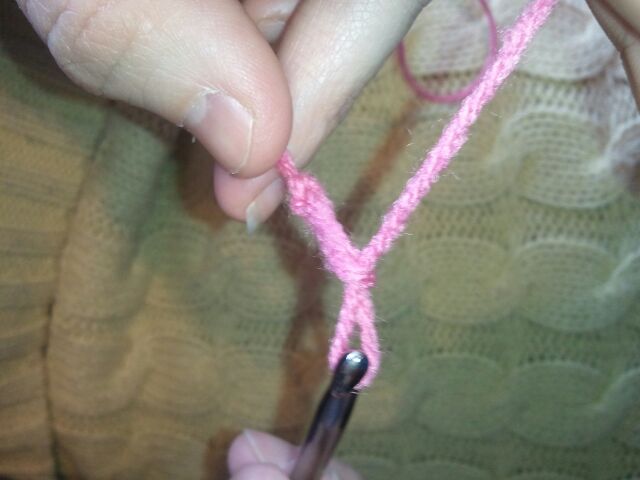
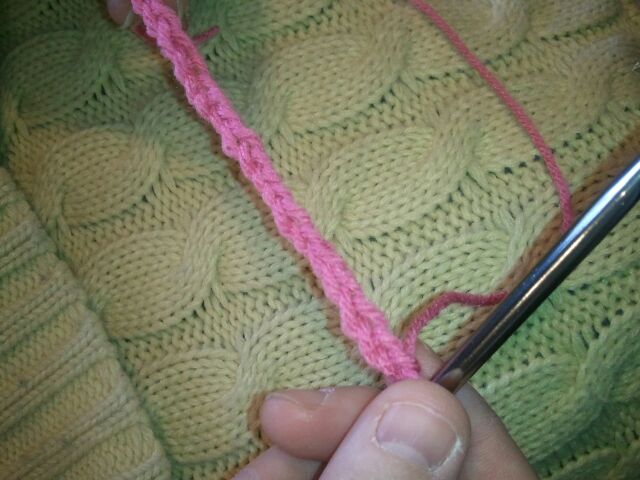
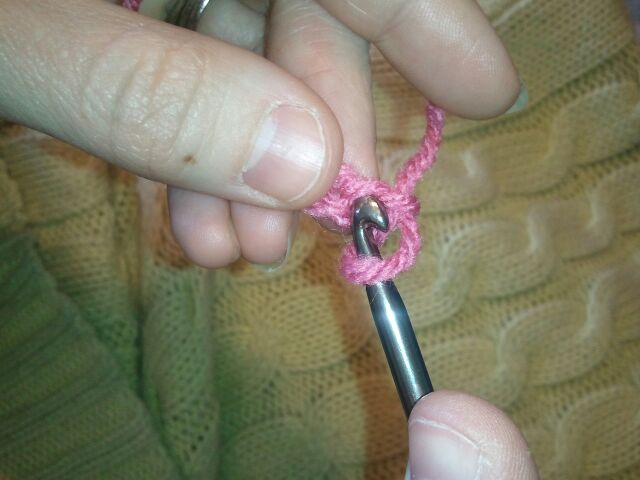
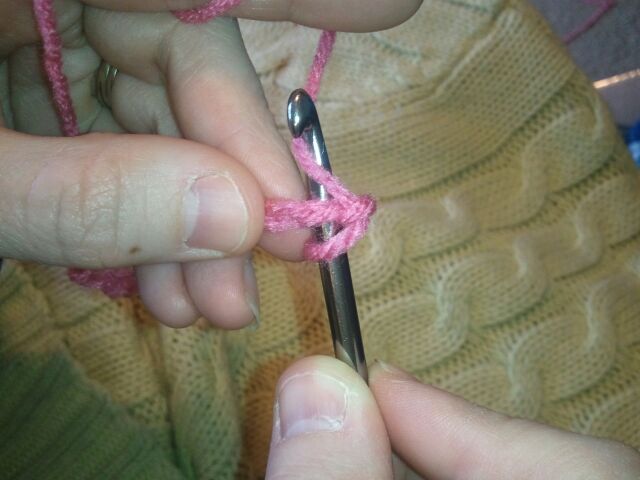
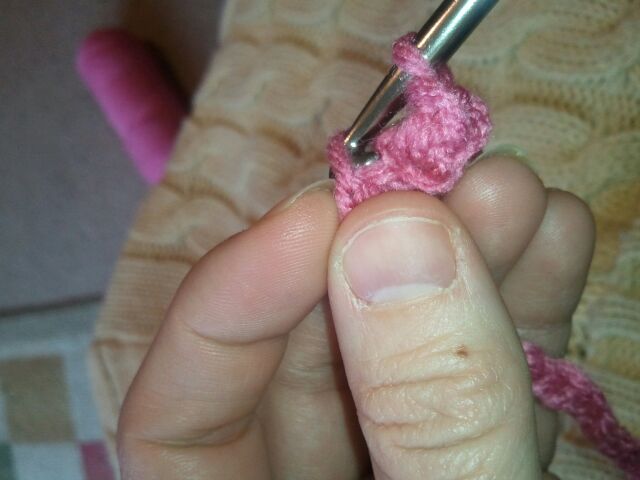
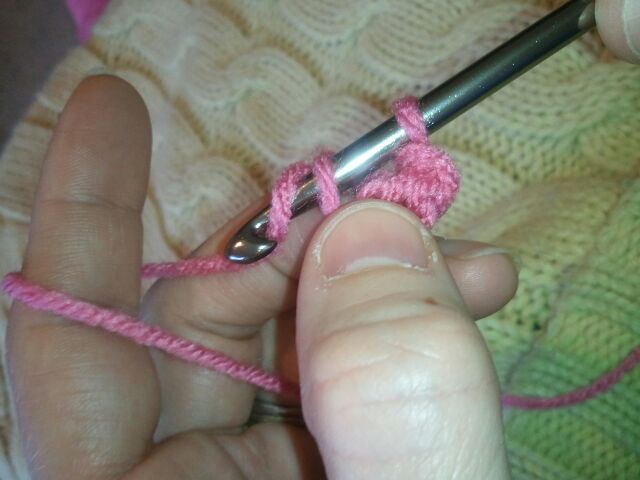
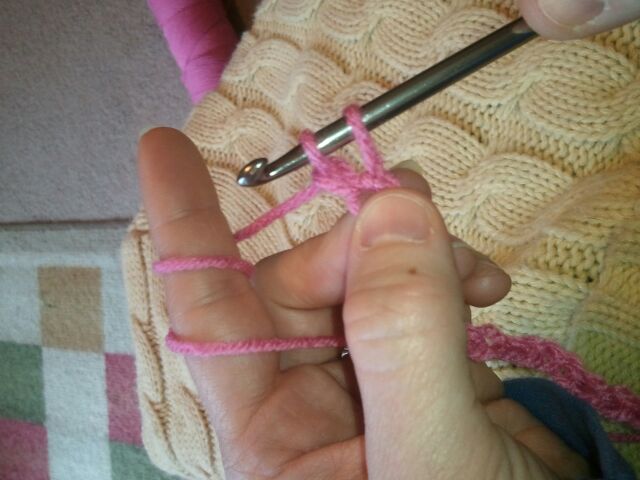
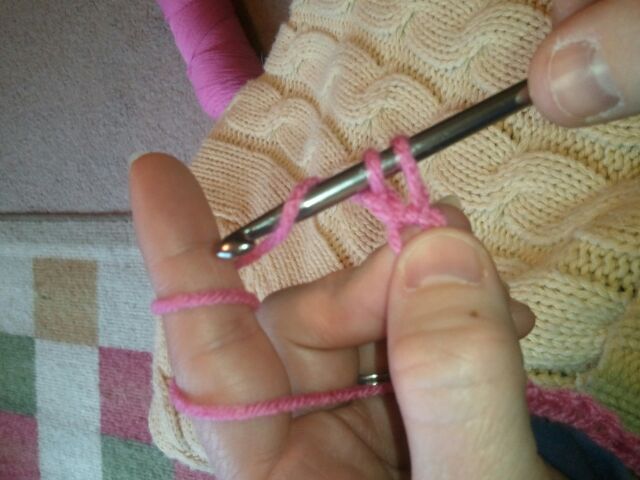
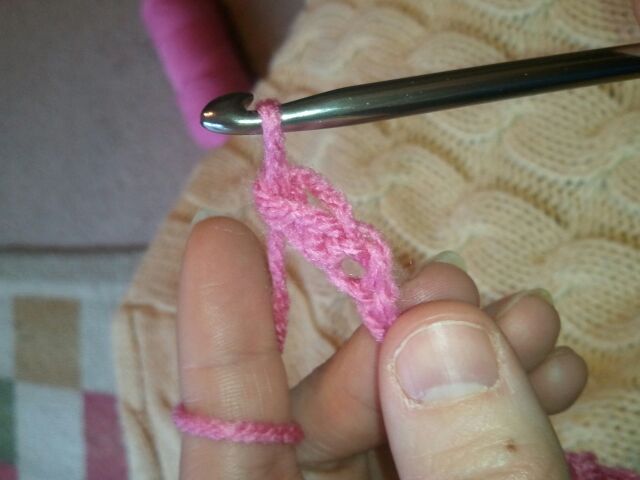
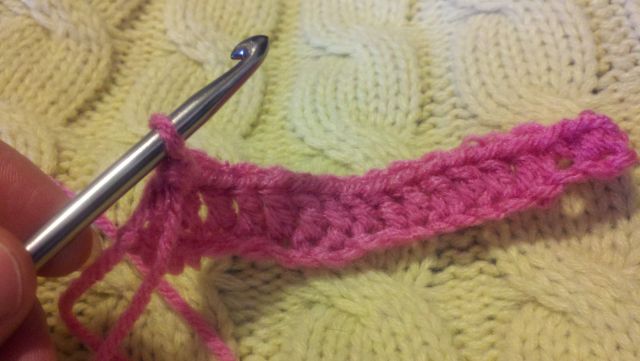
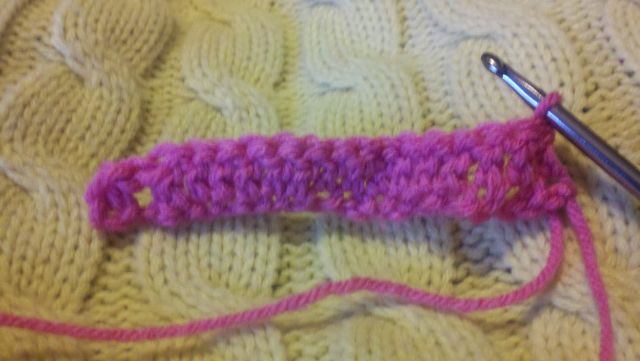
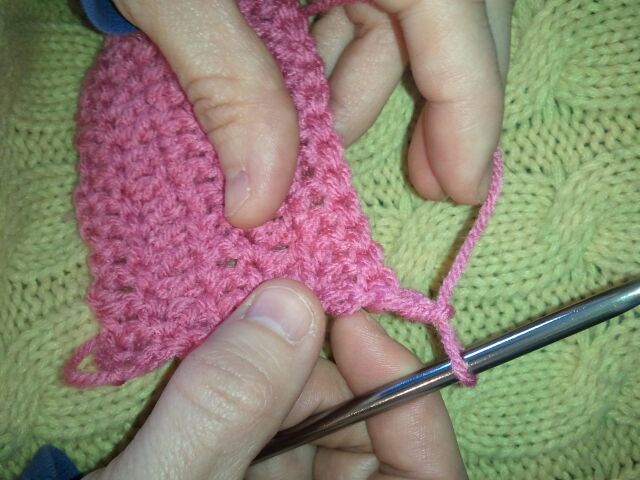
Today I’m going to show you how to Crochet a Blanket for Beginners. Crocheting a blanket is a lot of fun and it can also be totally relaxing. Once you know how to crochet your choices of things you can make are limitless. I will be showing you how to crochet a blanket using a much smaller version…. just to give you an idea. Your blanket with be much wider than mine. So, grab the materials needed and let’s get making a blanket.
Materials Needed
6 Skeins of Yarn (your choice in color)
5.5 mm Crochet Hook
Scissors
Step 1
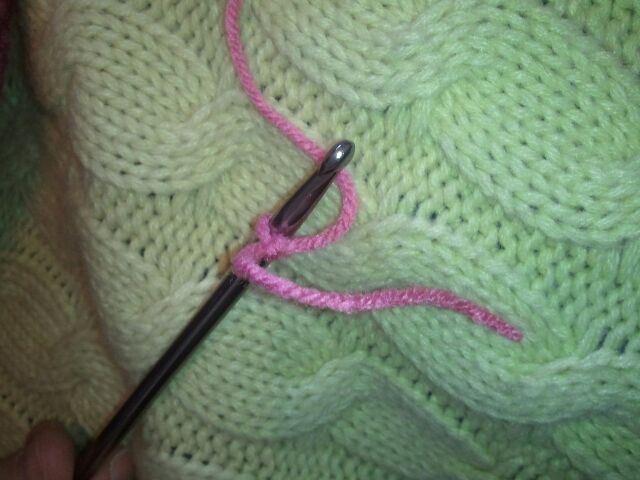
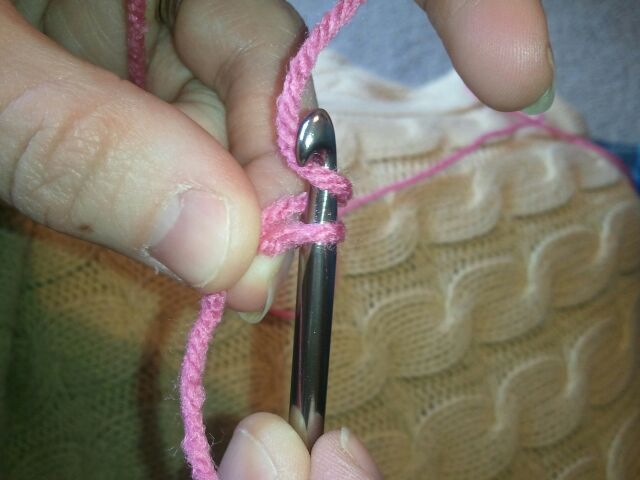
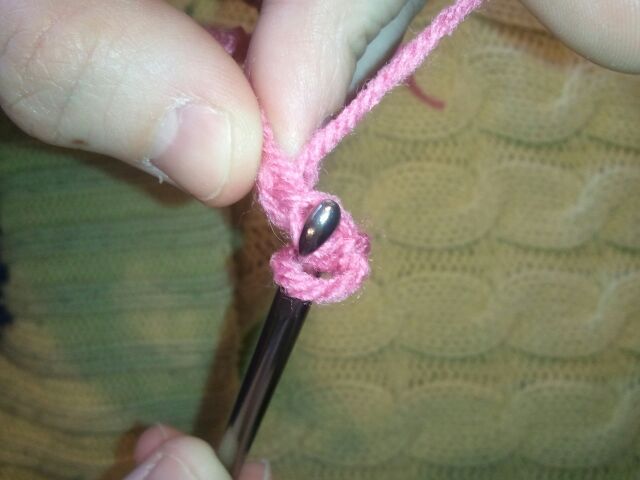
Knot yarn on crochet hook to begin.
[ad#ahc]
Step 2
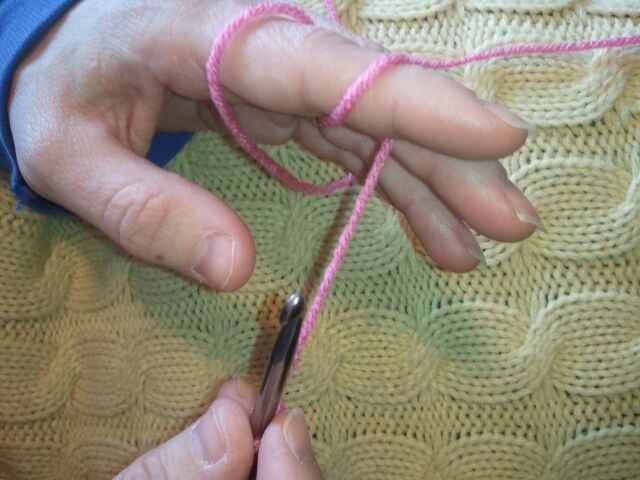
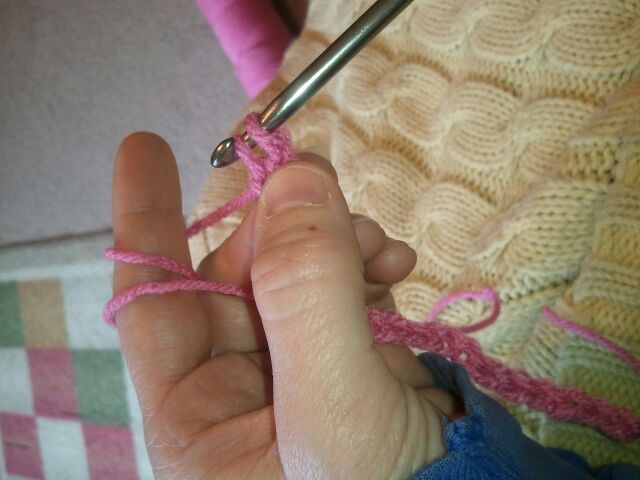
Wrap extra yarn around finger so that the yarn is pulled tight.
Step 3
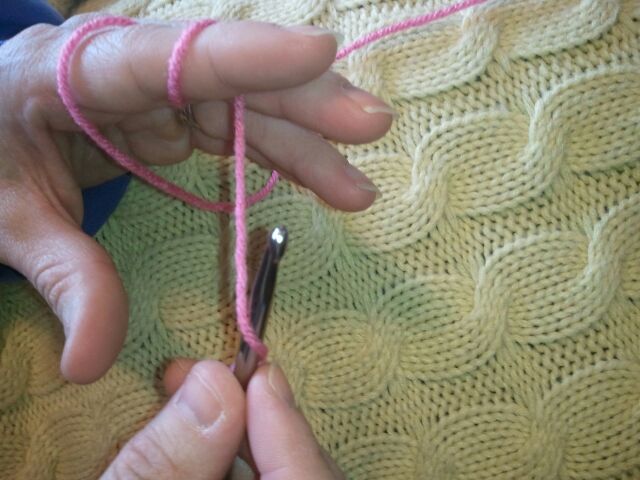
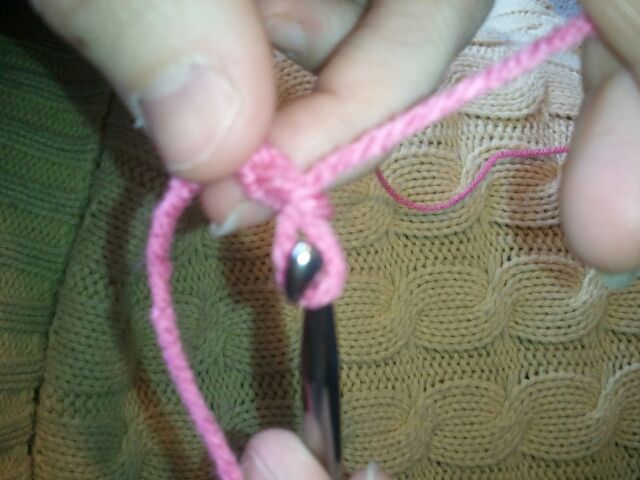
Go under the yarn.
Step 4
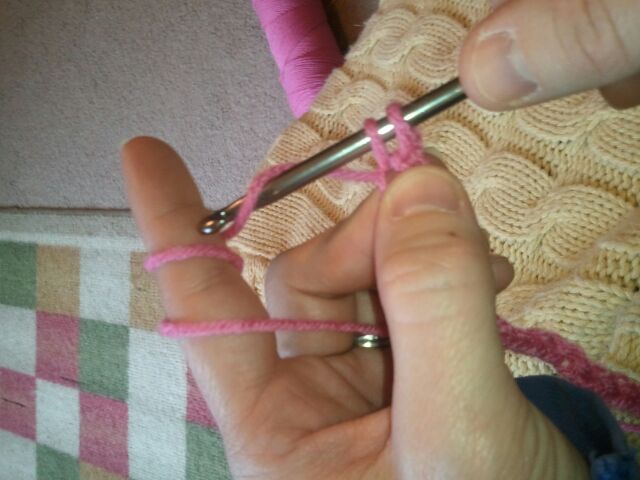
Grab a hold of that loop with the hook.
Step 5
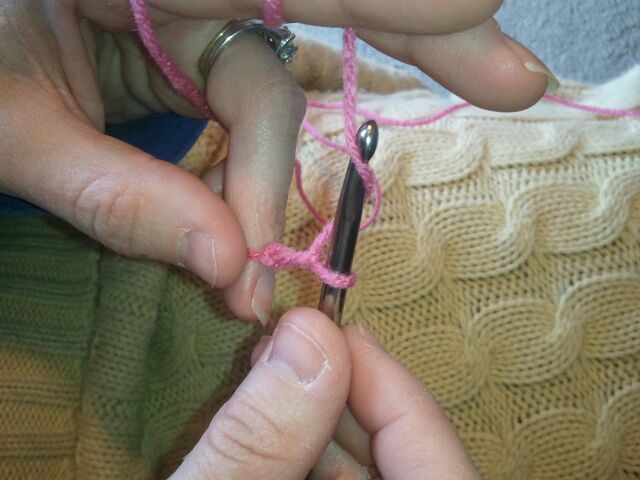
And, pull that loop through the loop you made with the original knot.
Step 6
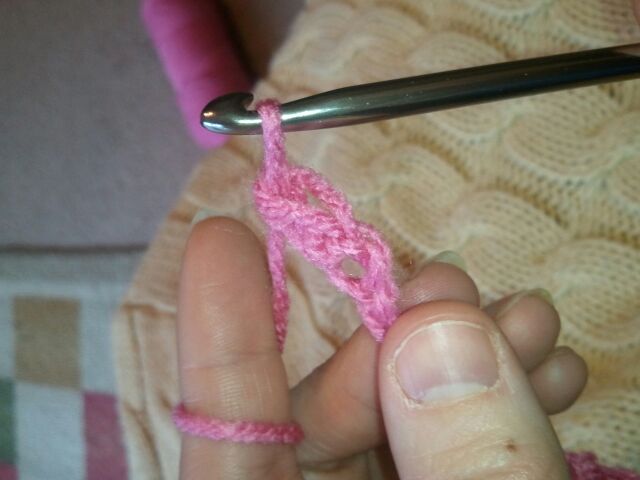
You just made your first stitch. You will be making 135 of these stitches to make the width of the blanket. Now, go under the yarn again…
Step 7
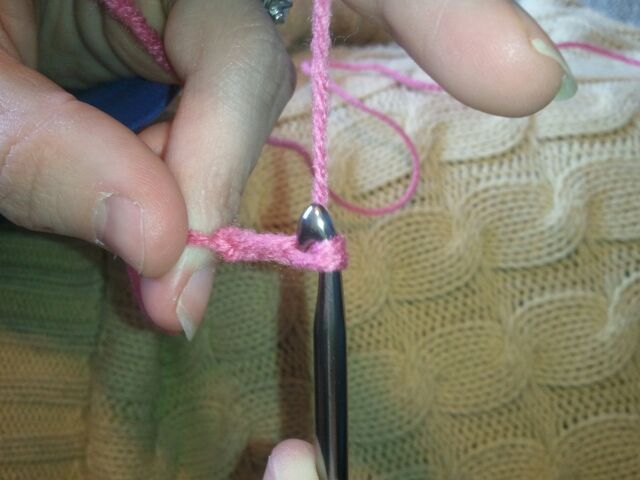
…. and grab a hold of the yarn and pull it through the loop on the crochet hook.
Step 8
It should look like that once pulled through.
Step 9
Now, continue making these stitches until you have 135 of these stitches. This is your blanket’s width.
Step 10
Now, this row is the most difficult of the entire blanket. It is because you have the least amount of crocheted blanket to work with. Push your hook into the first stitch of your blanket.
Step 11
Go under the yarn and grab a hold of it.
Step 12
Pull that yarn through first stitch….. one of the loops on your crochet hook. Do not go through both loops yet.
Step 13
You will again have 2 loops on your crochet hook.
Step 14
Go under yarn again with your hook.
Step 15
And, pull that yarn through both stitches on the crochet hook.
Step 16
Push hook through 2nd stitch of crocheted blanket.
Step 17
Go under yarn with hook. Pull that yarn through the first loop on the crochet hook.
Step 18
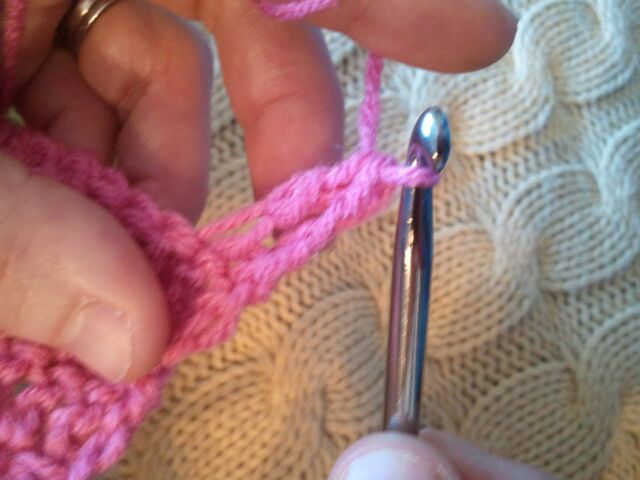
You now have 2 loops left on your crochet hook.
Step 19
Go under yarn again.
Step 20
And, pull yarn through both loops on crochet hook.
Step 21
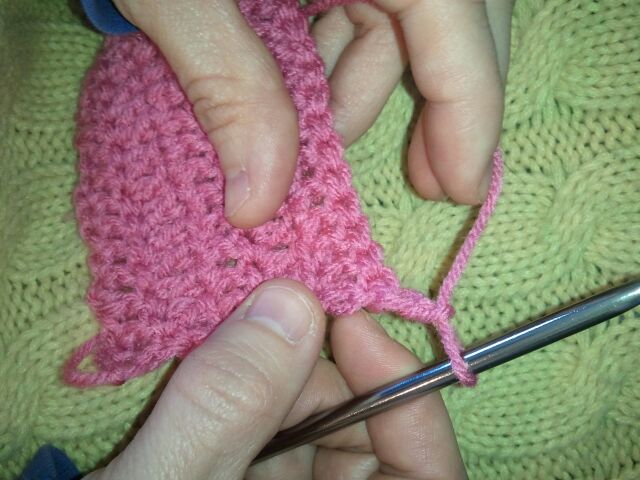
Continue doing this through every stitch on the first row of the blanket. It should look like this when you reach the end of the 2nd row. Your blanket will be a lot wider. Remember, I am using a much shorter version, so it is easier to teach you.
Step 22
Turn over the blanket so that the crochet hook is back on the right side.
Step 23
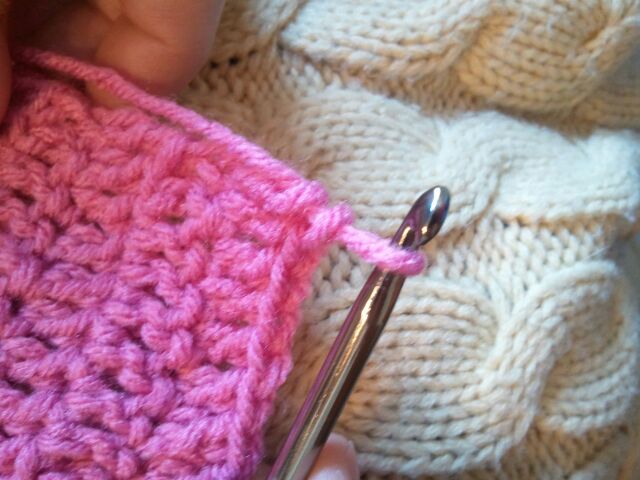
Add 2 chain stitches like you did in step 2 through step 6. You will do this every time you start a new row.
Step 24
Go under the yarn with your hook…. grab a hold of the yarn and go into the first stitch of the previous row of the crocheted blanket like you did in step 10.
Step 25
With your crochet hook through the first stitch grab a hold of the yarn with your hook.
Step 26
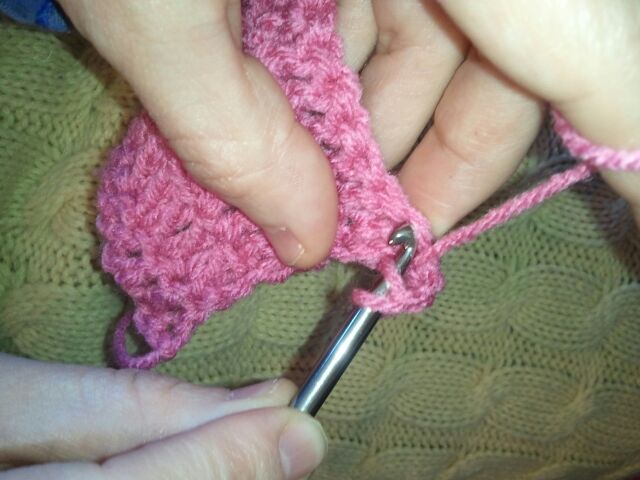
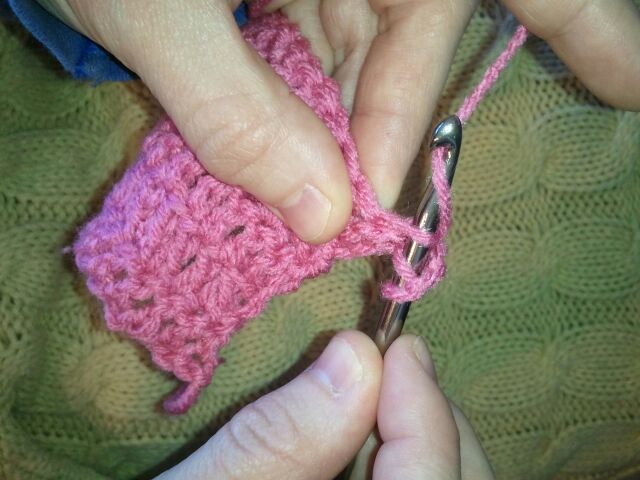
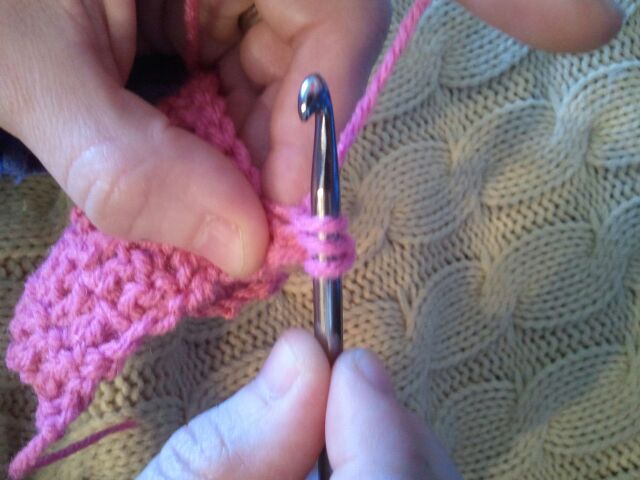
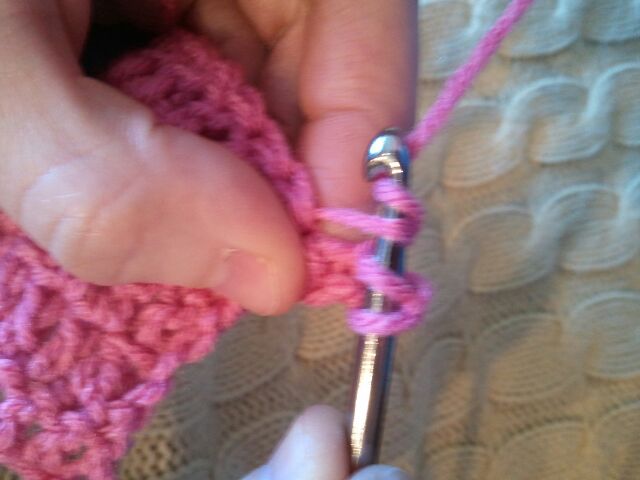
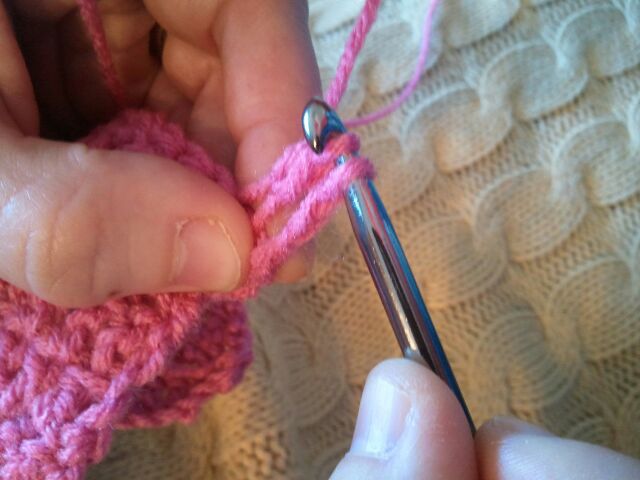
Pull the hook through the first loop on the crochet hook. You are left with three loops on your hook.
Step 27
Go under the yarn again….
Step 28
…. then pull the hook through the first two loops. You are left with 2 loops on your hook.
Step 29
Go under the yarn with your hook and pull it through the last two loops on your hook. You are now left with one loop…. you are done with the stitch and ready to go into your 2nd stitch of the previous row like you did in Step 24.
Step 30
Keep doing this entire process until you finish this row of the blanket.
Step 31
When you are finished with that row turn over your blanket so that the crochet hook is back on the right side. You are ready to start a new row.
Step 32
Remember when you start a new row you need to add 2 chain stitches like you did in Step 23. You need to do this every time you start a new row.
Step 33
Continue doing Step 23 thru 31 for each row of the blanket. It will get easier as you go along as you will get more confident. As you move along through your blanket you will find that you will need to add more yarn. That is super easy. Simply knot a new piece of yarn to the old and cut off the remaining string. It’s that simple.
Step 34
When you decide your crocheted blanket is finished you will want to end it correctly. That is what I will show you now.
Step 35
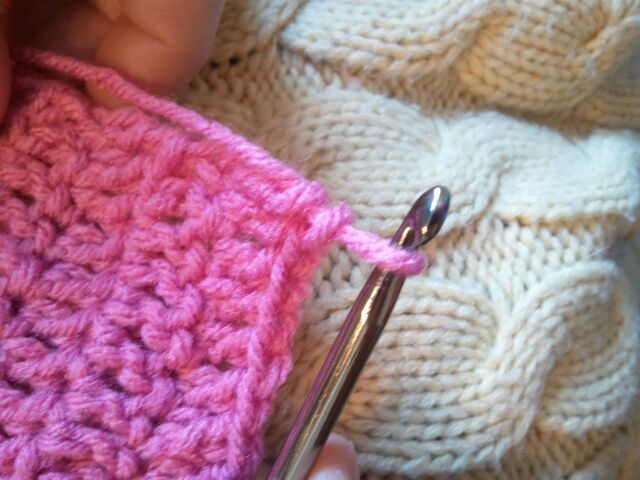
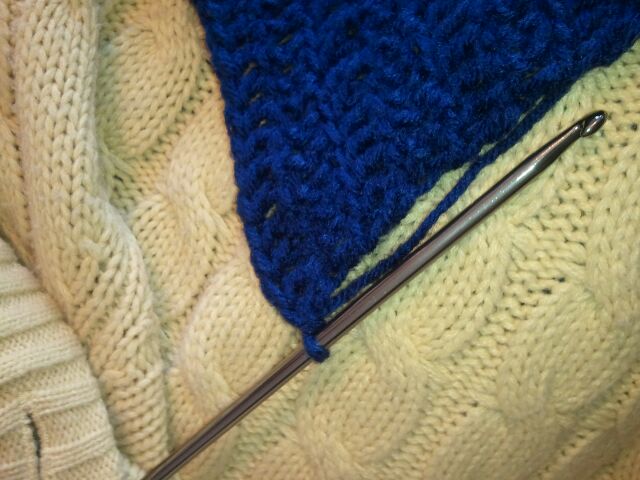
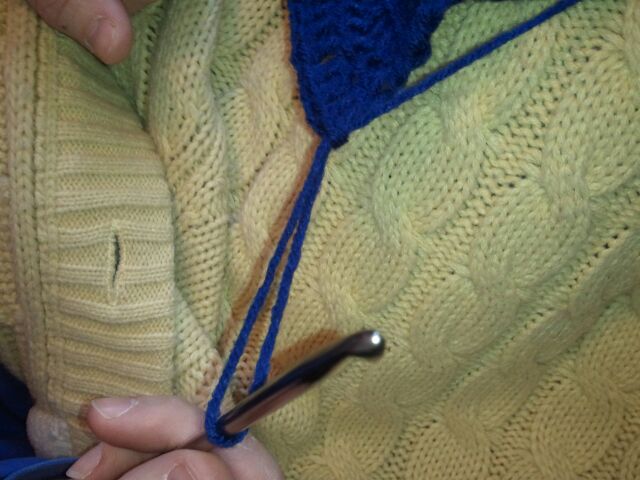
Pull crochet hook to give yourself a large loop to work with.
Step 36
Cut the string of yarn to remove it from the skein of yarn. Leave enough of the string of yarn that you will be able to use it to tie a knot in the next few steps.
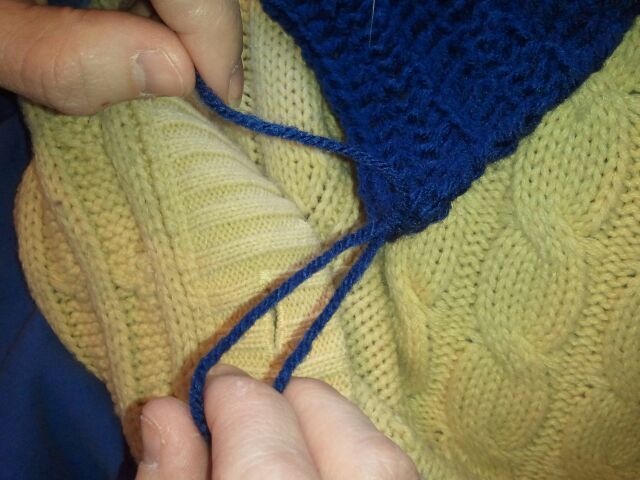
Step 37
Grab a hold of the string of yarn and the loop of yarn. You are ready to tie a knot.
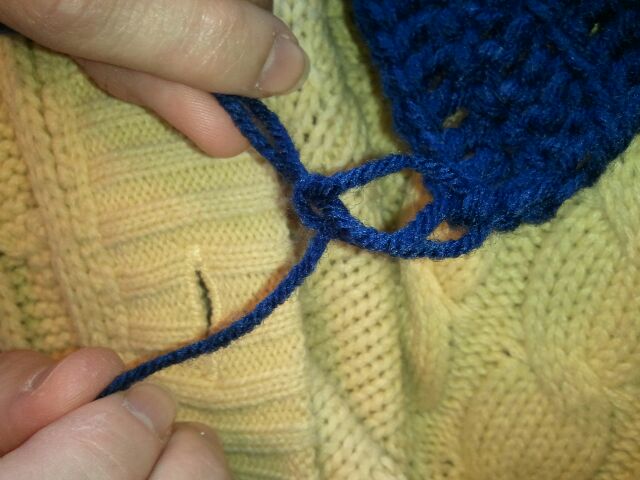
Step 38
Tie a knot with the string of yarn and the loop of yarn.
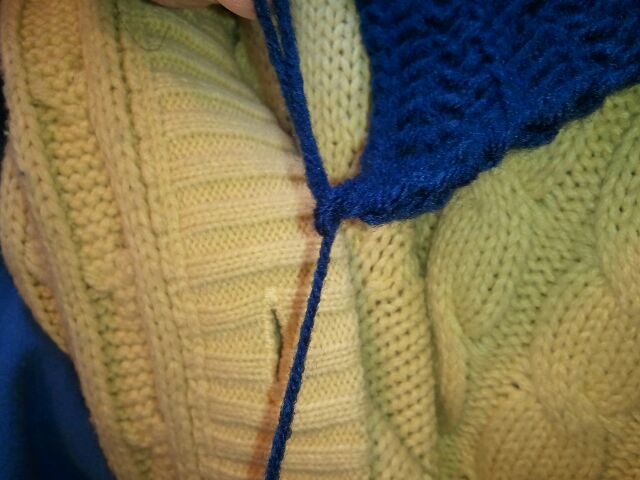
Step 39
Pull the knot tight.
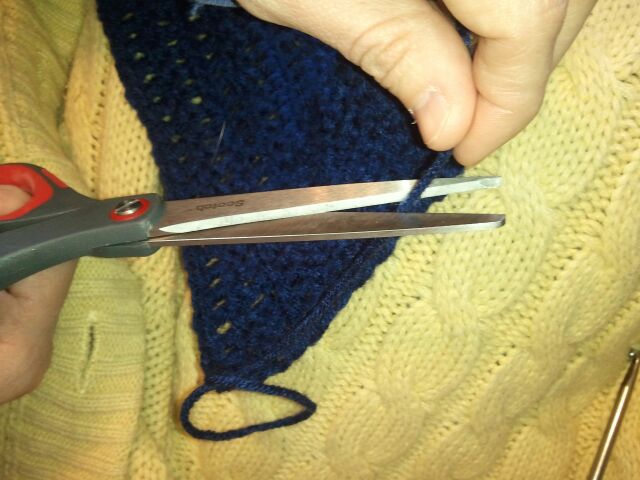
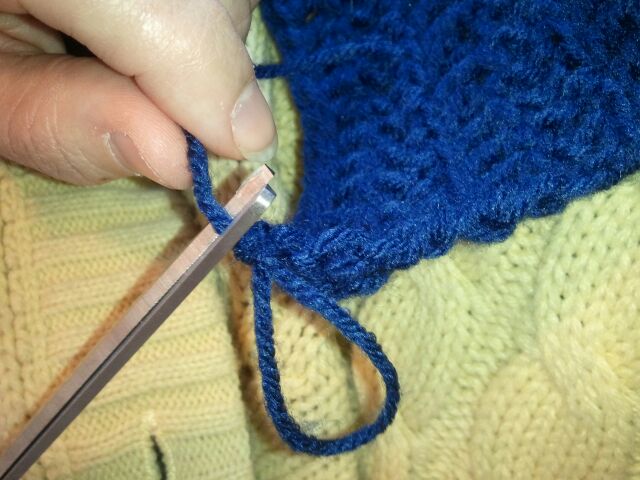
Step 40
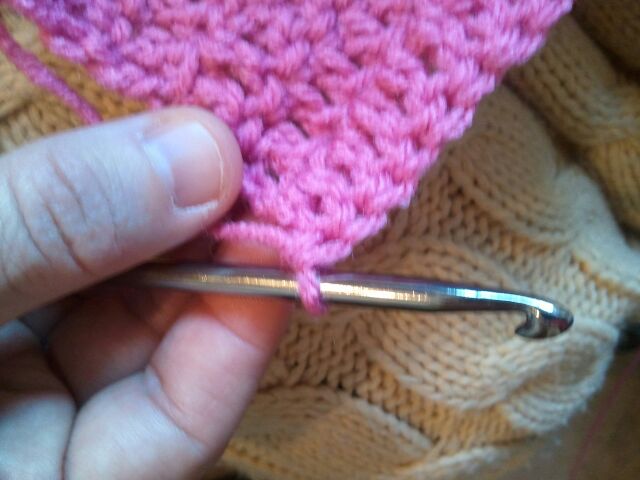
Once knot is made you can cut off remaining string of yarn and loop of yarn.
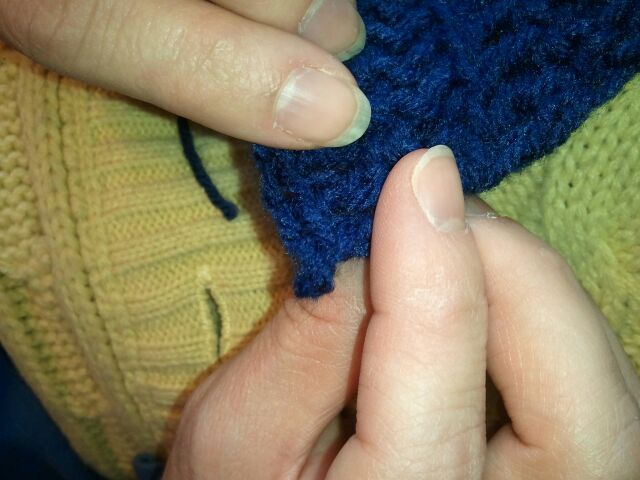
Step 41
It should look like this now. Your crocheted blanket is all finished.
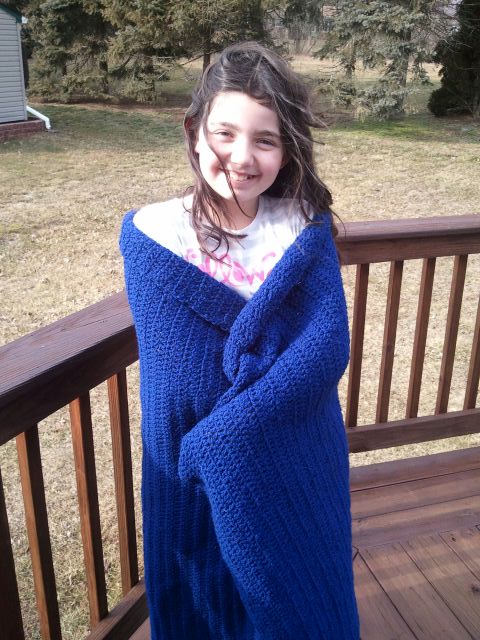
And, that is it. You have yourself a finished crocheted blanket that you made yourself. The blanket itself is crocheted from one simple stitch and yet it comes out looking awesome!! Please take a picture of your crocheted blanket and share it along with a comment in the comment section below…. I’d love to see a picture of your blanket.
Technorati Tags: crochet, how to crochet, crochet a blanket, how to crochet a blanket, how to crochet for kids, crochet for kids, crochet an afghan, how to crochet an afghan, crocheting for beginners, how to crochet for beginners, yarn crafts, crochet crafts, crocheting crafts, blankets, how to make a blanket, blanket crafts, blanket crafts for kids
