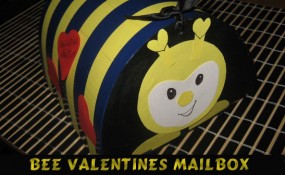
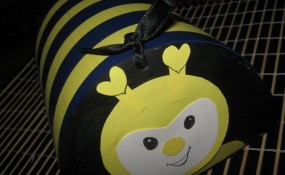
Today I’m going to continue with the Valentines Craft fun by showing you how to make a Valentines Bee Mailbox. This Valentines Mailbox will be perfect for collecting all your Valentines Cards this Valentines Day. Don’t just use a paper bag to collect your Valentines Cards…. that’s just boring. Make something that you can be proud of…. imagine the comments all of your friends will have when they are adding their Valentines Cards to your Mailbox. So, grab the materials needed and let’s get started.
Check out our other Valentines Day Crafts.
Laura from Dacian Moon Handmade will show you, step by step, how to make this mailbox for Valentines Day.
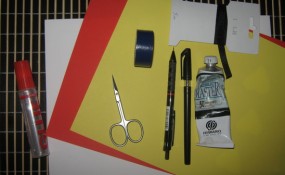
Materials Needed
– white cardboard
– colored paper : yellow and red
– black pen (or marker)
– scissors
– black ribbon
– paper glue
– pencil
– black paint
– paintbrush
– black tape
Step 1
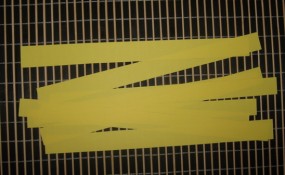
Draw lines across the yellow paper at about 2.5 cm distance.
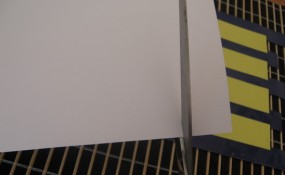
Cut them out.
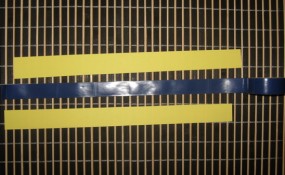
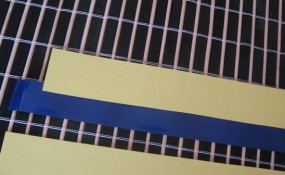
Cut a piece of tape, slightly longer than the yellow bands.
[ad#ahc]
Step 2
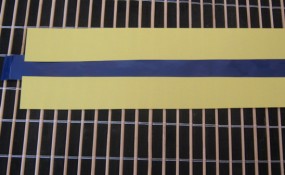
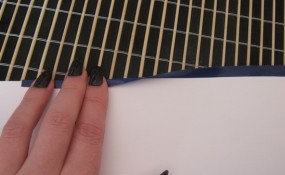
Put a yellow band on the tape, as in the picture.
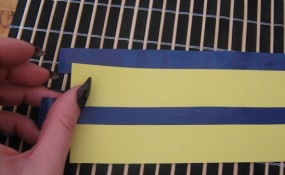
Do the same for the lower part of the tape. Take care to let enough tape uncovered.
Add another piece of tape.
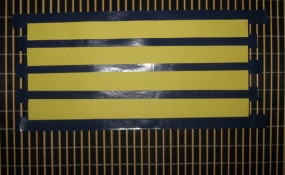
Continue until you finish the yellow bands. The first band and the last one must be tape.
Step 3
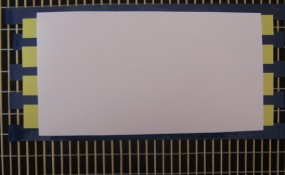
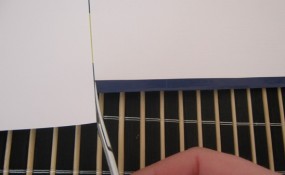
Cut the cardboard a little smaller than the bands…
… and put it over, like this.
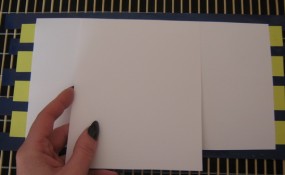
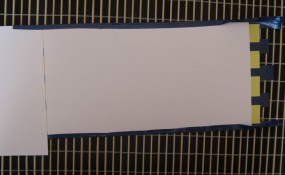
Measure the base. I made it a half of the main piece, and slightly longer.
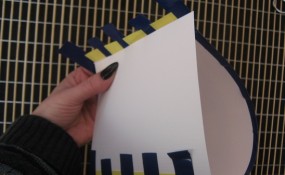
Place it further over the yellow bands and tape, like this.
Bring the extra tape over the cardboard to fix it in place.
Make a cut on the tape in the front part, where the base is longer than the rest, then bring the tape over the cardboard.
It will look like this.
Step 4
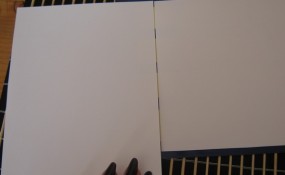
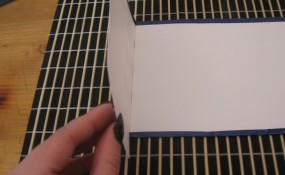
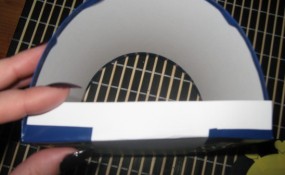
Fold the base up…
… and add it to the other end, like this.
Press well to fix it.
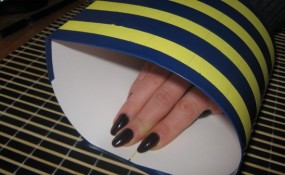
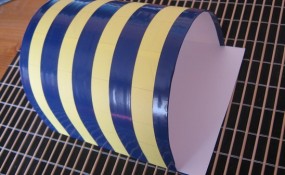
This is the box body.
Step 5
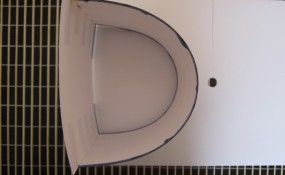
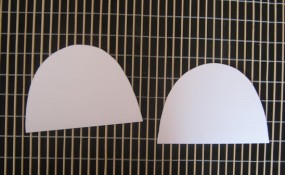
Put it on a piece of cardboard, with the opening up …
… and draw the outline.
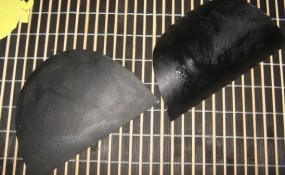
Cut it out and make another one (one for the front and one for the back)
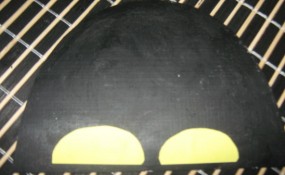
Paint them black.
Step 6
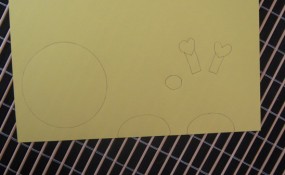
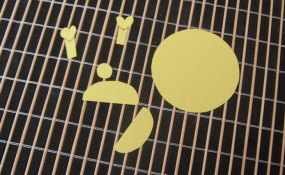
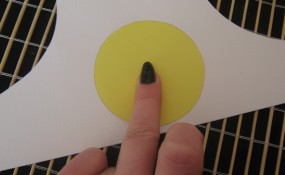
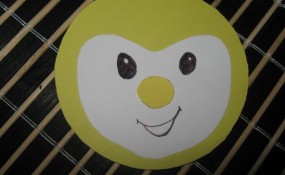
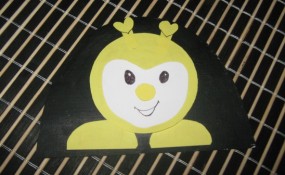
Draw two circles (one big and one small) – head and nose, two half circles – the feet and two antennas (I made them in the shape of hearts).
Cut them out.
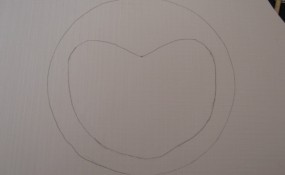
Place the big circle over cardboard and draw the outline.
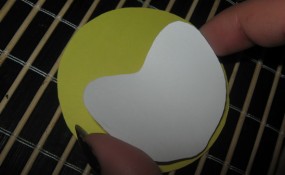
Inside, draw an almost heart shape – the face.
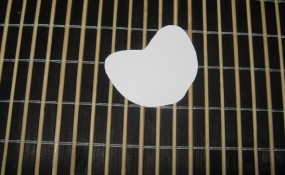
Cut the face shape out.
Step 7
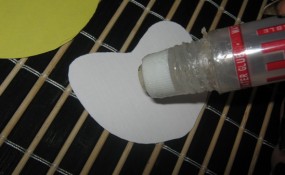
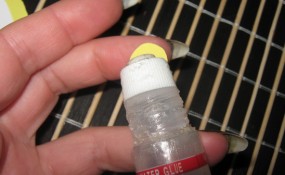
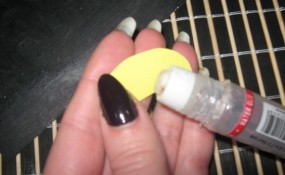
Apply a layer of glue on the back of the face…
… and place it over the head circle.
It will look like this.
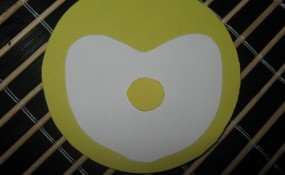
Add glue on the small circle – the nose…
… and place it in the middle.
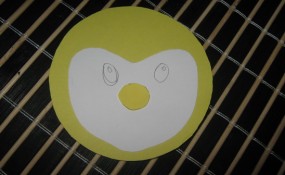
Draw the eyes…
… and make them black. Add a mouth too.
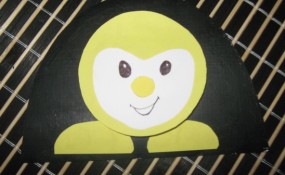
Next, add the feet…
… like this.
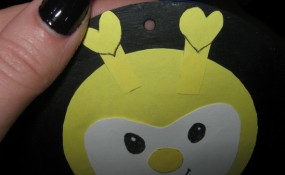
Next… add the antennas.
Isn’t it cute?!
Step 8
Fold up the extra part of the base.
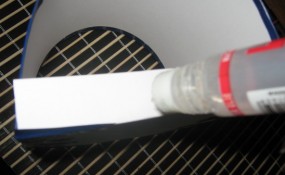
Add glue on it…
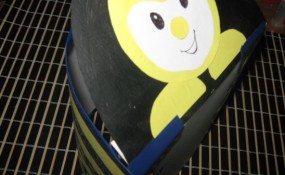
… and place the front part on it. Bring the tape over the front part, like this. Then you will put the back part on its place and fix it with tape.
Step 9
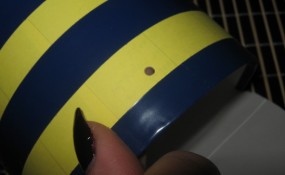
Make a hole on the upper part of the box body, like this.
Make another one between the antennas, on the front part.
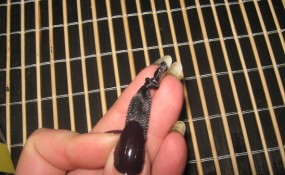
Take the ribbon and make a knot in both ends. Cut the ribbon in two.
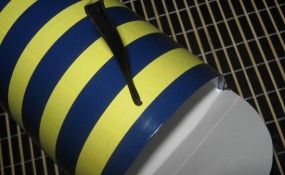
Put it through the holes you made, like this.
Now tie the two part of ribbon. The mailbox is now closed. To open it untie the ribbon.
Step 10
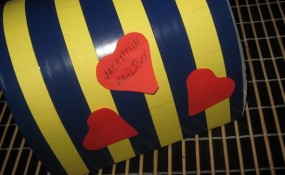
Let’s add a bit of color. Draw 3 hearts on the red paper.
Cut them out.
Write “Valentines Mailbox” on one…
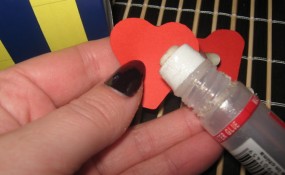
… and glue them …
… on the box.
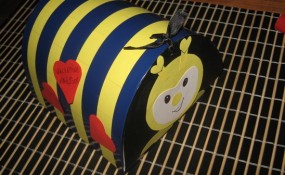
That’s our cute bee mailbox for Valentines Day.
Doesn’t it turn out just simply BEE-utiful?! Imagine collecting your Valentines Day Cards in this Mailbox…. you will get some wonderful comments on it, I’m sure. Let me know how your Valentines Bee Mailbox turned out in the comments below. You can share a picture as well in the comments…. I’d love to see how your Mailbox turned out.
Technorati Tags: valentines day boxes, valentines day mailboxes, valentines day mail boxes, valentines day card holders, card holders, valentines day cards, valentine box, valentines, valentines day, valentines day cards, making valentines, bee crafts, crafts for kids
