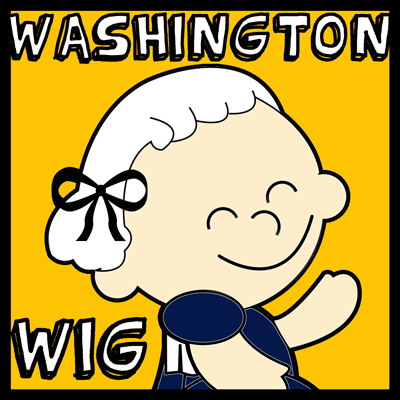
Lately I have been showing you some crafts to do for President’s Day. Well, I’m going to continue with the President’s Day crafting fun by showing you how to make a George Washington Wig. Made from cotton balls and a large paper shopping bag…. this craft turns out awesome. Plus, the craft is a lot of fun…. almost as much fun as the child will have running around wearing the George Washington Wig he/she just made. So, grab the materials needed and let’s get started with this crafting fun.
Check out our other President’s Day Crafts.
Materials Needed
Large Paper Bag
Pen or Marker
Scissors
Cotton Balls
Glue
Blue Ribbon
Step 1
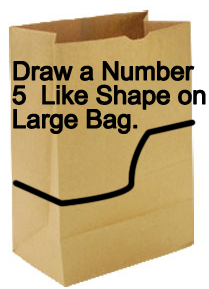
Draw a number 5 like shape on large bag.
[ad#ahc]
Step 2
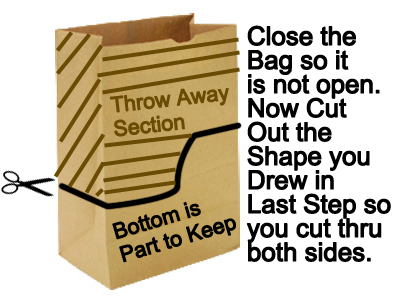
Close the bag so it is not open. Now, cut out the shape you drew in last step so you cut thru both sides.
Step 3
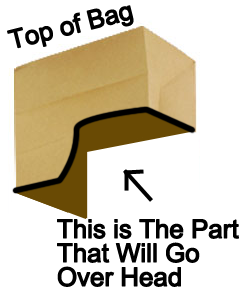
This is the part that will go over your head.
Step 4
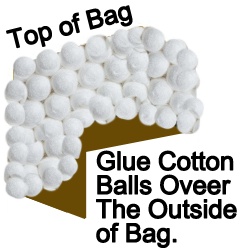
Glue cotton balls over the outside of bag.
Step 5
Tie ribbon around back for ponytail.
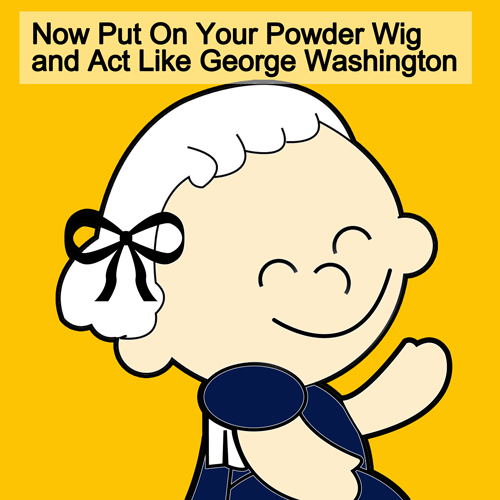
Awesome job… you just finished making your George Washington Wig for President’s Day. Wasn’t it fun to make?! Now, put on your wig and act like George Washington. Fun stuff!!
Technorati Tags: presidents day crafts, presidents day activities, George Washington, George Washington crafts, Washington Crafts, wig crafts, paper wig crafts, george washington’s wig, george washington’s wig crafts. cotton ball crafts, paper bag crafts
