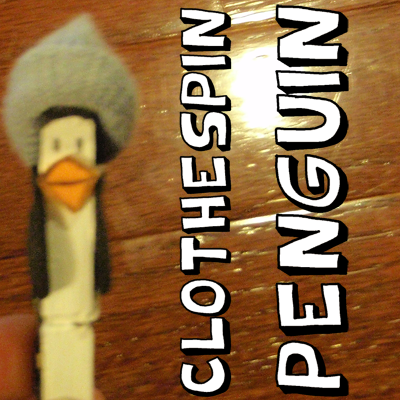
I have a fun craft for you today. I’m going to show you how to make a Clothespin Penguin Ornament. It turns out so cute and perfectly festive for the Christmas Season. What would be even cuter is to make a few of the Penguin Ornaments and spread them around the Christmas Tree. So, go grab a clothespin, old glove and the rest of the materials needed and let’s get started.
Check out our other Christmas Crafts.
Materials Needed
Clothespin
Paint – White and Black
Felt or Foam – Orange and Black
Black Marker
Scissors
Glue
Old Glove
Step 1
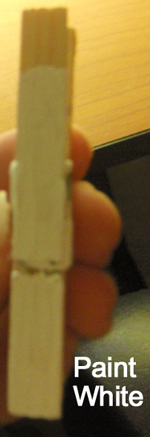
Paint clothespin white.
[ad#ahc]
Step 2
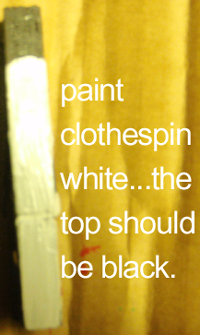
When painting the clothespin white…. paint the top of the clothespin black.
Step 3
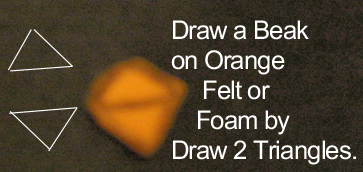
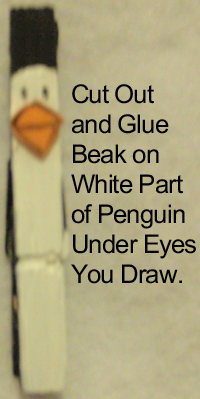
Draw a beak on orange felt or foam by drawing 2 triangles.
Step 4
Cut out and glue beak on white part of penguin under eyes that you draw.
Step 5
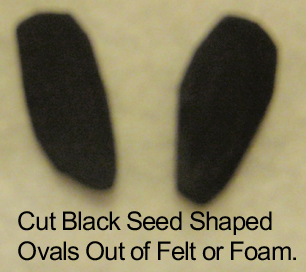
Cut black seed shaped ovals out of felt or foam.
Step 6
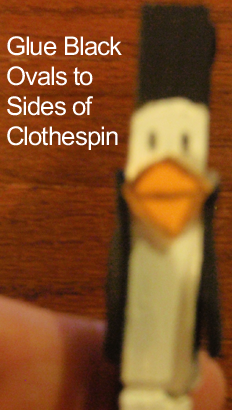
Glue black ovals to the sides of clothespin.
Step 7
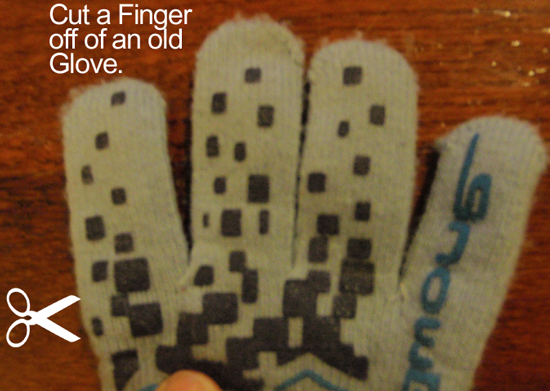
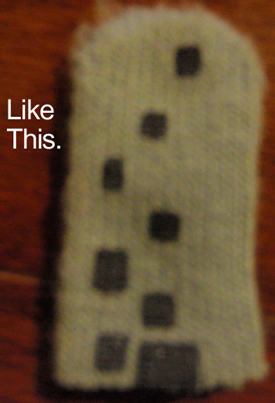
Cut a finger off of an old glove.
Like this.
Step 8
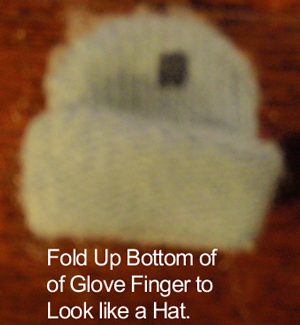
Fold up bottom of glove finger to look like a hat.
Step 9
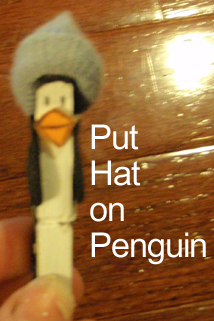
Put hat on the penguin.
Awesome job…. you just finished your Clothespin Penguin Ornament. How cute is he?! So cute!! Now, go hang it on your Christmas tree. Make a few and spread them around your Christmas tree this Holiday Season.
Technorati Tags: Christmas crafts, xmas crafts, Christmas activities, xmas activities, December crafts, Holiday crafts, Holiday activities, ornaments, ornament crafts, Christmas Ornaments crafts, decorations, Christmas decorations, Christmas decoration crafts, clothespin crafts
