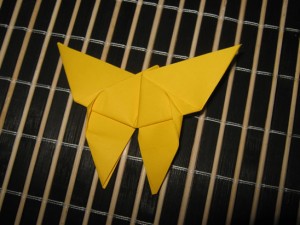
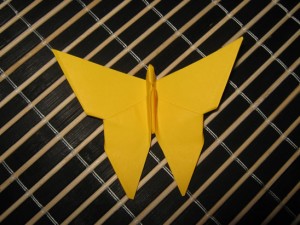
I have a treat for you today. I will be showing you how to make a pair of Origami Butterfly Earrings. They are really beautiful…. and they are made out of paper. You are sure to get lots of compliments on them. You can choose to wear them yourself or give them as a gift… after all the Holidays are just around the corner. That is if you can part with these earrings. So, let’s get started.
Check out our other Origami Crafts.
Laura from Dacian Moon Handmade will show you how to make these earrings step-by-step.

CRAFT MATERIALS NEEDED:
– 2 paper squares (about 4 cm x 4 cm)
– 2 jump rings
– 2 earstuds with earnuts

Step 1
Take one square of paper and fold it in half…

[ad#ahc]
Step 2
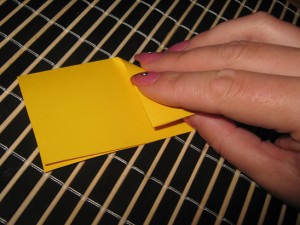
Bring the right upper corner to the center of the opposite edge, as in the picture.
Step 3
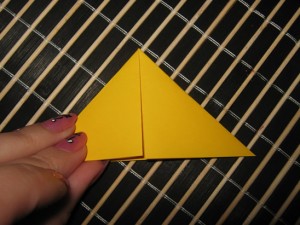
Do the same with the upper left corner.
Step 4
Step 5
Do the same with the left corner.

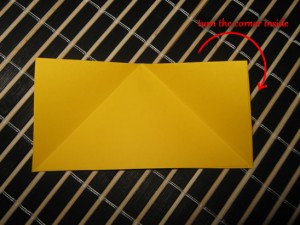
Step 6
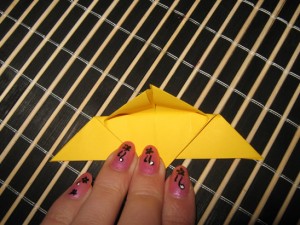
Take the right lower corner and bring it to the top corner.

Do the same with the left lower corner.
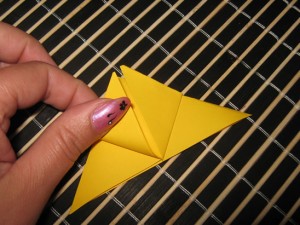
Step 7
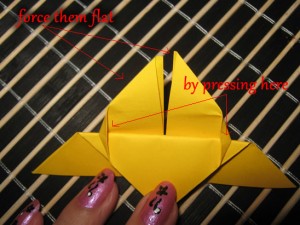
Fold the top corner to the opposite edge, a little bit lower than the middle…
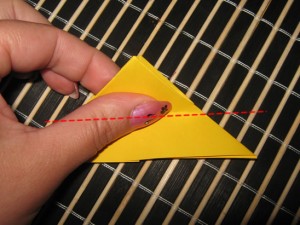
Step 8
Step 9
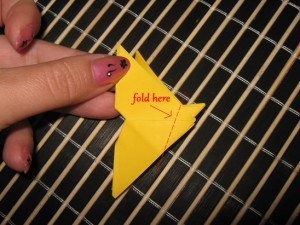
Fold it in half like in the picture.
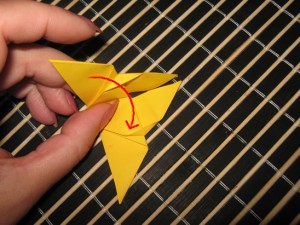
Step 10
Do the same on the other side.
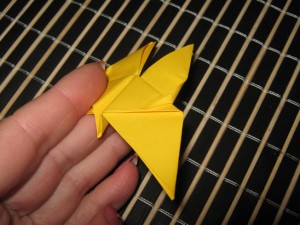
Step 11
Model the wings with your fingers.
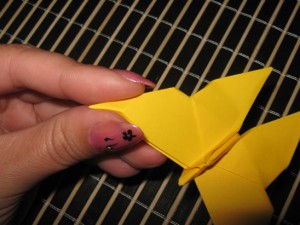
Now it looks like a little butterfly, doesn’t it?

Step 12
Make a little hole in one corner…
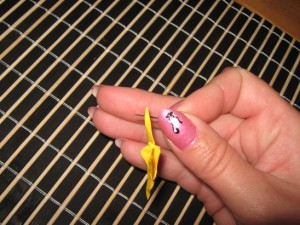
… and put the jump ring in it.
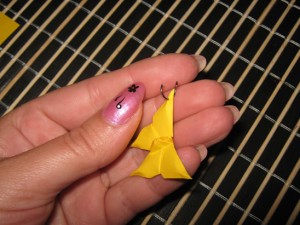
Add the stud and the earring is ready. Do the same with the second piece of paper.
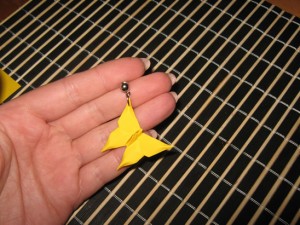
Aren’t these earrings beautiful? They will look amazing on you. Or, have you decided to give them as a gift this Holiday Season? Whatever you decide they are sure to be a huge hit.
Technorati Tags: origami, origami crafts, paper folding, paper folding crafts, earrings, earring crafts, origami crafts for kids, paper folding crafts for kids, jewelry, jewelry crafts, jewelry crafts for kids
