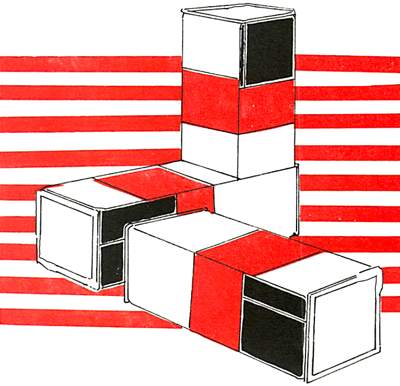
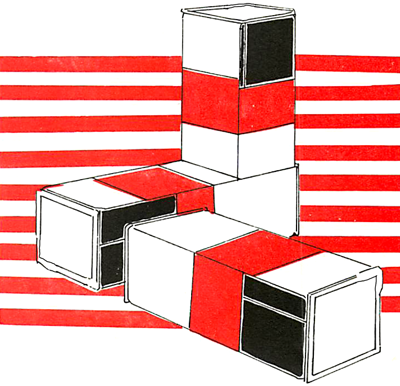
Today I’m going to show you how to make Connecting Building Blocks. These blocks are made from simple milk cartons or cream containers. This is a great way to teach young children how items can fit together. So, let’s get started.
Materials Needed
Milk or Cream Cartons
Aluminum Foil or Cellophane
Tape
Poster Paint
1 Teaspoonful Soap Flakes or Detergent
Construction Paper, Crepe Paper, or Grocery-bag Paper
Rubber Cement
[ad#ahc]
Don’t throw away those empty waxed milk cartons. You haven’t milked the last drop out of them yet! They can be washed, cut, pasted, painted, linked, and eventually thrown away with a clear conscience—after all, they’re free! Milk and cream cartons with flat tops are ideal for preschool block play. The advertising on the outside won’t bother the you at all, but covering the writing can be fun in itself.
Wrappers of aluminum foil will turn these blocks into glittering silver bricks (optionally). Just cover as you would a gift package, and fasten each end with a tiny piece of tape; or poster paints will stick to the waxed surface if you put a teaspoonful of packaged soap or detergent into the jar of paint before you start; or paper (construction, crepe, or from grocery bags) can be made to adhere, with rubber cement.
These are more fun and more challenging than plain building blocks. They join together with great ease, and the play possibilities are endless.
If two square openings are cut in each carton, the blocks can then be linked together, one into another.
These blocks can be connected to construct all sorts of shapes and forms, then taken apart and put together again, this time in a completely different way. This is more than just a “keep busy” activity —it is an engrossing project, excellent for developing co-ordination, and imagination too!
Technorati Tags: Children’s Crafts, Milk Containers, Milk Container Crafts, Milk Carton Crafts, Milk Cartons, Building Blocks, Learning Crafts


