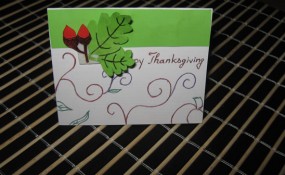
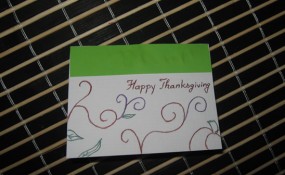
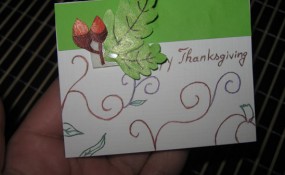
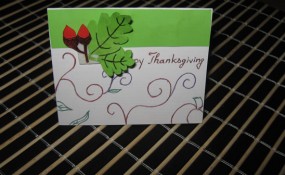
I have a wonderful Thanksgiving craft to show you today. I’m going to show you how to make a beautiful Thanksgiving card perfect to give a friend or a loved one. What better way to show your Thanks than to do it with a lovely card. Make a few and give them to all your friends and loved ones this Thanksgiving.
Check out our other Thanksgiving Crafts.
Laura from Dacian Moon Handmade will show you how to make this card step-by-step.
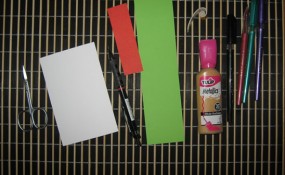
MATERIALS NEEDED
– cardboard
– red and green paper
– double-adhesive tape
– scissors
– gold paint
– pencil
– cotton swab
– coloured pens
Step 1
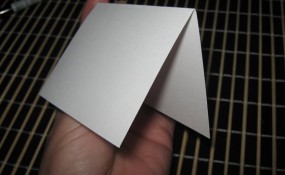
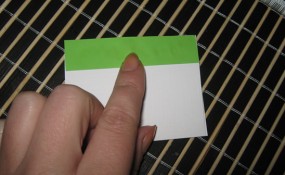
Cut a square from the cardboard (with the side about 10 cm) and fold it in half.
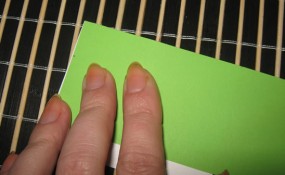
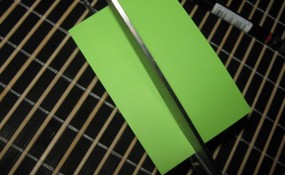
Take the green paper, measure how wide you want the border to be and mark it.
Cut it out…
…then glue it on its place.
[ad#ahc]
Step 2
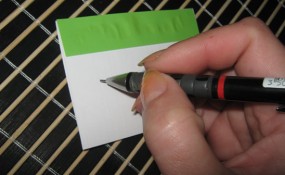
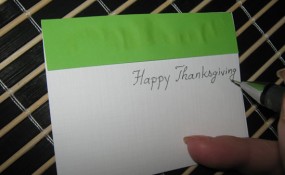
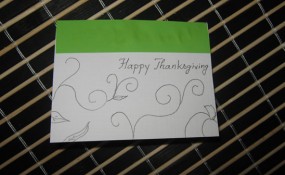
Now we will make a draft of the design:
Write “Happy Thanksgiving”…
… and make some decorations.
Now use the colored pens to finish the design.
Step 3
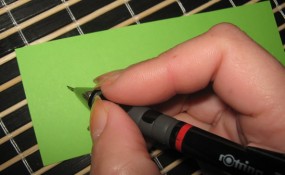
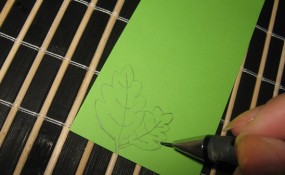
Take the green paper…
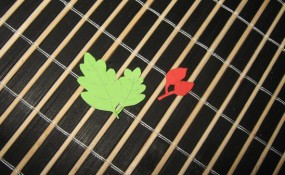
… and draw two leaves on it
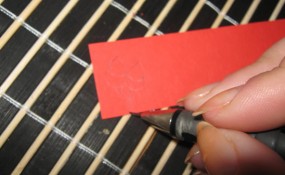
… and on the red paper, two acorns.
Cut them out.
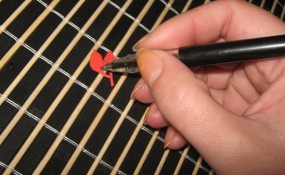
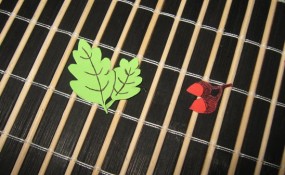
Accentuate the features of the acorns and leaves with black pen…
…like this.
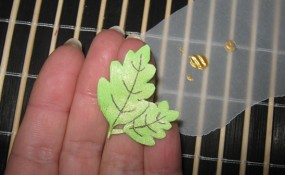
Put a small amount of paint on a paper and, with the cotton swab spread a little on the leaves and acorns. They will look much better.
Step 4
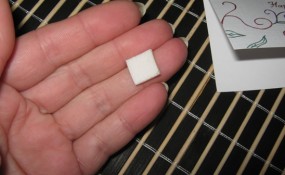
Cut a little square of double-adhesive tape…
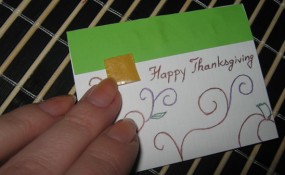
… and place it where you want the decoration to be.
I put it too close to the writing, but the tape is very sticky so take care because you can’t move it .
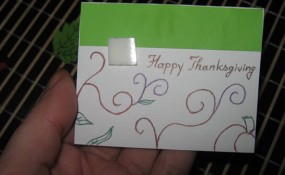
Take the protective cover …
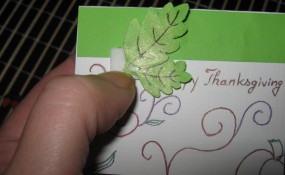
… and add the leaves over the tape.
Then the acorns.
The card is now ready.
And, there you have it…. a beautiful Thanksgiving Card to give to your friends and loved ones. How did your Thanksgiving card turn out? Let me know in the comments below. And, take a picture of it and share it with me. I’d loved to see it.
Technorati Tags: fall crafts, autumn crafts, Thanksgiving activities, thanksgiving activity, thanksgiving crafts, thanksgiving, thanksgiving crafts for kids, thanksgiving activities for kids, Thanksgiving cards, Thanksgiving cards craft
