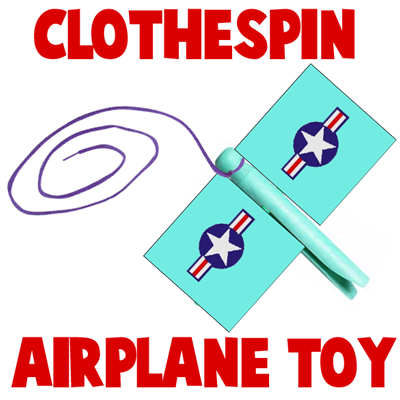
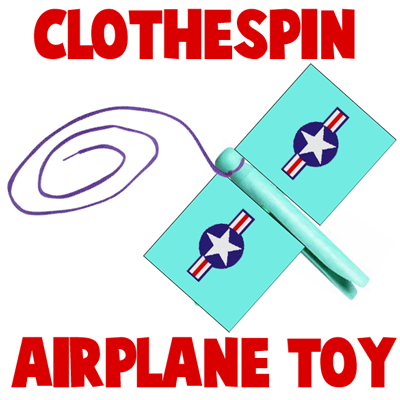
Oh boy….. do I have a fun craft for you today. I’m going to show you how to make a Clothespin Airplane Toy. This airplane toy actually works. After the craft is done the child will simply hold on to the airplane’s string and start running…. the airplane should start flying. Doesn’t that sound like fun? Almost as much fun as it will be putting the craft together. So, let’s get started.
Check out our other Toy Crafts.
Materials Needed
Old Fashioned Clothespin
6-inch Stick or Pencil
Stiff Pieces of Paper
String
Crayons, Markers or Stickers
Glue
Step 1
Force a 6-inch stick (pencil size) into the groove of an old-fashioned clothespin.
[ad#ahc]
Step 2
Glue stiff pieces of paper 3 inches square on both ends of the stick for wings.
Step 3
Tie a string to the head of the clothespin.
Step 4
You can choose to make designs or place stickers on the wings.
To fly the plane, the child holds the string and runs.
So, there you go…. you have your very own airplane toy that you made yourself. How fun is that?! How did you decorate your plane? Let me know in the comments below. You can even take a picture of the airplane toy and share it in the comments. I would love to see it.
Technorati Tags: airplanes, toy airplanes, making airplanes, making toys, how to make toys, how to make toy airplanes, clothespin airplanes, clothespin toys, clothespin crafts


love it very simple and fun! thanks
So glad you enjoyed it!! 🙂