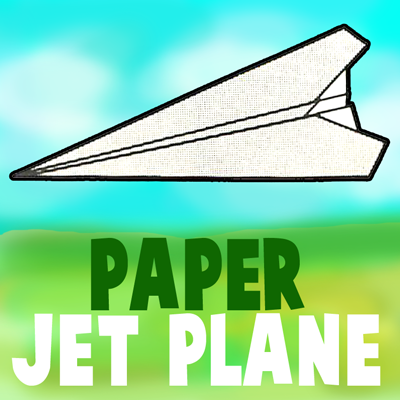
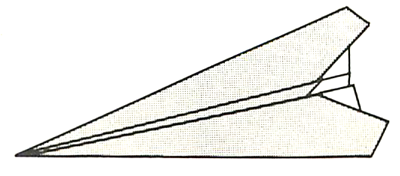
Today, we will show you how to fold a paper airplane jet. There are 7 illustrated steps, that are also lettered to make it as easy to follow as possible for kids and others. You might want to actually letter your paper to make it easier for you to follow. Ask for your parents help if you can’t follow the pictures. Have fun.
How to Fold a Paper Jet Airplane with Folding Pictures and Directions
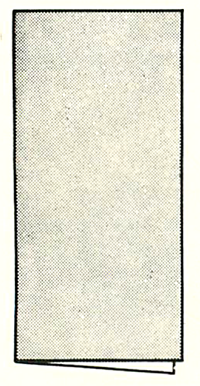
Step 1
(1) Fold Your Paper in Half
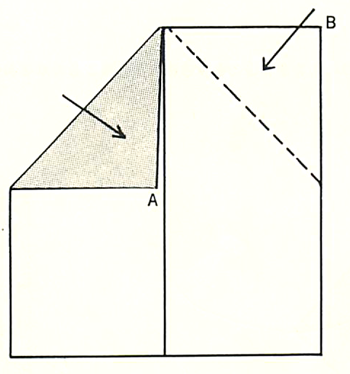
Step 2
(2) Open Your Paper and Bring ‘A’ to Center Fold and Crease.
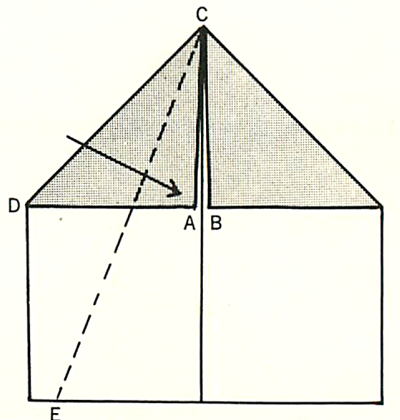
Step 3
(3) Bring ‘B’ to center fold and crease. Now bring ‘D’ over to the center fold and crease on line ‘C’-‘E’.
[ad#ahc]
Step 4
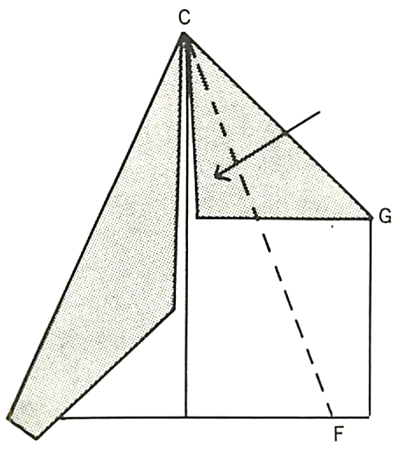
(4) Bring ‘G’ over to center fold and crease on line ‘C’ – ‘F’.
Step 5
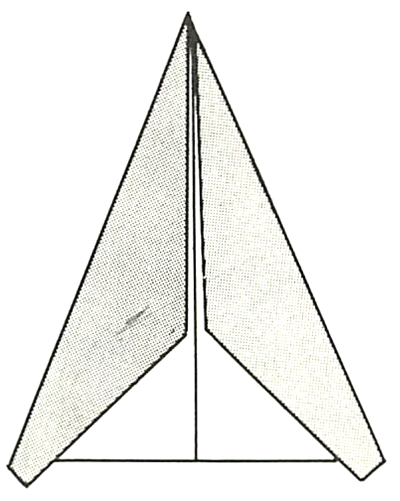
(5) Your shape now looks like this. Leave it in this position.
Step 6
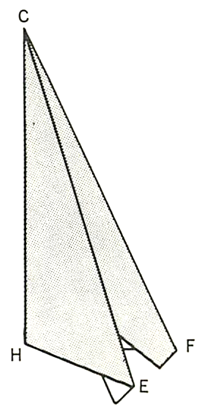
(6) Now fold along line ‘C’ to ‘H’ so that ‘E’ falls on ‘F’.
Step 7
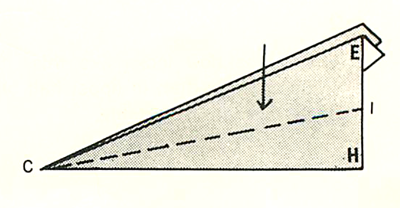
(7) Place your shape in position shown in picture above. Bring ‘E’ down to ‘H’ so edges meet. Crease along line ‘C’ – ‘I’. Turn shape over. Fold top edge down to bottom edge in the same way.
Technorati Tags: paper airplanes, airplanes, folding paper airplanes, fold paper airplanes, airplanes, airplane, paper jets, paper folding, origami, paper crafts, crafts for boys, boys crafts
