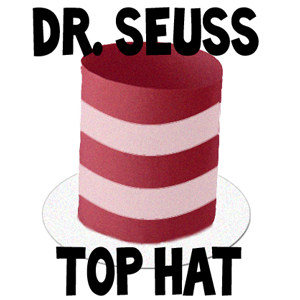
What’s more fun than the Cat In The Hat? Making a Cat In The Hat Hat of course! These are very easy to make and a lot of fun to do too….do it to celebrate Dr. Seuss’ birthday this year.
How To Make A Cat In The Hat from Dr. Seuss Hat Arts and Crafts Project for Kids
Crafts Materials Needed:
* Red and white construction paper
* Scissors
* Glue
* Pencil
Cat In The Hat Instructions
Step 1
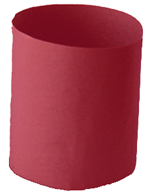
Take a large piece of red construction paper and make sure that it will fit around your head.
Step 2
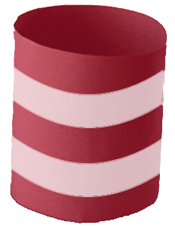
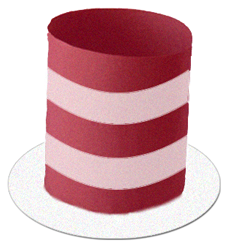
With the scissors, cut the white construction paper into 1 inch strips and glue them onto the red construction paper. Make sure to leave a space on the red construction paper, so that it is red and white.
[ad#ahc]
Step 3
Make a tube that will fit around the head and glue the edges together.
Step 4
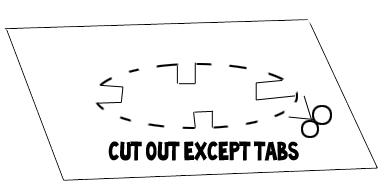
Take a piece of white construction paper and trace the tube around it.
Step 5
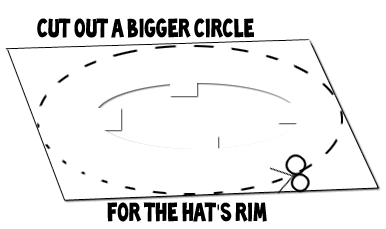
Draw four tabs on the inside of the circle. Cut the circle out and the area in the circle avoiding the tabs that were drawn.
Step 6
Now cut out the outer rim…a bigger circle than what you traced and cut out.
Step 7
Glue the tabs to the inside of the red and white tube, so you can wear as a hat.
Technorati Tags: dr suess, dr. seuss, dr. seuss hat, make a dr. seuss craft, making a dr. seuss hat, cat in the hat, make a cat in the hat hat, hats, making hats, dr. seuss’s birthday


Dis is so easy dat any1 can do it without lookin at the instructionz!
Dr, Seuss hat